How to sew a zipper into a pillow
Adding a zipper to a pillow might feel intimidating, but a lapped zipper is one of the easiest methods to learn. In this tutorial, I’ll walk you step by step through how to sew a zipper into a pillow using a simple lapped zipper technique that works beautifully for quilted pillow covers.
Materials you’ll need
All seam allowances are 1/4″ unless noted. Directions are for one 18″ pillow. Width of fabric (WOF) is assumed to be 42″.
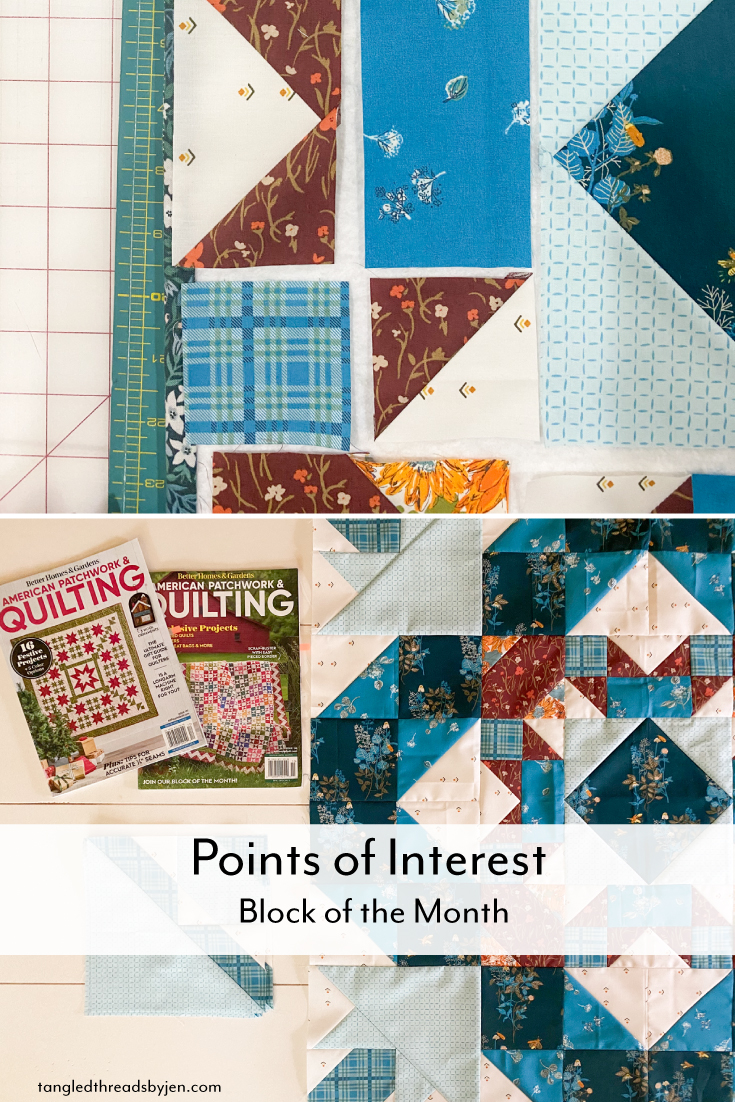
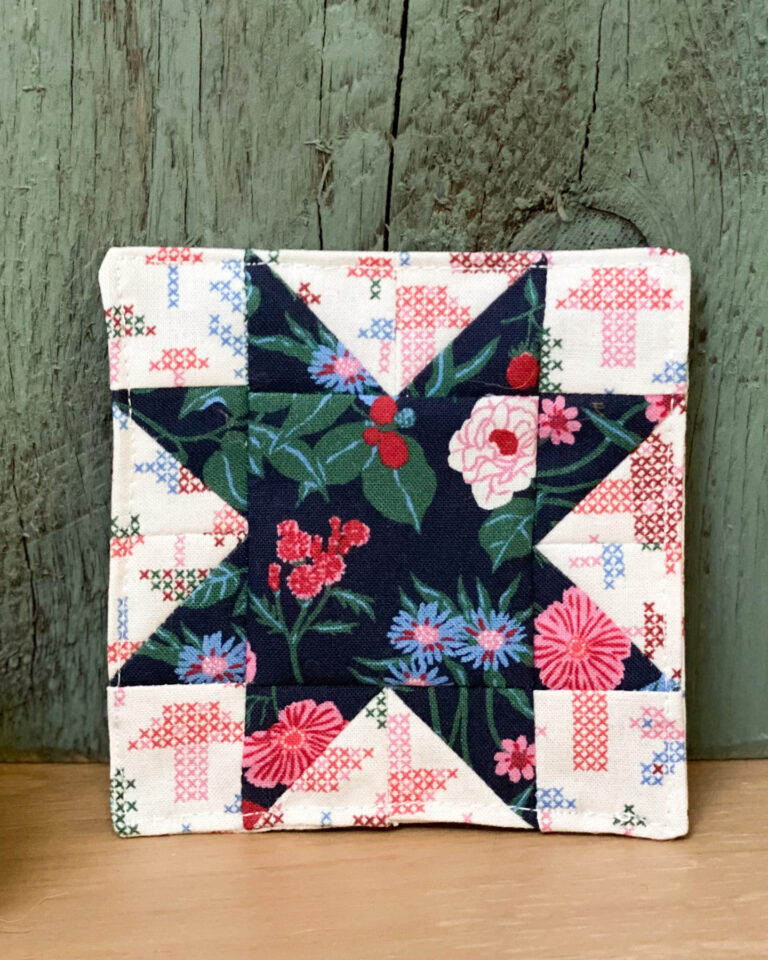
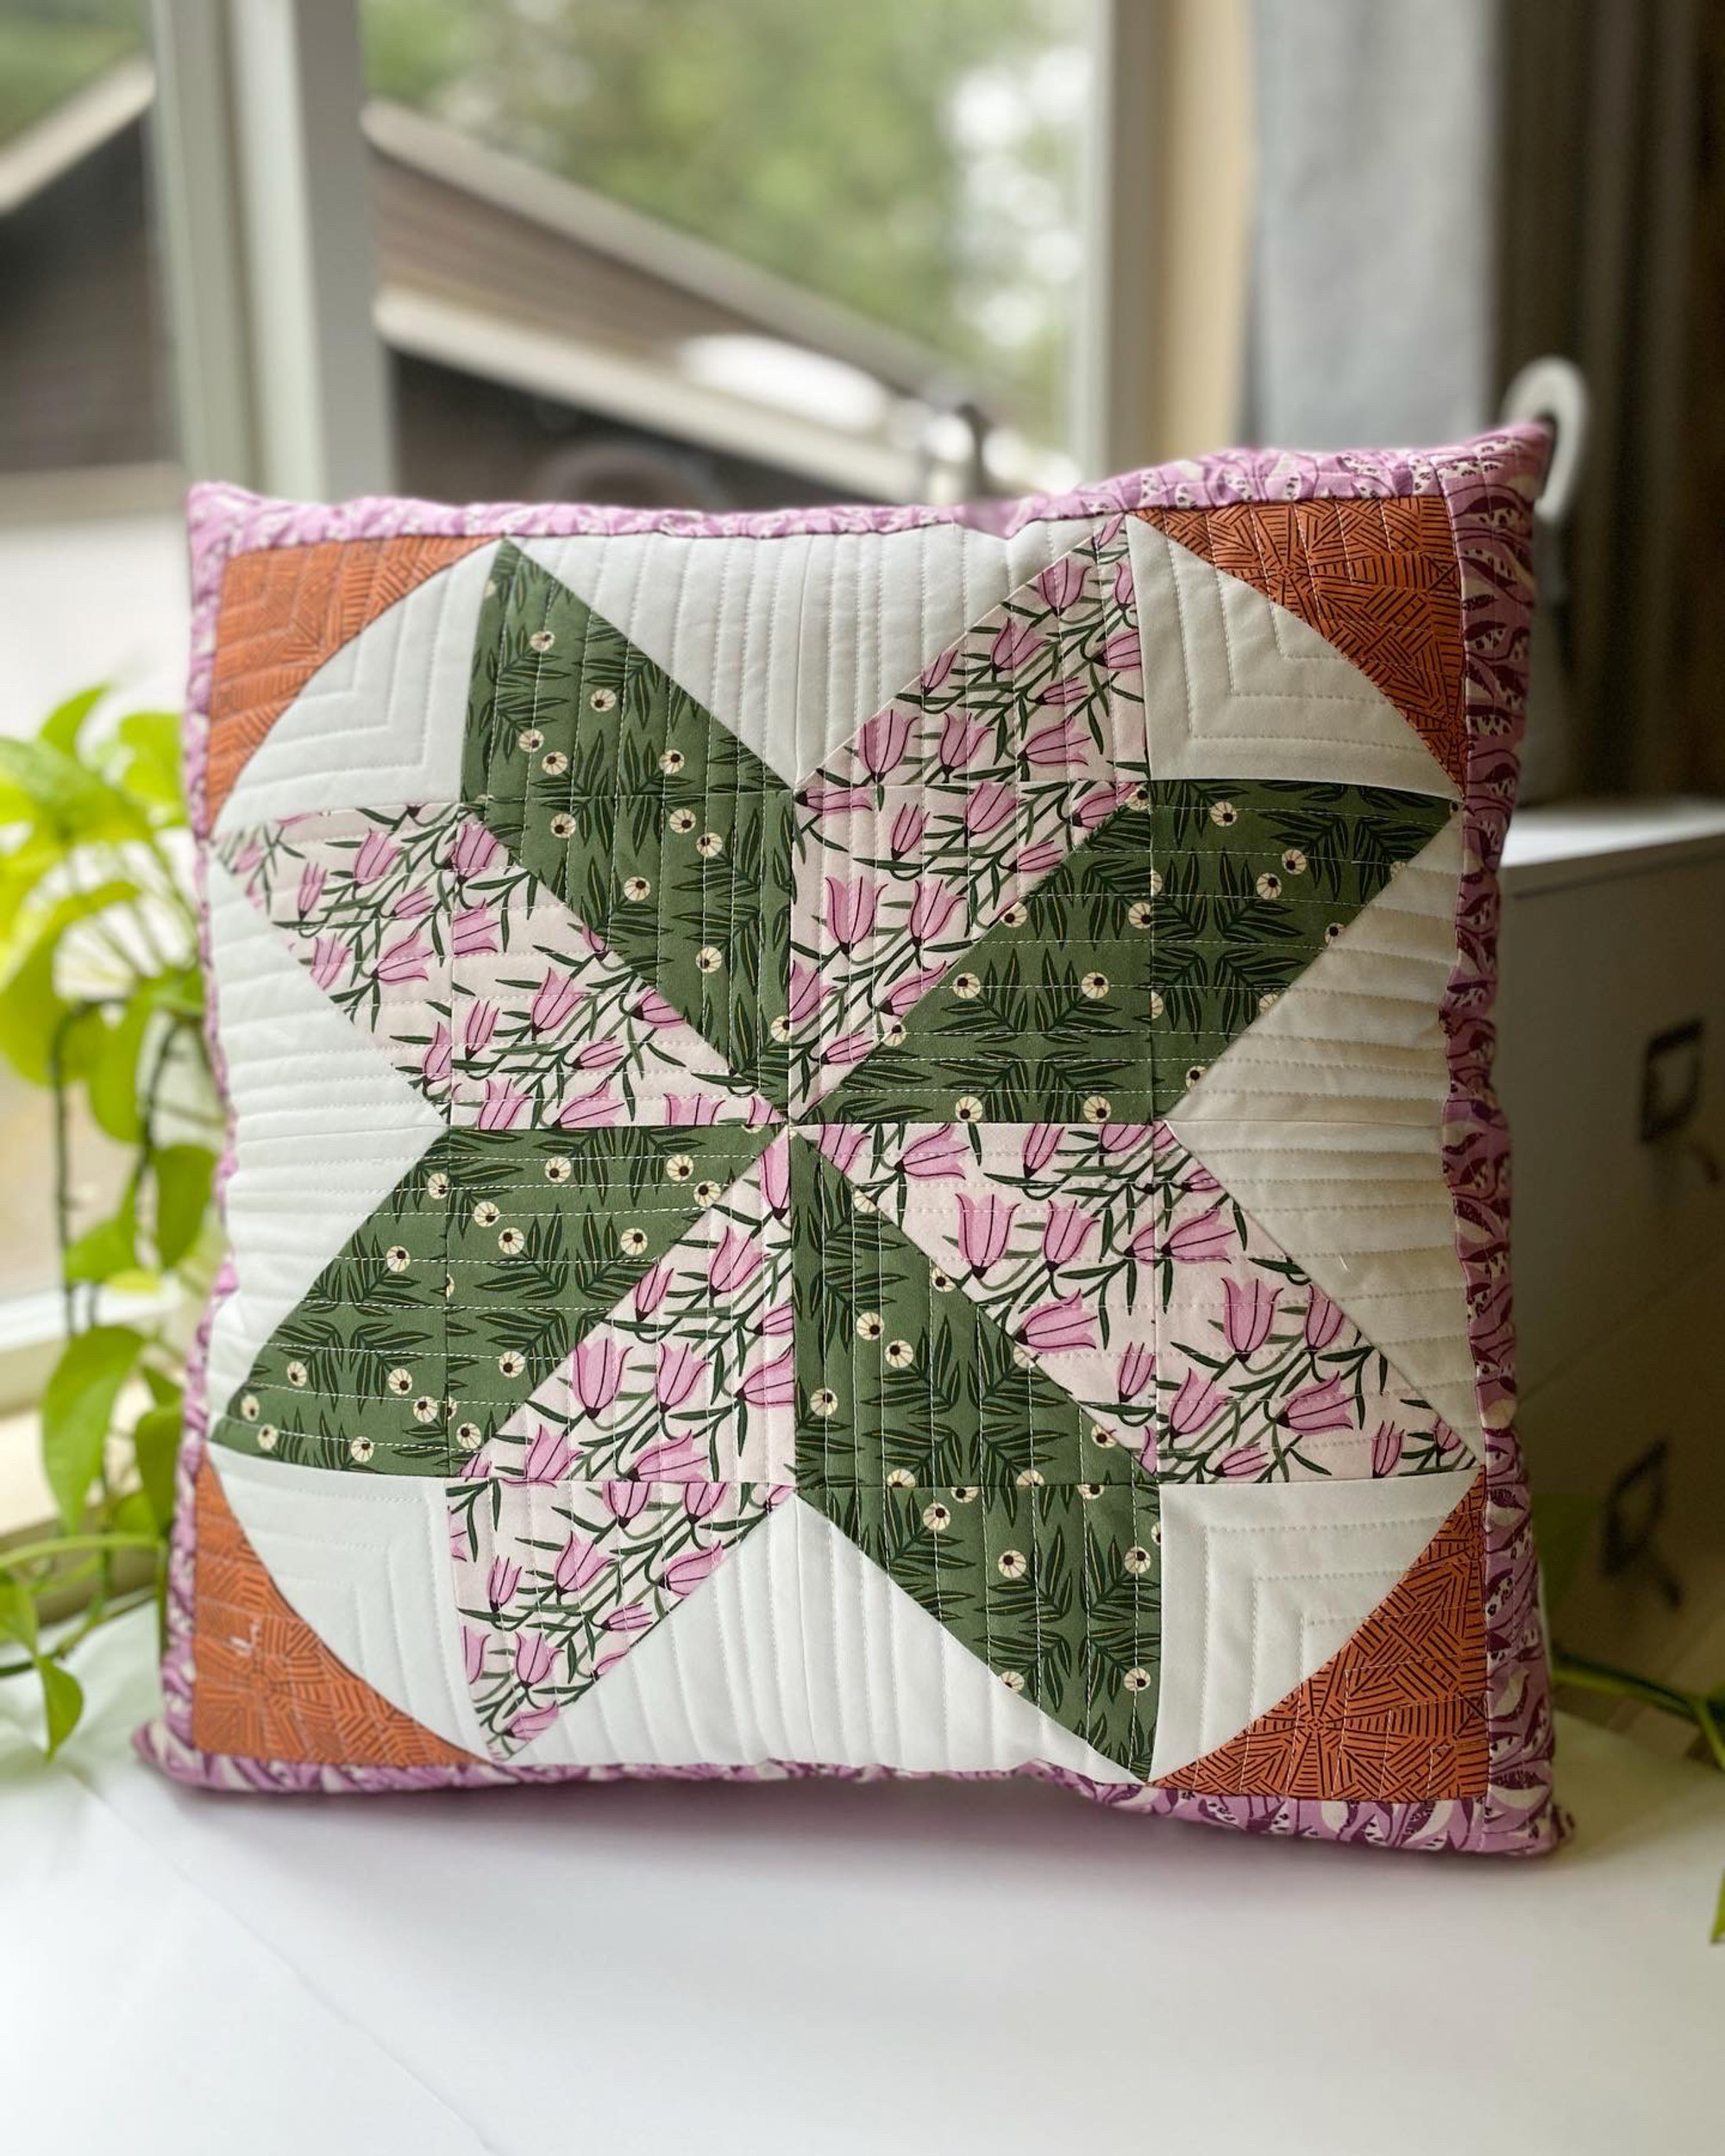
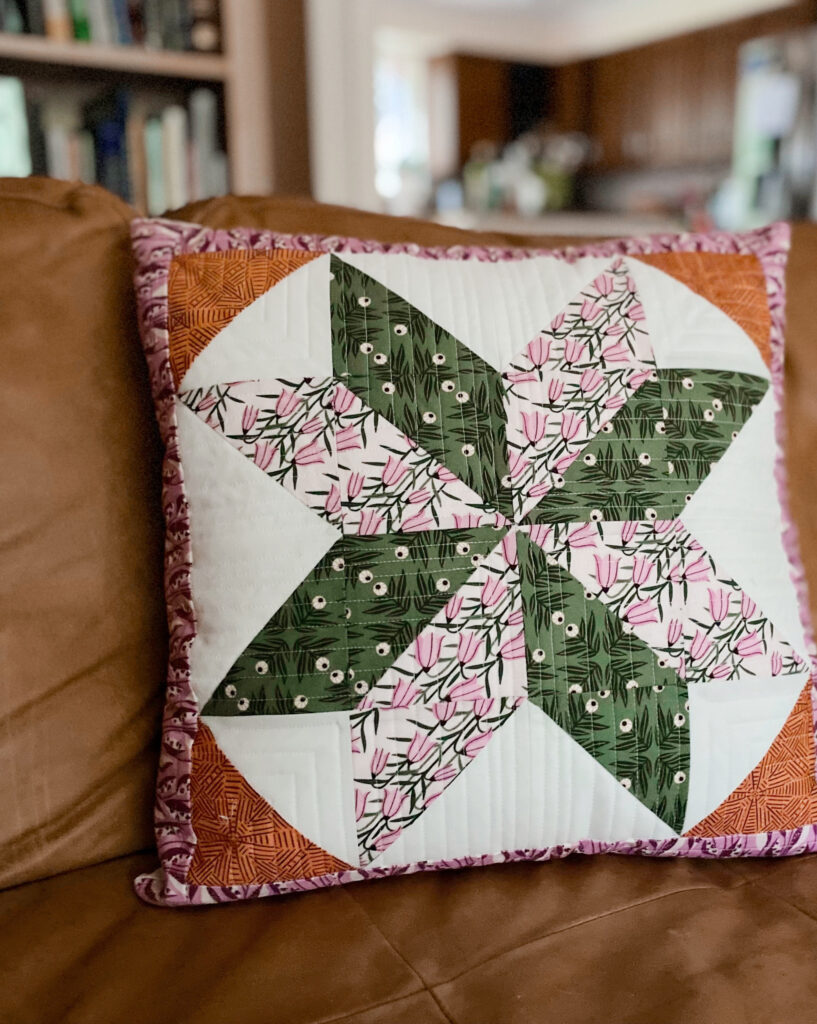
- Pillow Front: 18 1/2″ pillow front – I used my Stars Aglow pillow pattern
- Pillow back fabric: 1/3 yard or 11″ x 37″ (I used solid white quilting cotton)
- Fusible Interfacing: 2/3 yard or 20 5/8″ x 18 3/8″ (I used Pellon SF101)
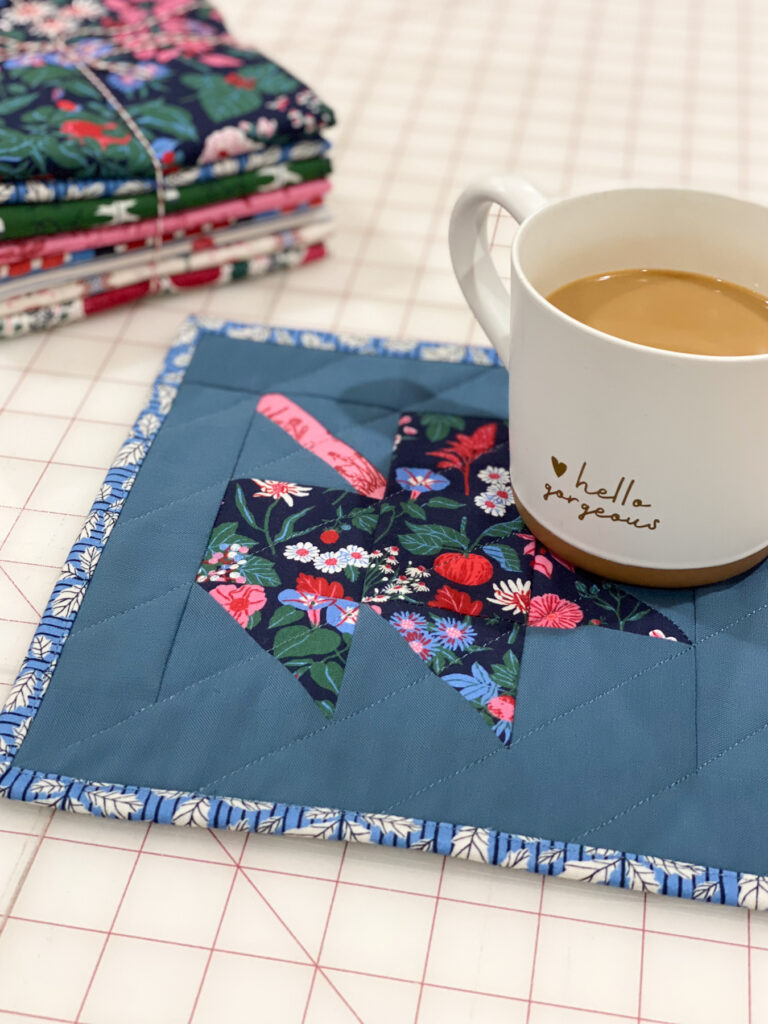
- Zipper Cover Accent Fabric: 2 1/2″ x 18 1/2″ (I used the Wild Haven collection for this pillow)
- 18″ pillow form: This is the pillow insert I like
- 20″ nylon zipper: I prefer nylon zipper by the yard
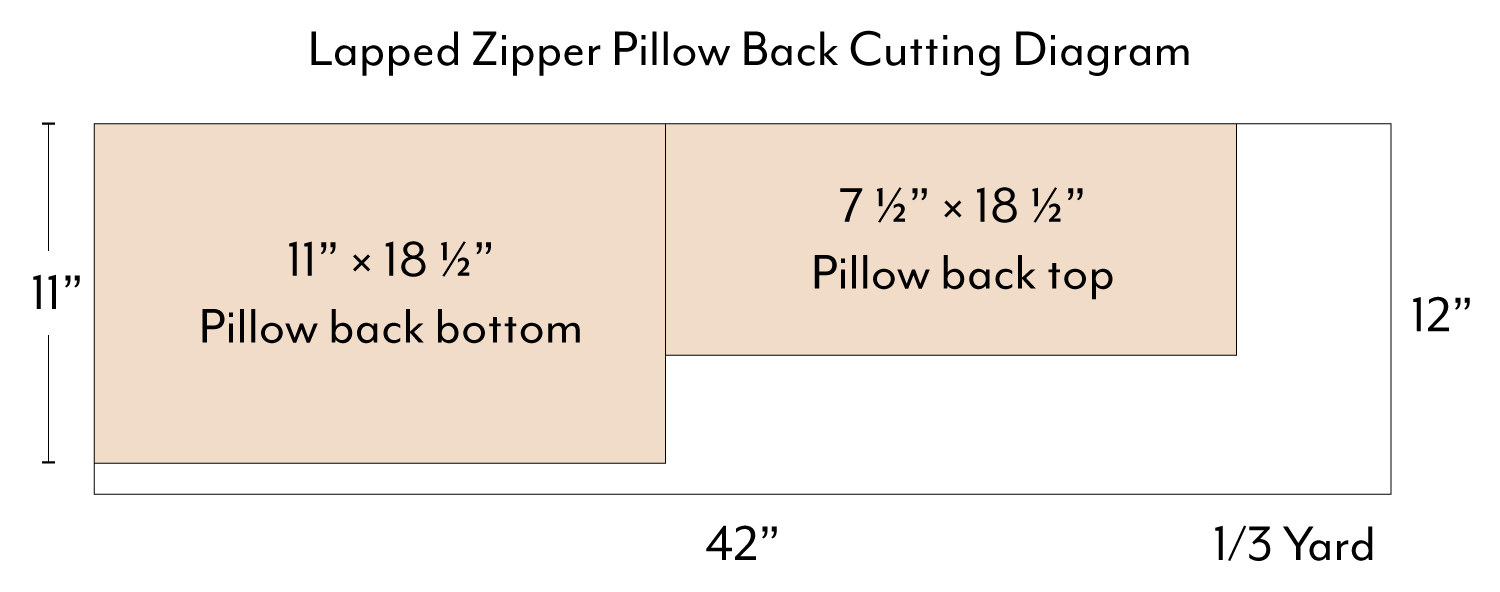
Step 1: Cut the Fabric for the Pillow Back
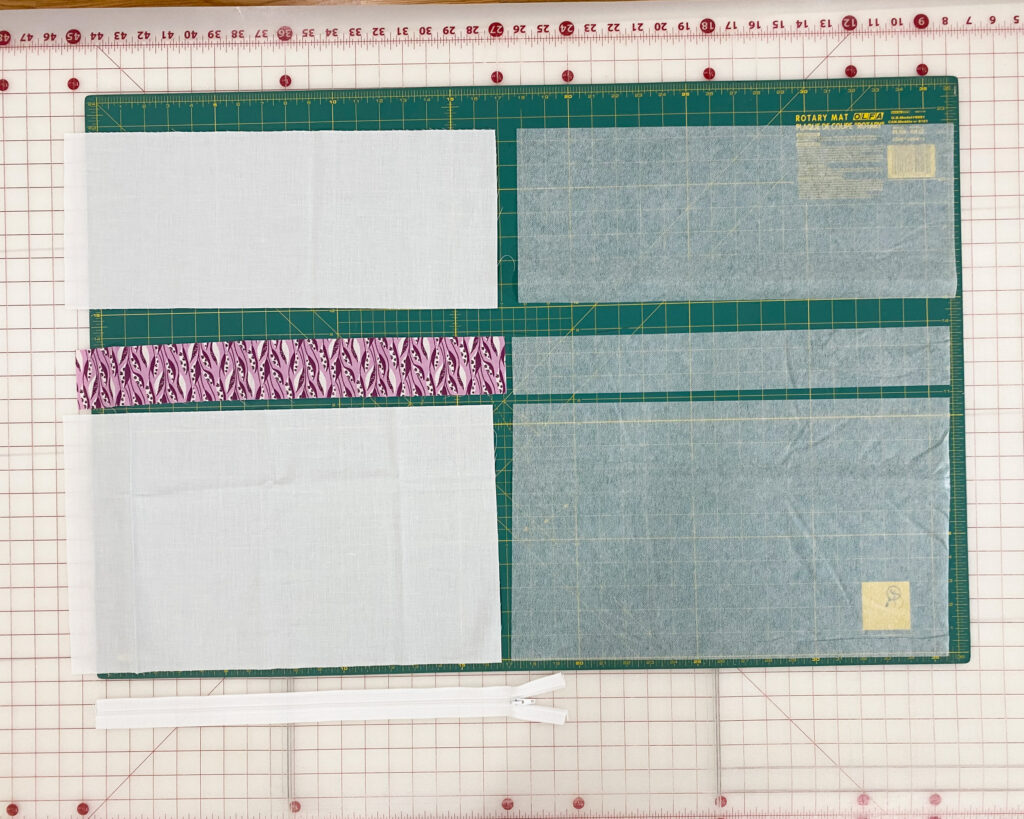
Cut your fabric and interfacing pieces for the pillow back and zipper accent.
Pillow back fabric, cut:
- (1) 18 1/2″ x 11″ – bottom panel
- (1) 18 1/2″ x 7 1/2″ – top panel
Accent fabric, cut:
- (1) 2 1/2″ x 18 1/2″ – zipper cover
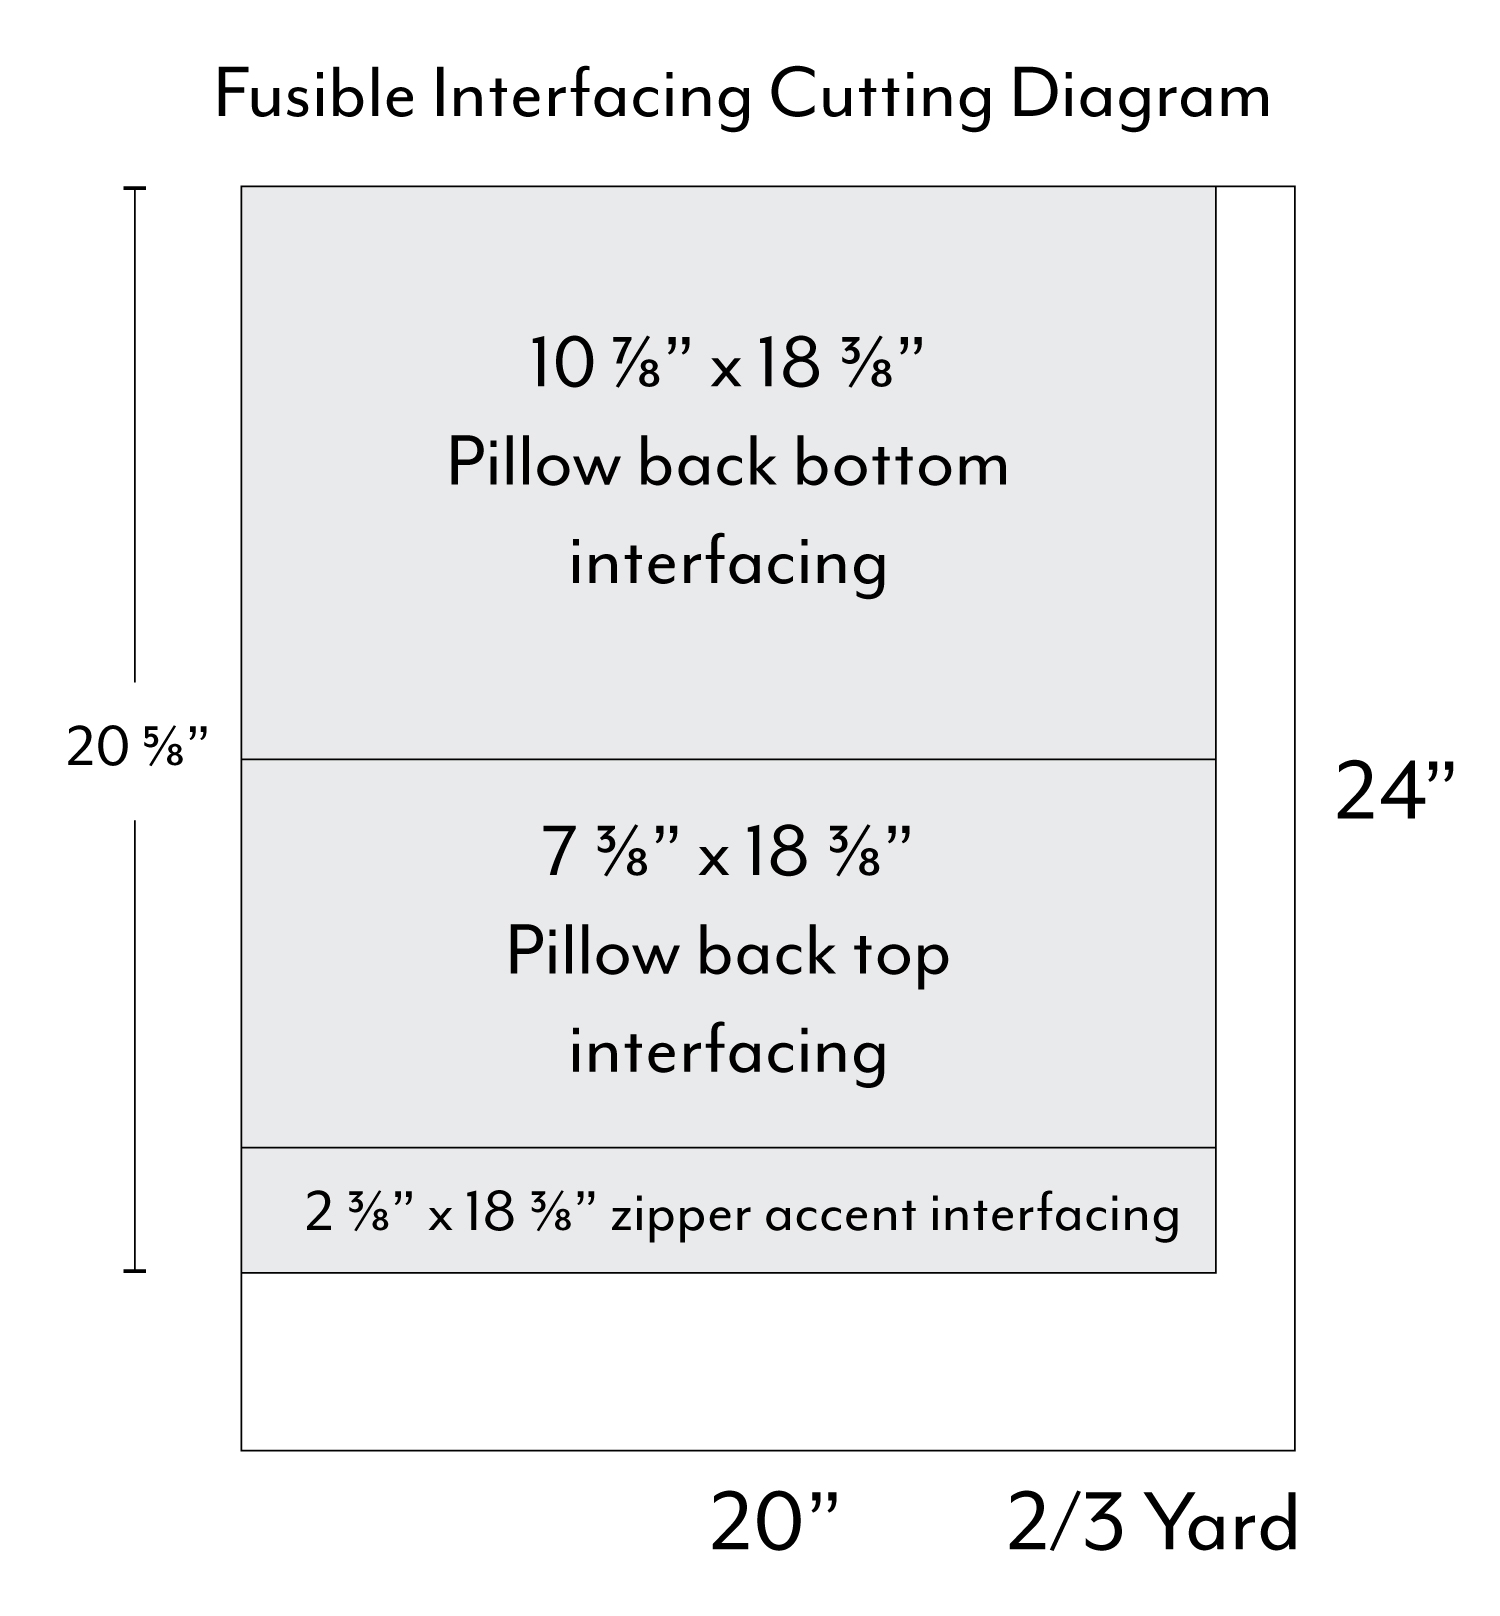
Fusible interfacing, cut:
- (1) 2 3/8″ x 18 3/8″
- (1) 10 7/8″ x 18 3/8″
- (1) 7 3/8″ x 18 3/8″
Step 2: Prepare Fabric with Interfacing
Fuse interfacing to the wrong side of both pillow back pieces and the zipper accent strip.
Tip: If using Pellon SF101, place the rough/shiny side against the fabric. Cover with a damp press cloth and press with a Wool/Steam setting for 10–15 seconds. Steam press from the right side. Let cool and check bond.
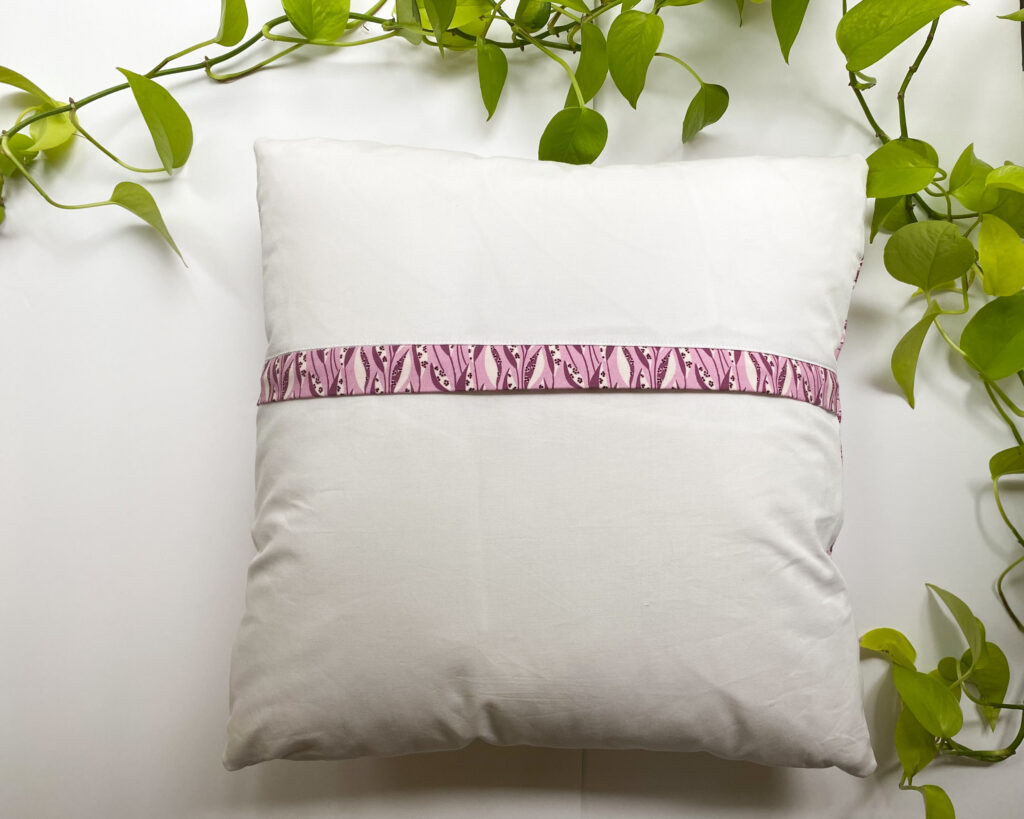
Step 3: Attach the Zipper

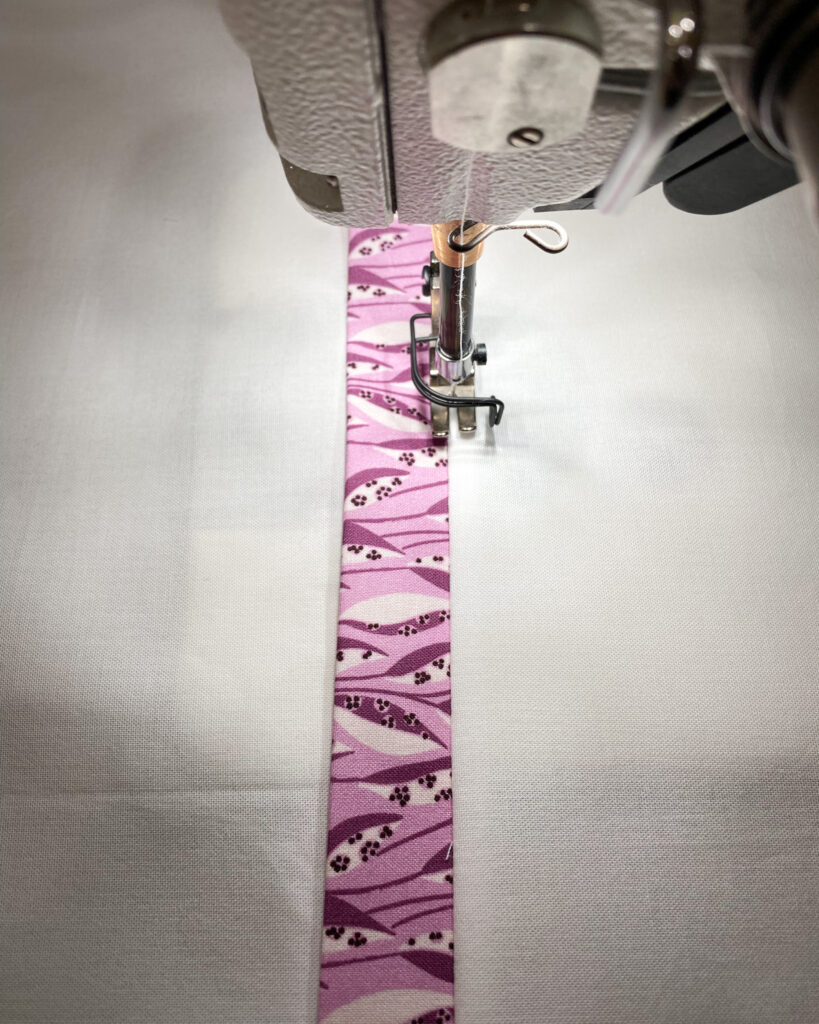
- Fold the 2 1/2″ x 18 1/2″ accent strip in half lengthwise and press. Set aside.
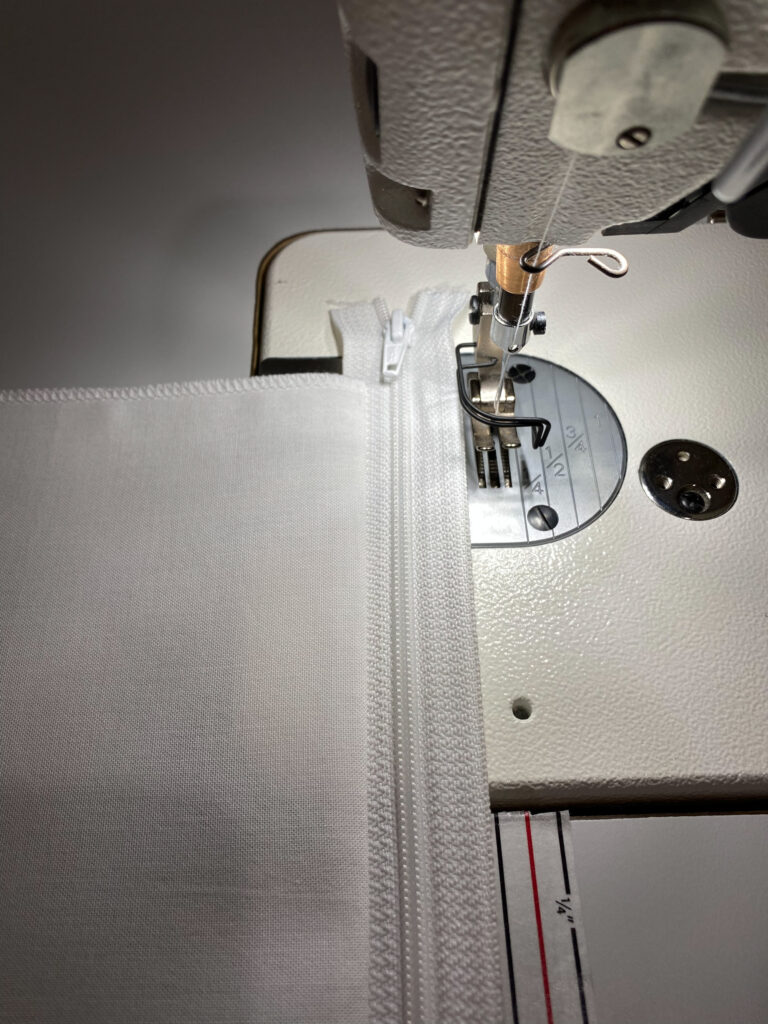
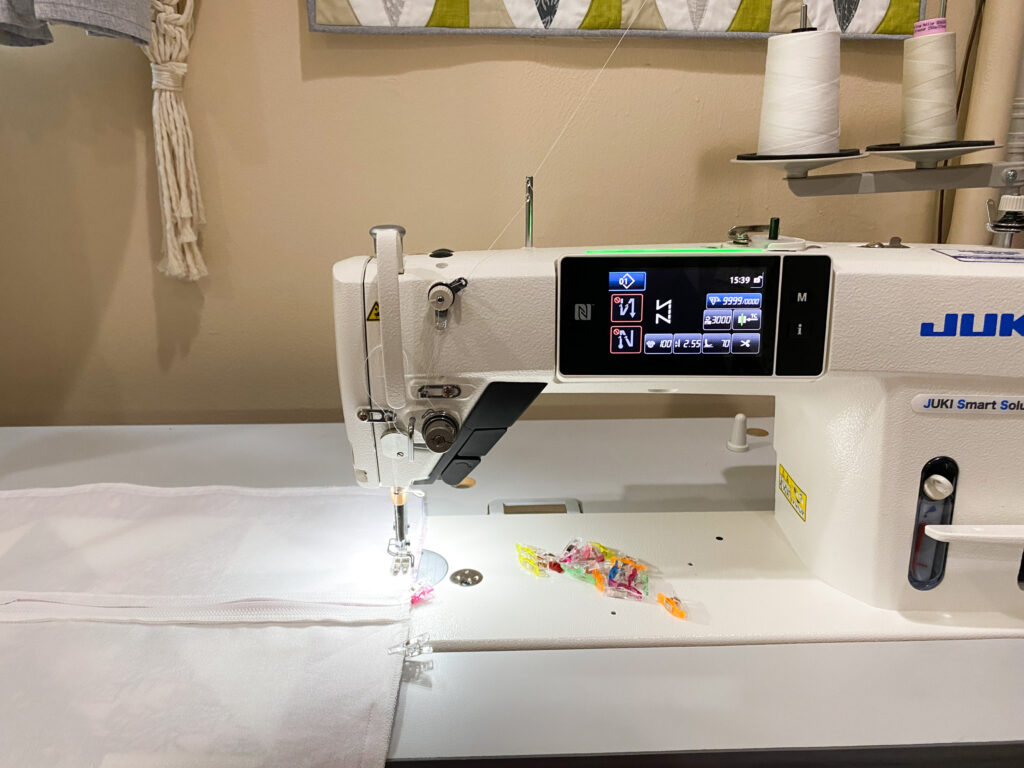
- Place the zipper face down on the right side of the pillow back bottom panel, pin in place.
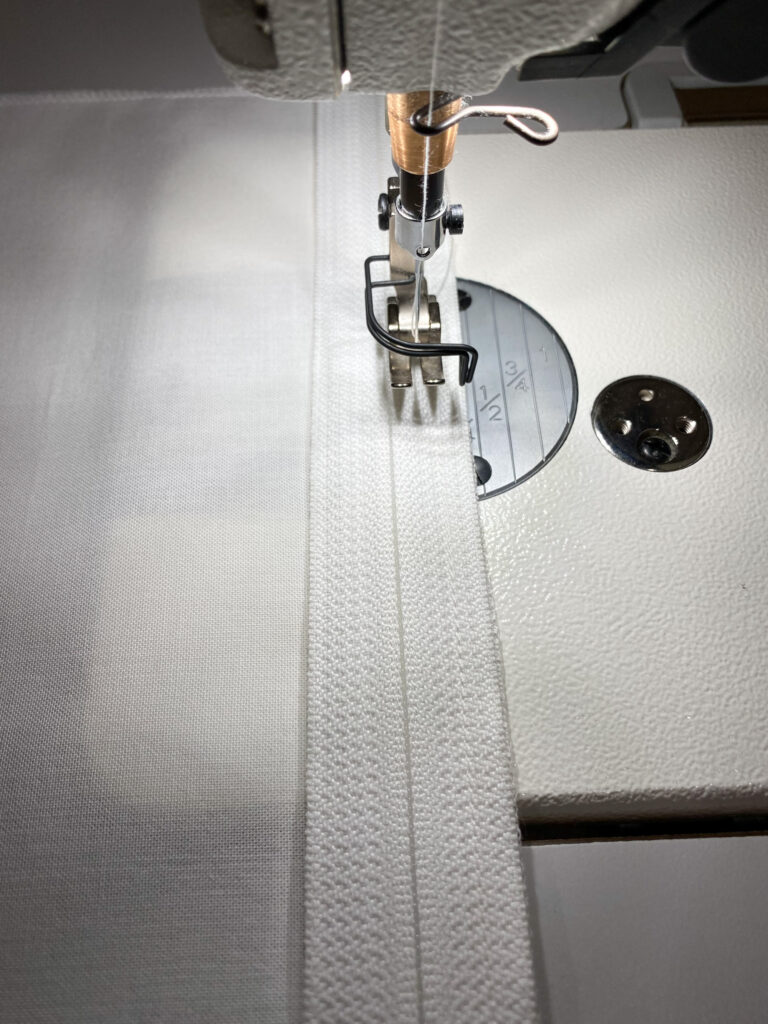
- Sew with a narrow 1/4″ seam using your zipper foot.
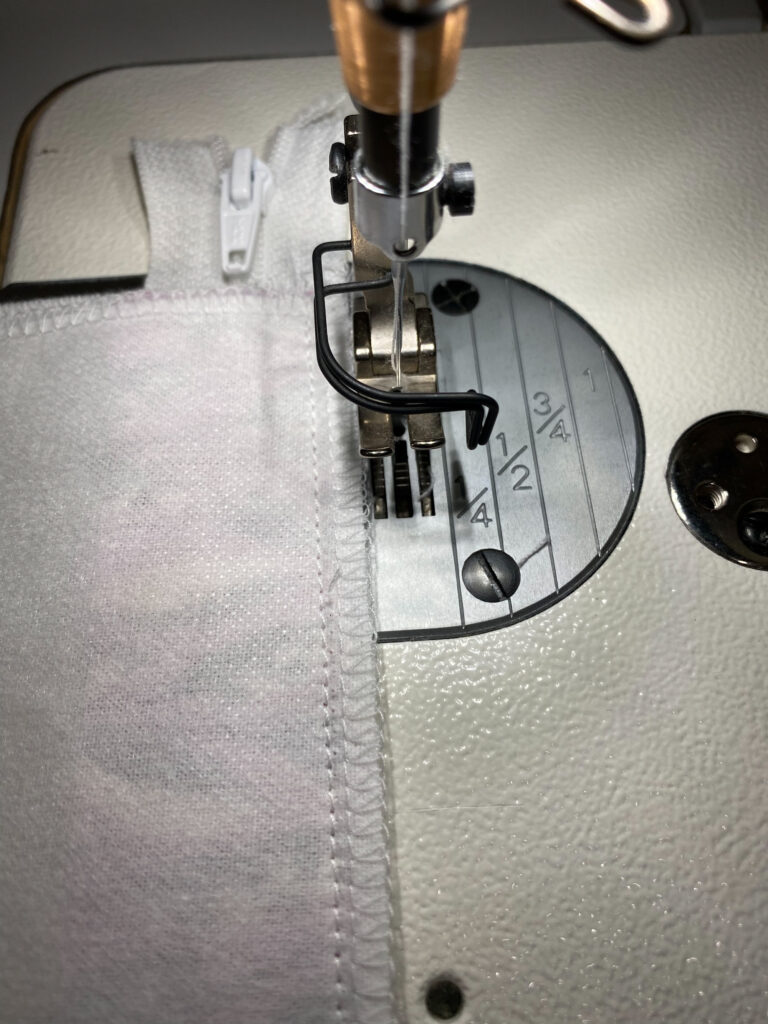
- Press the panel away from the zipper and topstitch with an 1/8″ seam.

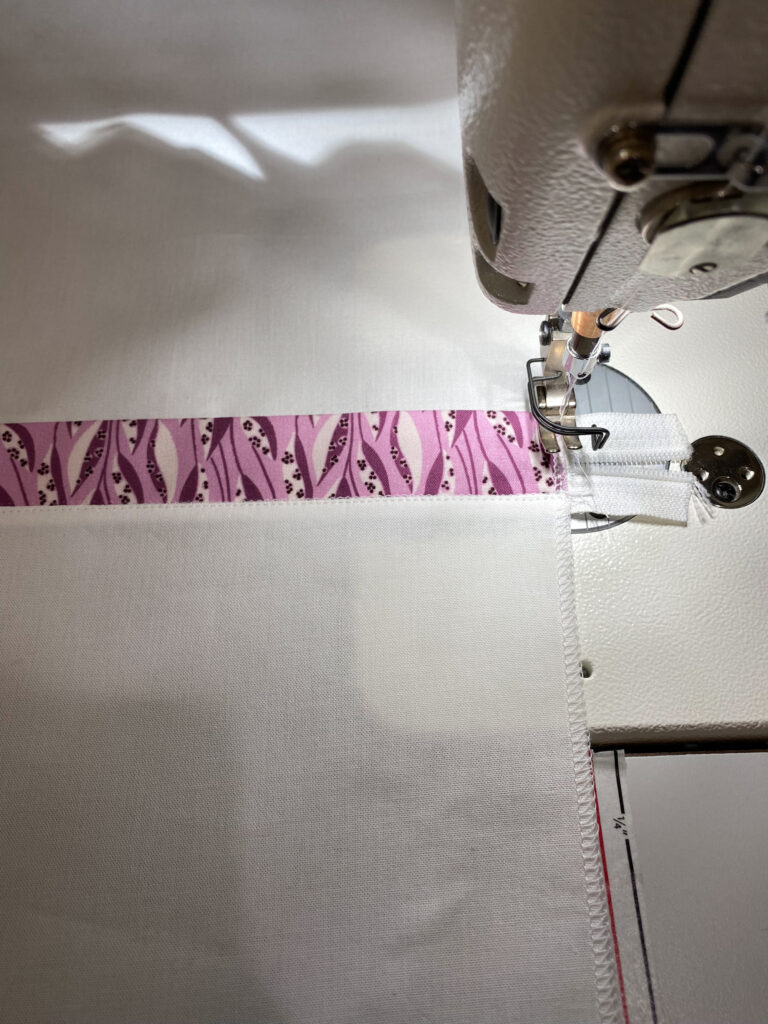
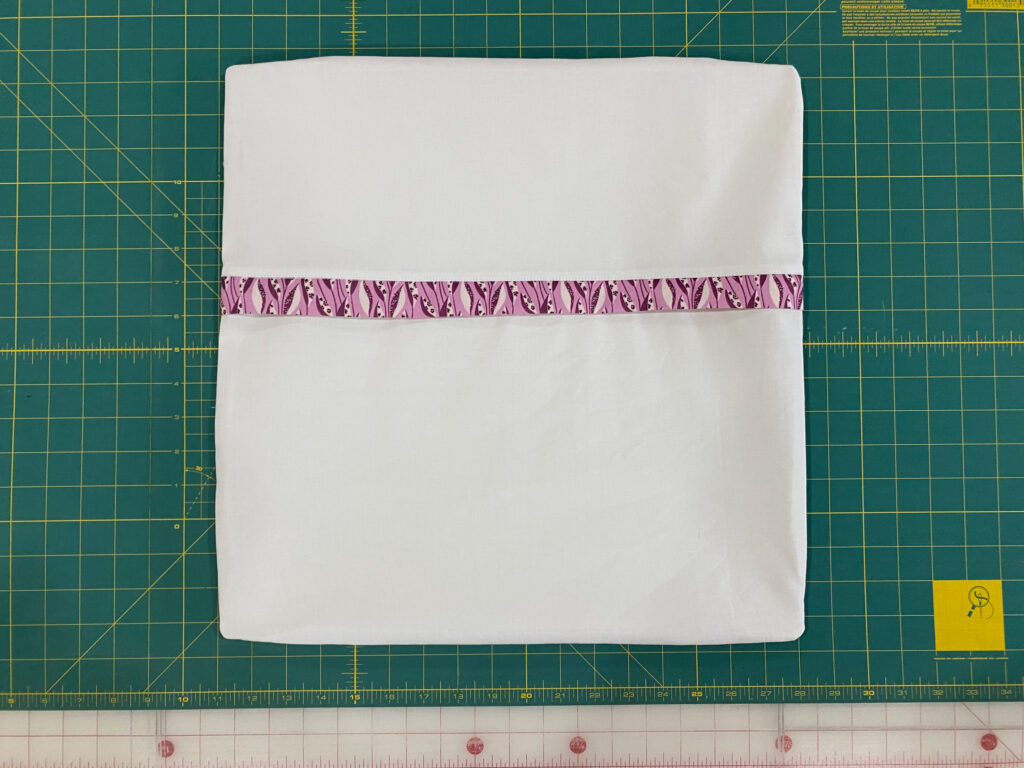
- Place the folded accent strip on top of the bottom panel, aligning raw edge with the zipper.

- Then, layer the pillow back top panel right side down on top, pin in place.
- Next, sew with a narrow 1/4″ seam using your zipper foot.
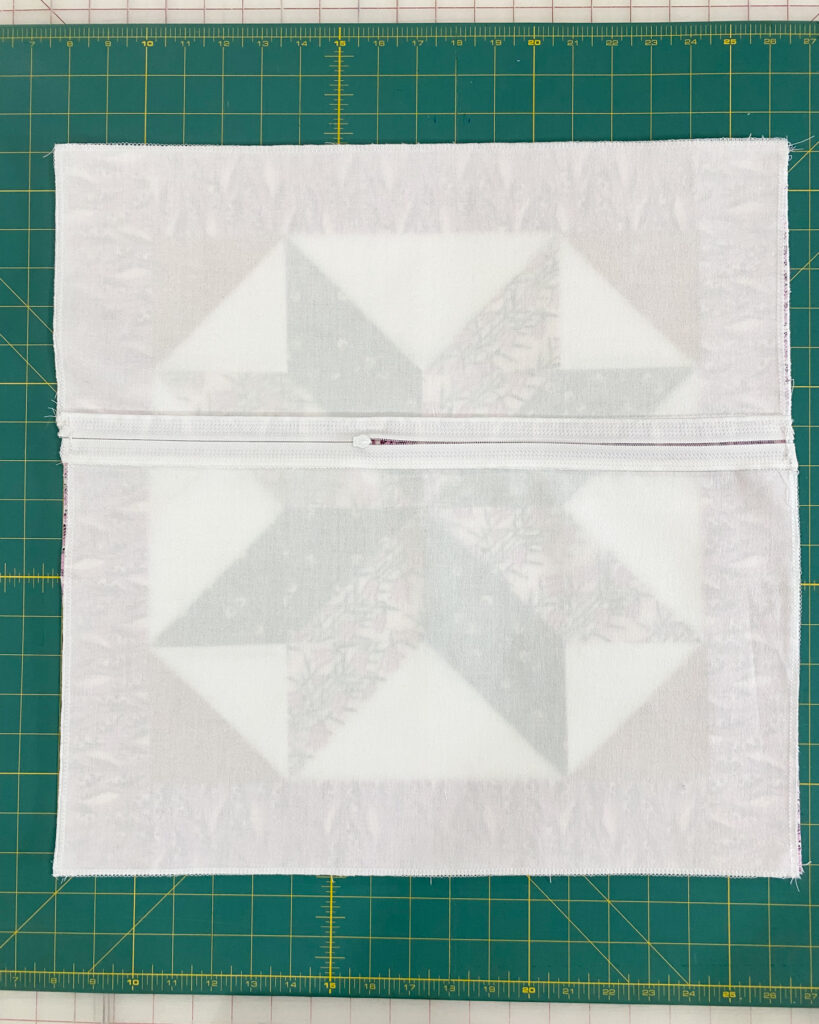
- Press the top panel away from the zipper and topstitch with an 1/8″ seam.
- Sew over the zipper ends several times, about 1/4″ from each pillow edge, to secure the zipper. Trim any overhanging zipper.
Step 4 – Assemble the Pillow
- Place the pillow top and back right sides together.
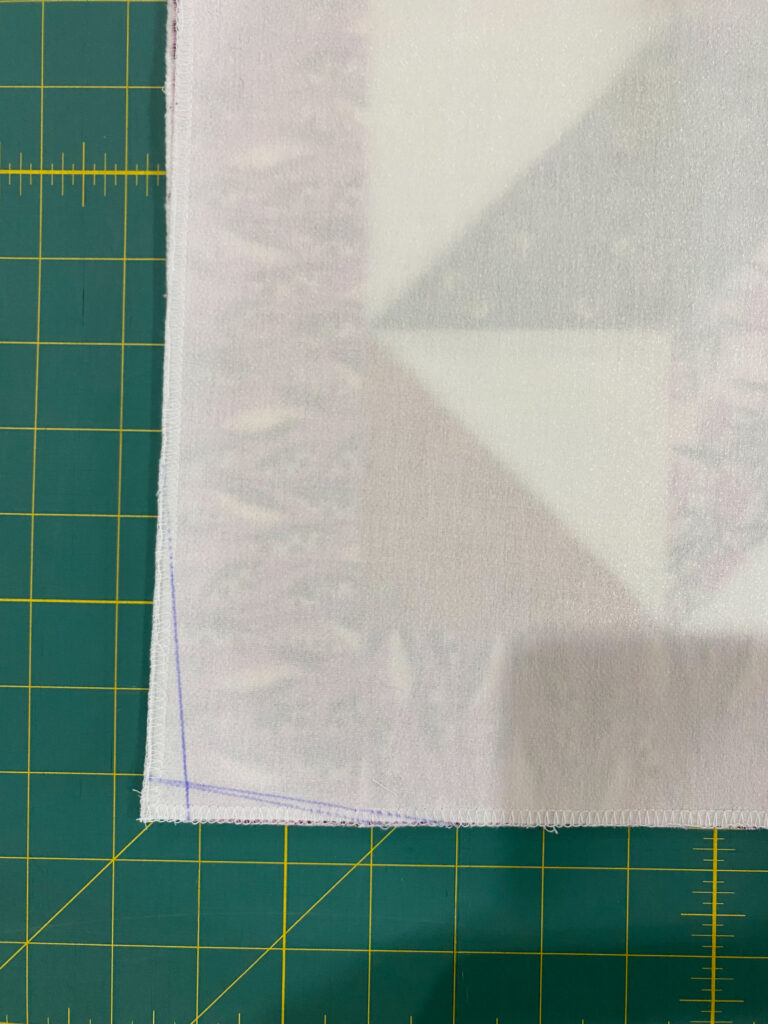
To avoid “dog ear” corners, trim a tapered 1/2″ over 4″ at each corner.
Draw a line starting 1/2″ in from each corner and taper it out to the edge over 4″. Trim along the lines.
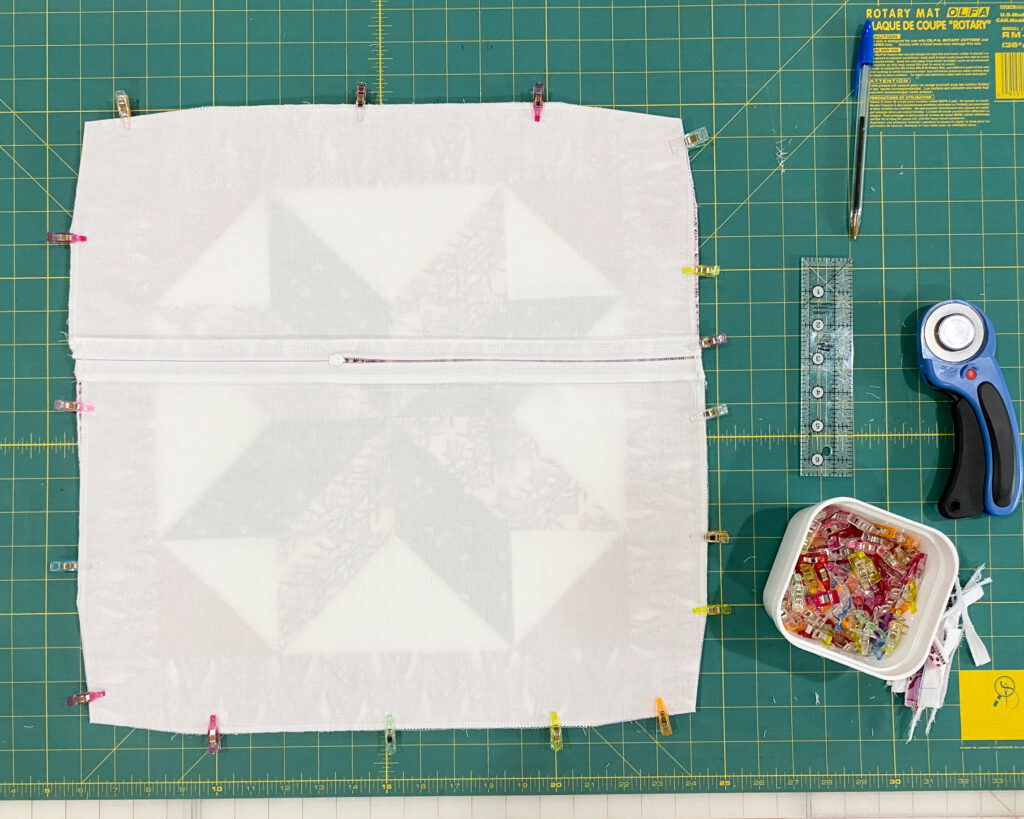
- Pin the pillow front and back right sides together. Make sure your zipper is halfway open!
- Sew around the pillow with a 1/2″ seam, then clip the corners.
- Turn the pillow right side out, and gently push out the corners.
- Insert the pillow form and zip it closed. Done!
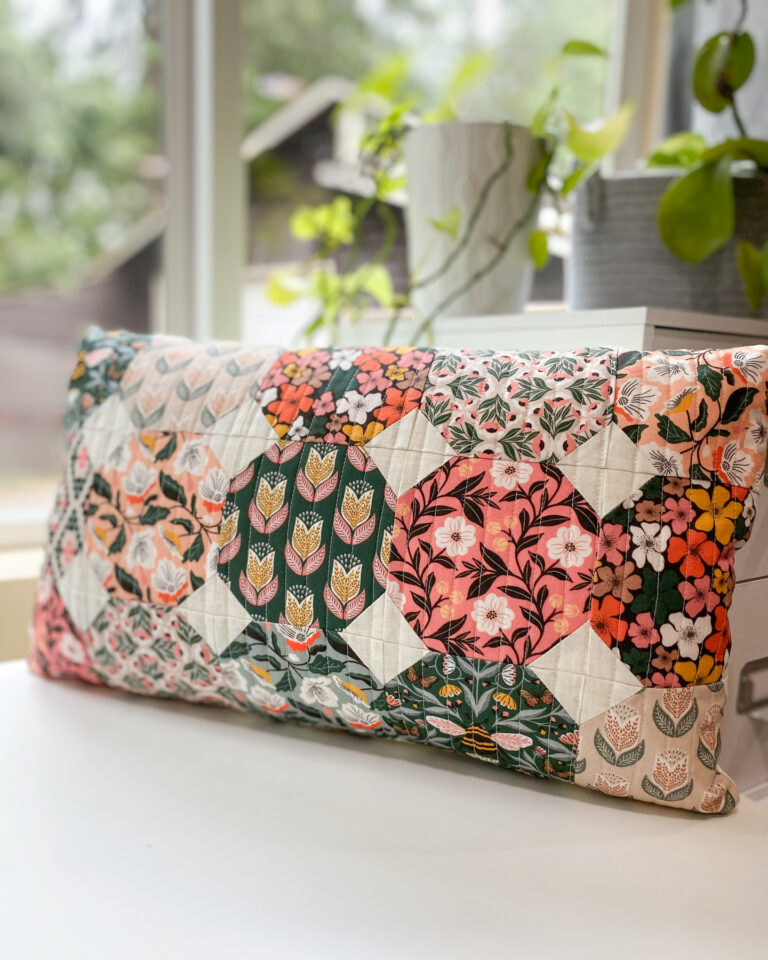
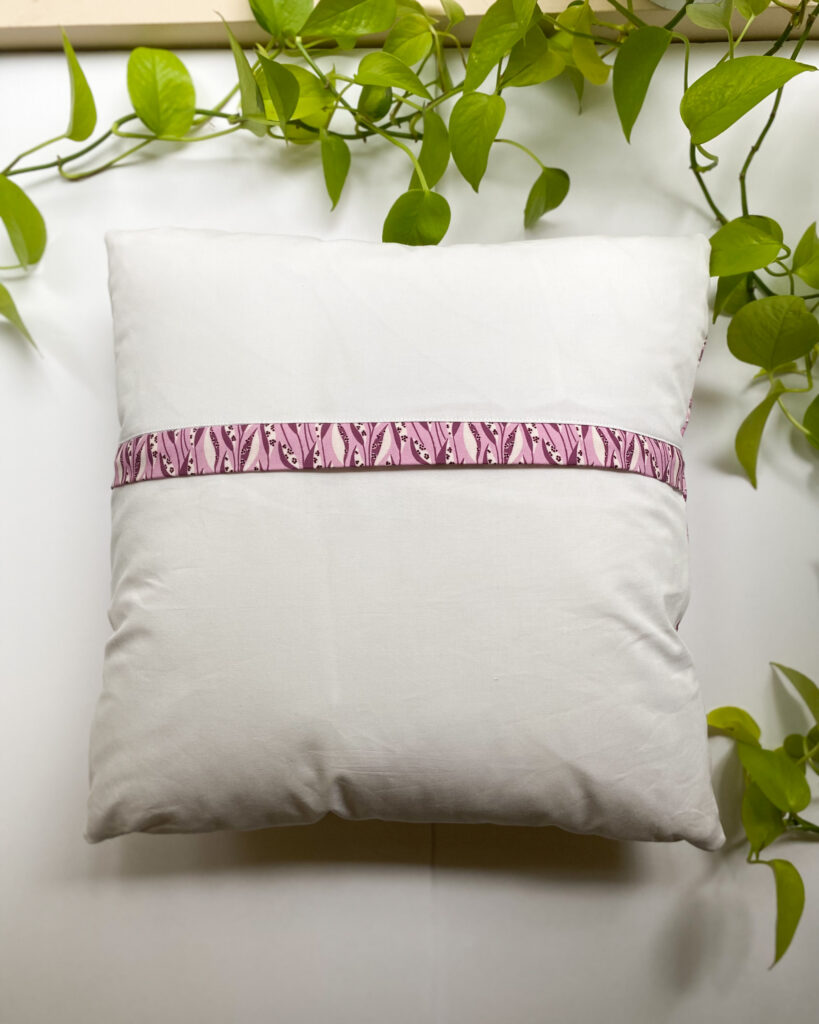
Enjoy Your Finished Pillow
You did it! Your pillow is complete! I hope you’re proud of your work, and that this technique becomes one you reach for again and again.
If you’re looking for more projects to sew, you might enjoy:
For more beginner-friendly tutorials, patterns, and sewing tips delivered straight to your inbox, join my email list.
Thanks for sewing along with me!