How to Embellish a Quilted Pillow with Chenille-It Blooming Bias
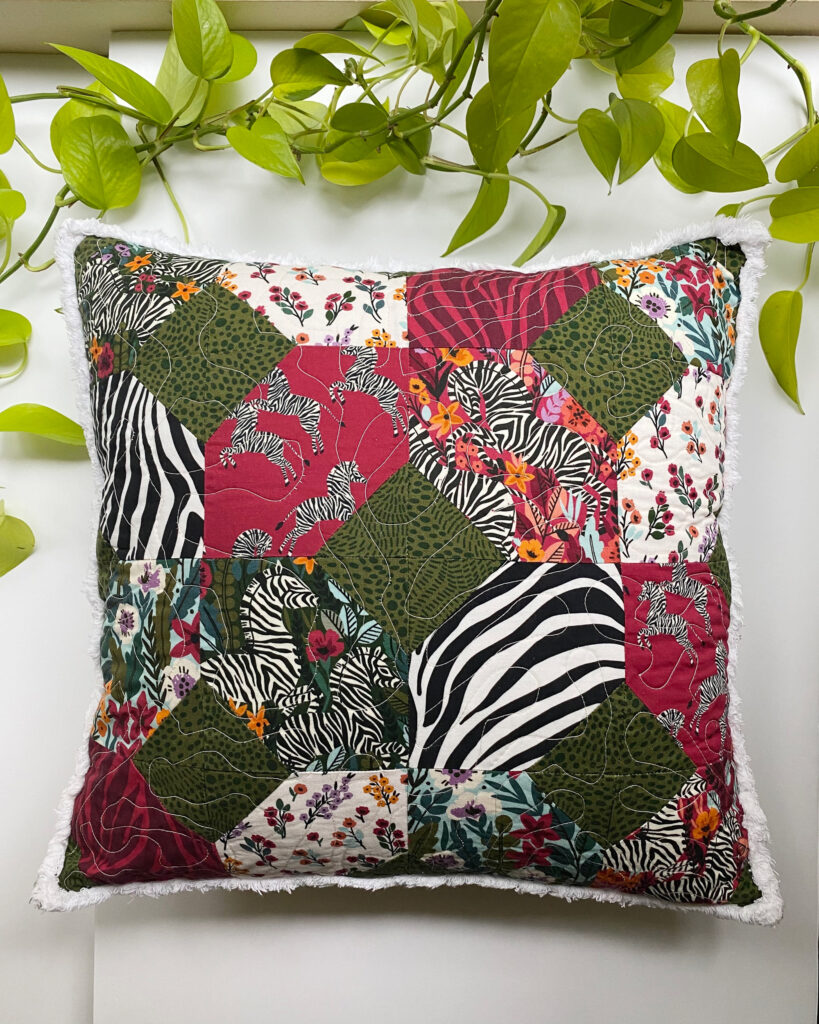
Add a fluffy, textured edge to your X’s and O’s Pillow with this easy tutorial.
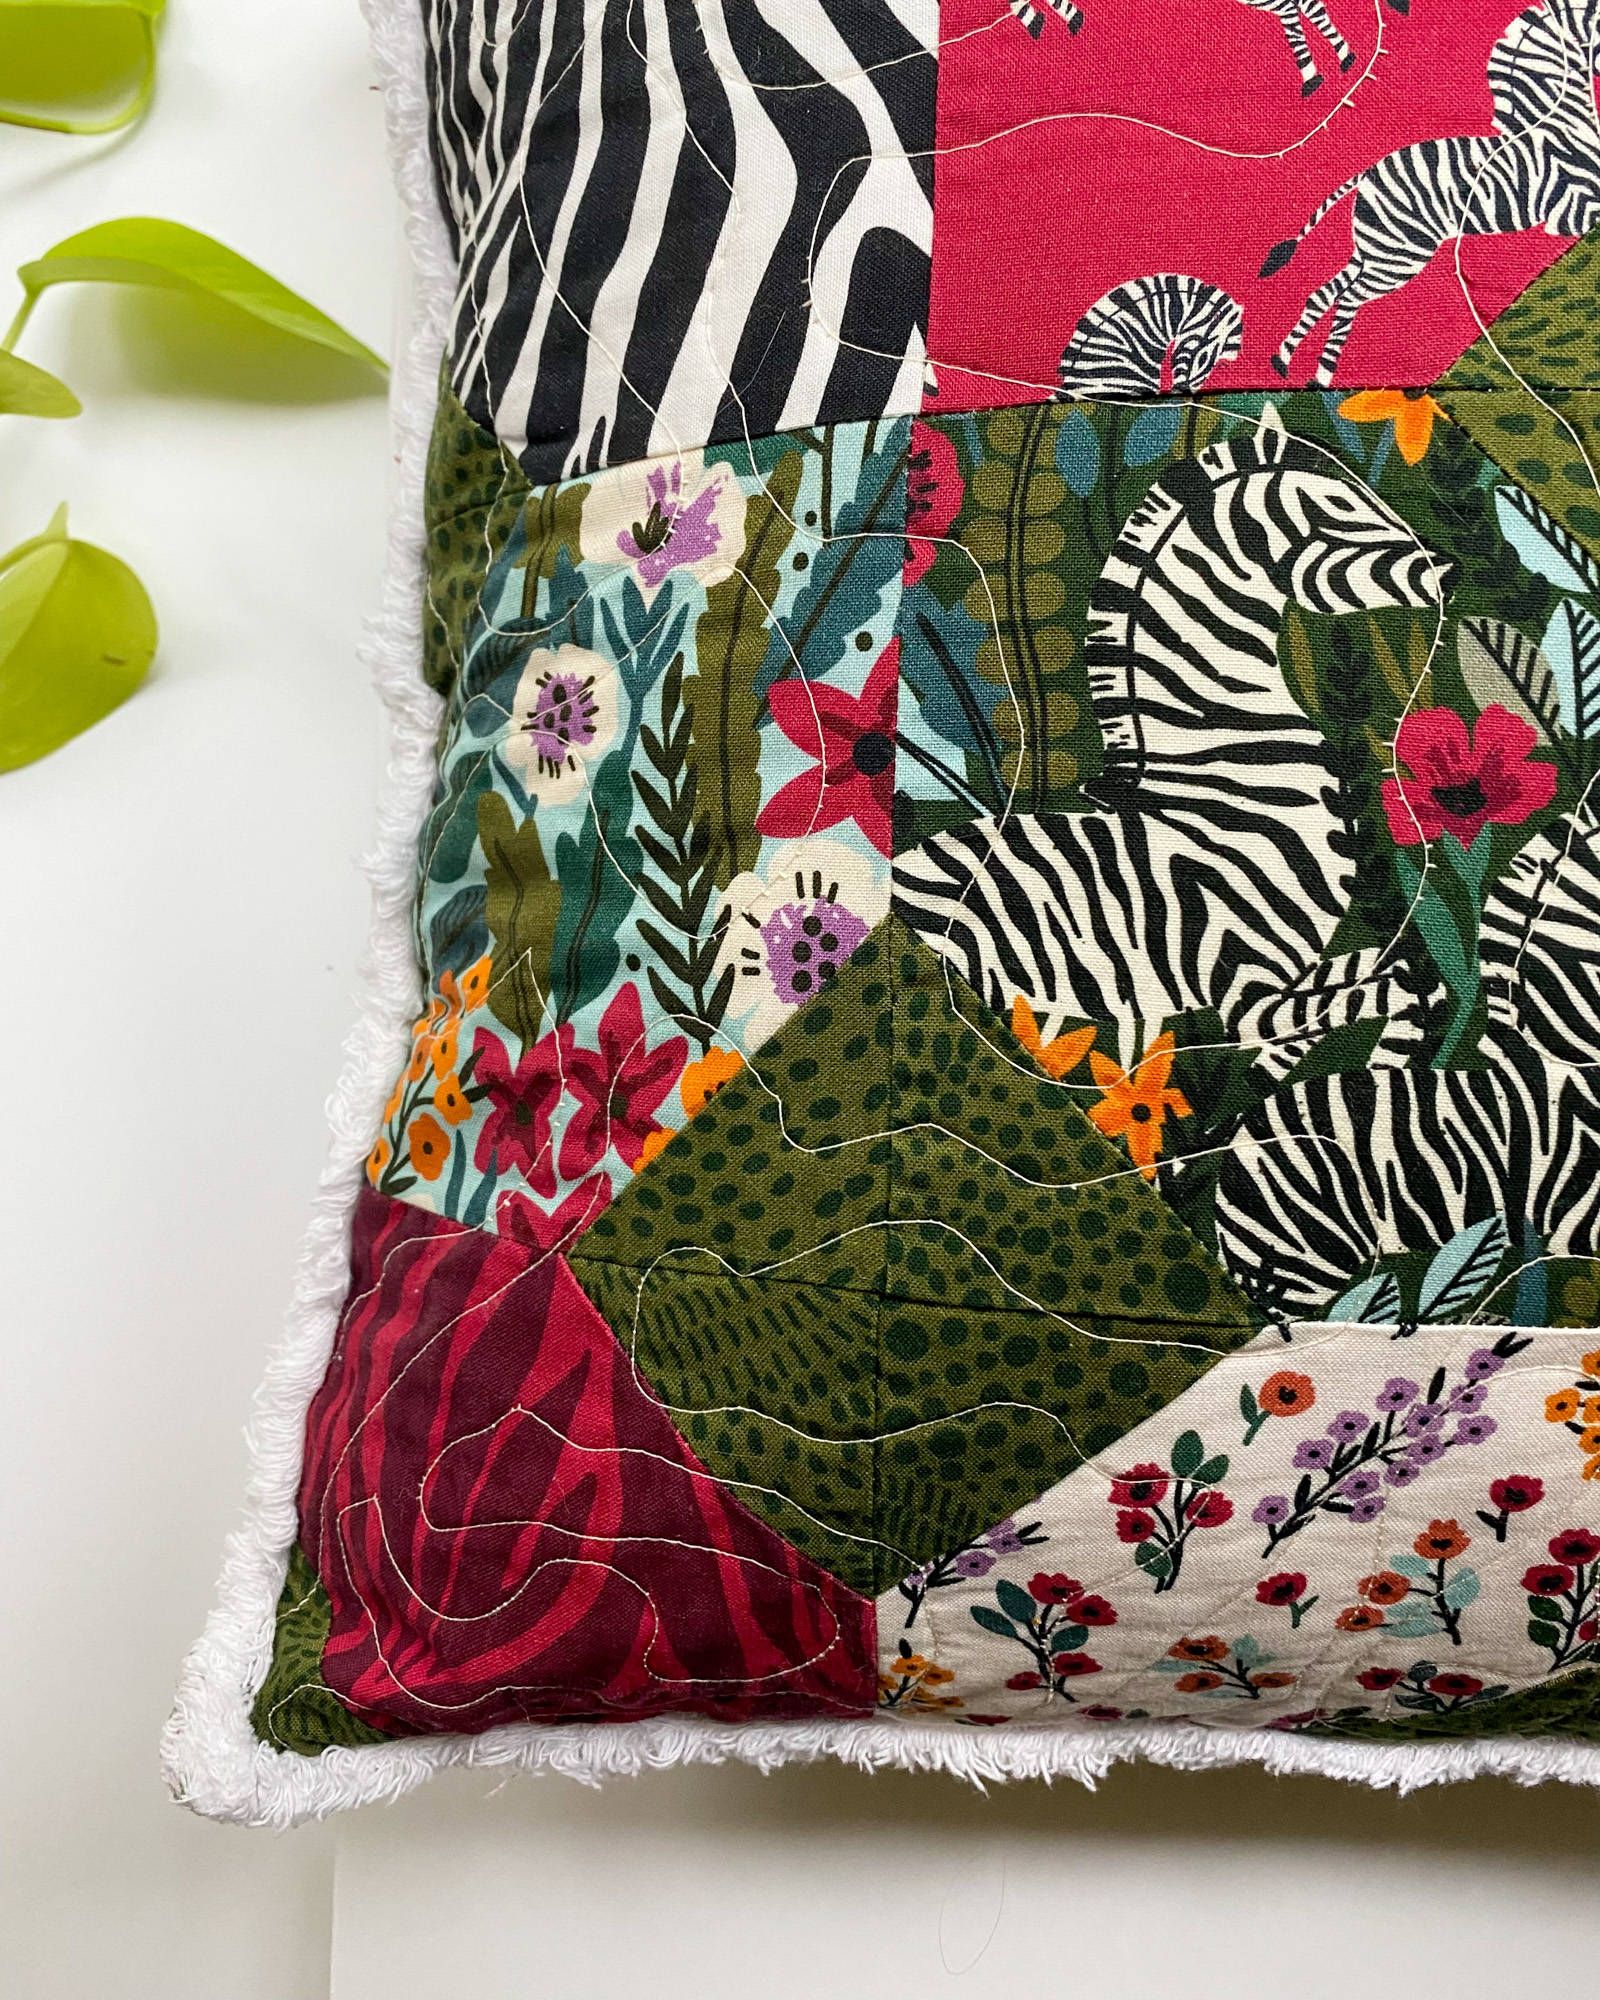
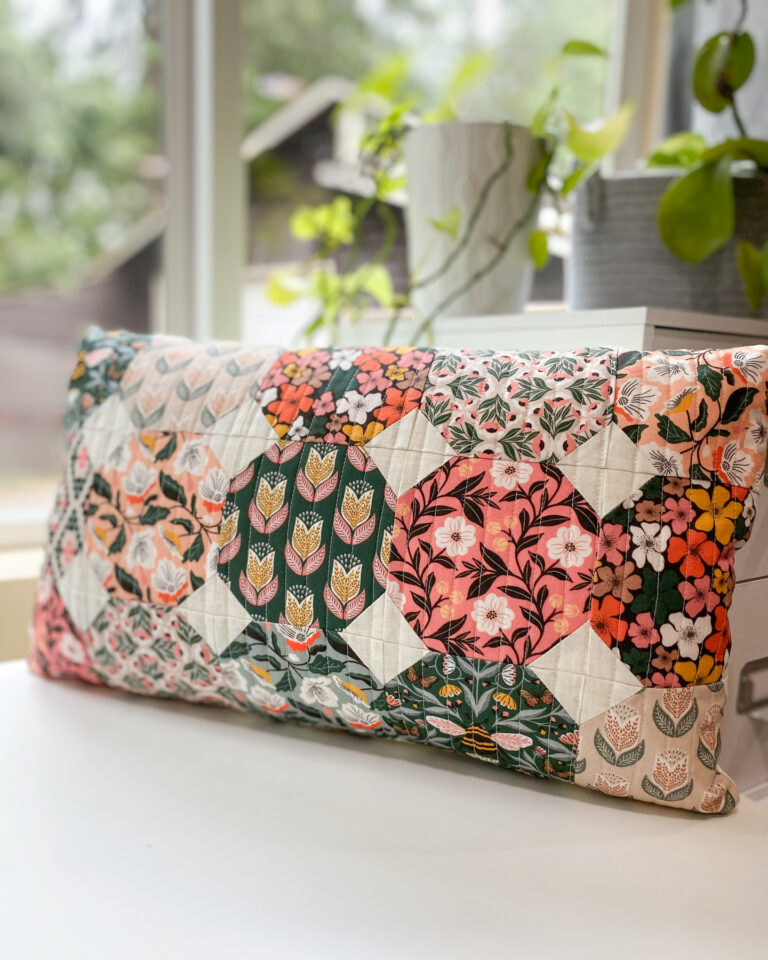
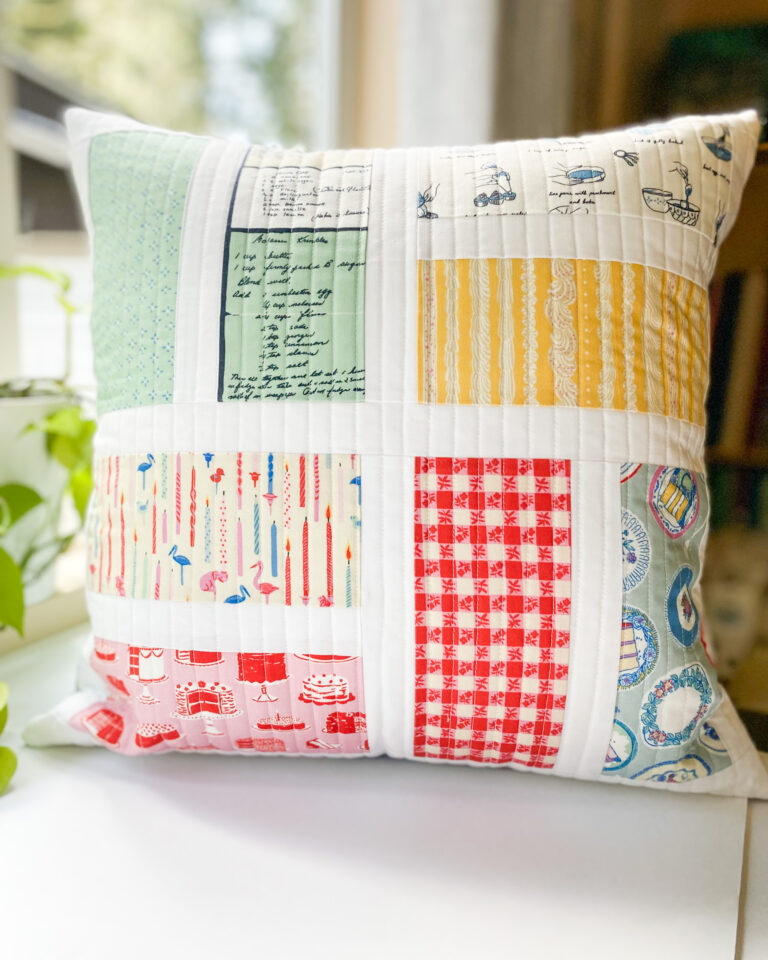
Want to give your quilted pillow a soft, textured finish that really stands out? In this tutorial, I’ll show you how to embellish a quilted pillow using Chenille-It Blooming Bias trim. It’s a simple way to add fluffy edges to your pillow, and it’s easier than it looks! Whether you’re finishing a seasonal throw pillow or adding charm to a gift, this technique is perfect for personalizing your projects.

Materials You’ll Need to Embellish a Quilted Pillow
To make one pillow, you’ll need:
- X’s and O’s Pillow Pattern
- Charm pack or fat quarter bundle – see available options in my shop here
- 1/4 yard or fat quarter of background fabric
- 3/8 yard for the pillow back
- 3/4 yard (20″ wide) lightweight fusible interfacing
- 22″ x 22″ square of lining fabric (such as muslin)
- (1) 18″ pillow form – I use this set of 4 pillow inserts
- 4 1/4 yards of Chenille-It 5/8″ Blooming Bias (I used white) – (8) 19″ strips
What is Blooming Bias?
Chenille-It Blooming Bias is a raw-edge chenille trim that adds soft texture and dimension to quilting and home décor projects. It’s made to fray and fluff when washed, giving your projects a cozy, vintage-inspired finish. You simply stitch it in place, wash the finished piece, and watch the magic happen—it “blooms” into fluffy, chenille-like softness. It’s an easy and fun way to embellish quilted pillows, tote bags, quilts, and more.

How to Add Blooming Bias to a Quilted Pillow
Here’s how to add that fluffy chenille edge to your pillow:
- Cut your trim
Cut (8) 19″ strips of Blooming Bias. You’ll use these to create four full layers of trim around your pillow edge. - Prepare your pillow top
Make your pillow top following the X’s and O’s Pillow Pattern. - Prepare the pillow back
Choose either the envelope-style back as shown in the pattern, or switch it up with a lapped zipper back using this tutorial. - Baste the layers together
Place the pillow top and back wrong sides together, with the finished side of the pillow back facing out. Baste around all four edges using a wide zigzag stitch. Since we’re finishing the raw edges with Blooming Bias, this will hold everything in place for the trim.


- Sew 2 layers of Blooming Bias to the front
Line up two layers of Blooming Bias along one edge of the pillow, starting with a 1/4″ overhang at the beginning. Stitch through all the layers, keeping the Blooming Bias slightly beyond the pillow edge so that about 1/8″ peeks out. Continue stitching around all four edges, trimming the ends of the bias to extend 1/4″ beyond each corner.


- Sew 2 layers of Blooming Bias to the back
Flip the pillow over and repeat the same process, adding two more layers of Blooming Bias to the back side, directly behind the trim on the front. This gives you a total of four fluffy layers around the edges—two on each side.

- Wash and watch it bloom
Once your pillow is fully assembled, wash and dry it to activate the chenille effect. The trim will fluff up beautifully, adding a soft, textured finish to your pillow.


Shop the Look
Want to make your own? Here are a few fabric mockups using bundles currently available in my shop:

Hidden Thicket with creme solid Background

Enchanted with Grasscloth Cloud background
Share Your Pillow!
I’d love to see how you use Blooming Bias to embellish your quilted projects! Tag me on Instagram @TangledThreadsbyJen or leave a comment below if you try this tutorial. Happy sewing!
