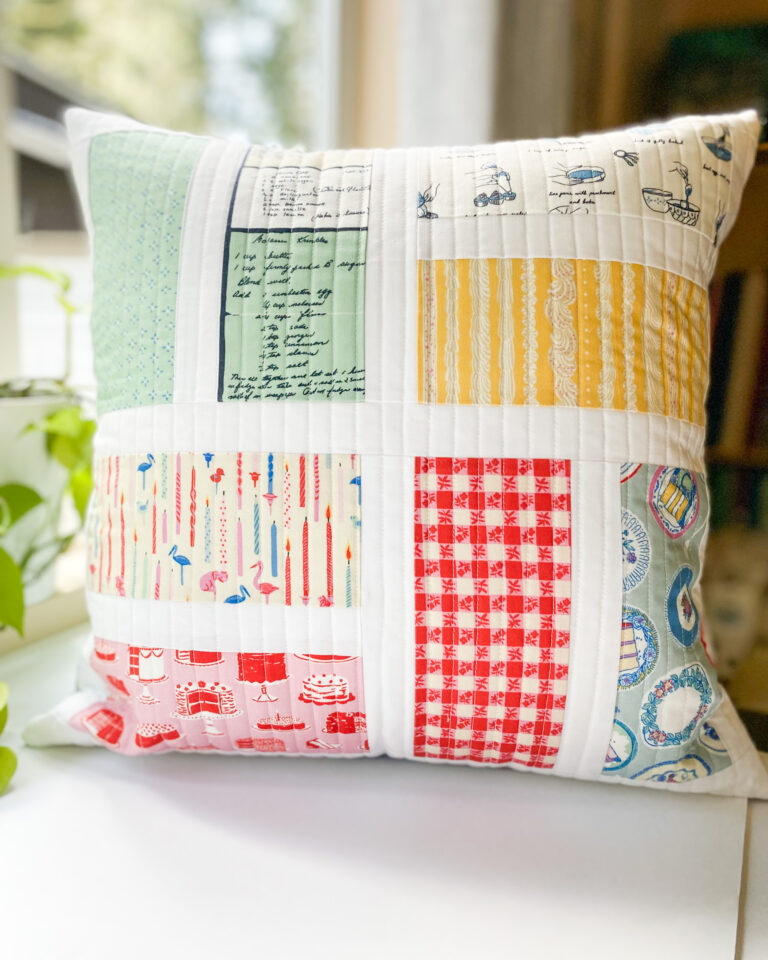
Beginner Patchwork Pillow Tutorial – Easy, Quick Quilting Project
If you’re new to sewing or quilting, this beginner patchwork pillow tutorial is the perfect place to start. I love sharing simple-to-sew quilt projects that bring warmth and beauty to your home, just like the ones I use in mine.
In this tutorial, I’ll show you how to make a patchwork pillow from start to finish. It comes together quickly with easy piecing and perfectly nested seams for a polished look. You’ll be proud to cozy up with it on your couch. It’s beginner-friendly, stash-friendly, and a lovely way to dip your toes into quilting.
Finished Size: 18″ x 18″
Choose Your Fabric
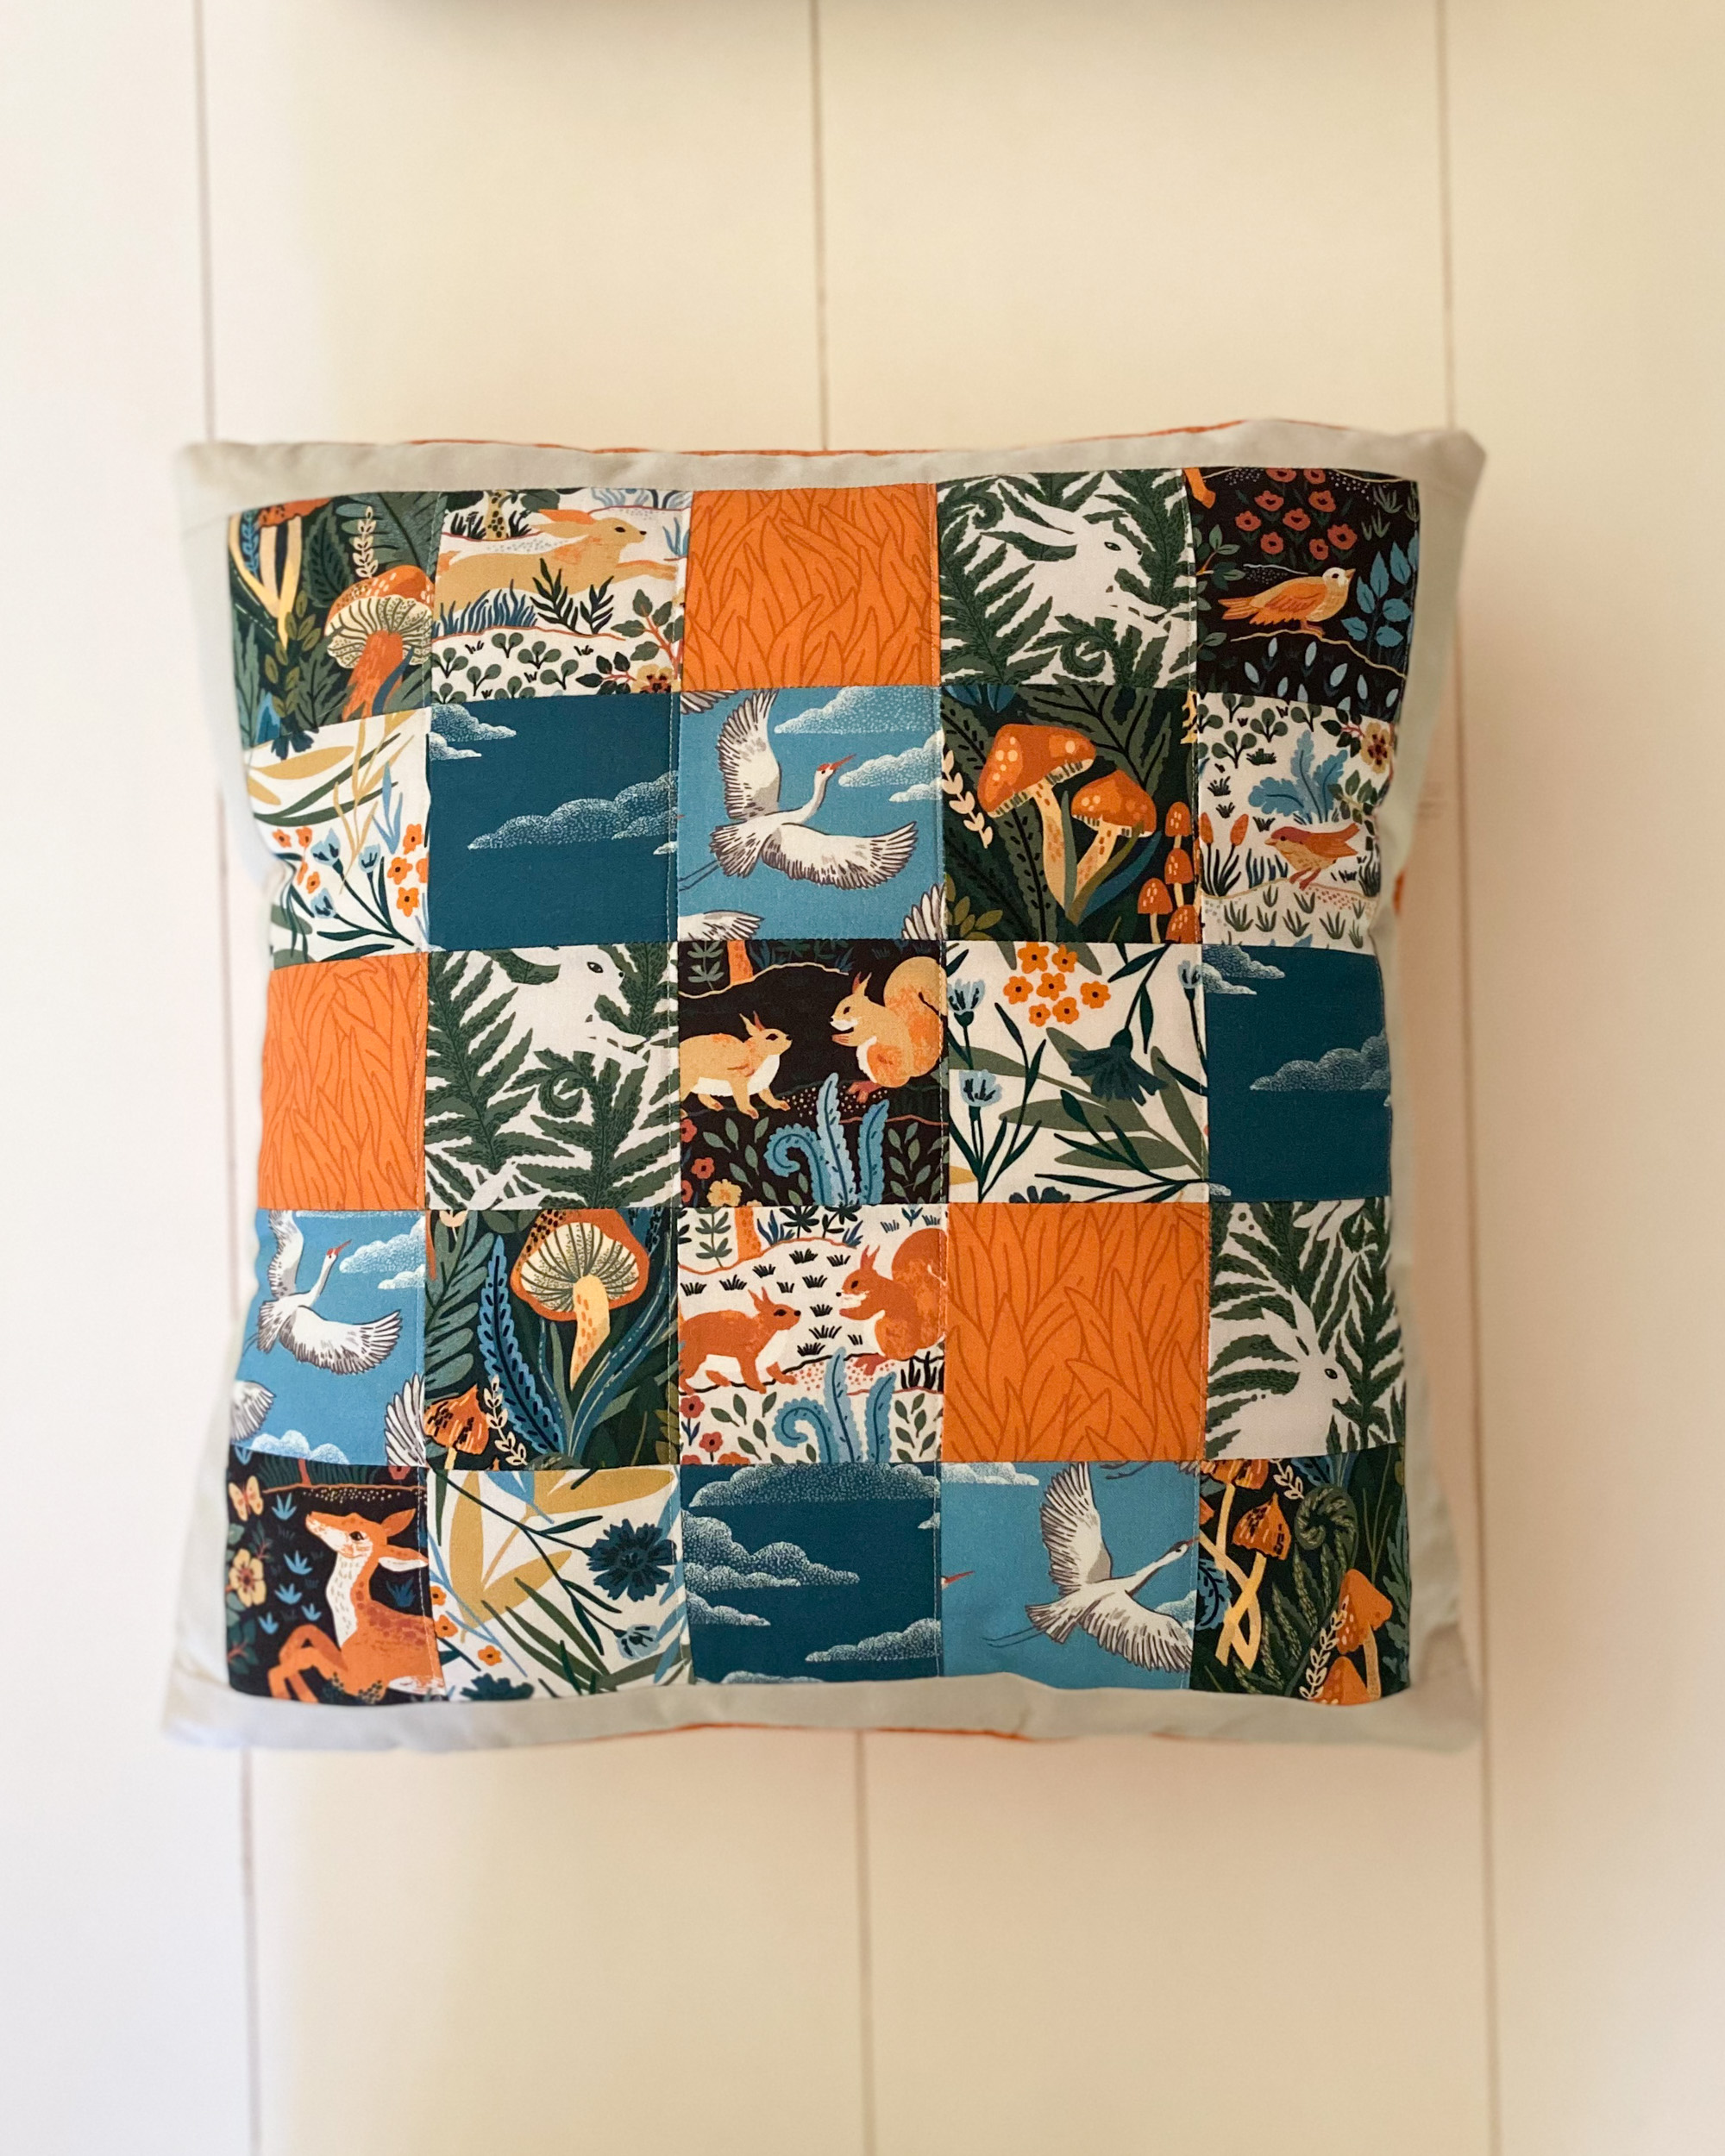
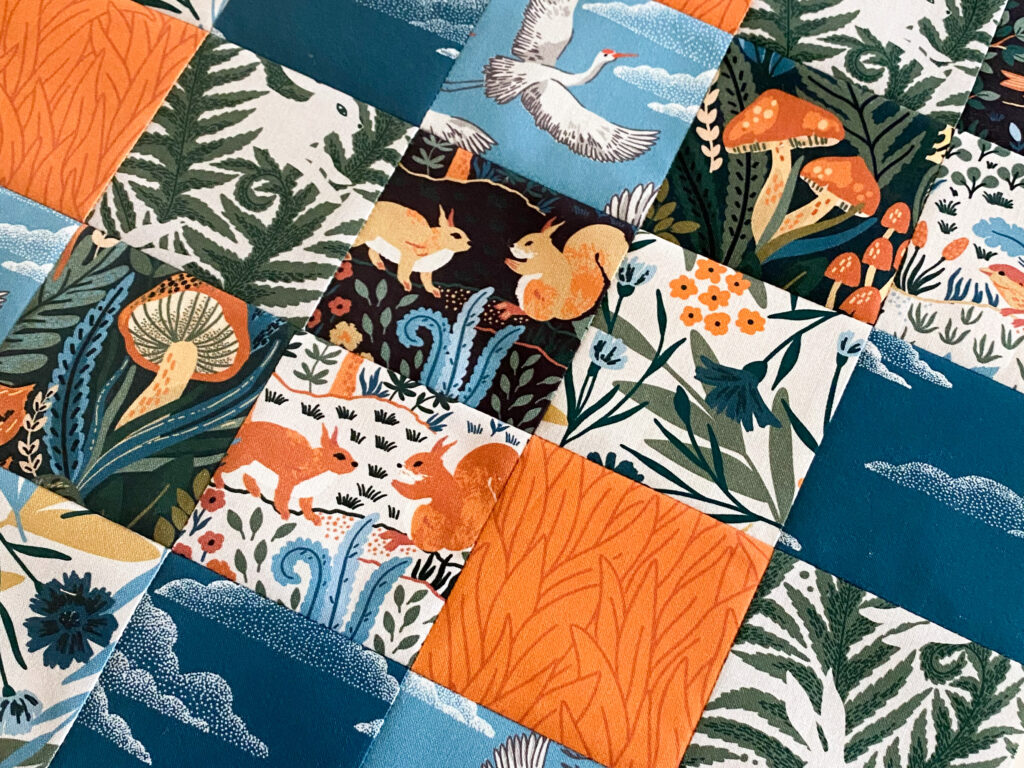
For this tutorial, I used the Baltic Woodland collection by Cloud9 Fabrics (sold out).
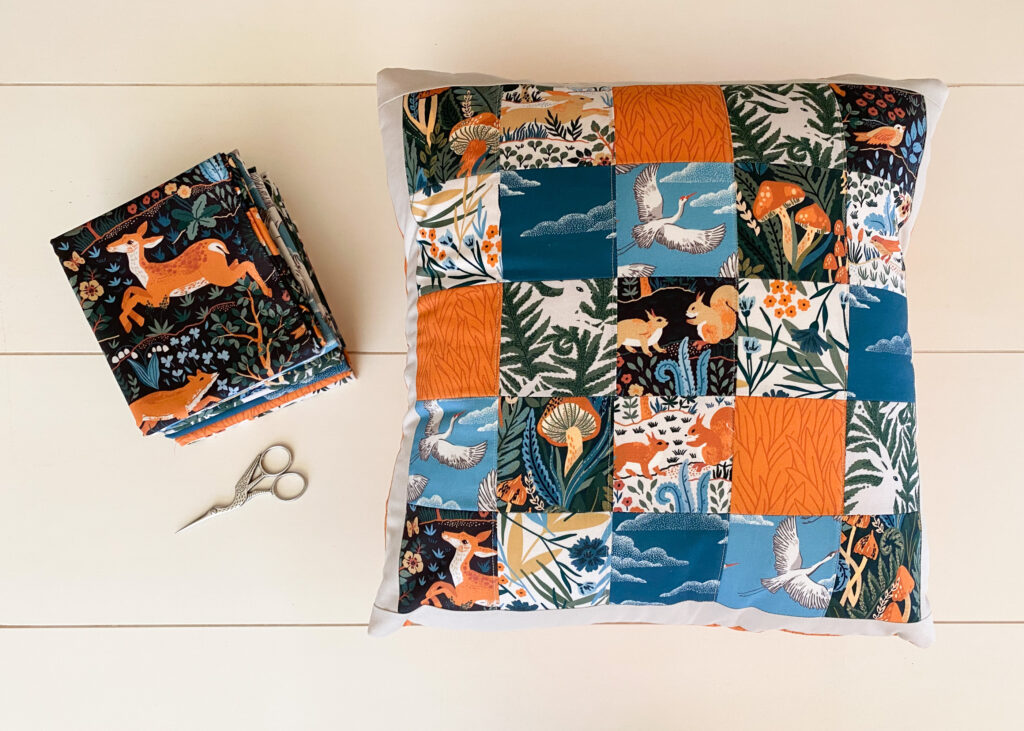
One of the things I love most about this project is how little fabric it actually uses. Whether you pick up a fat quarter or a half-yard bundle, you’ll have more than enough fabric to make this pillow and have leftovers for other projects.
Materials
Makes one 18″pillow. Width of fabric (WOF) is assumed to be 44″.
- 1/4 yard total of various prints for the patchwork (8 piece fat quarter bundle)
- 1/8 yard border fabric (solid white, or color)
- 3/8 yard for the pillow back (solid white, or color)
- 3/4 yard (20″ wide) lightweight fusible interfacing – Pellon® SF101 Shape-Flex® (optional)
- 22″ square of lining fabric (solid white)
- 22″ square of batting
- 18″ pillow insert
- Basic quilting supplies
Cutting
From the various prints, cut:
- (25) 3 1/2″ x 3 1/2″ squares
From the border fabric, cut:
- (2) 2″ x width of fabric (WOF) strips, then sub-cut:
- (2) – 2″ x 15 1/2″ rectangles
- (2) – 2″ x 18 1/2″ rectangles
From the pillow back fabric, cut:
- (2) – 13″ x 18 1/2″ rectangles for the pillow back
From the fusible interfacing (optional):
- (2) 12 7/8″ x 18 3/8″

Sewing the Pillow Front
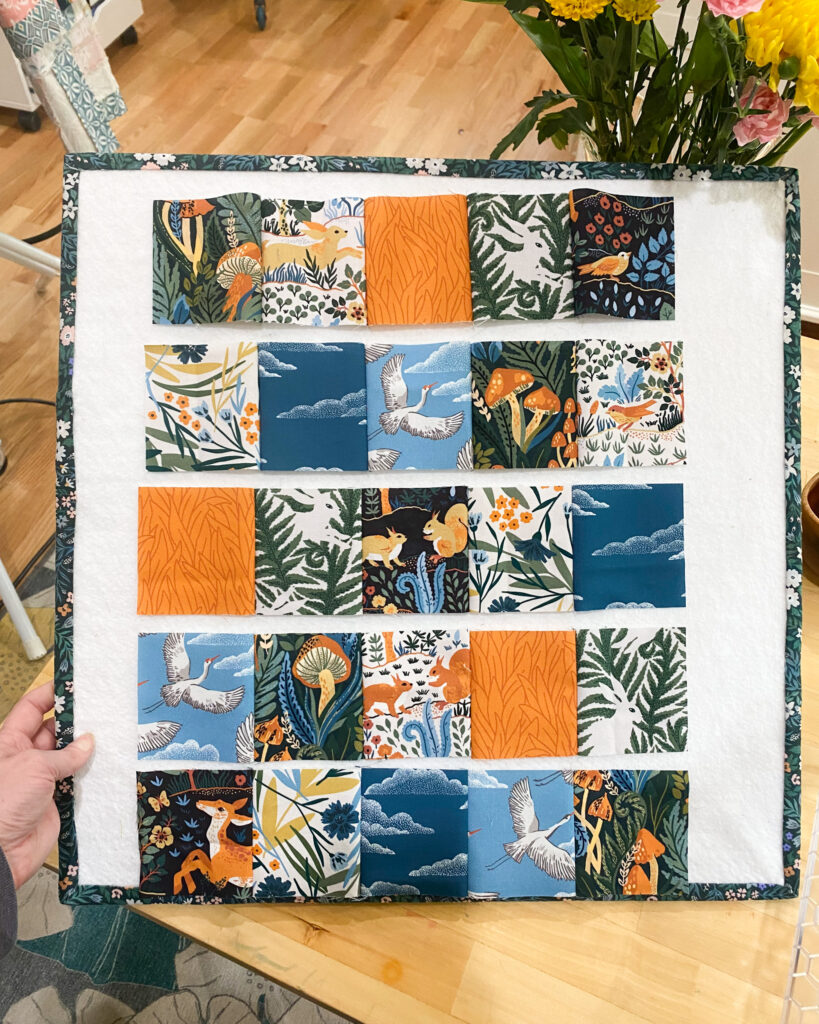
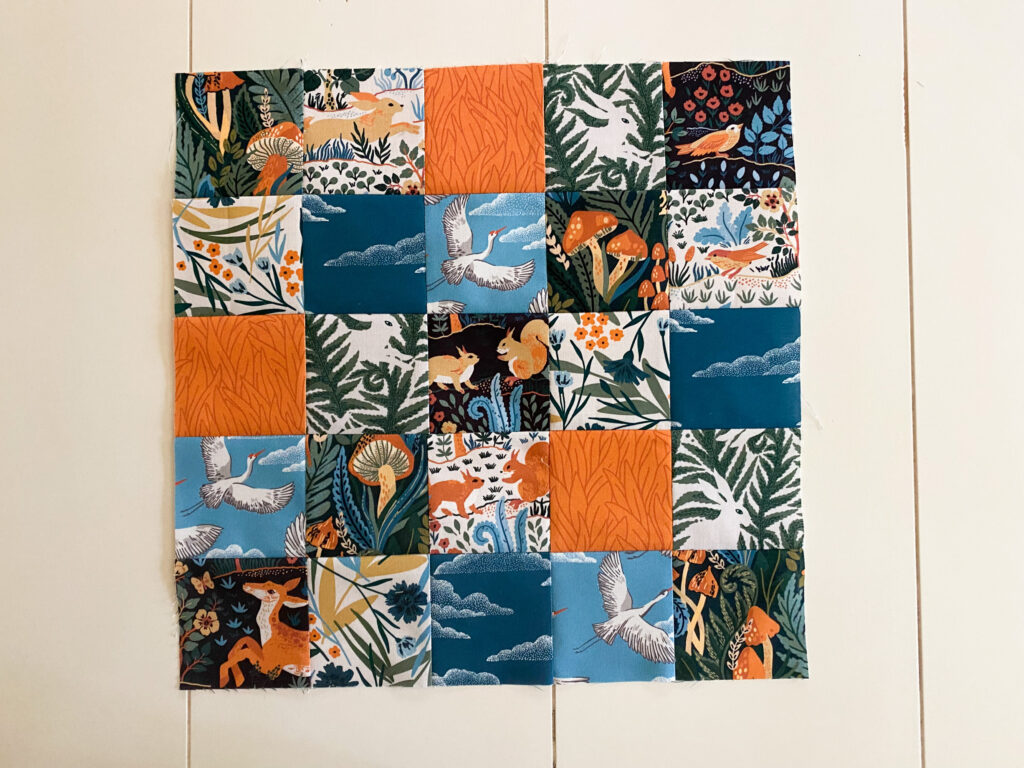
- Arrange (25) squares into 5 rows, with 5 squares in each row.
- Starting with the top row, sew 5 squares together with 1/4″ seam. Press seams to the right.

- Continue sewing the remaining 4 rows, alternating the pressing direction in each row as illustrated below.

Tip:
Be sure to follow the pressing directions closely, learning to press your rows in opposite directions will help you create perfectly nested seams for this pillow. It’s one of the best skills a new quilter can learn, and it makes your patchwork lay nice and flat.
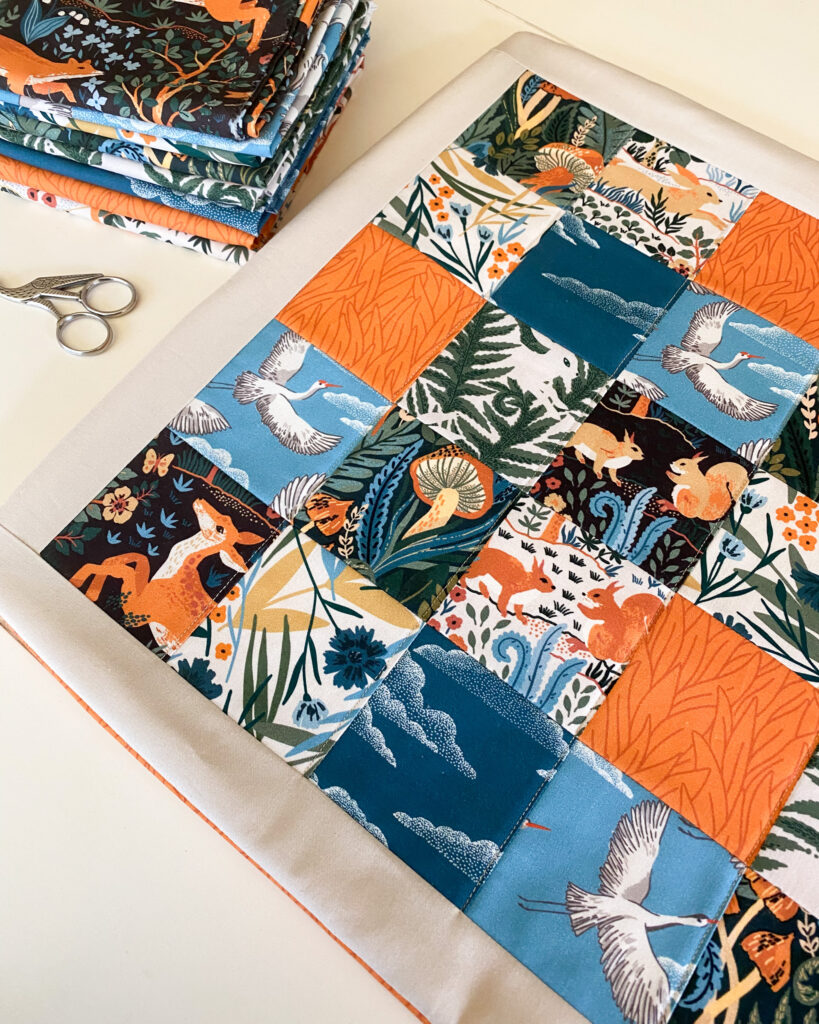
- Pin and sew the rows right sides together, matching up the seams. If you pressed in the direction illustrated above your squares will nest perfectly.
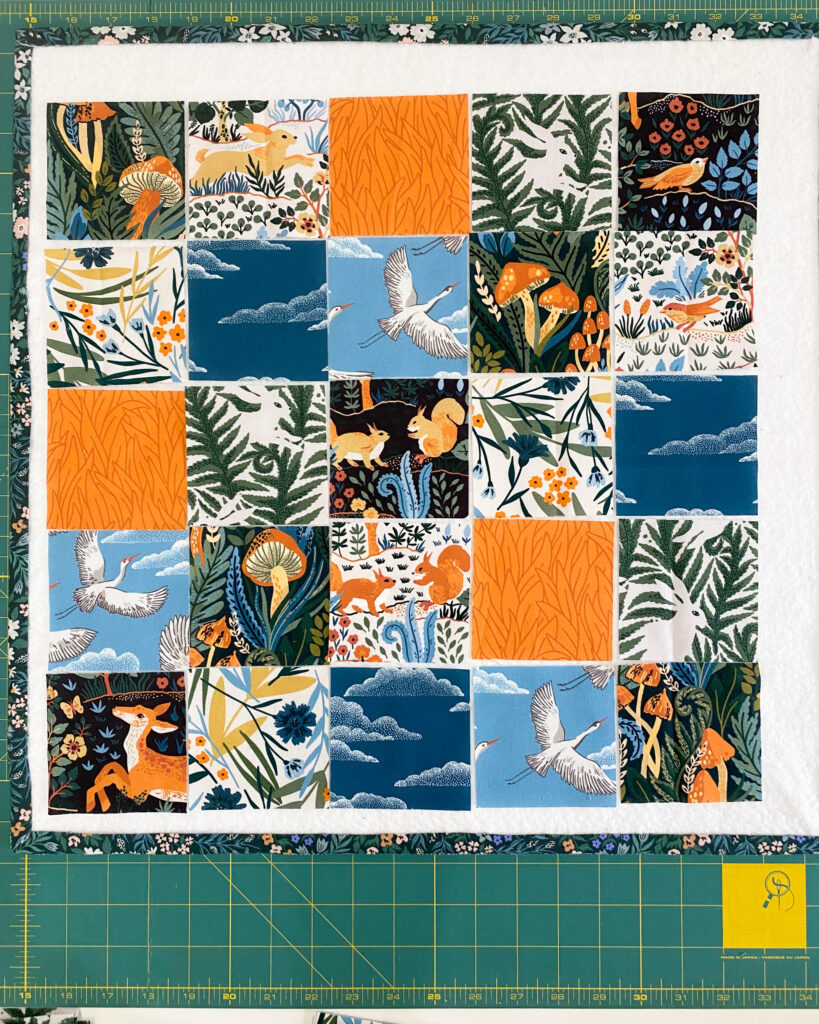
Here is the finished five patch block, it should measure 15 1/2″ x 15 1/2″ square.
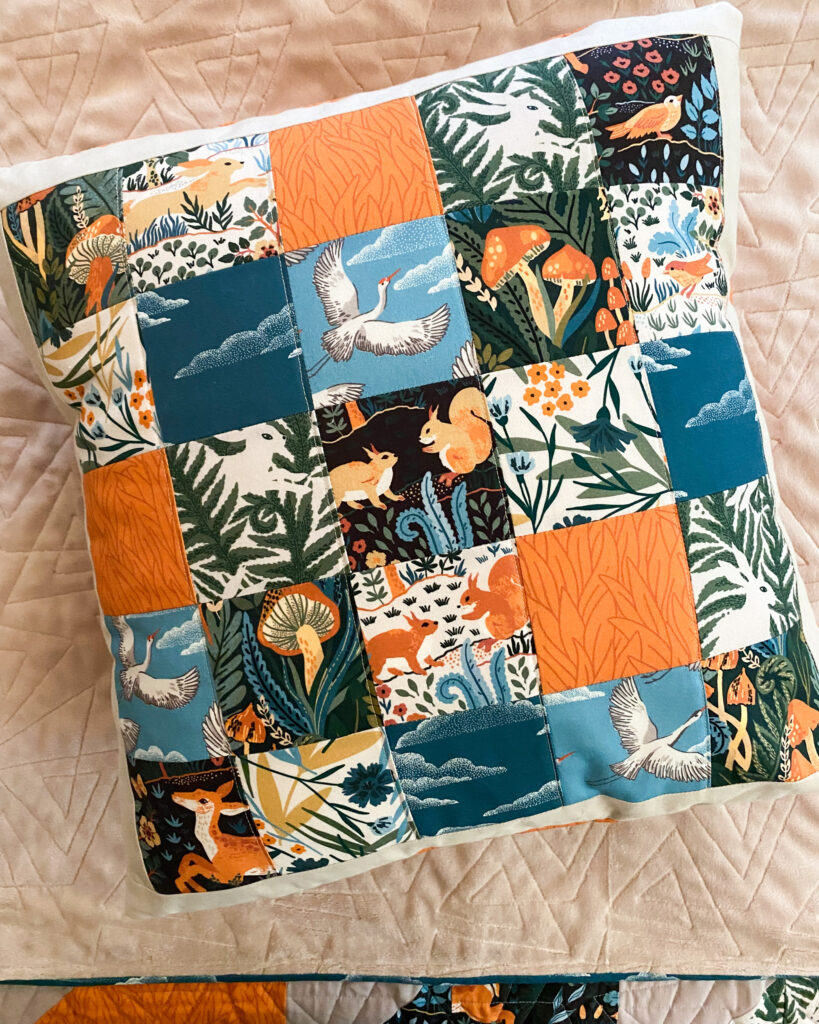
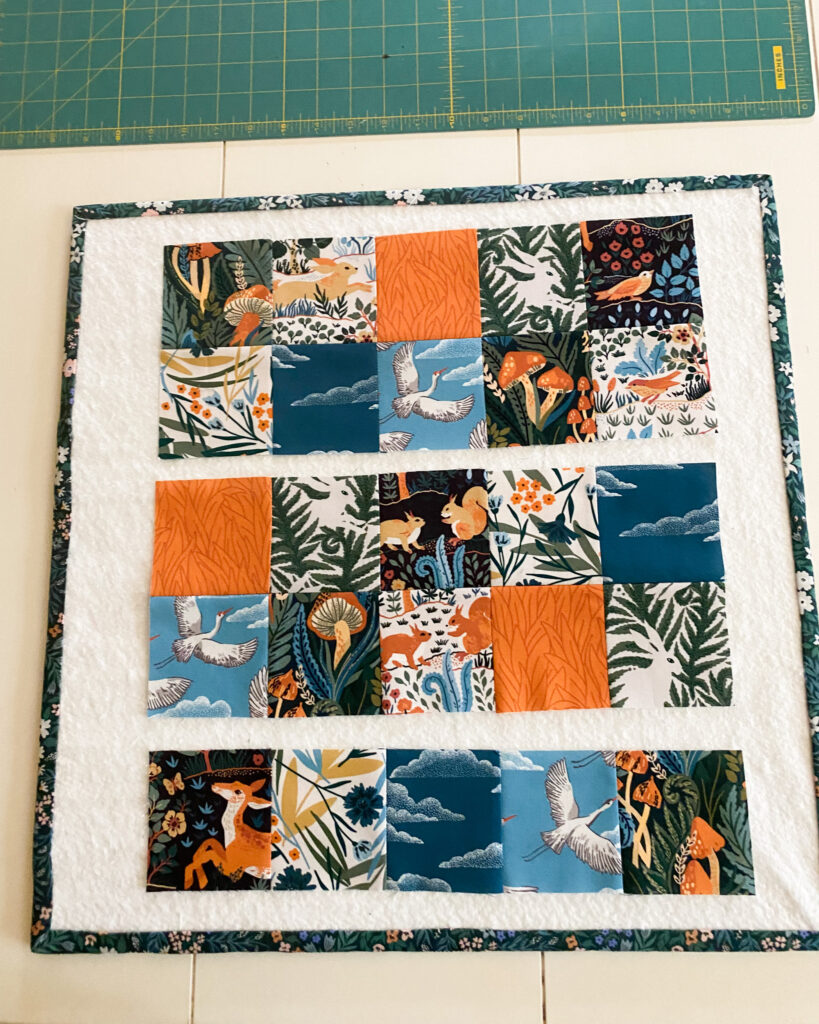
Add borders
Next, arrange the (2) side borders as shown. Sew the pieces together and press toward borders. Then arrange the (2) top and bottom borders as shown. Sew the pieces together and press toward borders. The pillow top should measure 18 1/2″ x 18 1/2″ unfinished.

Finishing
- Layer the pillow front, batting, and lining fabric. Baste quilt layers together.
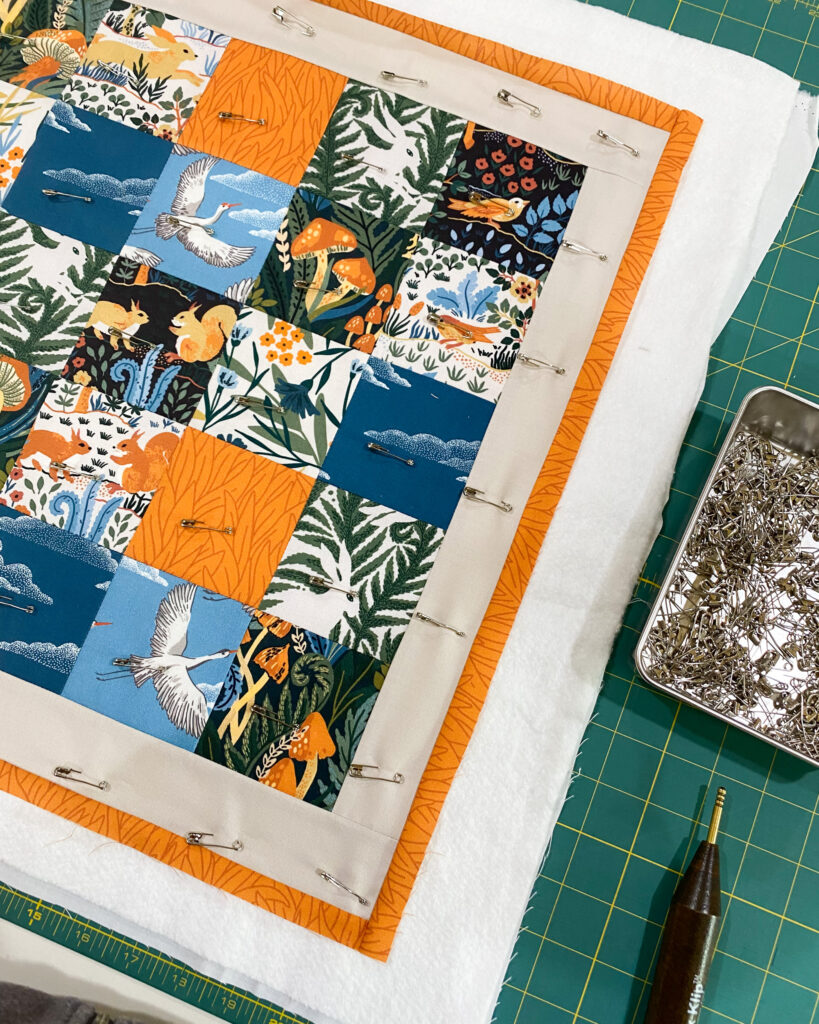
- Quilt as desired. I quilted along a few of the vertical rows to hold it all together, I kept the quilting pretty minimal on my pillow this time around.
- Trim the excess batting and lining so the pillow top measures 18 1/2″ x 18 1/2″ square.
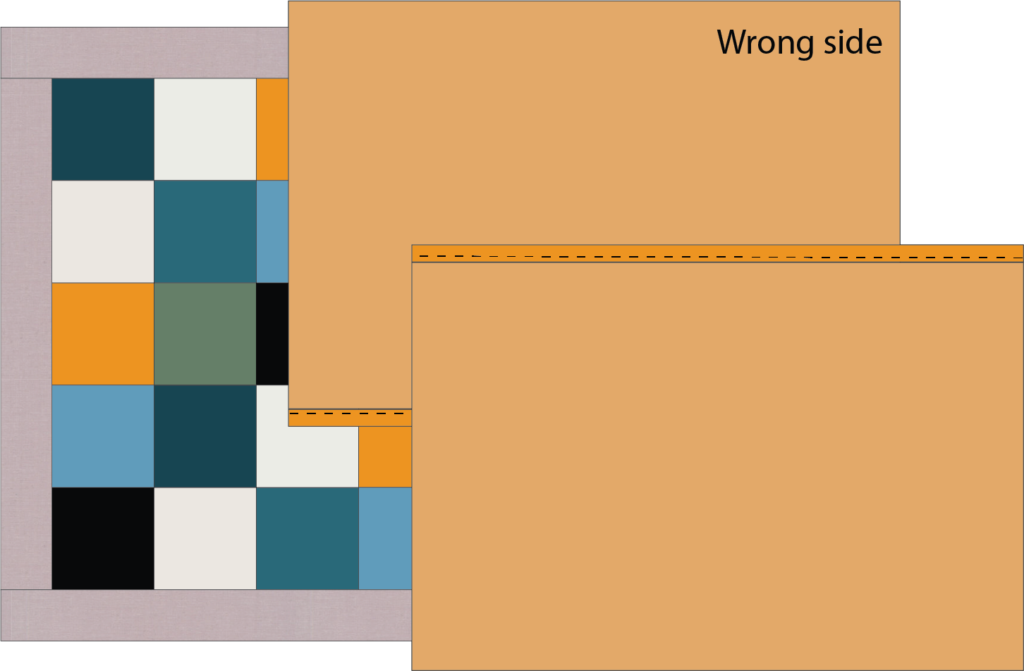
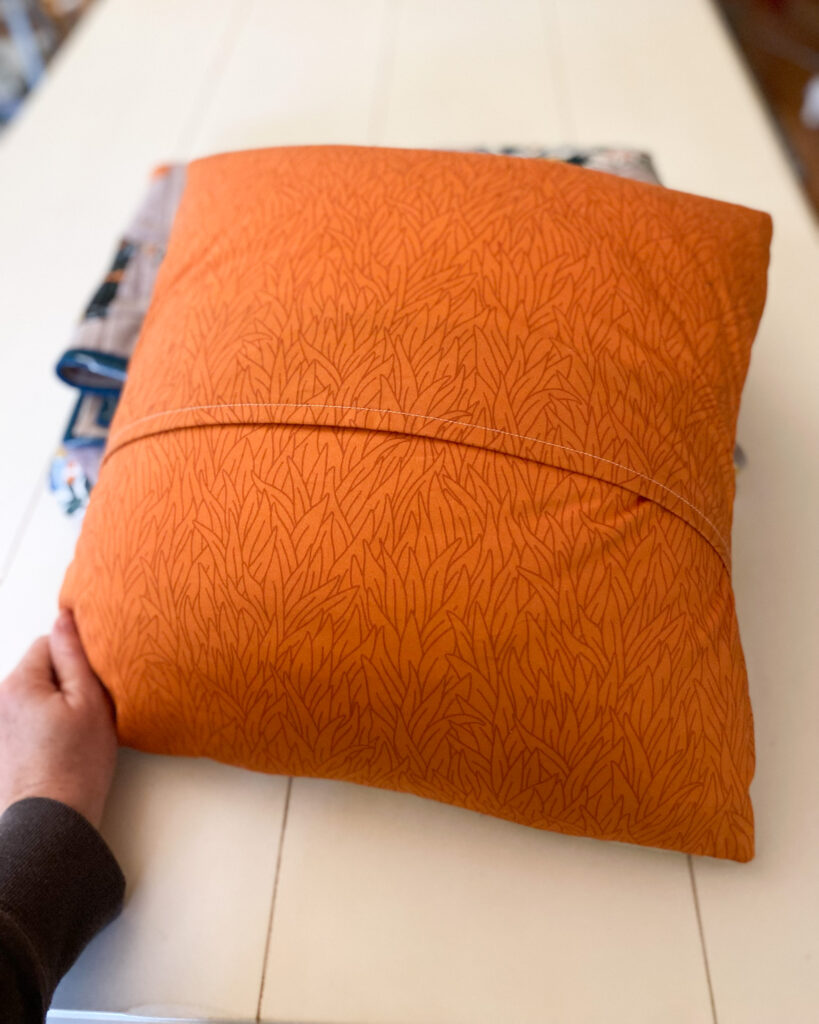
- Fuse lightweight interfacing to the the wrong side of the two pillow back pieces following manufacturers instructions.
- Press under 1/2″ twice along the long edge of each of the two pillow back pieces. Sew along the long edges 1/8″ away from the double folded edge.

- With the pillow top facing up layer the two backing pieces right sides together facing down on top. Pin in place.
- Sew a 1/2″ seam around the edge of the pillow top, backstitching at the beginning and end.
- Cut off all the corners, being careful not to cut your sewn seam.
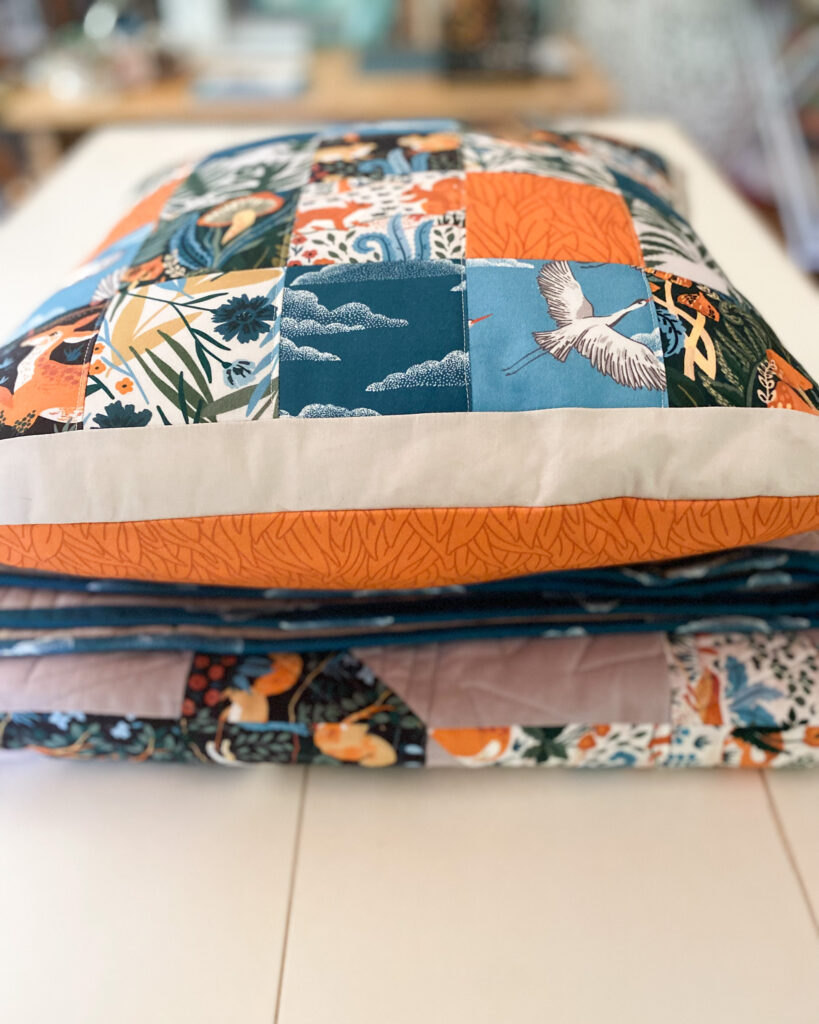
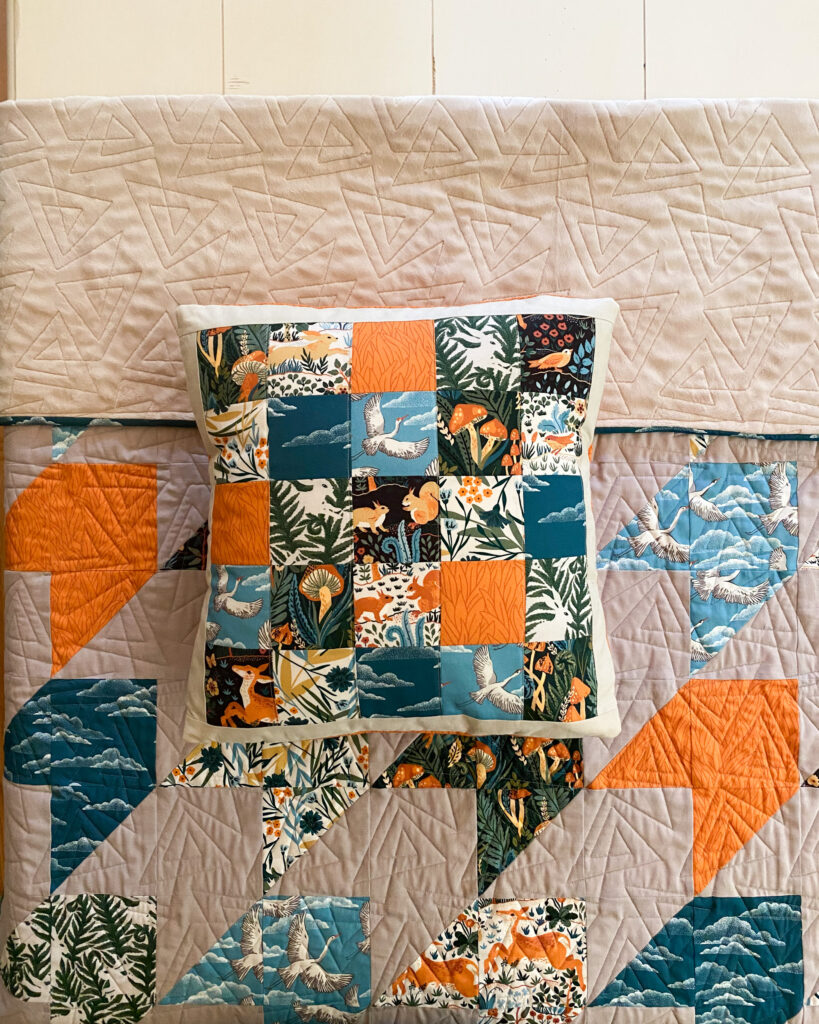
- Turn your pillow right side out, and push out the corners. Pillow finishes at 17 1/2″ x 17 1/2″ square, slightly smaller than the 18″ pillow insert for a snug fit.
- Place your pillow insert inside, and your pillow is complete!
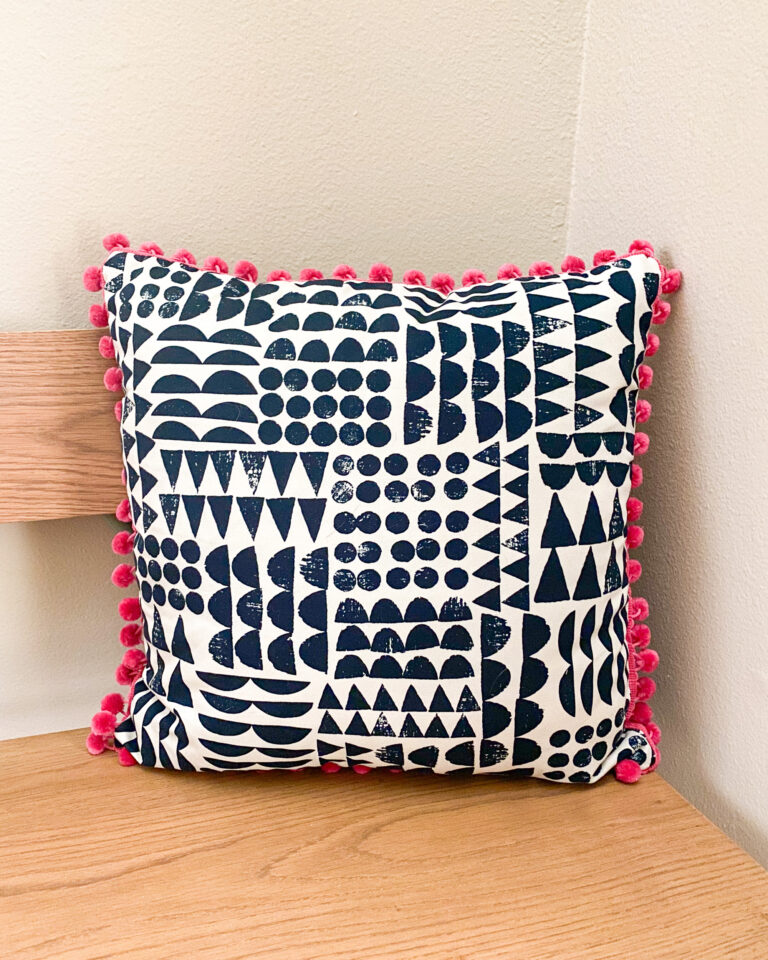
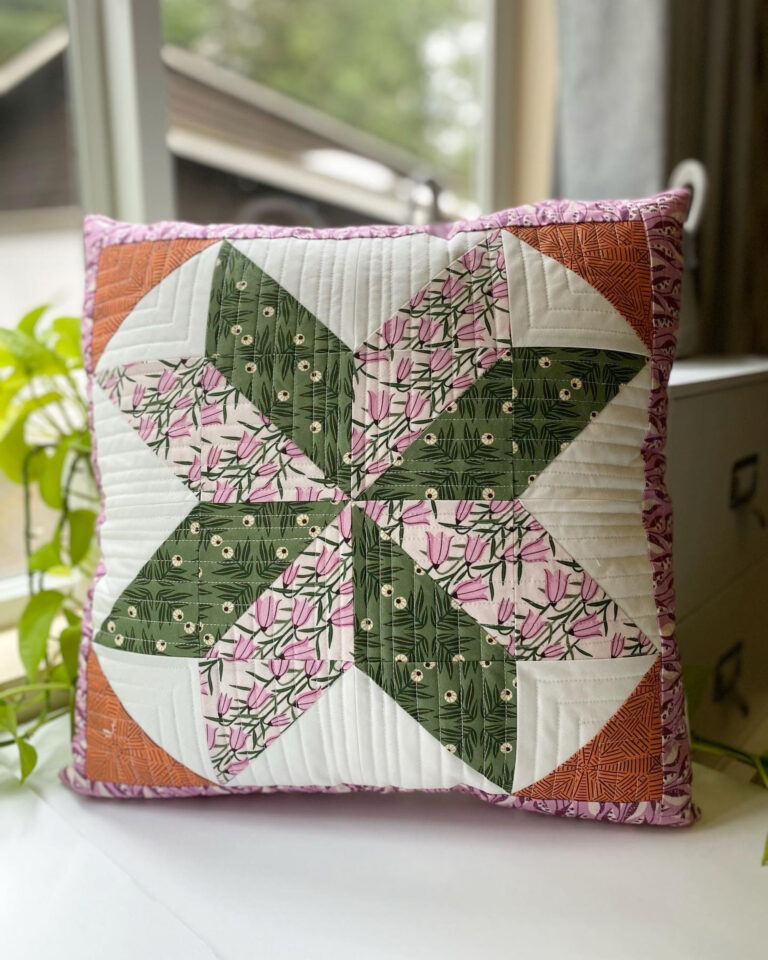
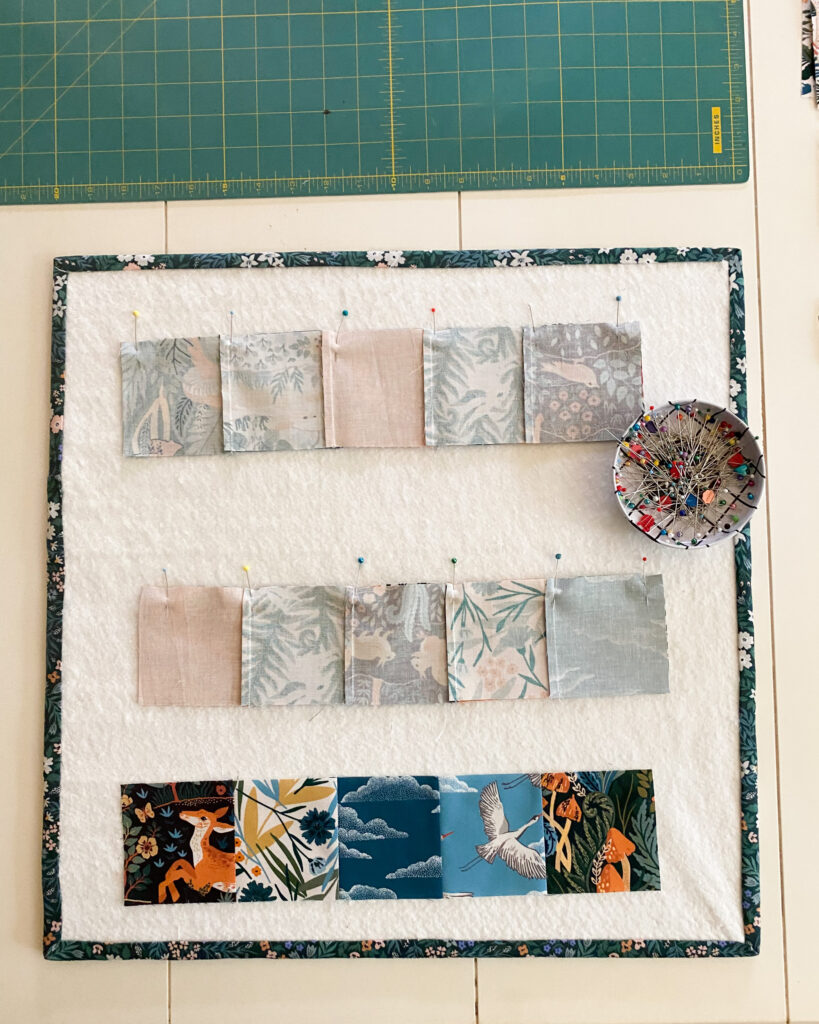
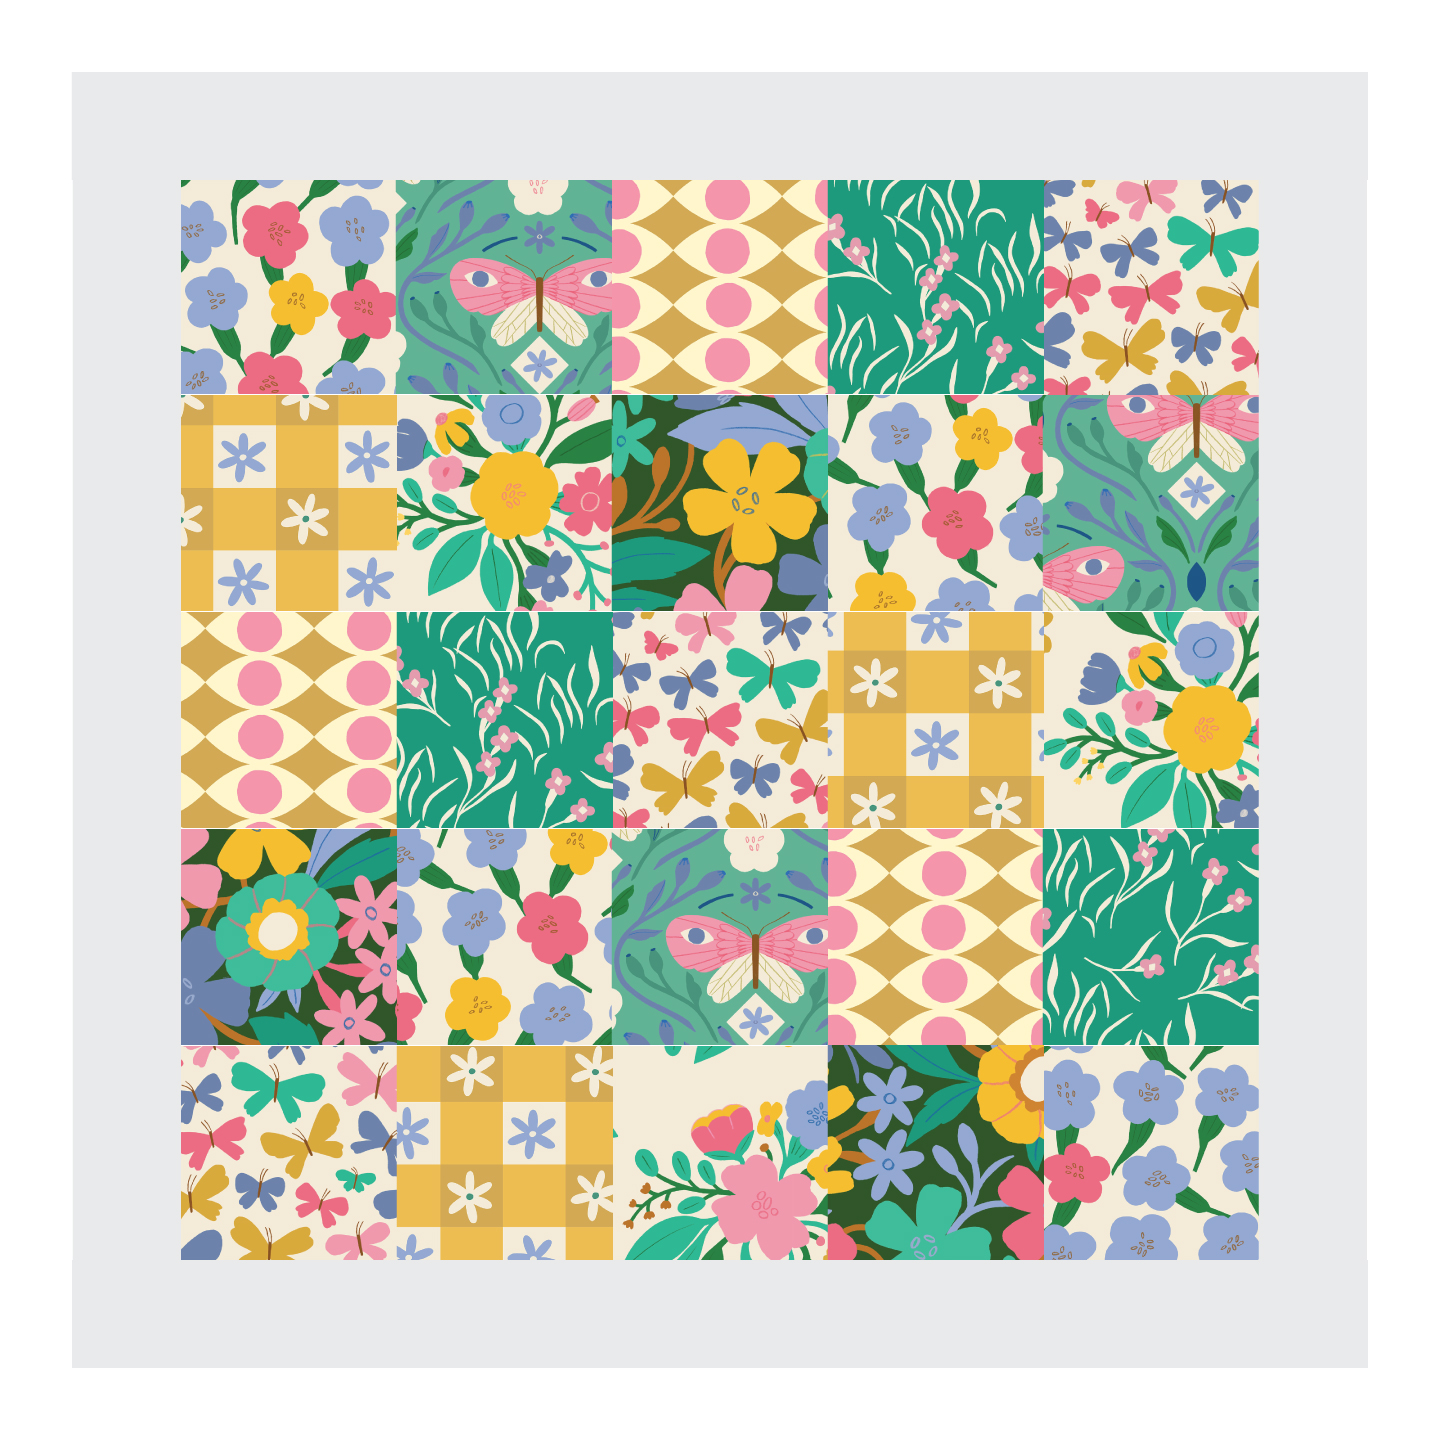
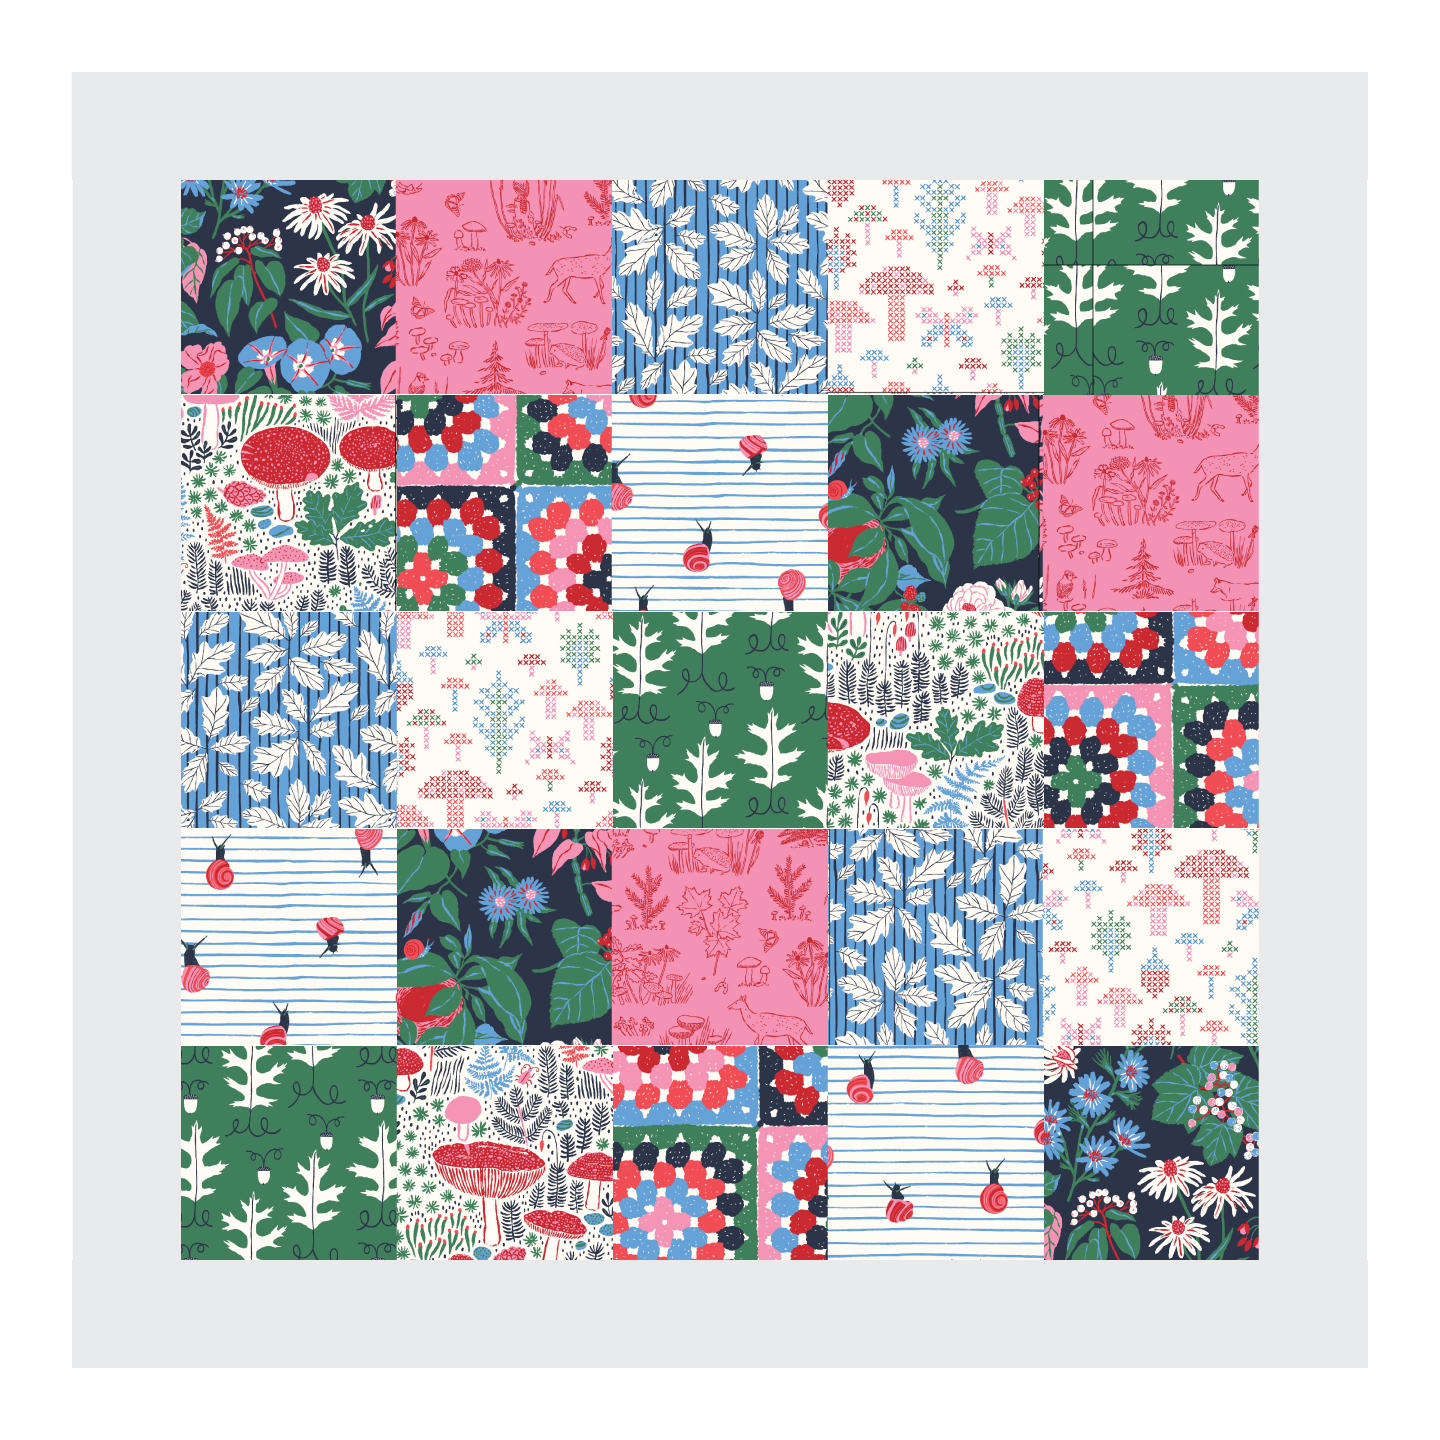
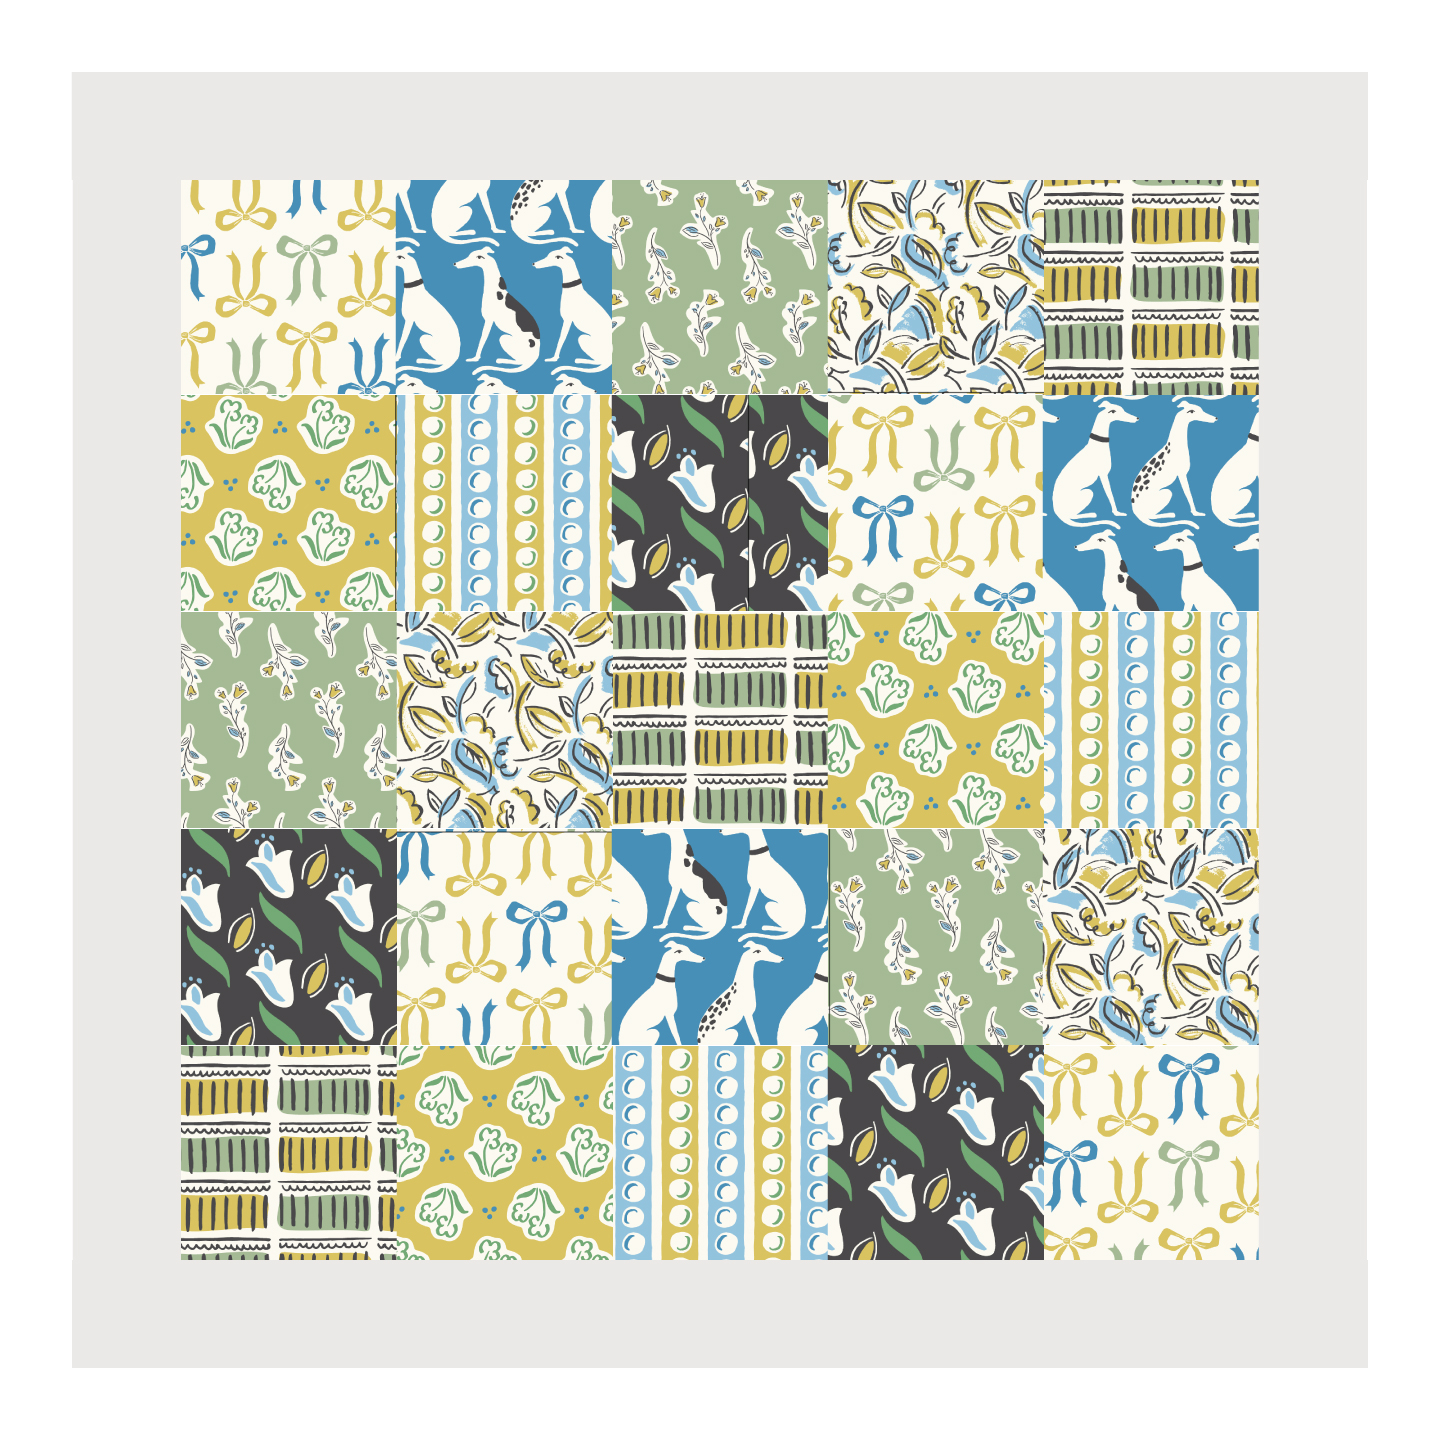
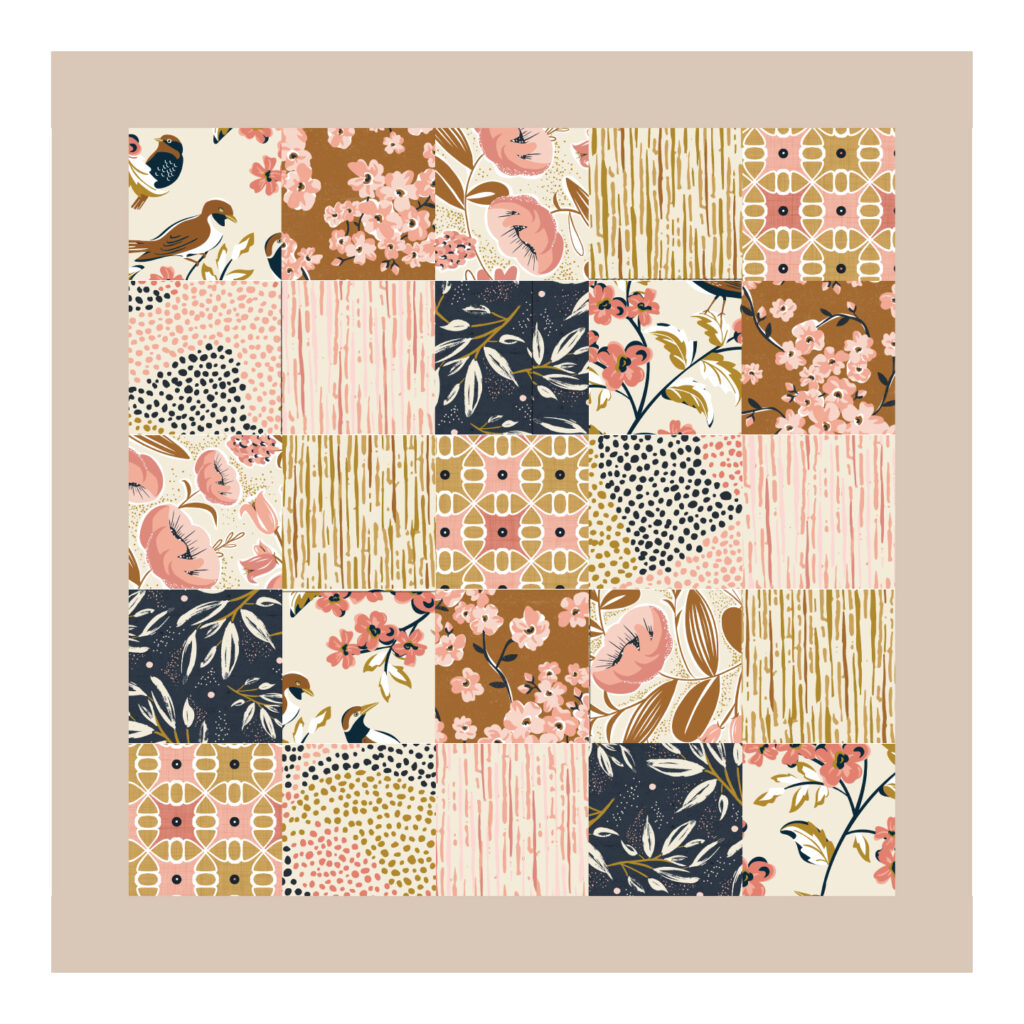
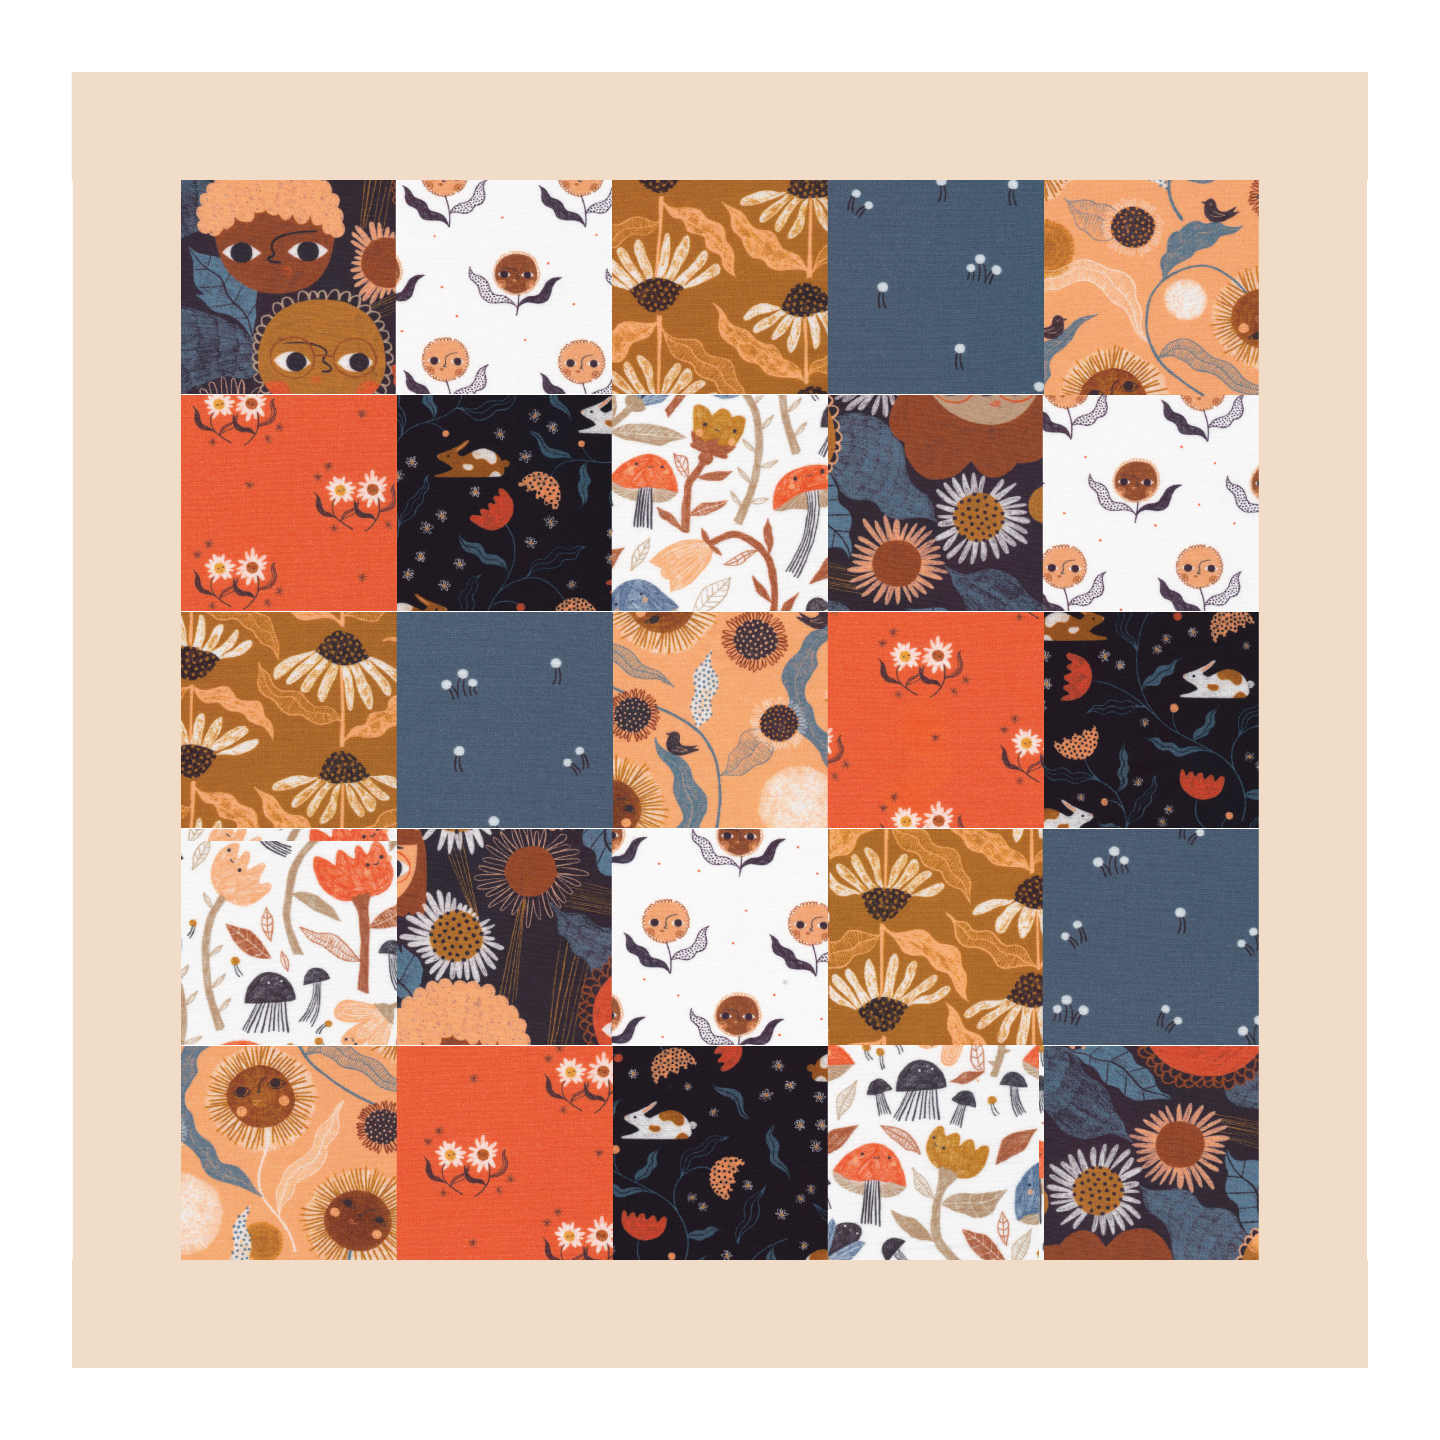
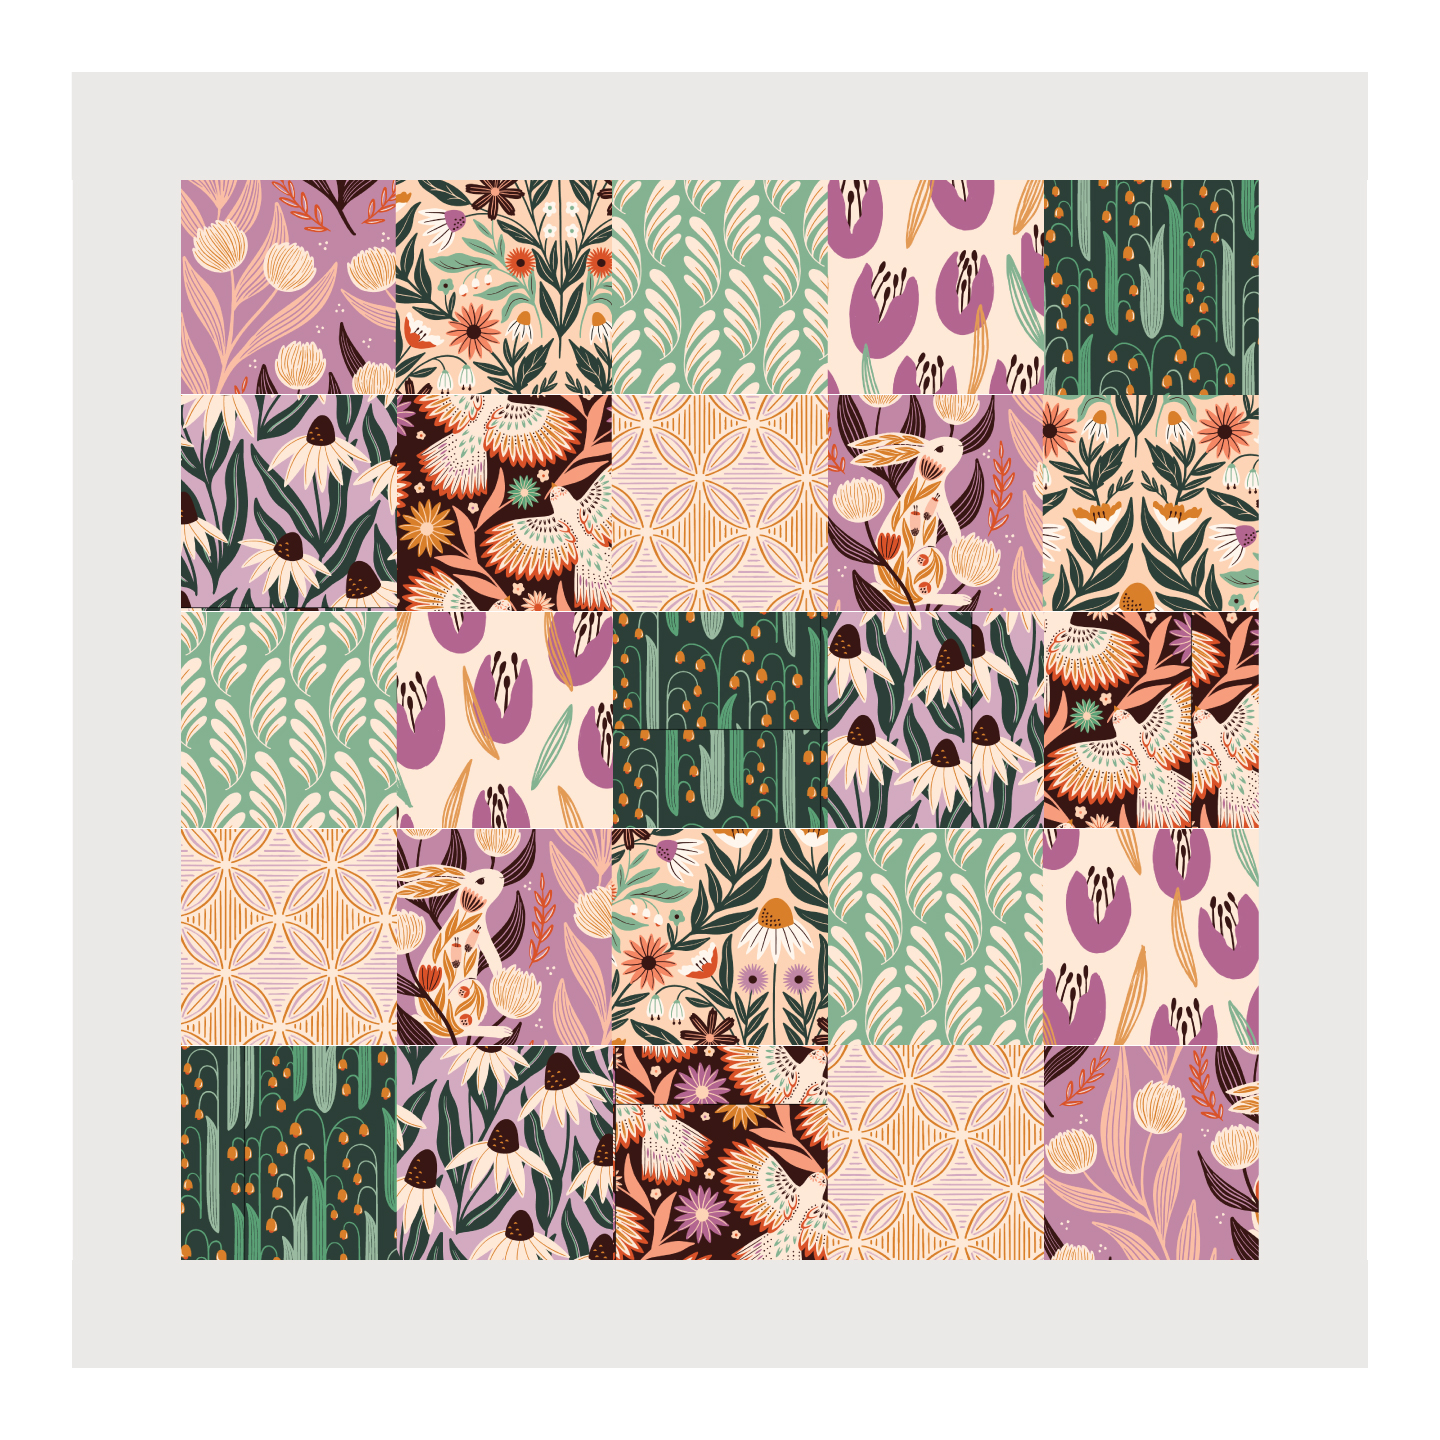
Pillow Mock-ups
See how the Patchwork Pillow will look in another one of your favorite Cloud9 fabric collections. Click the link under the image to shop.
Want More Project Ideas?
Here are a few more fun projects to try next:
Thanks so much for sewing along with me. I hope this project brings a little handmade joy into your home—just like it has in mine. From my home to yours, happy stitching!