Easy Placemats Sewing Tutorial for Every Season
I love making projects for my home, and this week I’m sharing my favorite DIY reversible placemats sewing tutorial. Placemats are simple to sew, beginner-friendly, and a fun way to play with your favorite fabrics to match the seasons or your table decor.


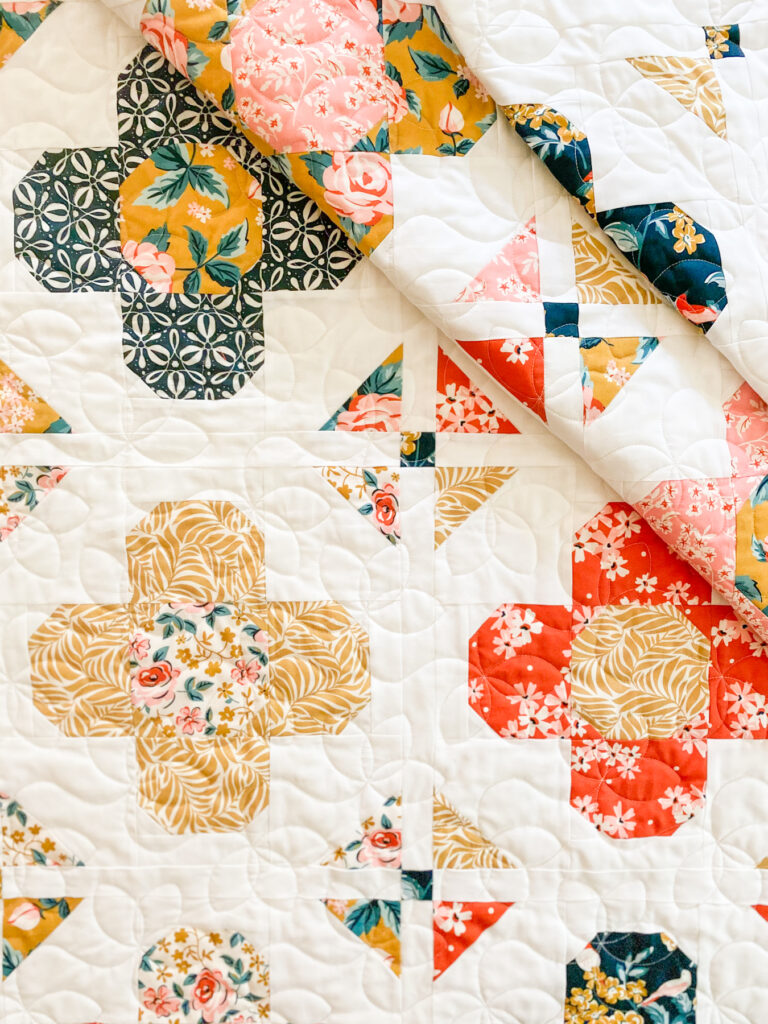
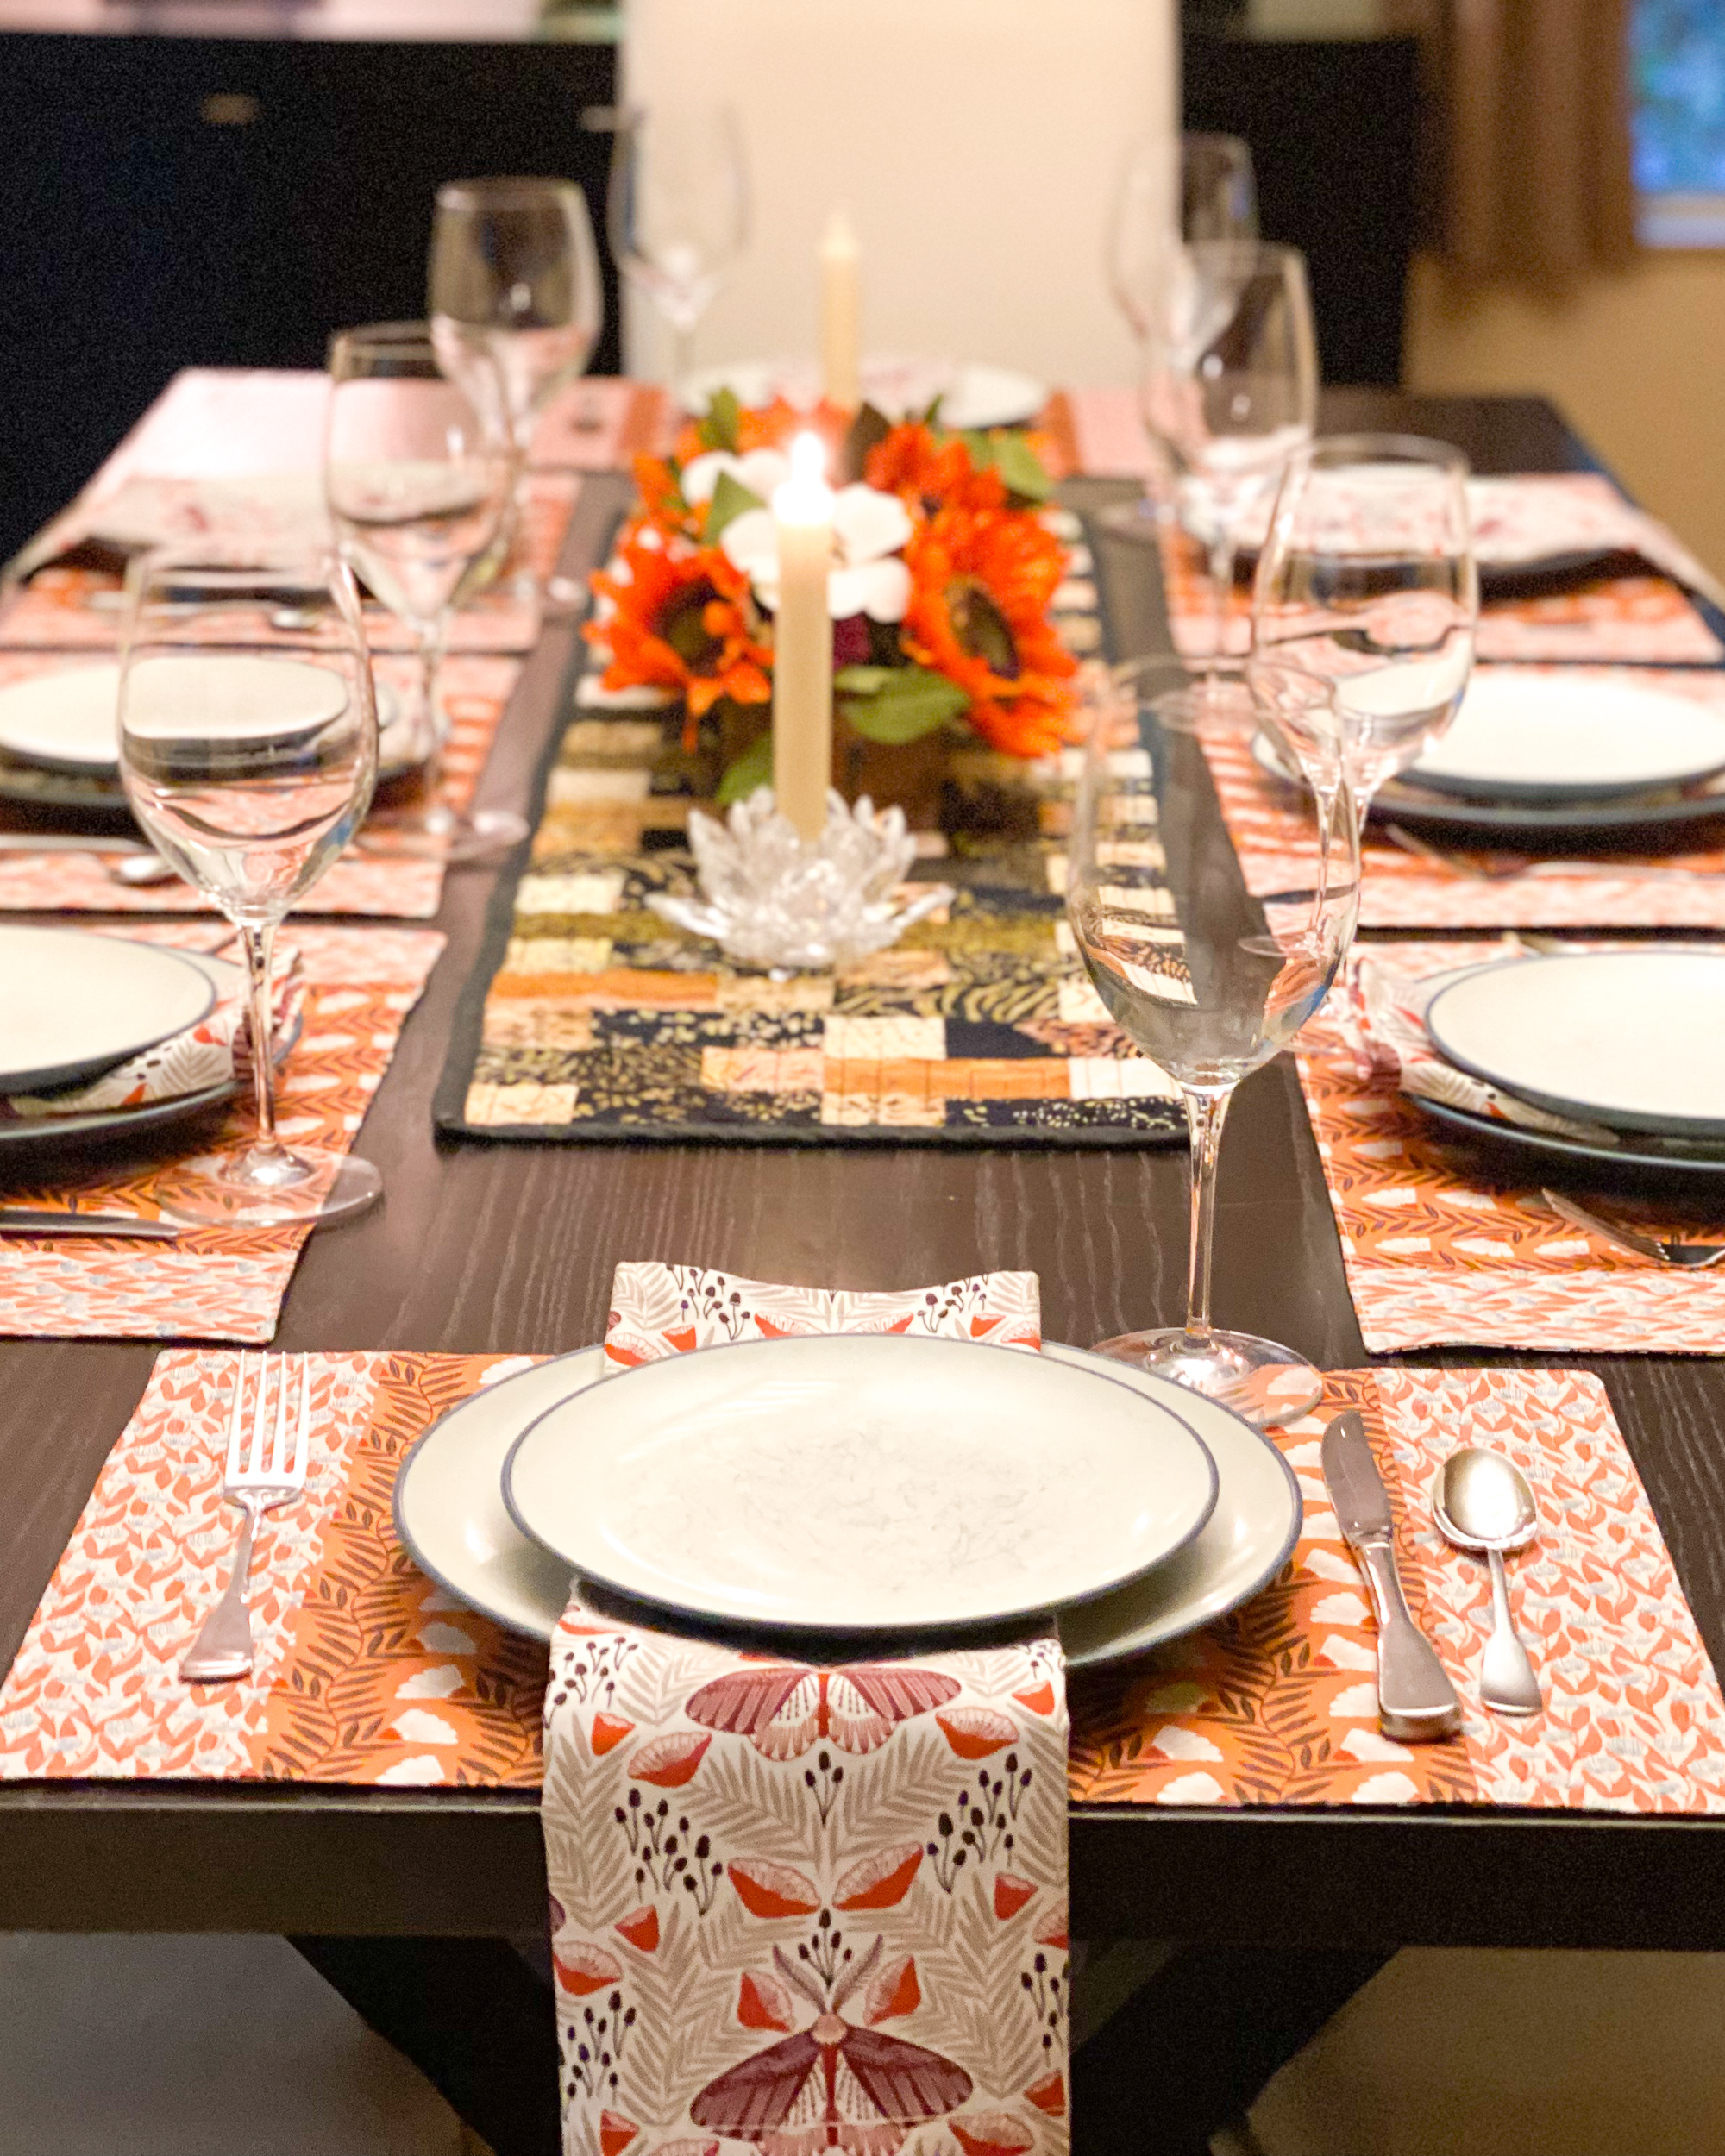
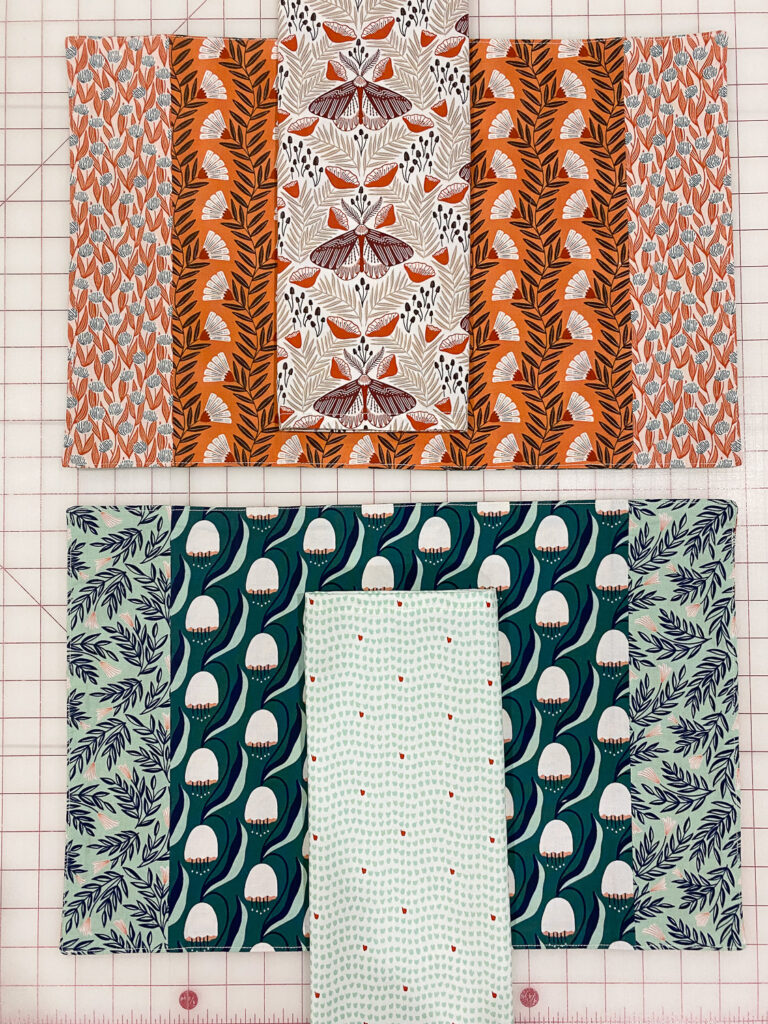
For my placemats I used organic cotton fabric from the All that Wander collection by Juliana Tipton for Cloud 9 Fabrics. I used 2 coordinating fabrics for the front, and 2 for the back making them reversible. I used the orange tones for my fall table decor, and i’m currently using the blues for my winter table. I love all these colors though, so they will get used year round.
Placemats can be made with or without a lining. Some linings i’ve used in the past are Pellon SF101, Pellon 987F fusible fleece, and quilt batting. I chose not to use a lining this time out of curiosity, and found that I don’t miss it, it all depends on the look and feel you want. A great benefit to not having a lining is that they fold up neatly in a basket right next to their matching napkins.
Placemat Material
Fabric yardage listed below will make 6 reversible placemats, with finished size of 19″ wide x 12″ long.
- 1/2 yard side panel fabric for front, Wild
- 3/4 yards center panel fabric for front, Belles
- 1/2 yard side panel fabric for back, Flourish (sold out)
- 3/4 yards center panel fabric for back, Meander
- Pellon 987F Fusible Fleece for interior lining (optional)
Placemat Cutting Instructions
From the fabric for the centers
- Cut 6 center panels: 14″ wide x 13″ long
- Cut 6 center back panels: 14″ wide x 13″ long
From the fabric for the sides
- Cut 12 front side panels: 4″ wide x 13″ long
- Cut 12 back side panels: 4″ wide x 13″ long
From fusible fleece (optional)
- Cut 6 panels: 19″ wide x 12″ long
Step 1: Make the front of the placemat
- With right sides together, place one of the side panels onto center panel and pin in place. Sew using 1/2″ seam allowance.
- Then, press the seam allowance open. Repeat with the other side panel.


Step 2: Make the back of the placemat
- With right sides together, place one of the side panels onto center panel and pin in place. Sew using 1/2″ seam allowance. Then, press the seam allowance open. Repeat with the other side panel.
- If using lining, iron the fusible fleece to either side of the placemat.


Step 3: Attach the front and back panels together
- With right sides together, pin the front and the back panels together. Sew using a 1/2″ seam around the placemat, leaving a 4″ opening for turning. Trim off the corners, making sure not to clip into your stitching.

Step 4: Finishing the placemat
- Turn the placemat right side out, using a turning tool to push out the corners, and press.
- Then fold under the raw edges 1/2″ at the 4″ opening, press and pin in place.
- Then sew around your placemat with 1/4″ seam to close up the opening, and give the placemat a finished look.

You are done! Now repeat these steps to make more.