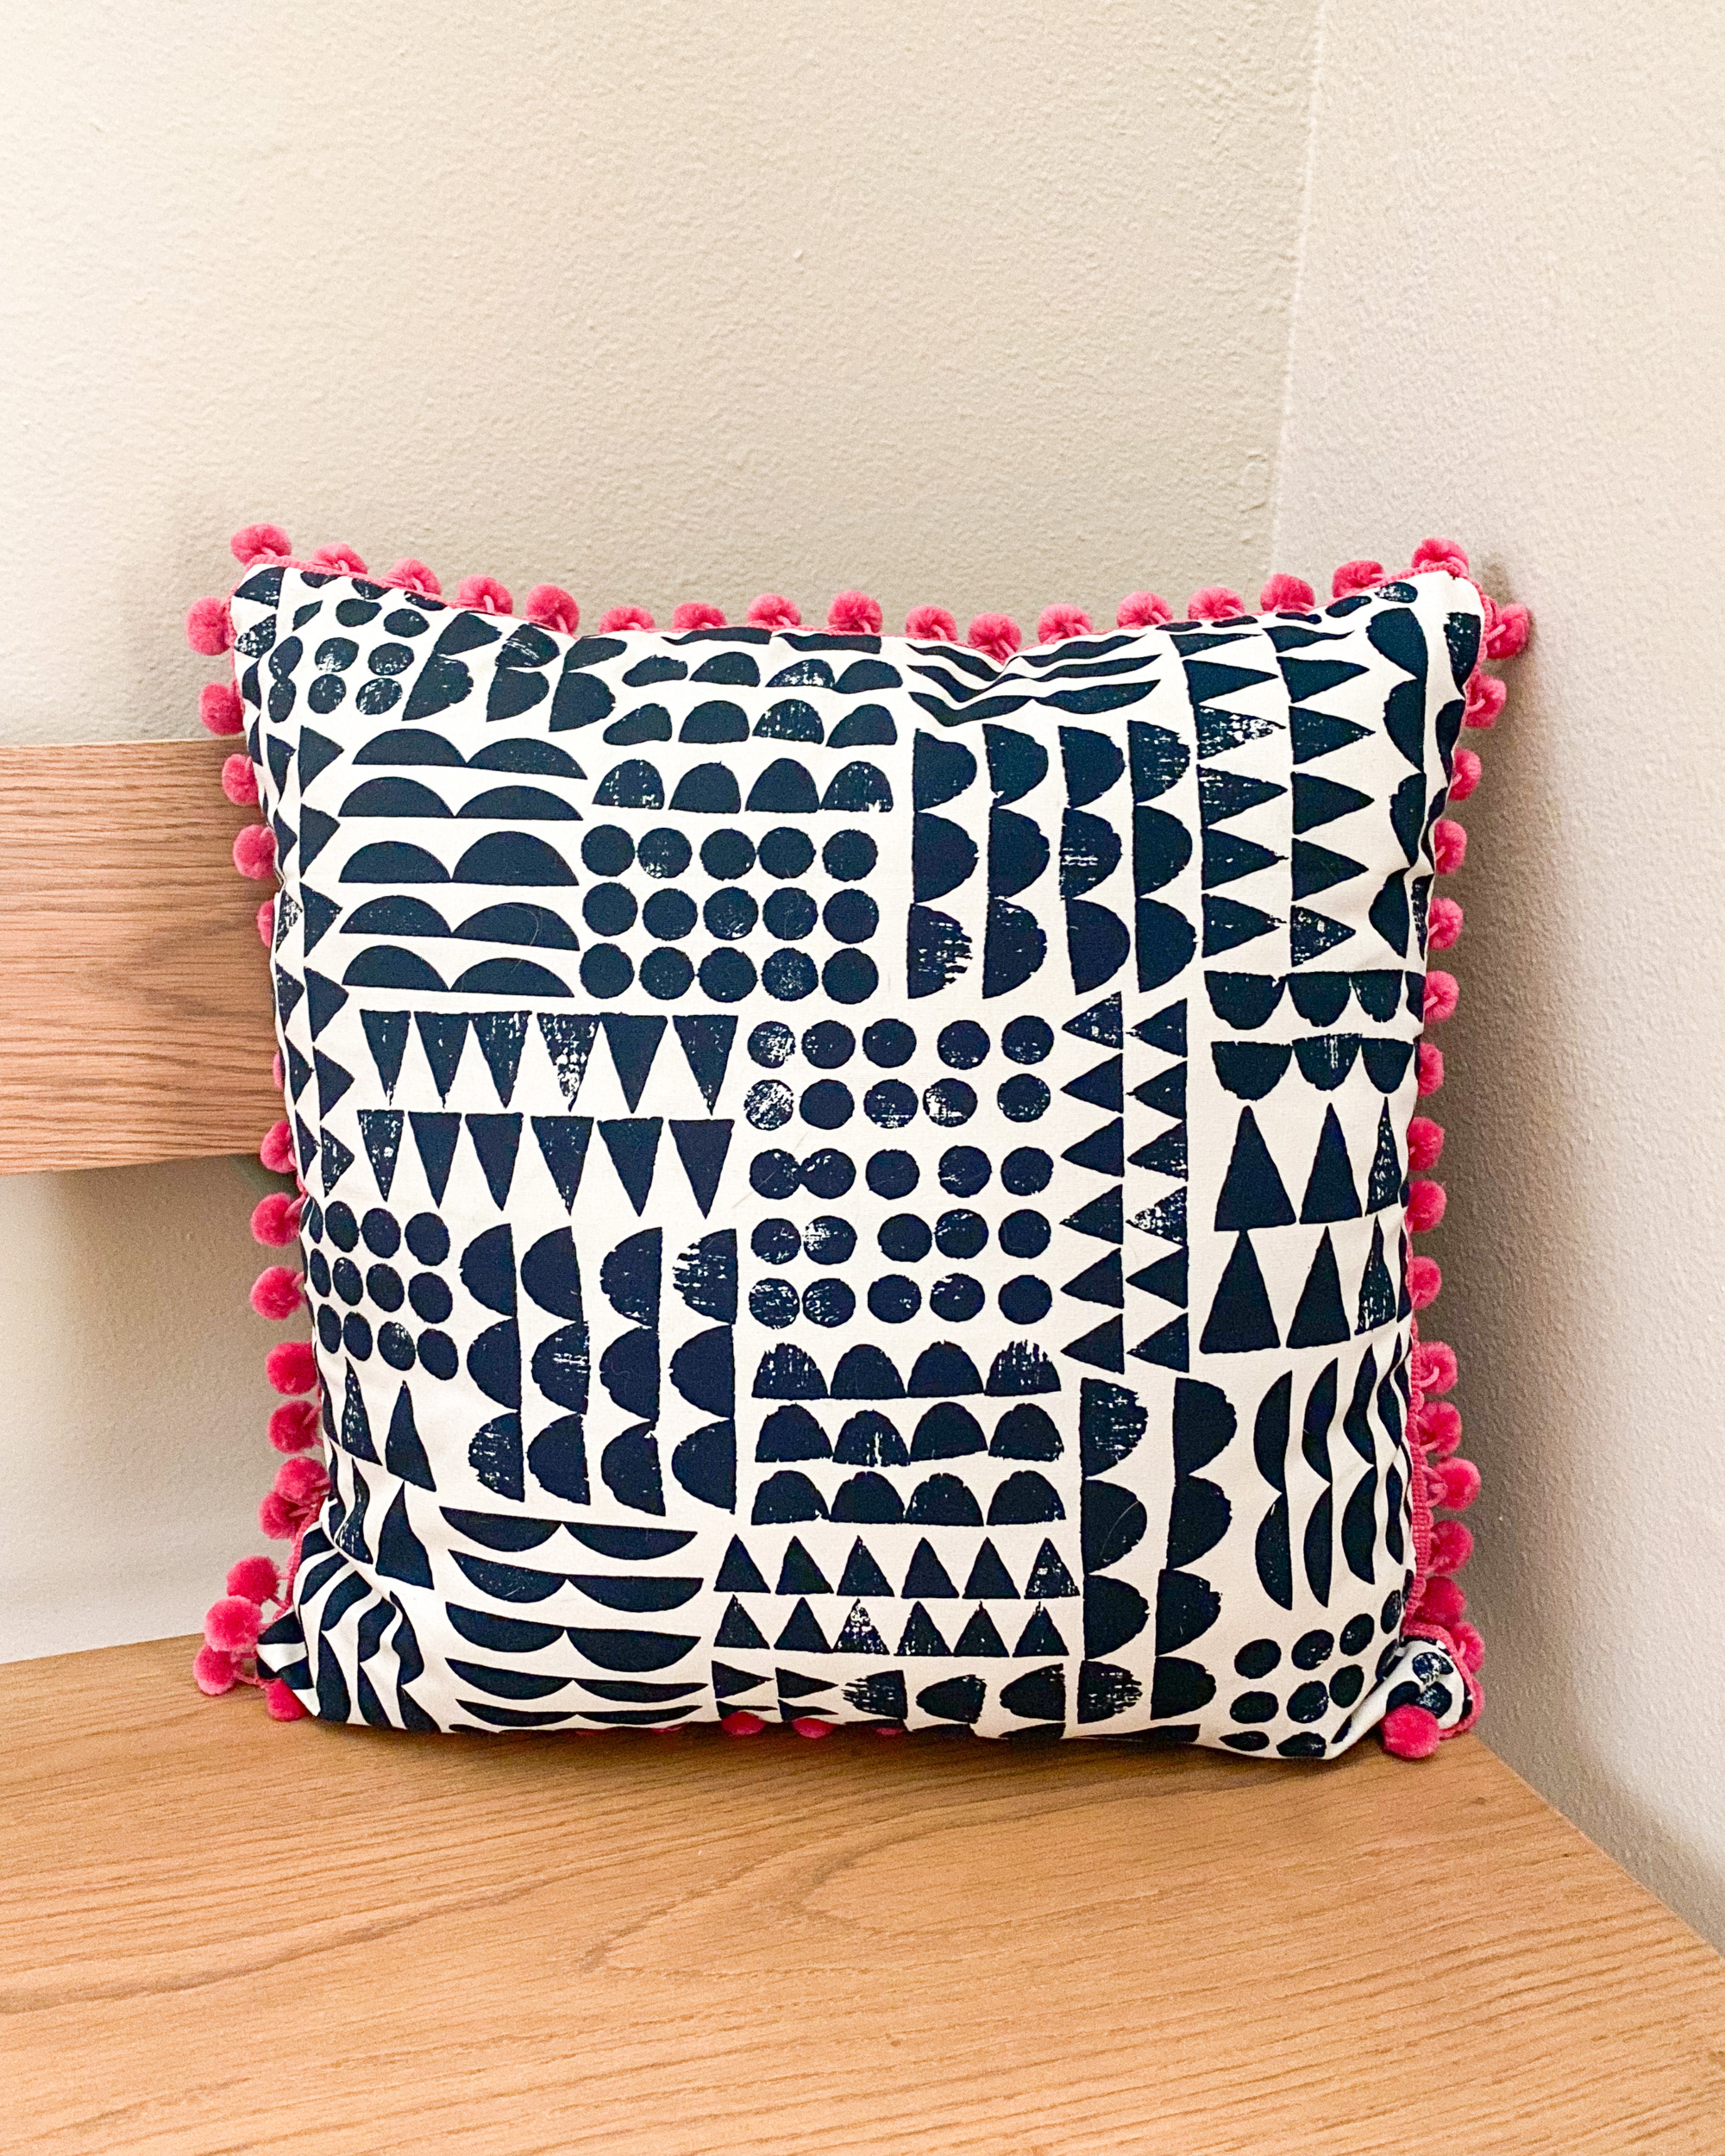
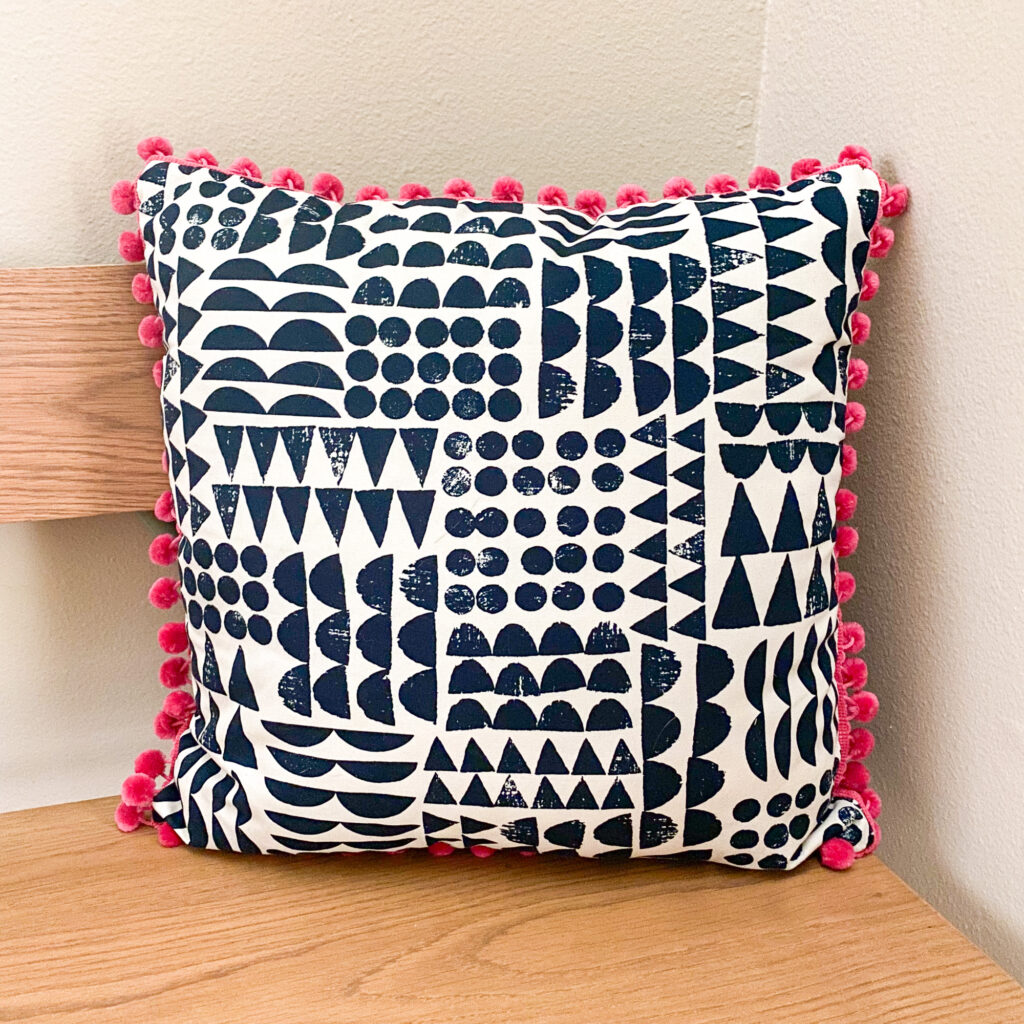
Easy Pillow Sewing Tutorial: DIY Canvas Pillow with Zipper and Pom Pom Trim
Hello and welcome if you’re new here! If you’re looking for an easy pillow sewing tutorial, you’re in the right place. Today I’m showing you how to sew a simple, modern pillow using Cloud9 Imprint Canvas — a soft, geometric organic cotton fabric. We’ll add a pop of color with pom pom trim and finish it off with a hidden lapped zipper. This DIY pillow is fun, functional, and beginner-friendly.
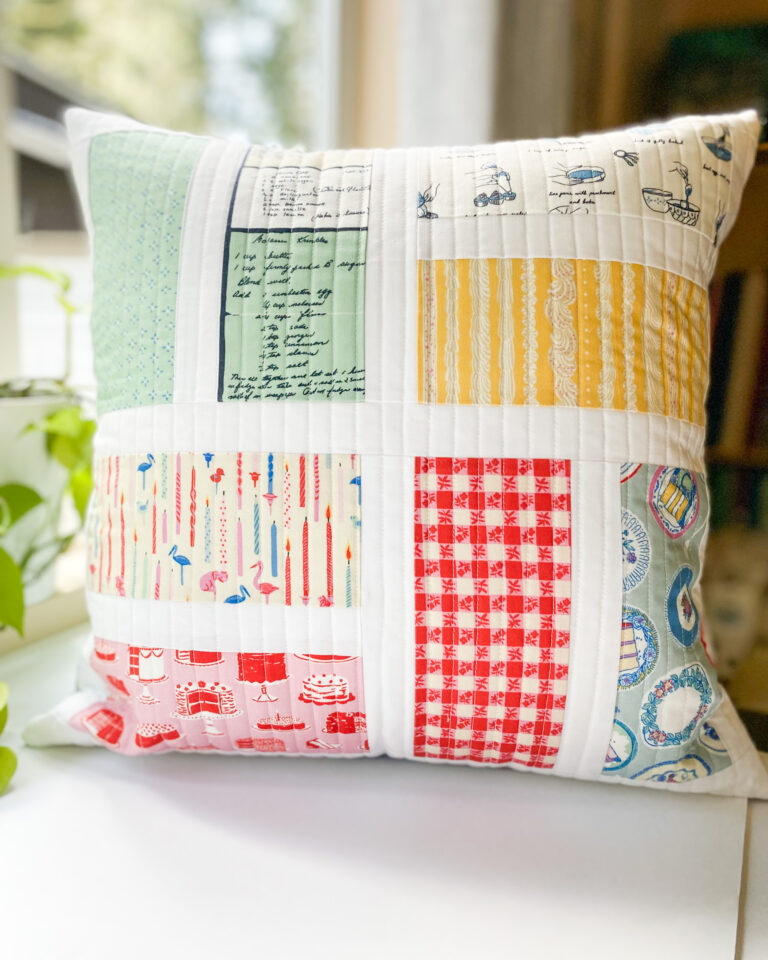
Looking for more pillow ideas? Try this Beginner Patchwork Pillow Tutorial next!
Easy Sew Canvas Pillow Tutorial Details
Finished Size: 18″ square
Features: Lapped zipper back and pom pom trim
Pattern Notes
- All seam allowances are ¼″ unless otherwise noted.
- WOF (width of fabric) is assumed to be 42″.
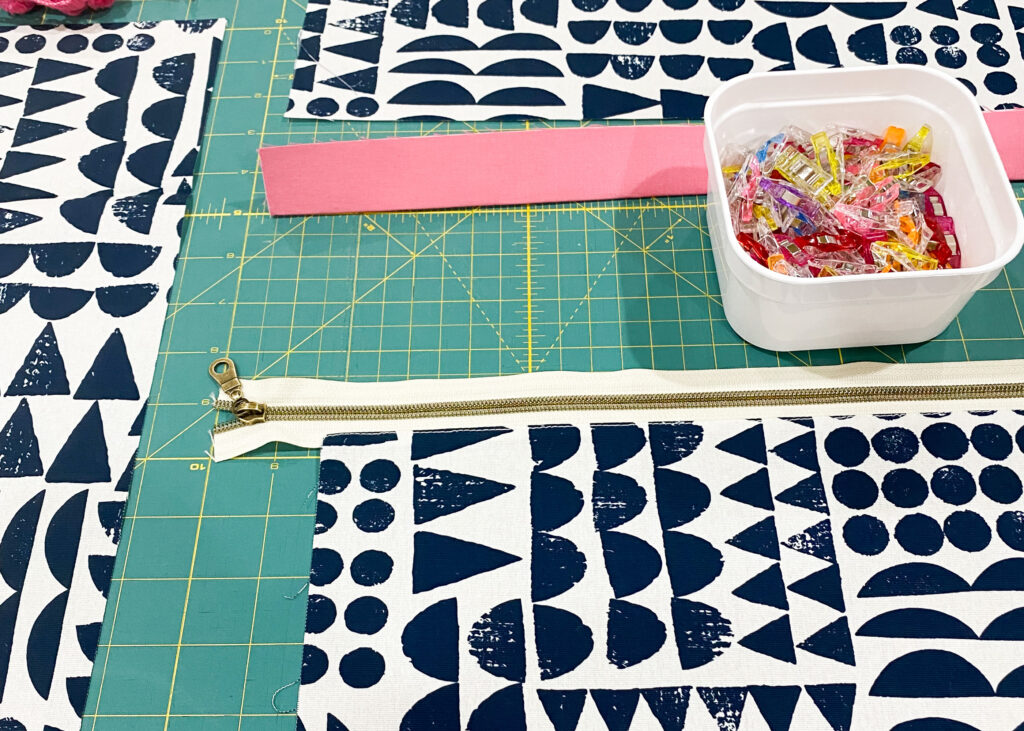
Materials
- 18 1/2″ x 37″ canvas fabric for the front and back – Imprint Print Patch Canvas in blue
- 2 1/2″x 18 1/2″strip of accent fabric – Cirrus Solids in Bubblegum
- 2 1/2″ x 18 1/2″ lightweight fusible interfacing (e.g., Pellon SF101)
- 18″ pillow form
- 2 1/4 yards of 1.13″ Ball Fringe Trim (e.g., Simplicity brand)
- 20″ nylon zipper (e.g., zipper tape with pulls)
- Zipper foot for your sewing machine
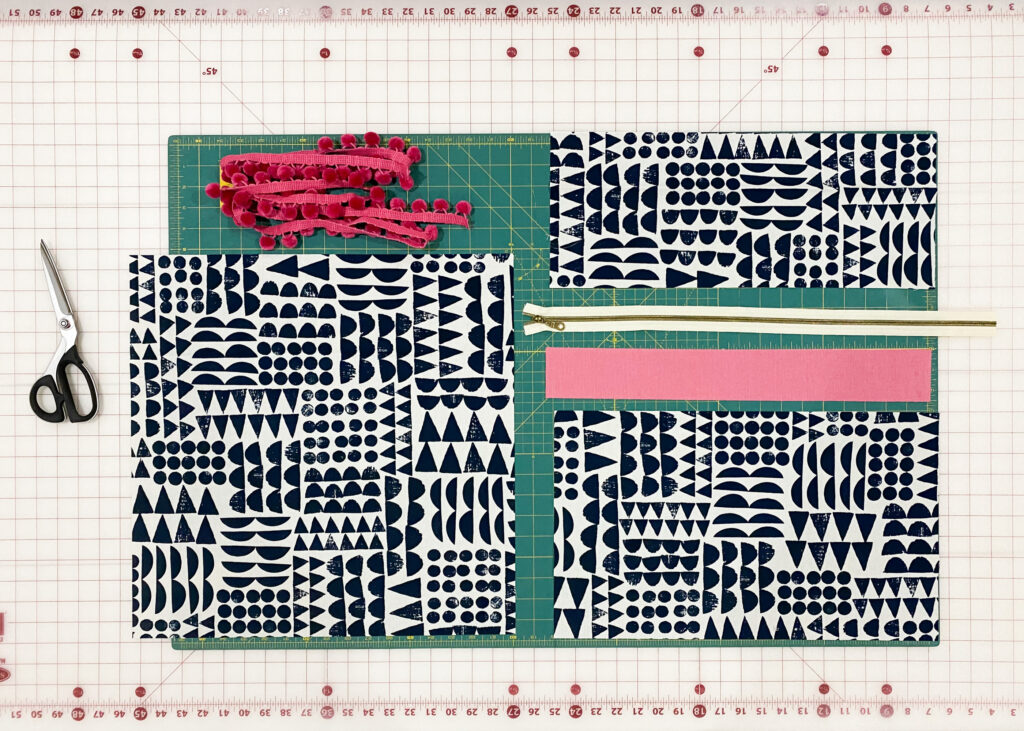
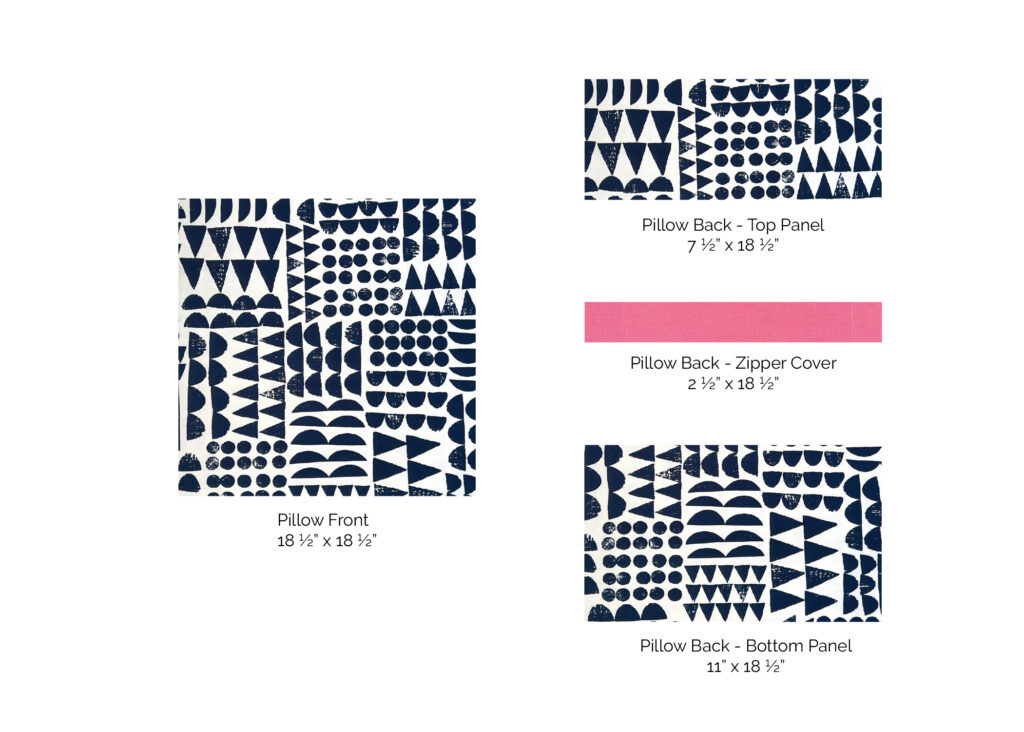
Step 1 – Cut Fabric for the Pillow
- 1 – 18½″ x 18½″ (front)
- 1 – 11″ x 18½″ (back bottom panel)
- 1 – 7½″ x 18½″ (back top panel)
- 1 – 2½″ x 18½″ (accent fabric for zipper cover)
- 1 – 2½″ x 18½″ (fusible interfacing)
Step 2 – Add Interfacing
Only apply interfacing to the accent fabric (not the canvas).
To apply the interfacing:
- Place the shiny side of the interfacing against the wrong side of the fabric.
- Cover with a damp press cloth.
- Press with an iron on Wool/Steam setting for 10–15 seconds, lifting and overlapping as needed.
- Let cool, then check bond.
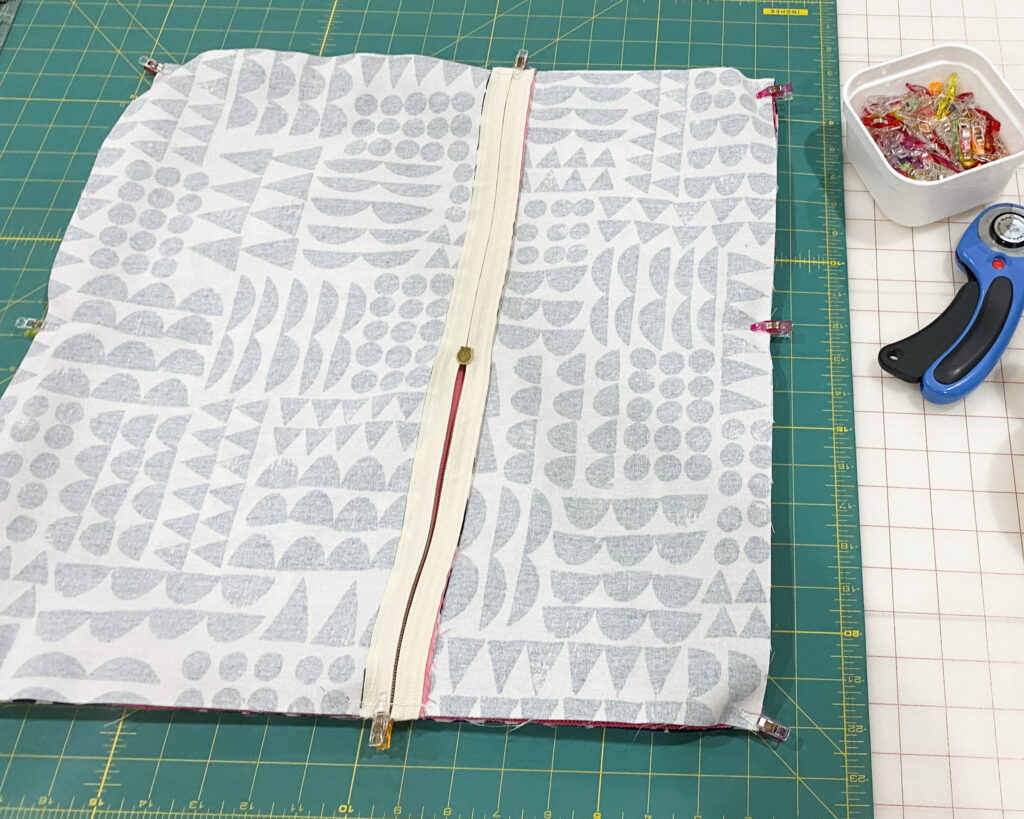
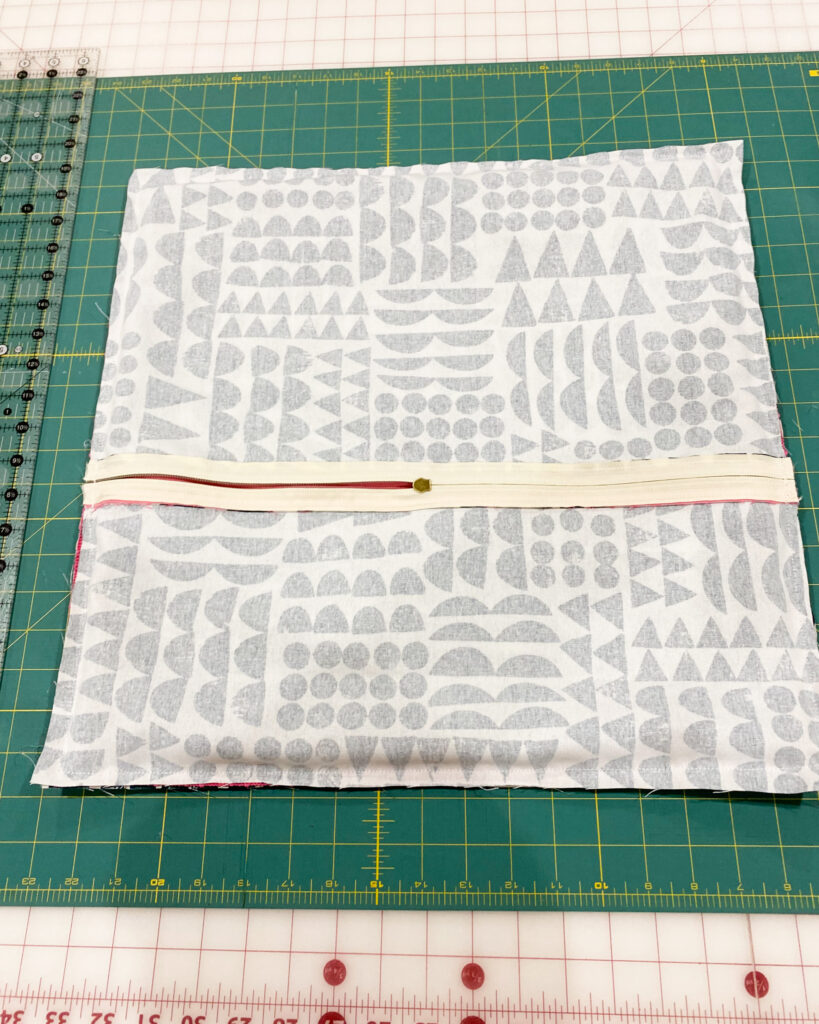
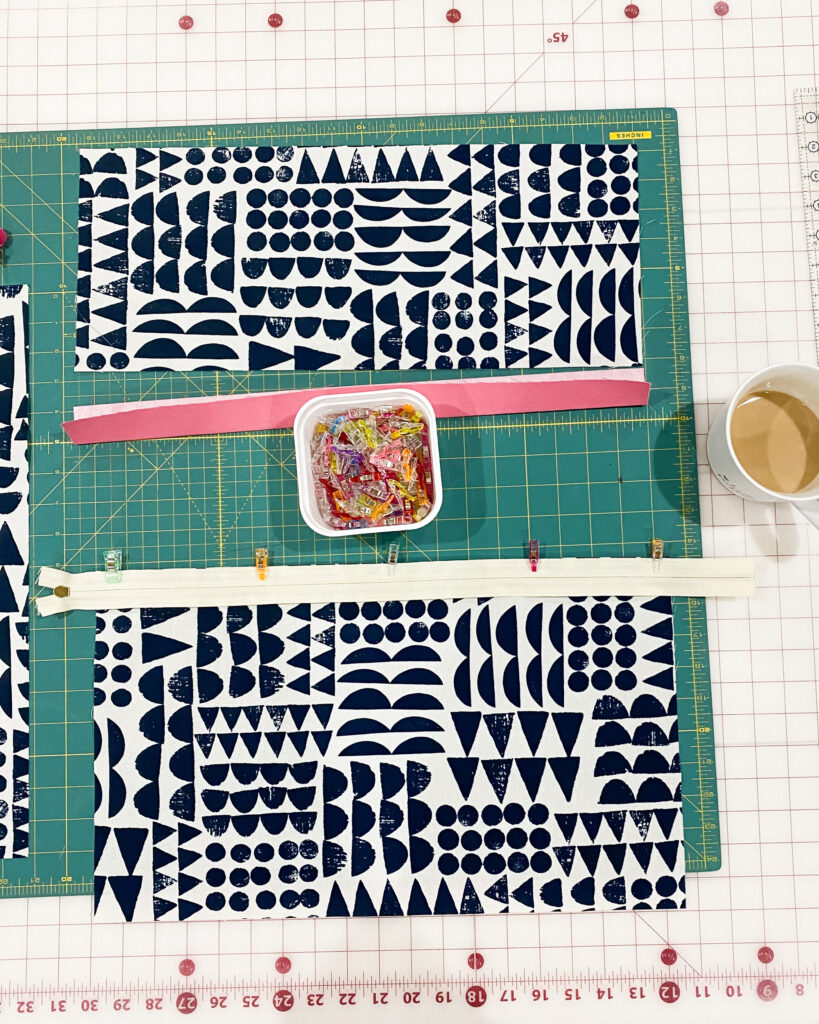
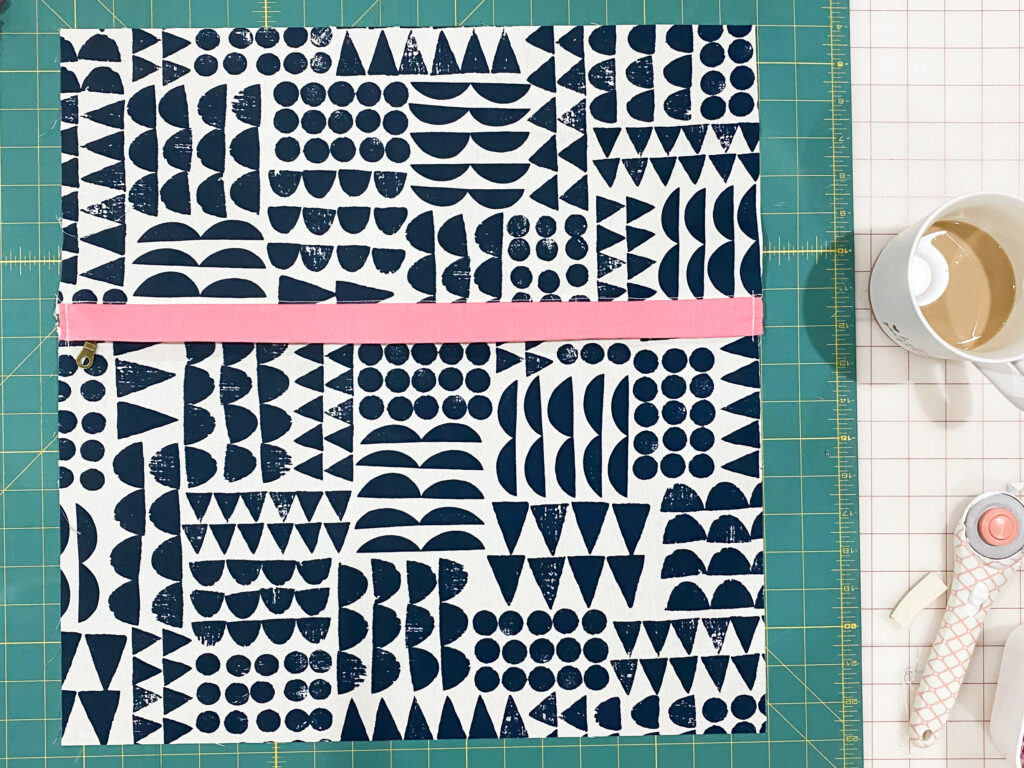
Step 3 – Prepare Pillow Back with Zipper
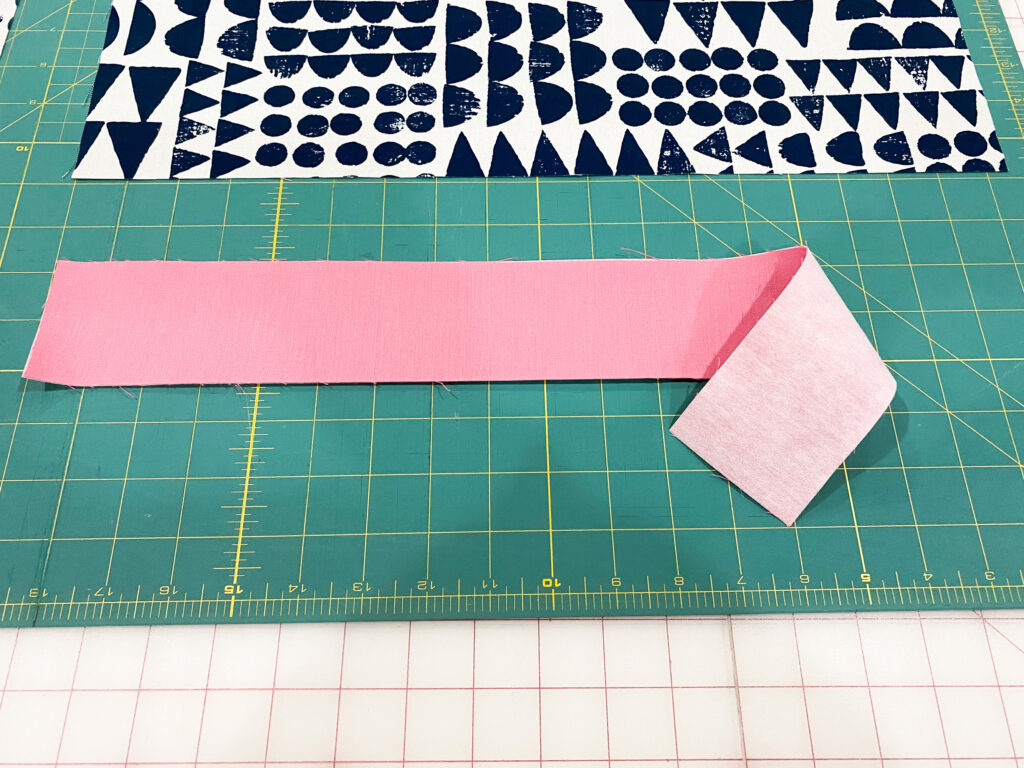
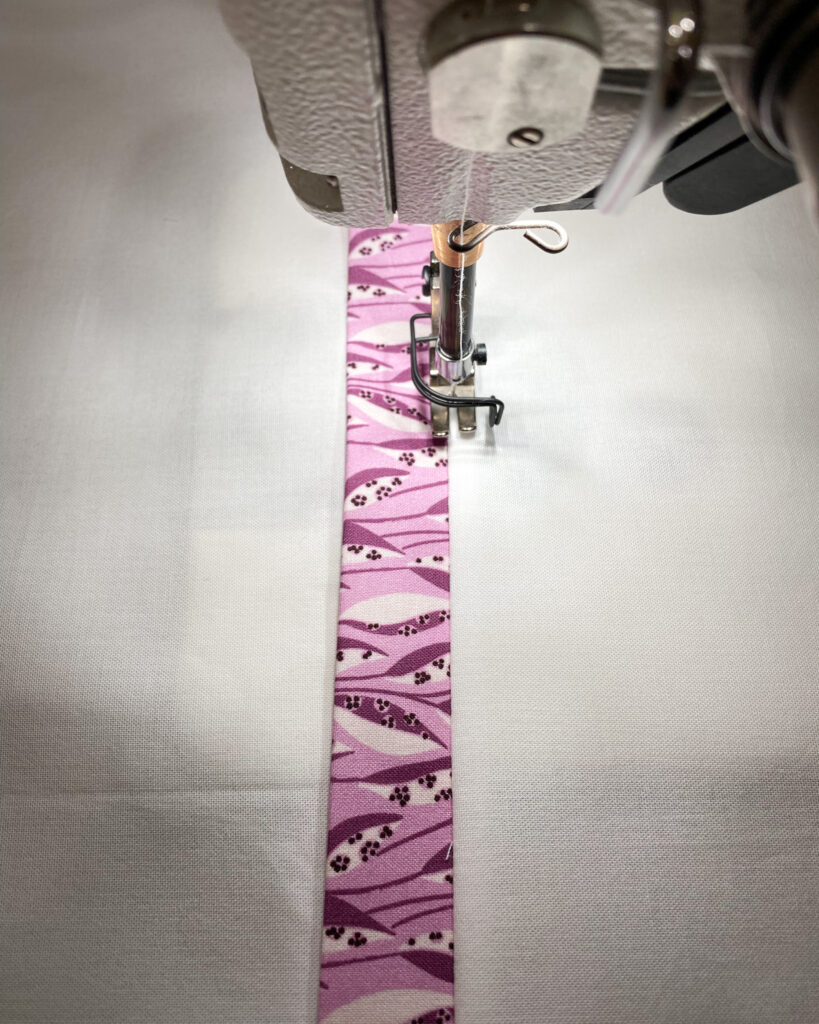
- Fold accent strip in half lengthwise and press.
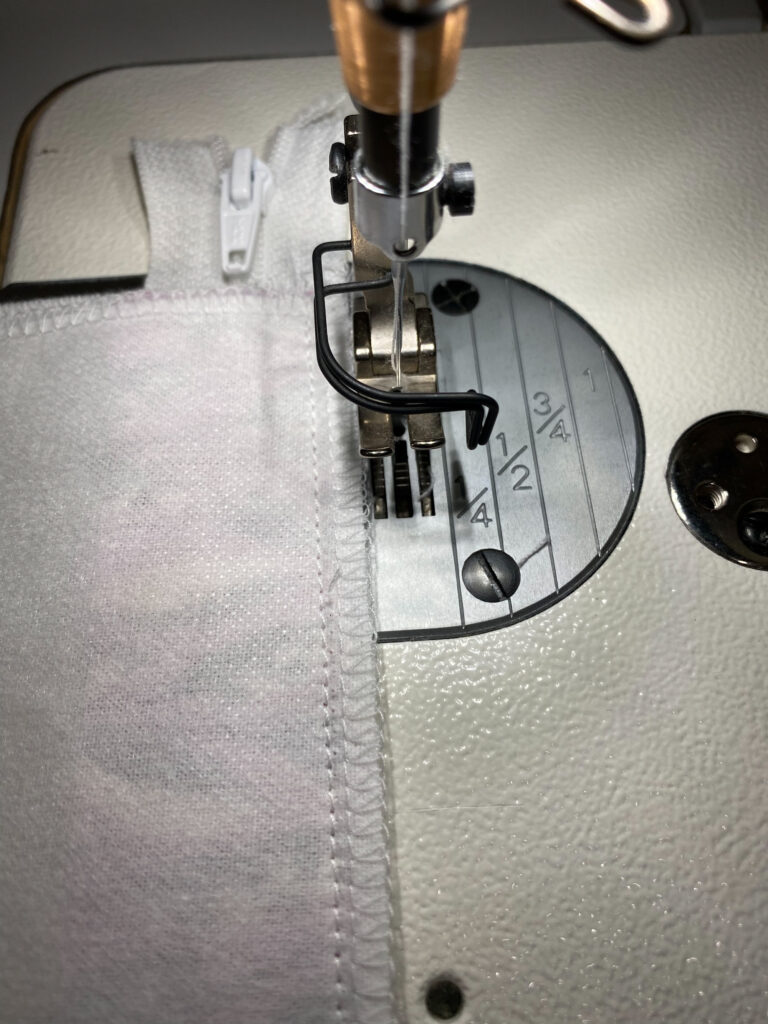
- With zipper pull facing down, pin zipper to the top edge of the back bottom panel. Sew using zipper foot with ¼″ seam.
- Press fabric away from the zipper and topstitch ⅛″ from edge.
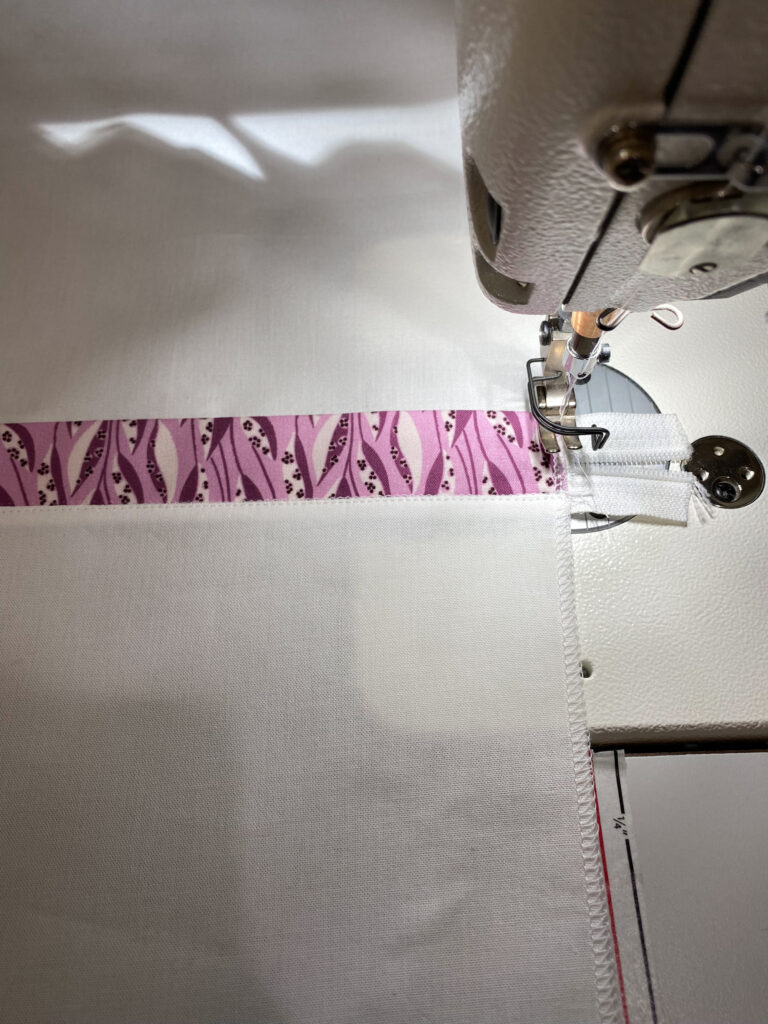
- Place folded accent strip over zipper edge. Then layer the top back panel right sides down. Pin and sew using ¼″ seam.
- Press top panel away from the zipper and topstitch ⅛″ from seam.
- Sew across both zipper ends ¼″ from edge to secure. Trim excess zipper.


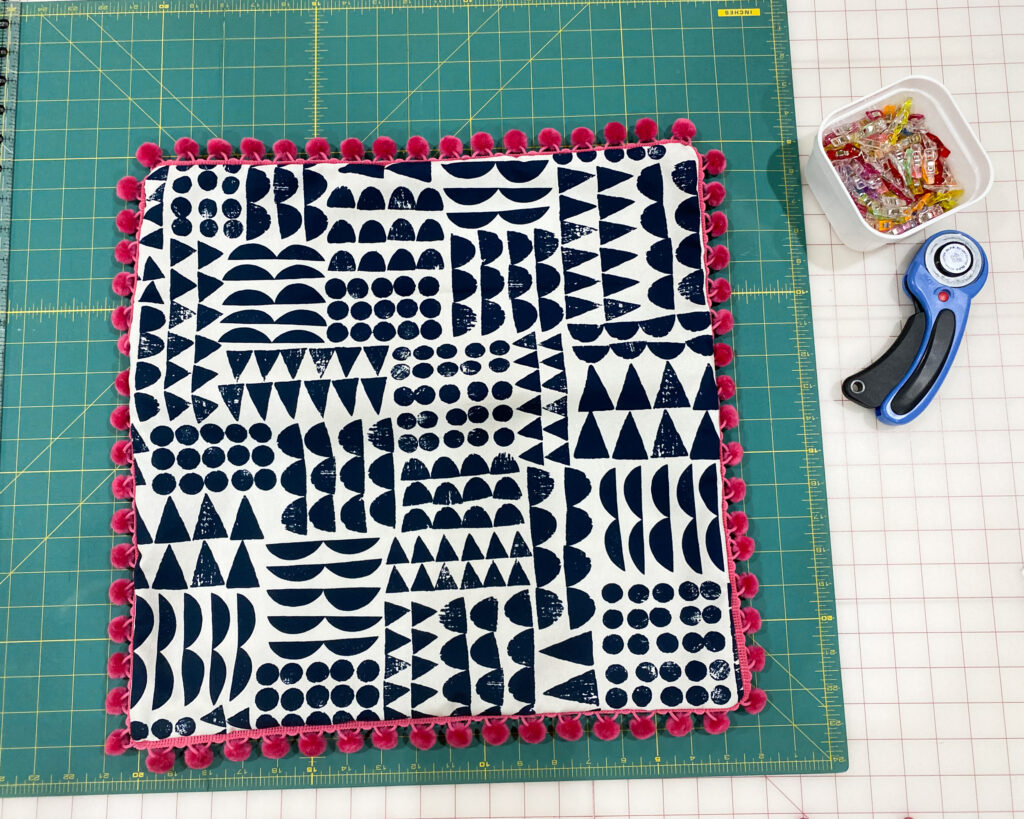
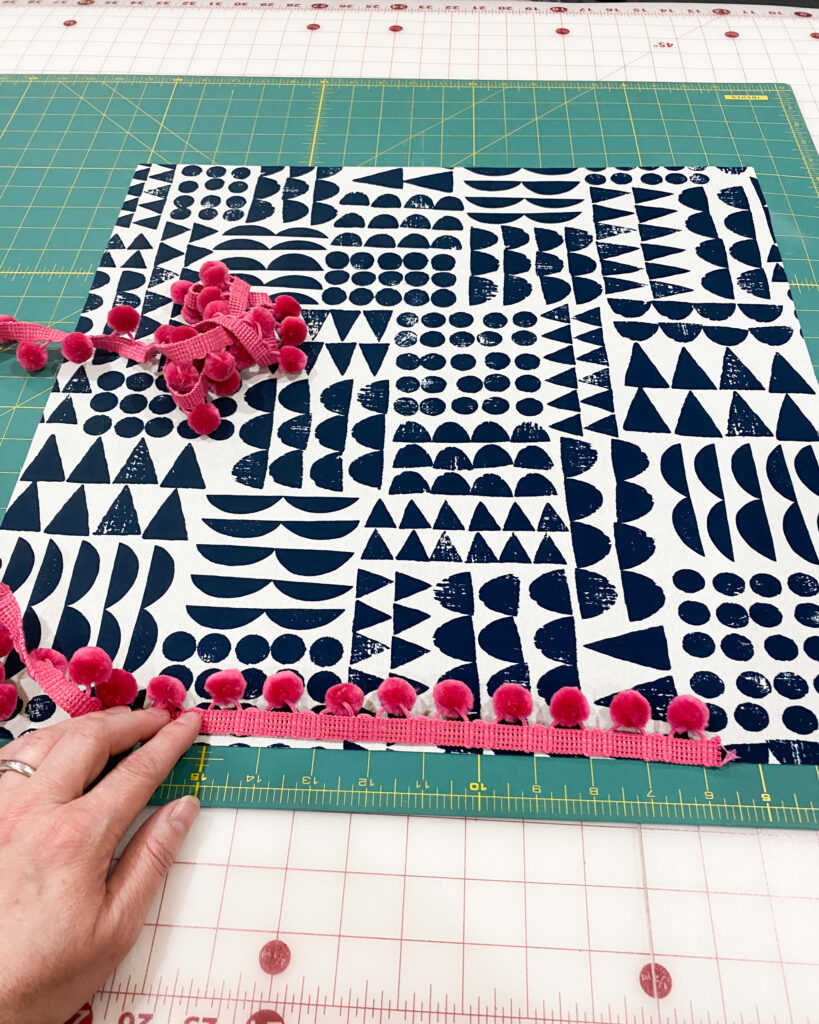
Step 4 – Add Pom Pom Trim
- Lay pillow front right side up.
- Pin trim ⅛″ from edge, with pom poms facing inward.
- Carefully sew using ¼″ seam, pivoting at corners. Snip trim slightly to help curve.
- Overlap trim ends by ½″–1″ where they meet.
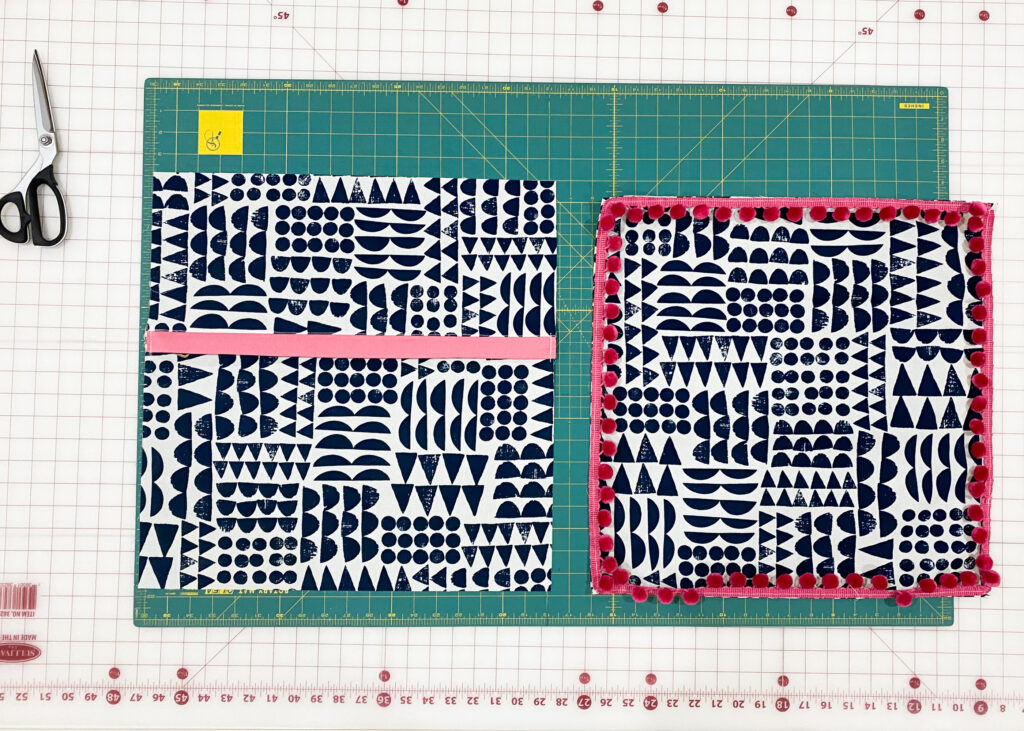
Step 5 – Assemble the Pillow
Before sewing, make sure front and back pieces match in size. Trim if necessary.
- Place front and back right sides together.
- Unzip halfway (this is important for turning).
- Pin around all four sides.
- Sew with ½″ seam and clip corners.
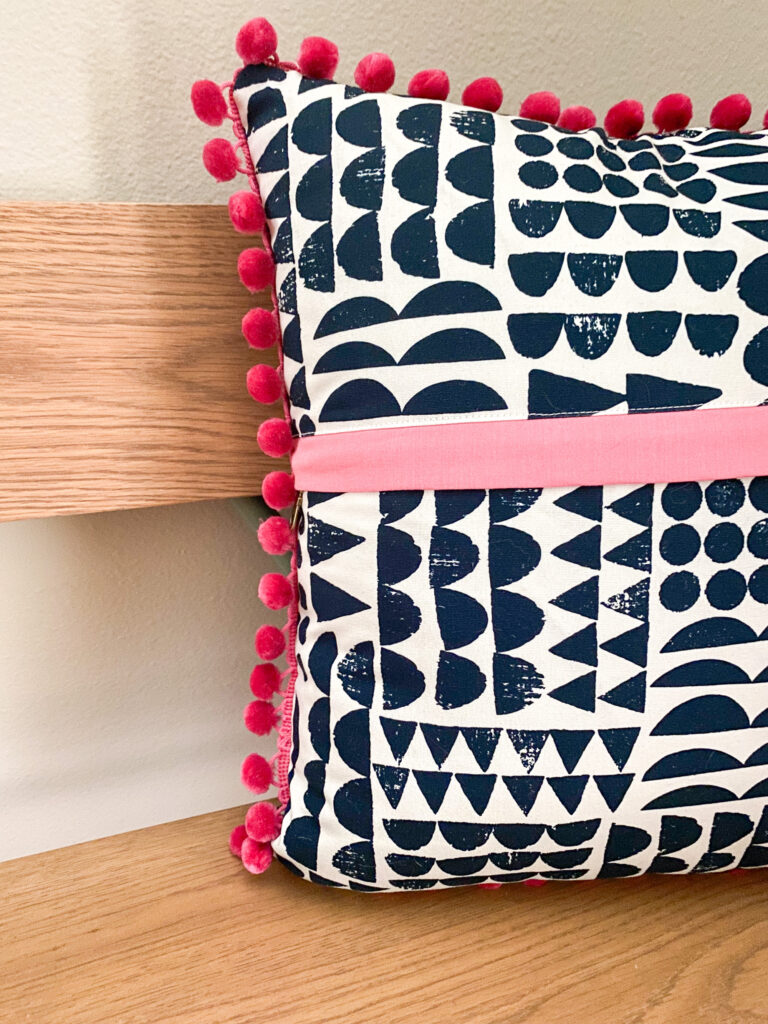
- Turn right side out, push out corners, and insert pillow form.
- Your DIY canvas pillow is complete!
Final Tips
If your pillow front shrinks slightly (from sewing or fabric tension), don’t worry. I had this happen while attaching the trim, and the pillow insert still fit snugly and looked great. Next time, I’ll try basting the trim to reduce shrinkage.