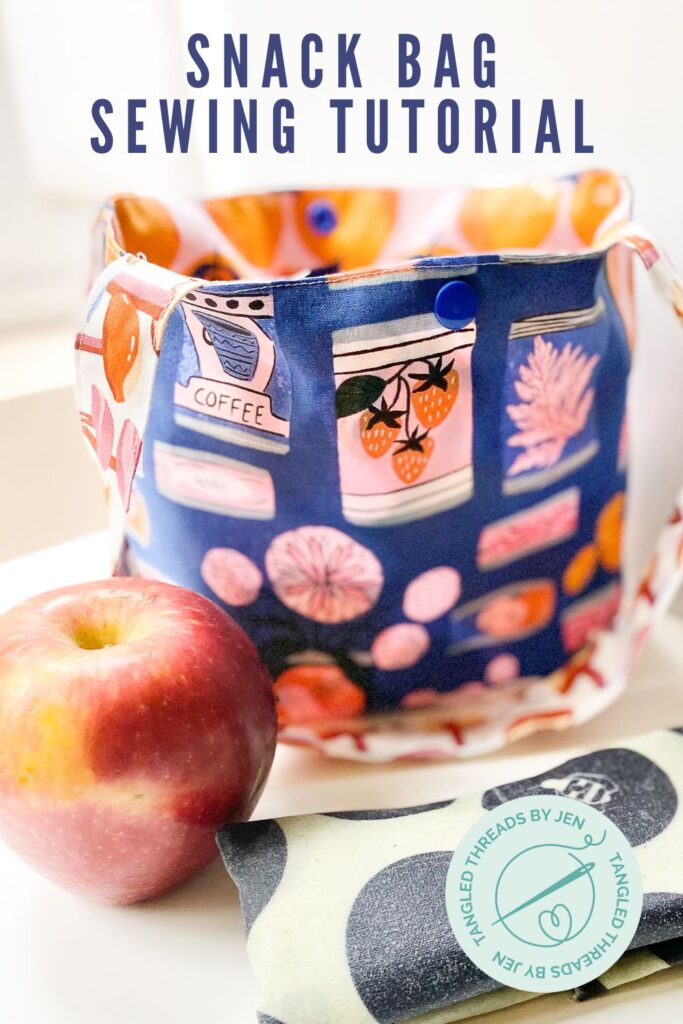
Snack Bag Sewing Tutorial: Quick & Easy DIY Snack Tote Bag for On-the-Go
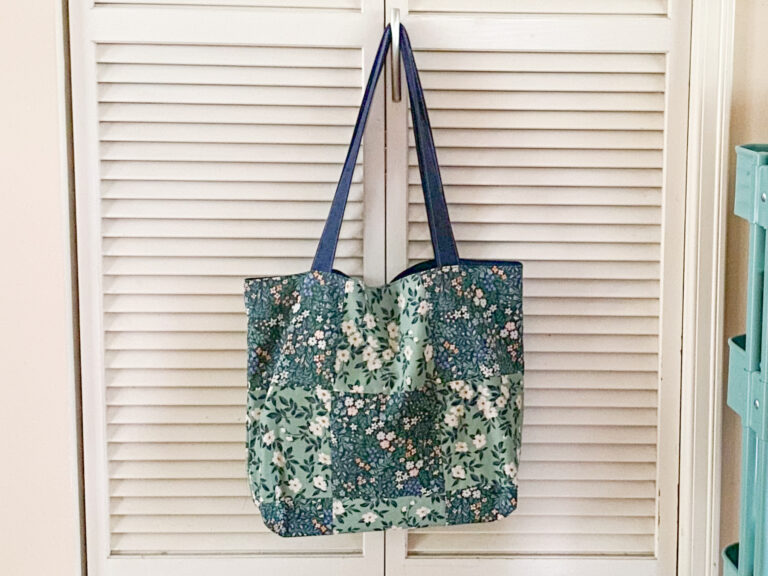
Looking for a simple and fun sewing project? In this Snack Bag Sewing Tutorial, I’ll guide you through creating a quick and easy DIY tote bag perfect for packing snacks or small items. Whether you’re making a snack bag for your child’s school lunch or preparing an on-the-go bag for yourself, this project is beginner-friendly and comes together quickly. Let’s get started!
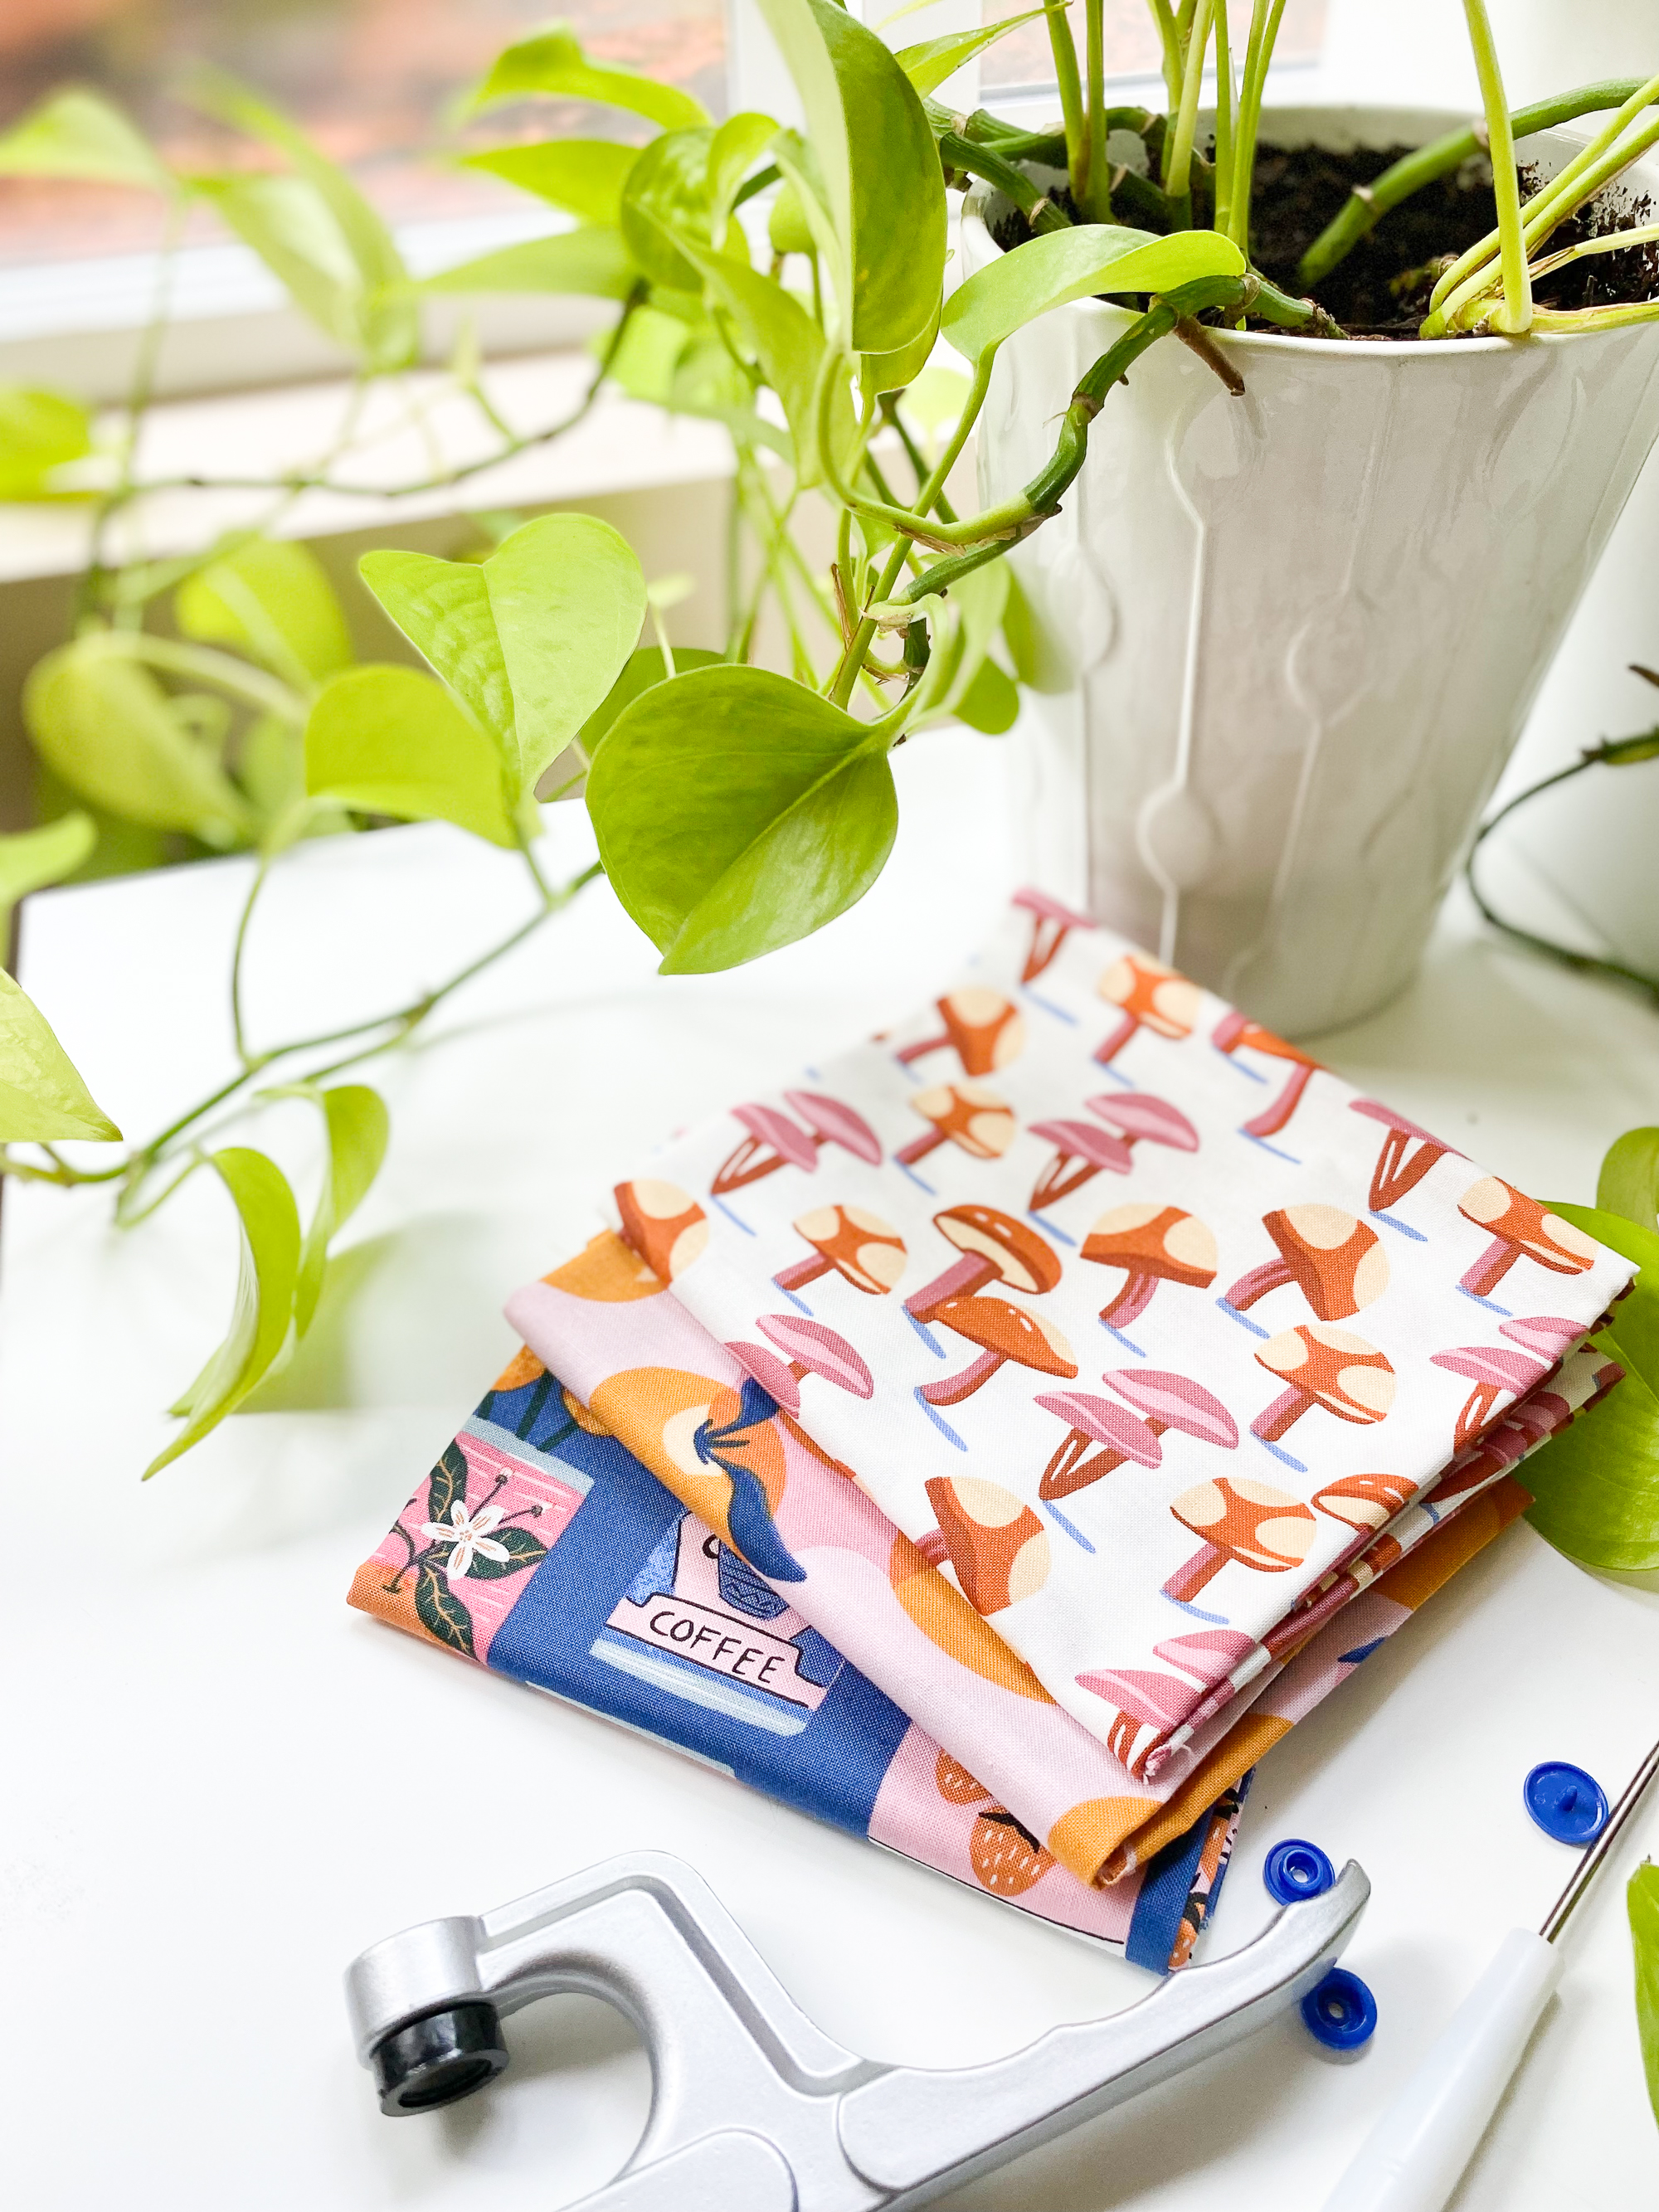
Supplies Needed for Your Snack Tote Bag
- 3 fat quarters of fabric (choose fun patterns or colors)
- Snap closure (optional for added security)
- Basic sewing machine and supplies
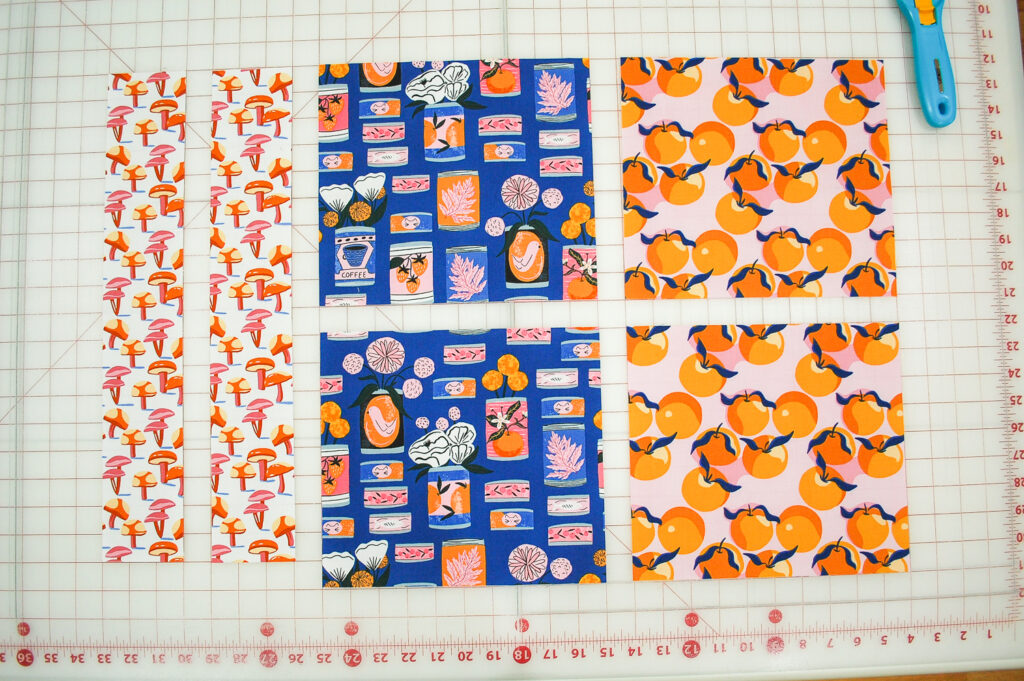
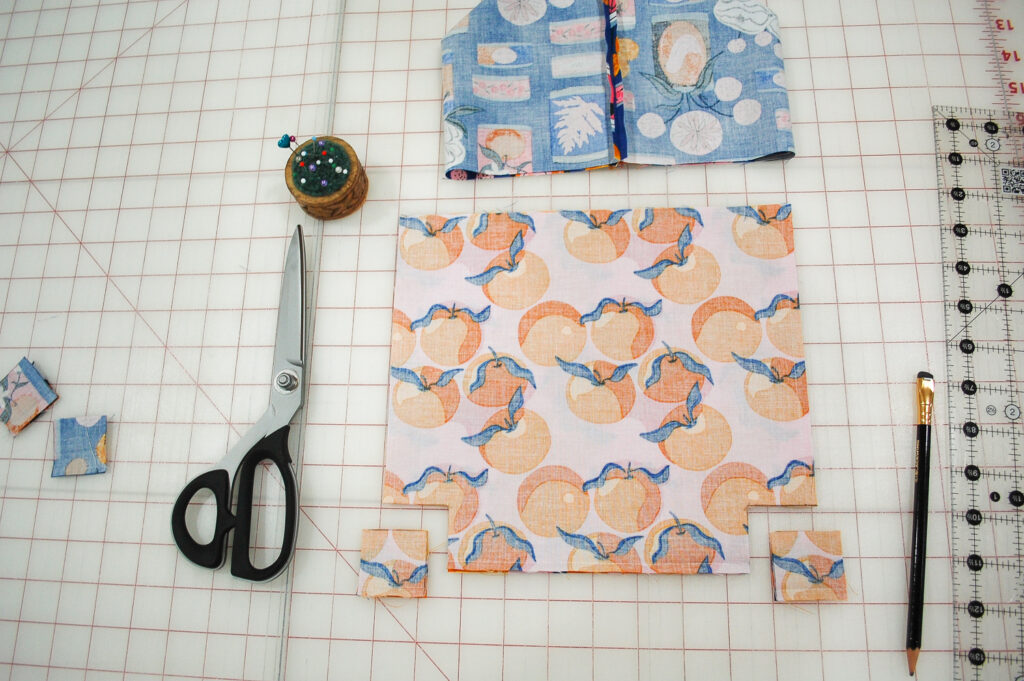
Step 1: Cut & Prepare Fabric
- Exterior fabric: Cut 10″ wide x 18″ long, or 10″ wide x 9″ long for one-directional fabric
- Interior fabric: Cut 10″ wide x 18″ long, or 10″ wide x 9″ long for one-directional fabric
- Handle fabric: Cut 2 strips, each 3″ wide x 18″ long
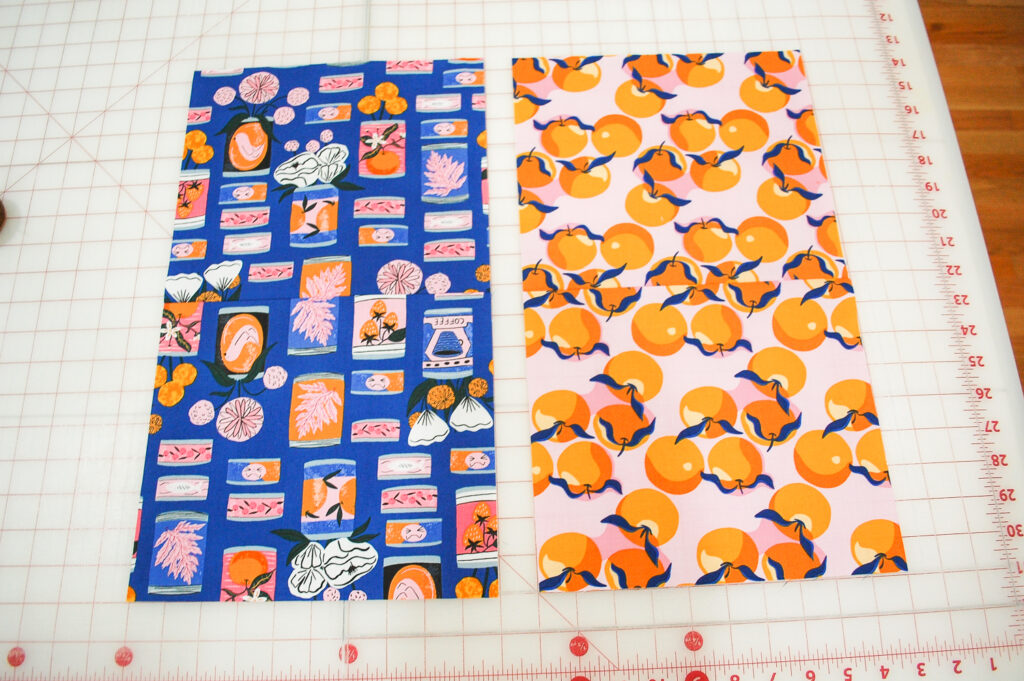
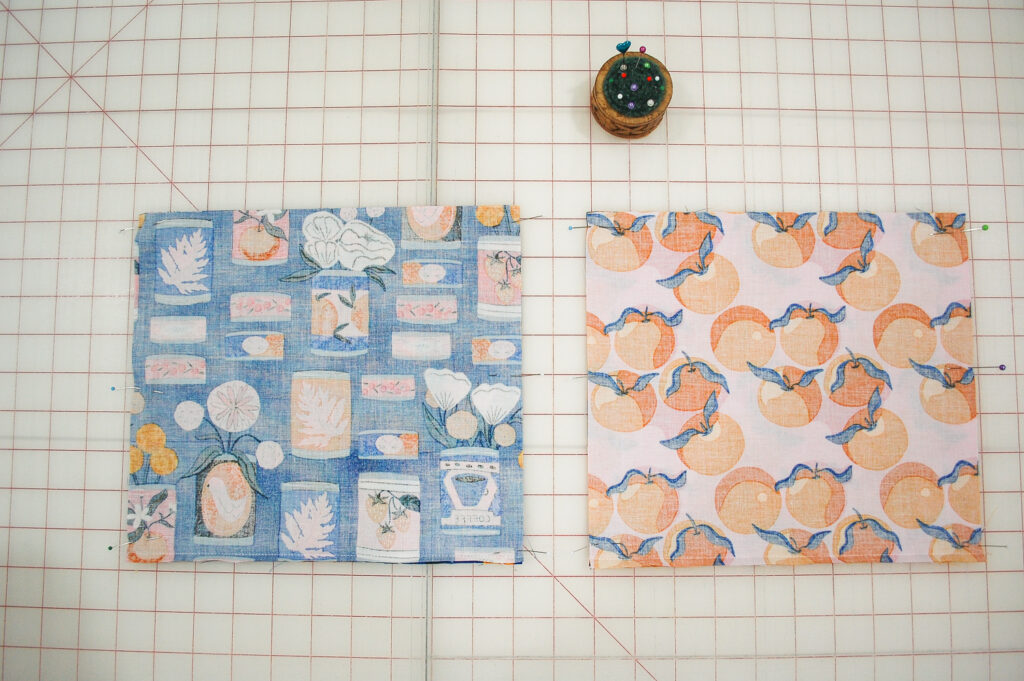
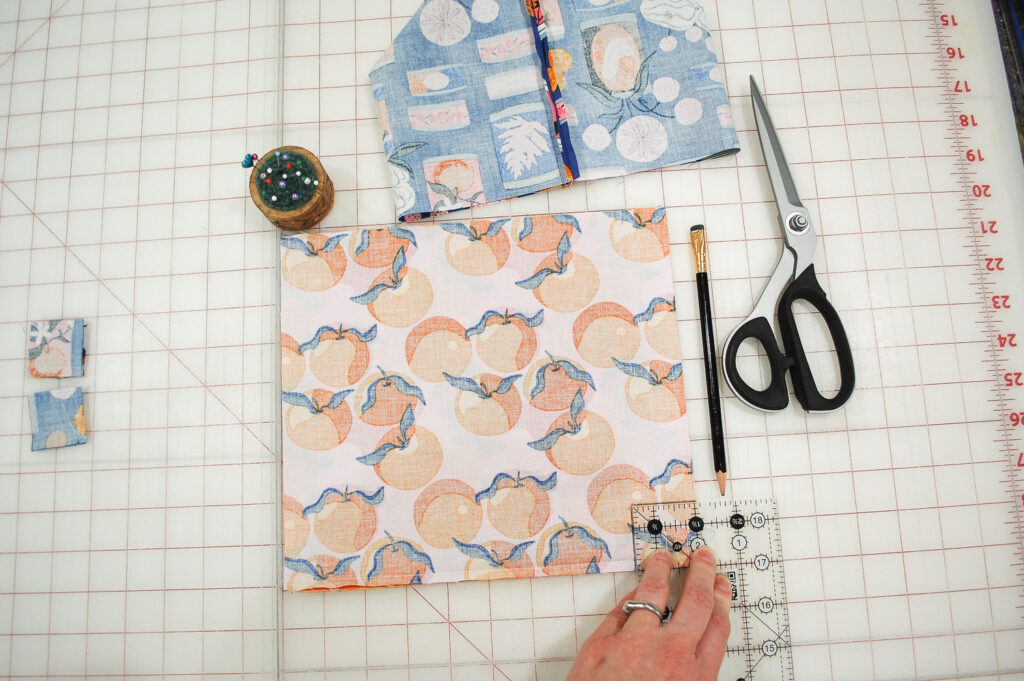
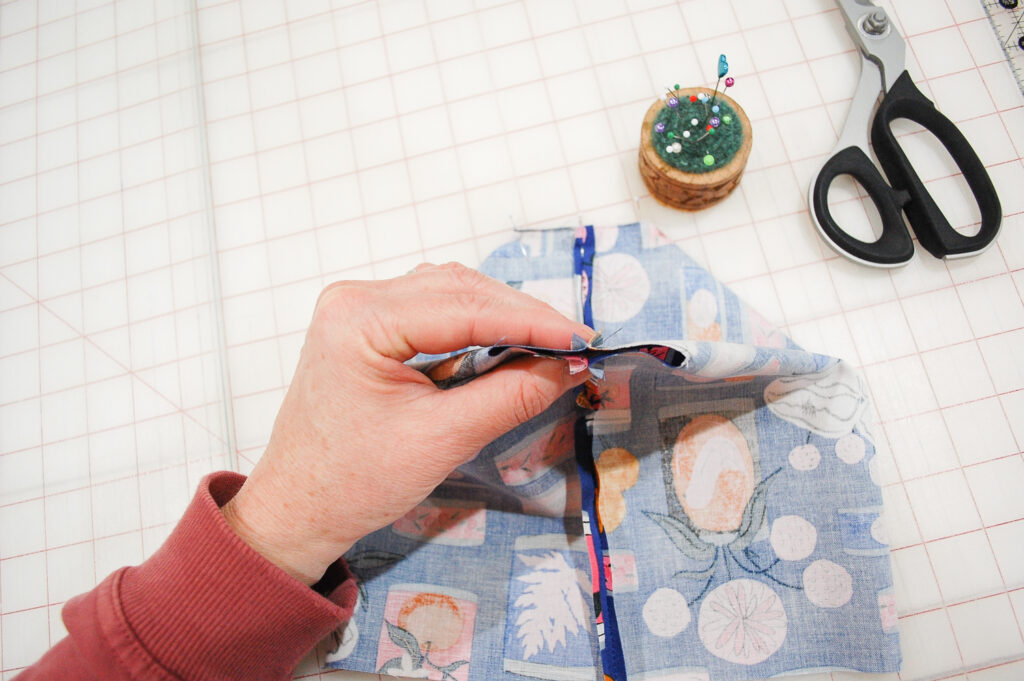
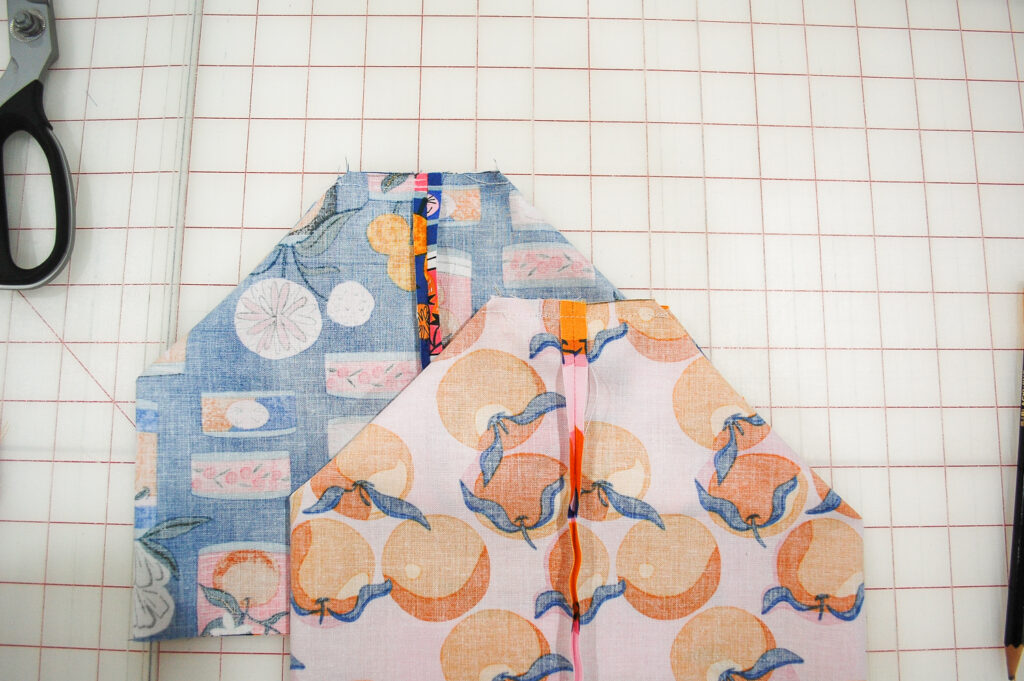
Tip for One-Directional Fabric: If your fabric has a pattern running in one direction, you may need to rotate one piece of fabric. Cut both the exterior and interior fabrics in half to measure 10″x 9″, then rotate one of the halves 180 degrees. Sew them back together with a 1/4″ seam allowance to keep the pattern aligned correctly. Skip this step if it’s not a concern.

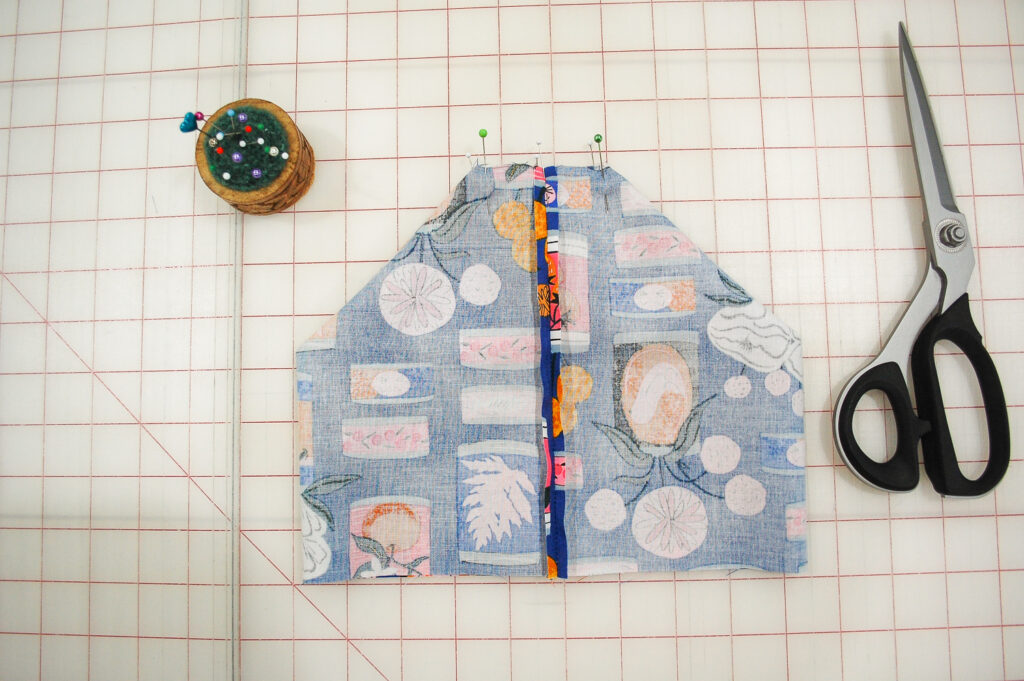
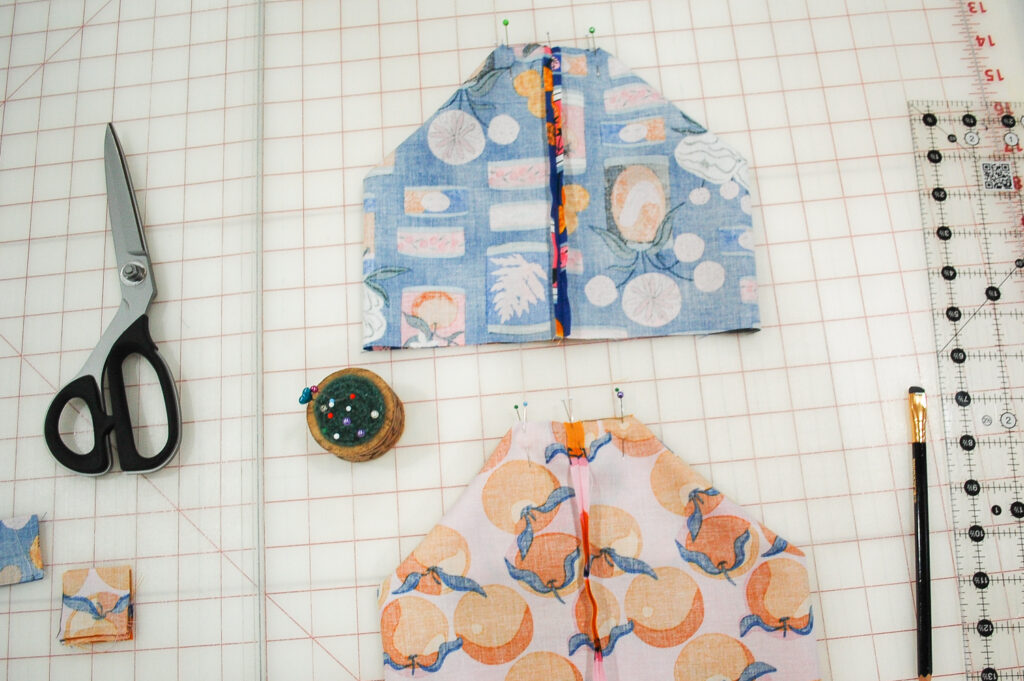
Step 2: Sew the Bag Sides
Fold the interior fabric in half with right sides together and pin along the sides. Do the same for the exterior fabric. Sew along both sides with a 1/4″ seam allowance, leaving the top open.
Step 3: Box the Corners
Mark a 1 1/2″ square on each of the bottom corners. Cut along the marked lines. Finger press the side seams open and align the side and bottom seams. Pin in place, making sure everything lines up perfectly. Sew along the marked line, backstitching to secure. Repeat for the other side.

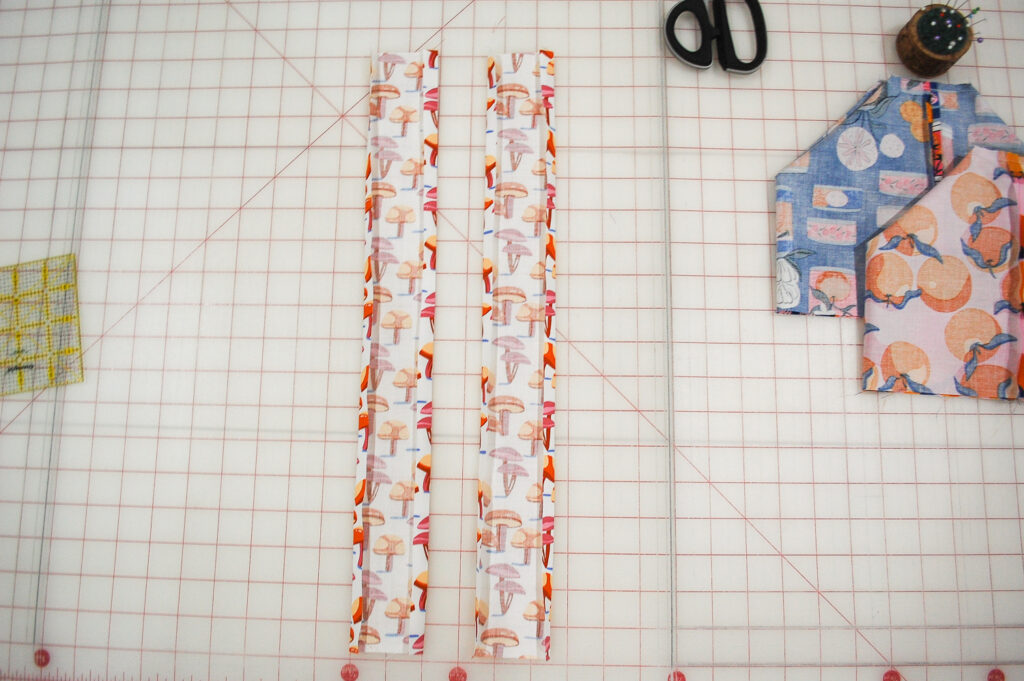
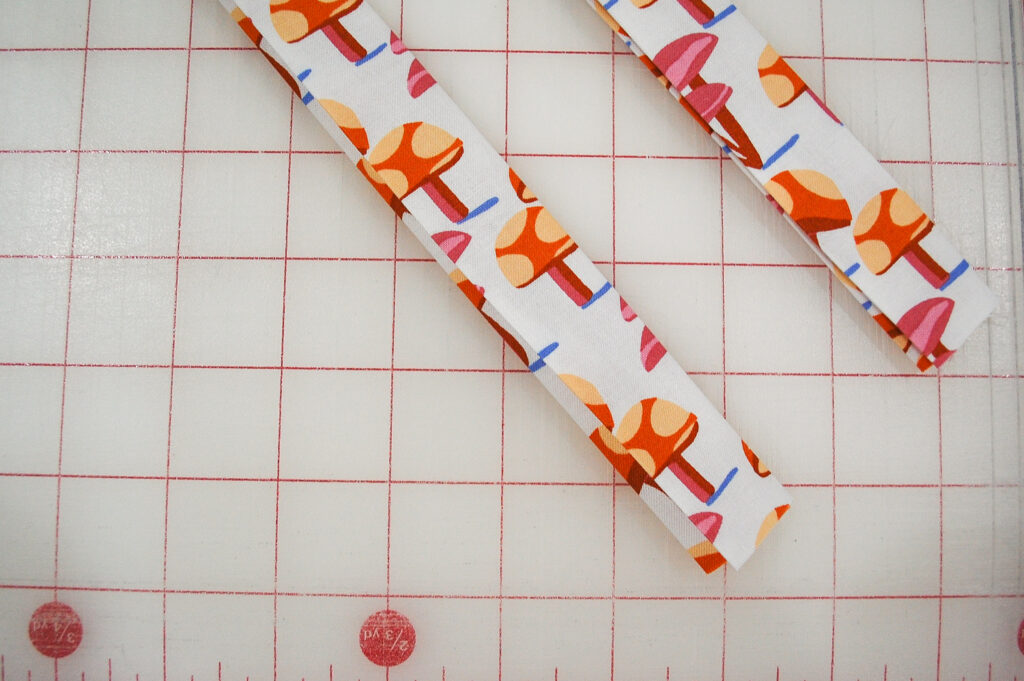
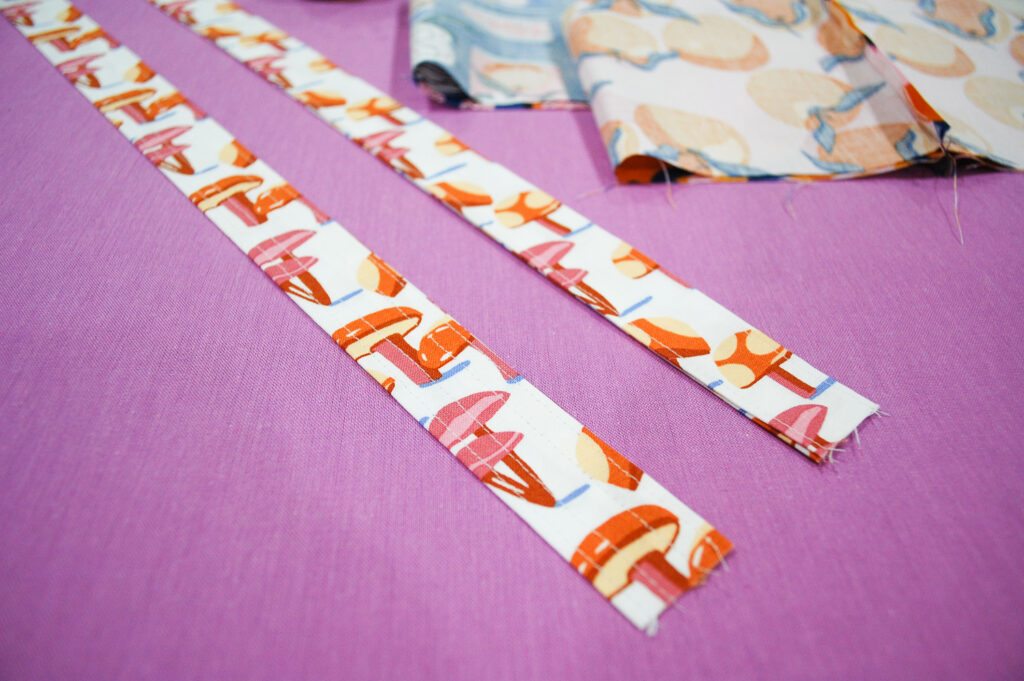
Step 4: Prepare the Bag Handles
Take the handle fabric and press 1/2″ on both long sides. Fold the strip in half and press. Sew 1/8″ from the edge of the open side. If desired, sew two additional lines about 1/4″ from the edge for added texture and durability.

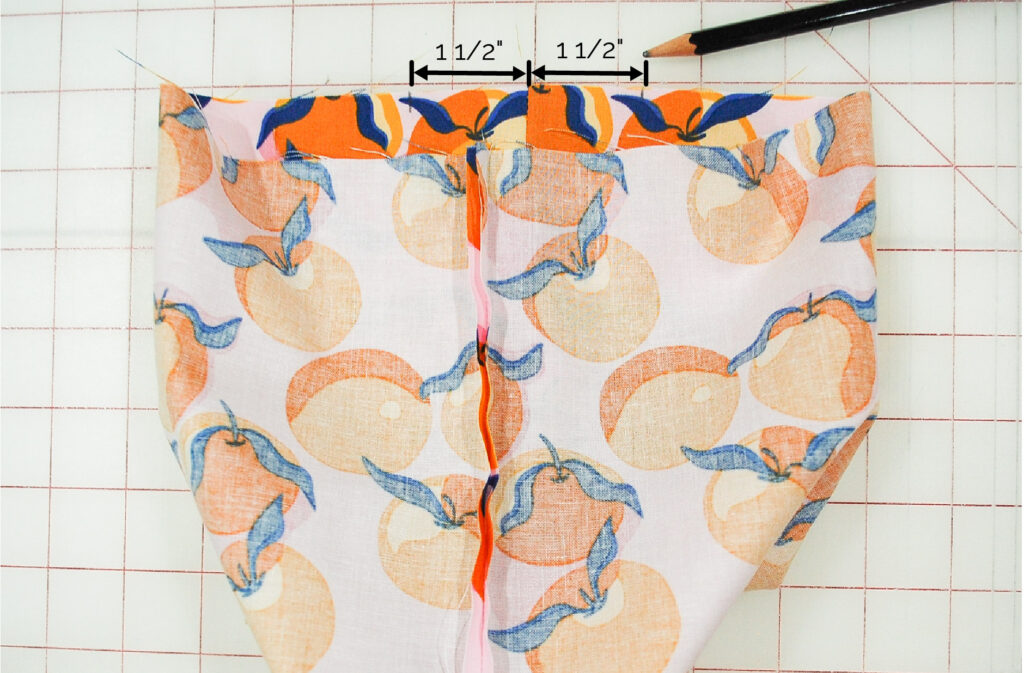
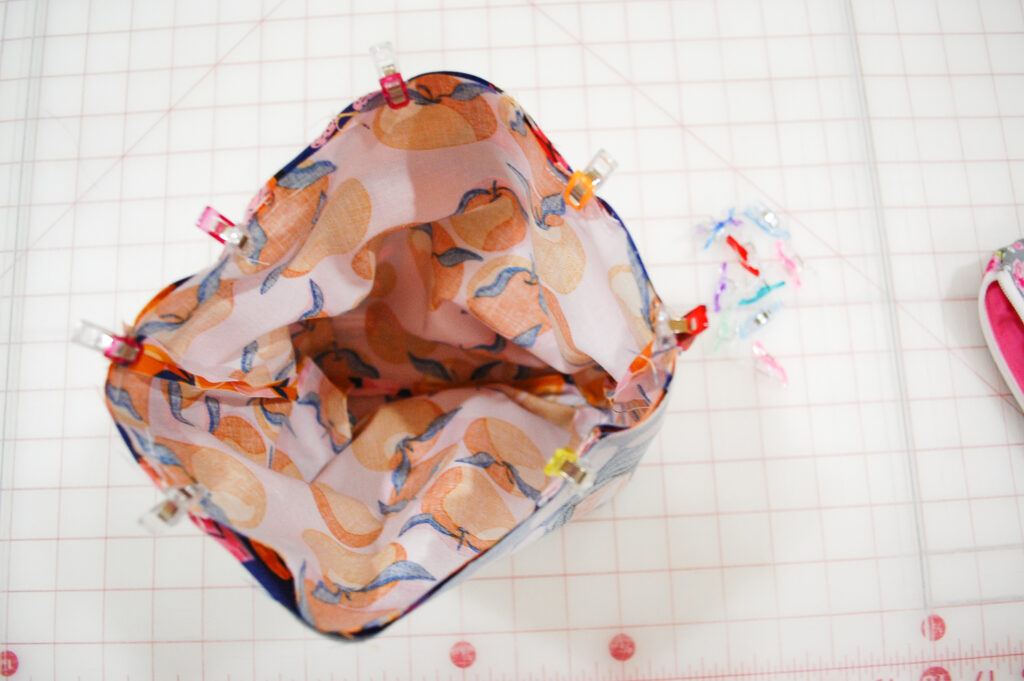
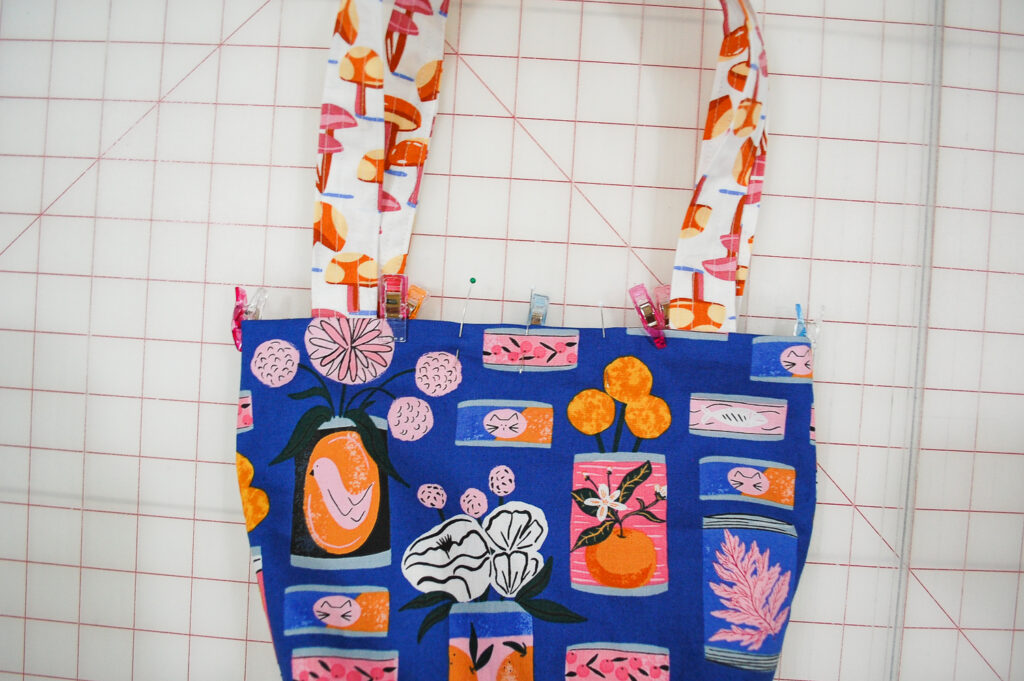
Step 5: Attach Handles to the Bag Liner
Turn the bag’s liner right side out and mark 1 1/2″ from the side seams on both sides of the liner. Pin the handles at these marks, then baste the handles in place using a 1/4″ seam allowance.
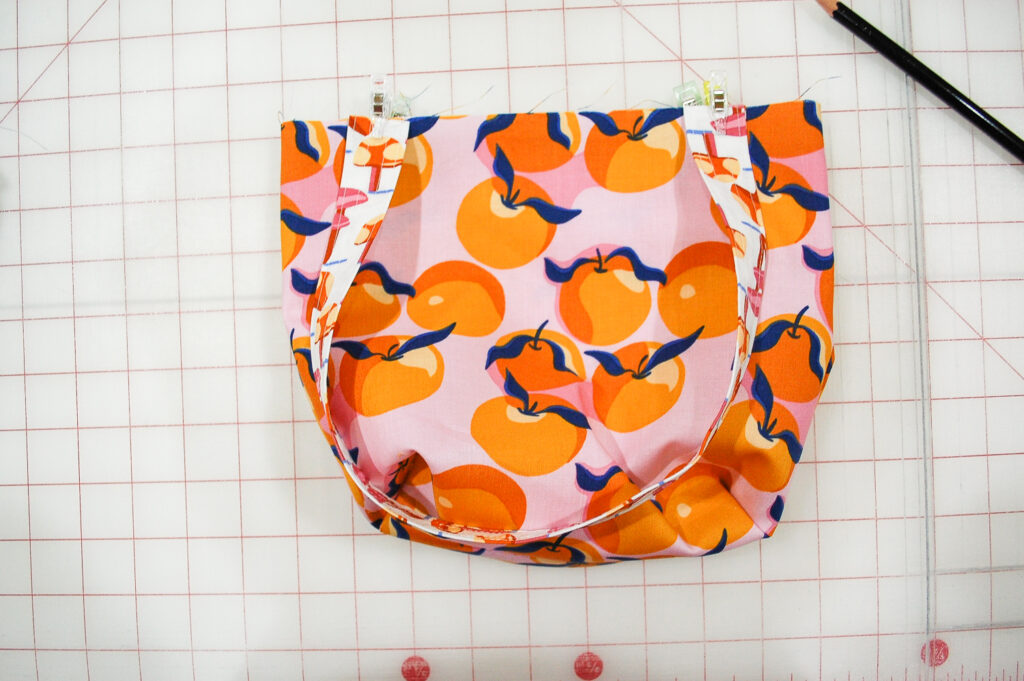
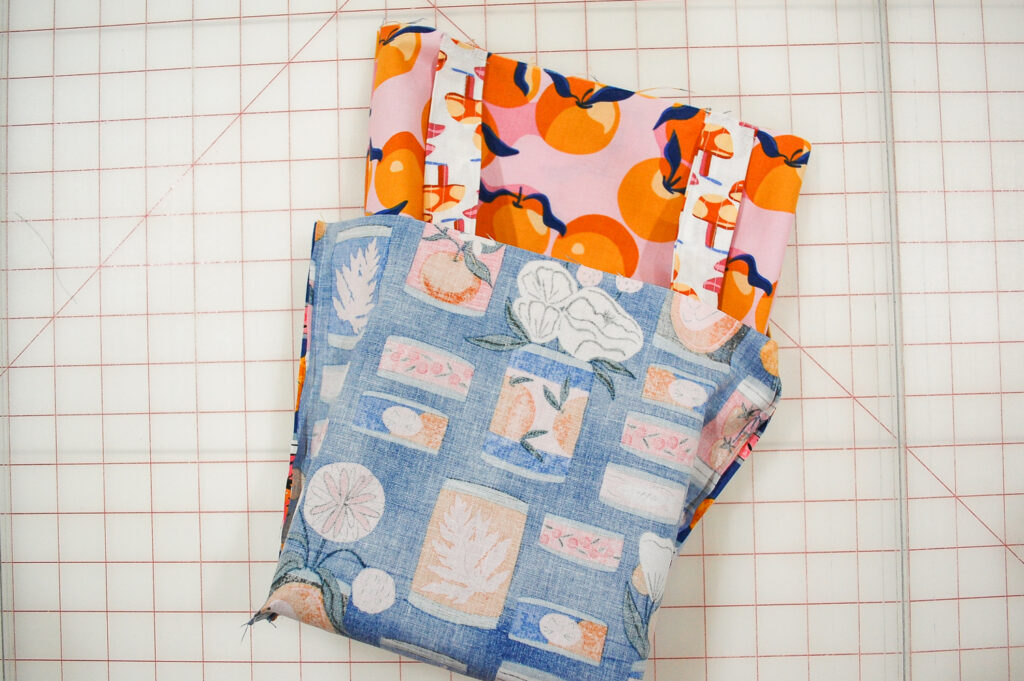
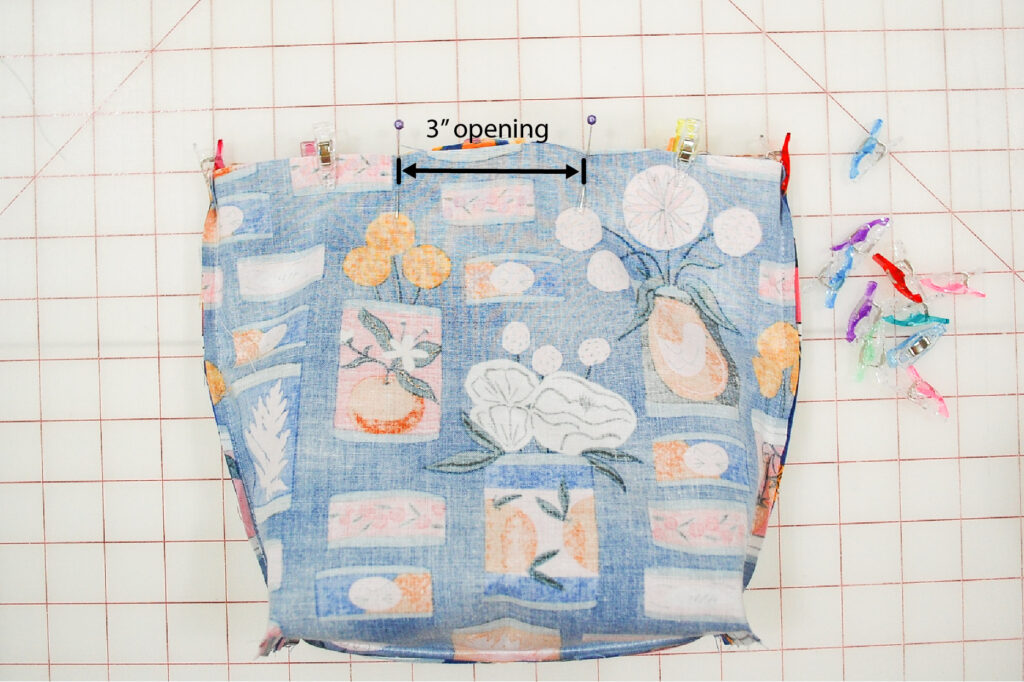
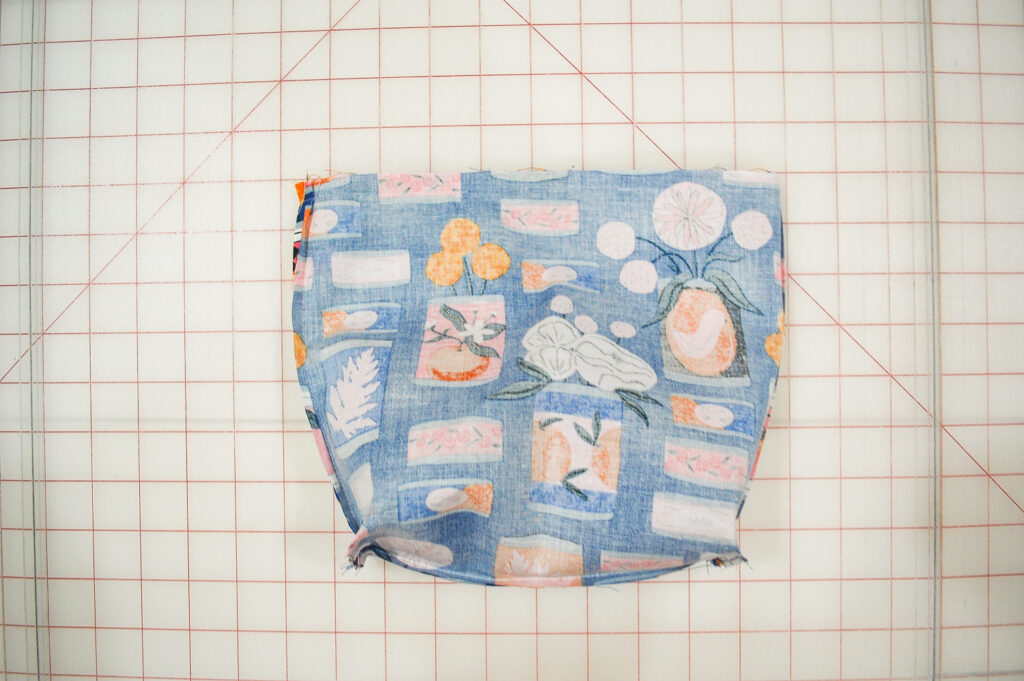
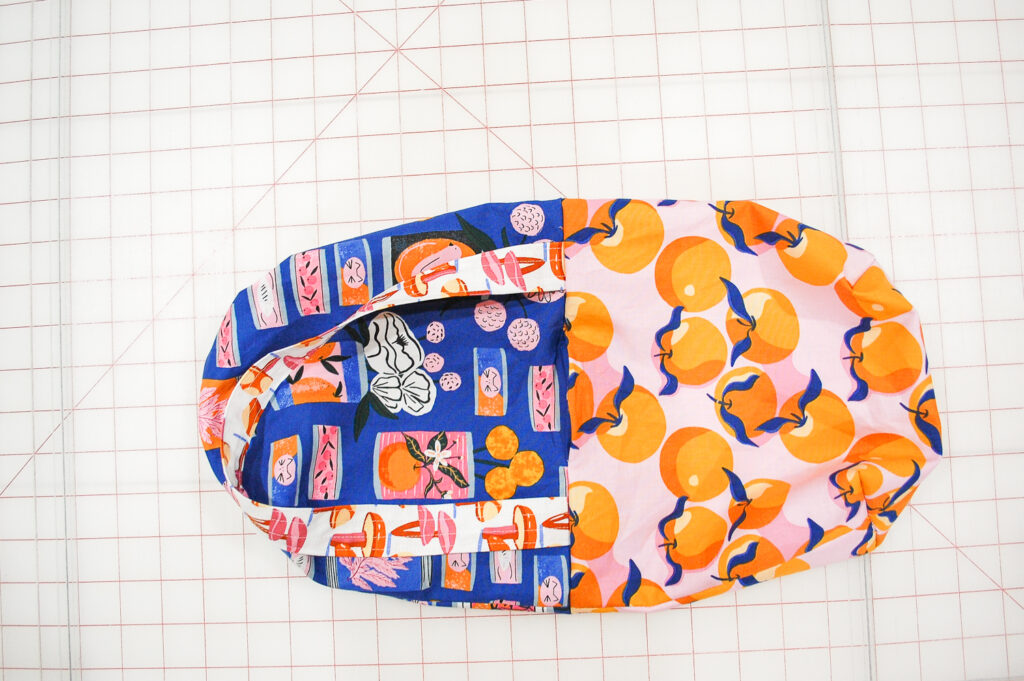
Step 6: Assemble the Snack Tote Bag
Place the interior bag inside the exterior bag with right sides facing each other. Make sure the handles are sandwiched between the layers. Pin all the way around the top, leaving a 3″ opening for turning. Sew along the edge with a 3/8″ seam allowance, leaving the 3″ gap. Carefully pull the bag right side out through the opening. Push the liner inside the bag and finger press the edges. Clip or pin in place to keep everything neat. Finally, edge stitch 1/8″ from the top edge to secure everything and close up the opening.
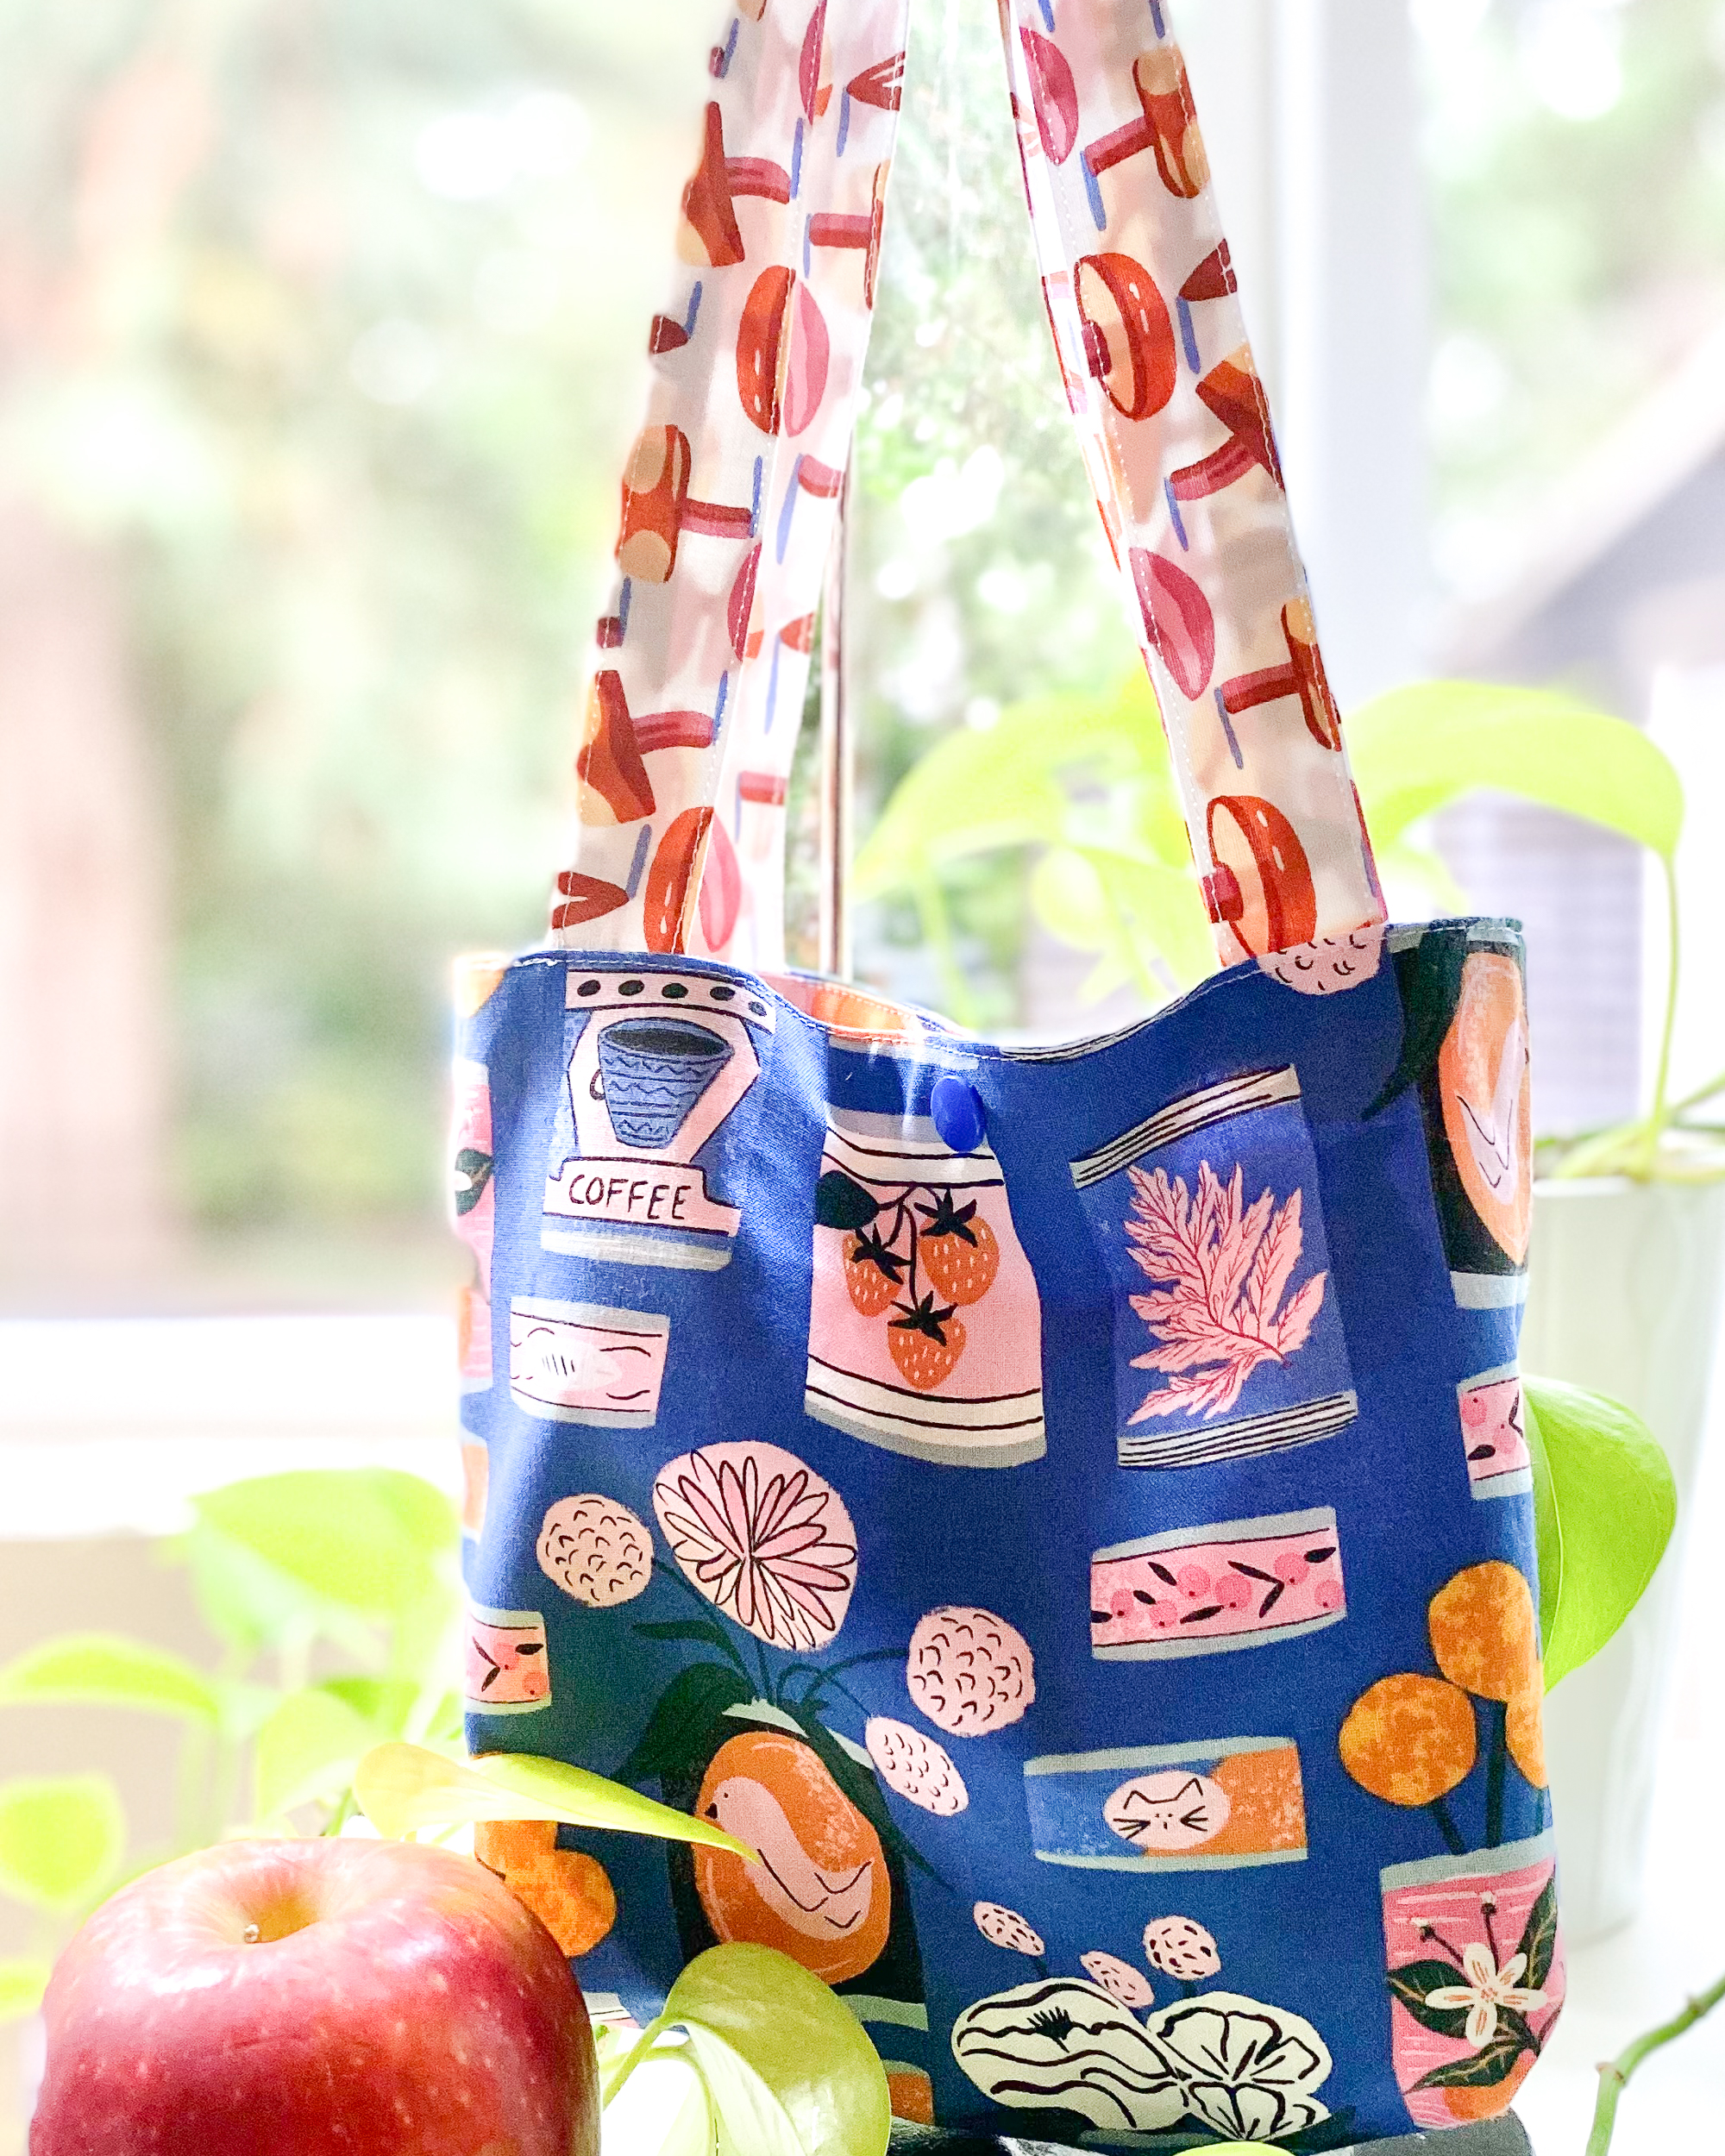
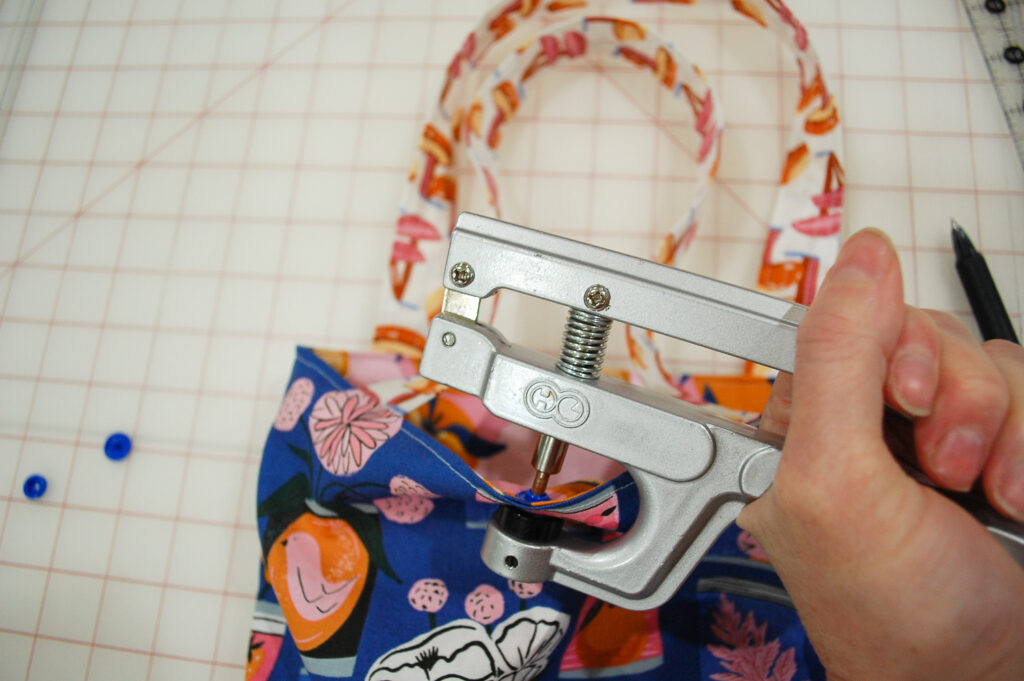
Step 7: Add an Optional Snap Closure
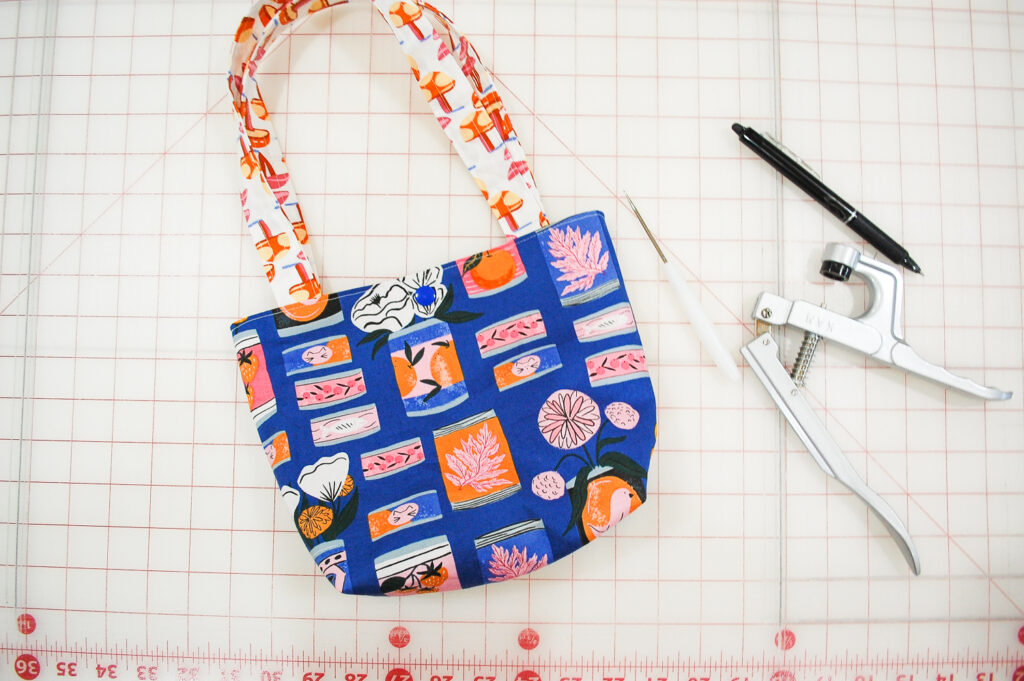
I use a plastic snap tool called KAM – find a similar plastic snap tool kit for fabric on Amazon or at your local craft store. Here’s how to attach it:
- Use the snap tool to press the snap together. Repeat the process on the other side of the bag with the matching snap button.
- Mark 1/2″ from the center top of the bag.
- Use the hole punch tool to make a hole through the fabric layers.
- Insert the snap cover through the hole and attach the female button on the opposite side.
- Make a mark 1/2″ from the center top of the bag. Use the hole tool to punch through the layers of fabric.

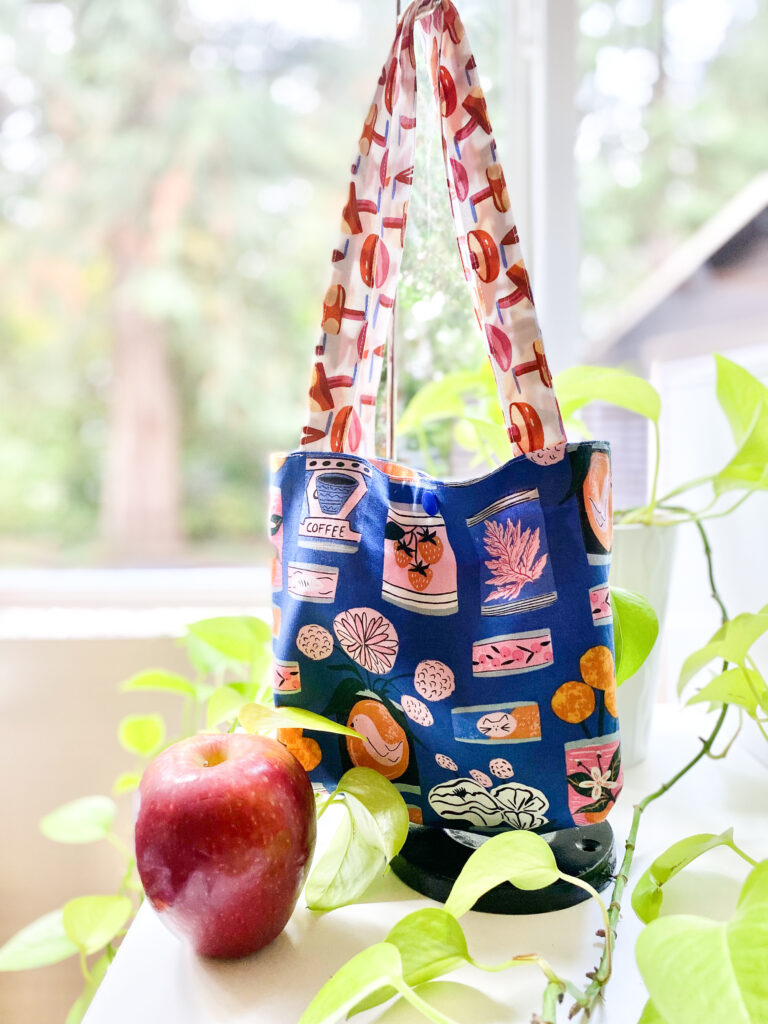
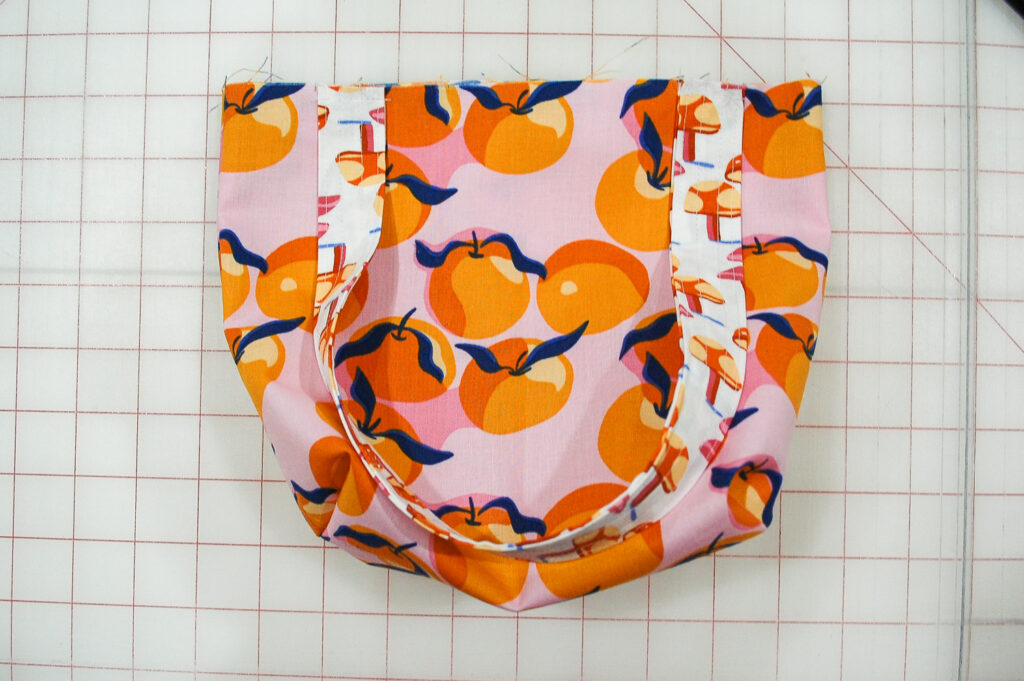
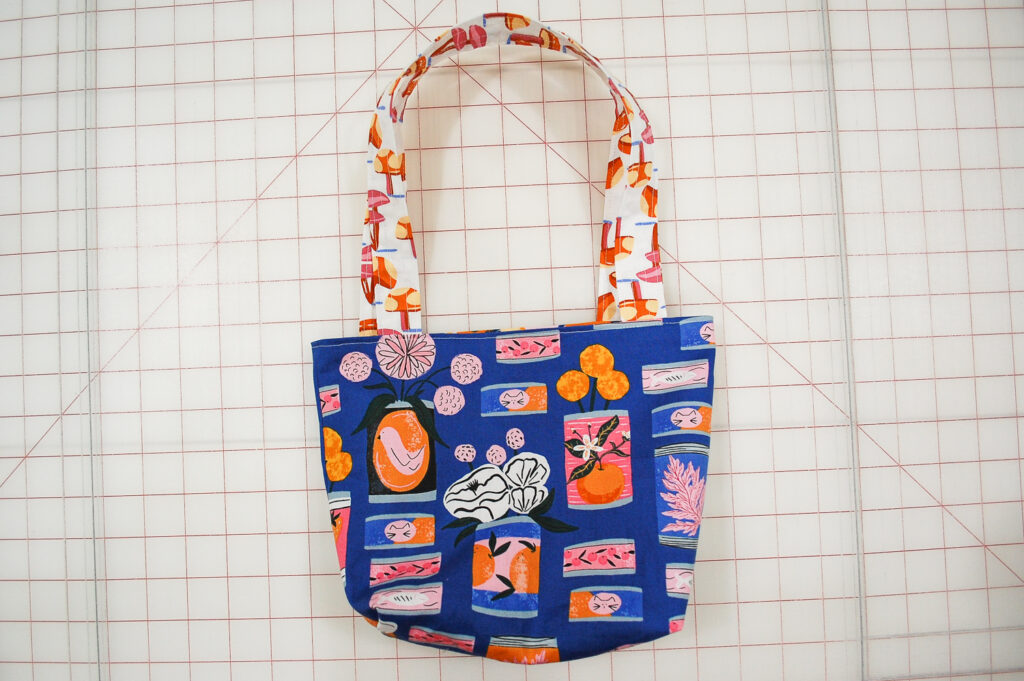
Final Thoughts
With this simple DIY tote bag tutorial, you can create your own snack bag that’s perfect for carrying treats, lunch, or small items on the go. Enjoy your finished snack bag!
Check out more free sewing projects here.