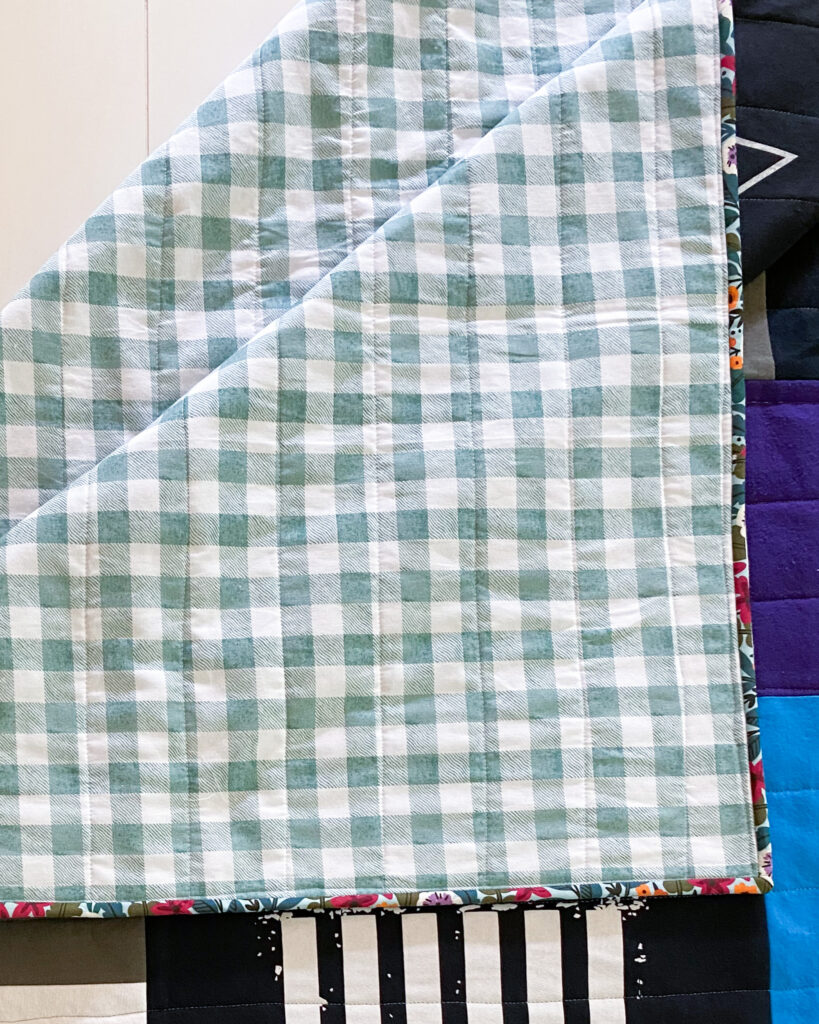
How to Bind a Quilt: A Step-by-Step Tutorial
If you’re wondering how to bind a quilt, you’re in the right place. This step-by-step tutorial will walk you through my favorite method for binding a quilt, with clear photos, helpful tips, and a full video walk-through—even if it’s your first time.
There’s something so satisfying about finishing a quilt—especially when you reach that final step: binding. Whether you’re just starting out or have been quilting for years, this part can feel like a big milestone. But with a few simple techniques, binding a quilt doesn’t have to be intimidating!
Ready to start a new project? [You can purchase the featured pattern here] (coming soon!) or explore my full collection of beginner-friendly quilt patterns in the shop.
Let’s get started!
And if you like staying organized while you sew, check out my free Quilt Project Tracker to help you plan and keep track of all your projects.
Calculate How Much Binding You Need
To figure out how much binding you’ll need, follow these simple steps:
- Measure the perimeter of your quilt
Add up the length of all four sides. Then add an extra 15 inches to allow for joining the ends and a little wiggle room.
Example:
If your quilt measures 50 ½″ x 70 ½″:
50.5 + 50.5 + 70.5 + 70.5 = 242″
242″ + 15″ = 257″ of binding needed - Calculate the number of strips
Divide the total binding length by the usable width of your fabric (usually 42″).
257″ ÷ 42″ = 6.12 → round up to 7 strips - Figure out how much fabric to cut
Multiply the number of strips by the width of your binding strips.
* For 2 ½″ wide binding: 7 strips × 2.5″ = 17.5″ (you’ll need ½ yard of fabric)
* For 2 ¼″ wide binding: 7 strips × 2.25″ = 15.75″ (still round up to ½ yard)
This method works for any quilt size — just plug in your own measurements!
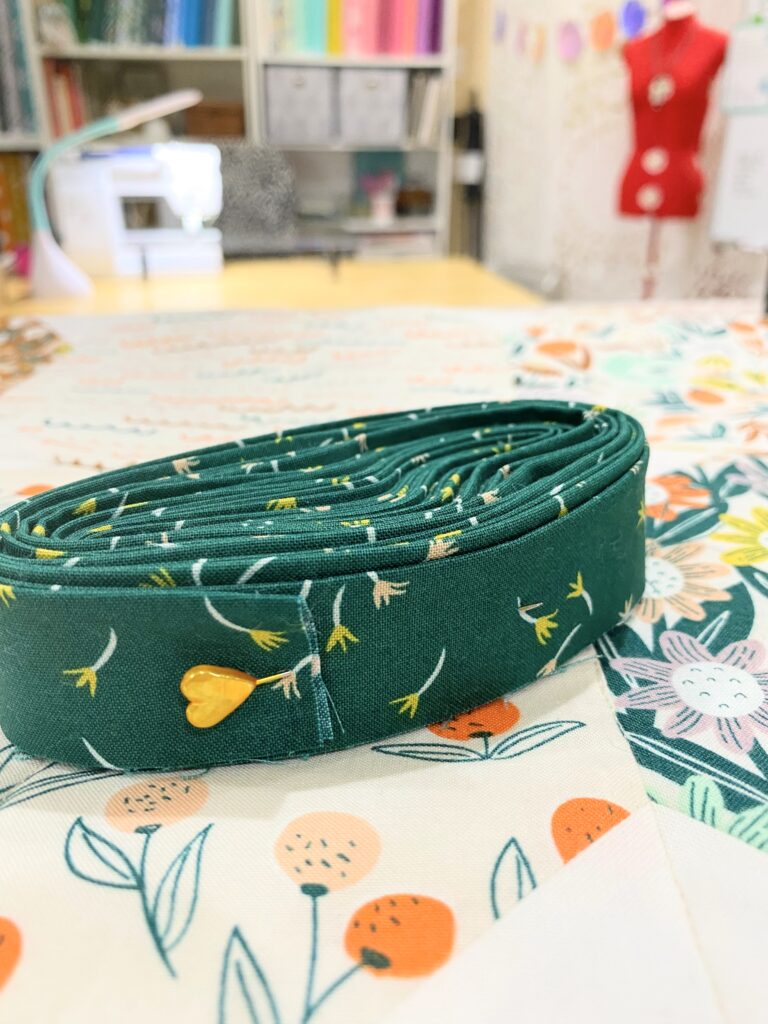
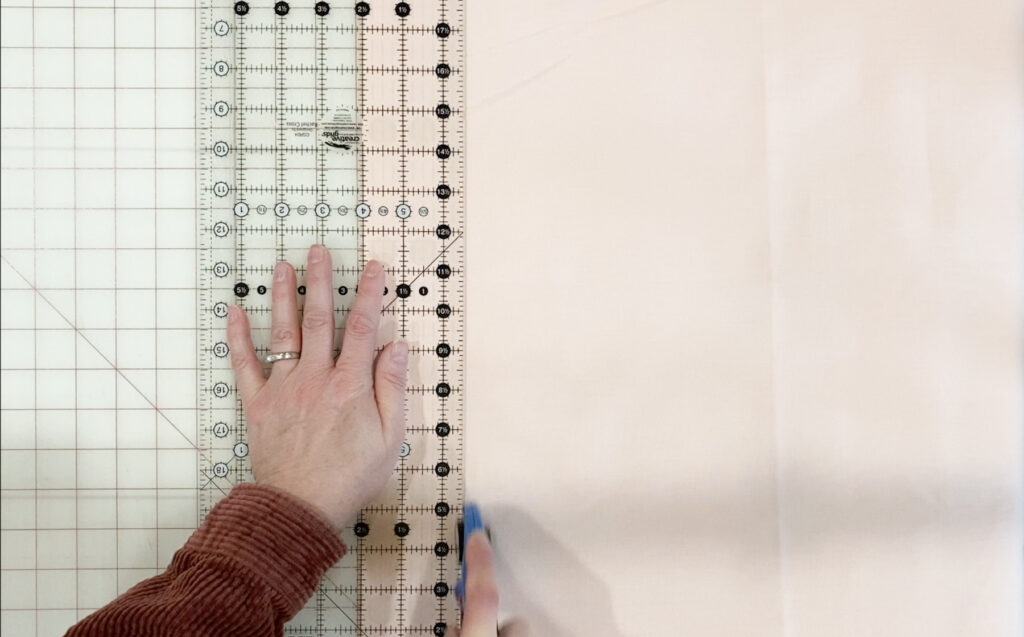
Prepare The Binding
The number of binding strips you’ll need depends on the size of your quilt. Once you’ve calculated how many strips are required (see the section above), cut that number of 2 ½” x width-of-fabric strips from your binding fabric. For this example quilt, you’ll need (7) 2 ½” strips.
Next, join the binding strips:
- Place two strips right sides together at a 90° angle, forming an “L” shape.
- Use a ruler to draw a diagonal line from corner to corner.
- Pin the strips in place.
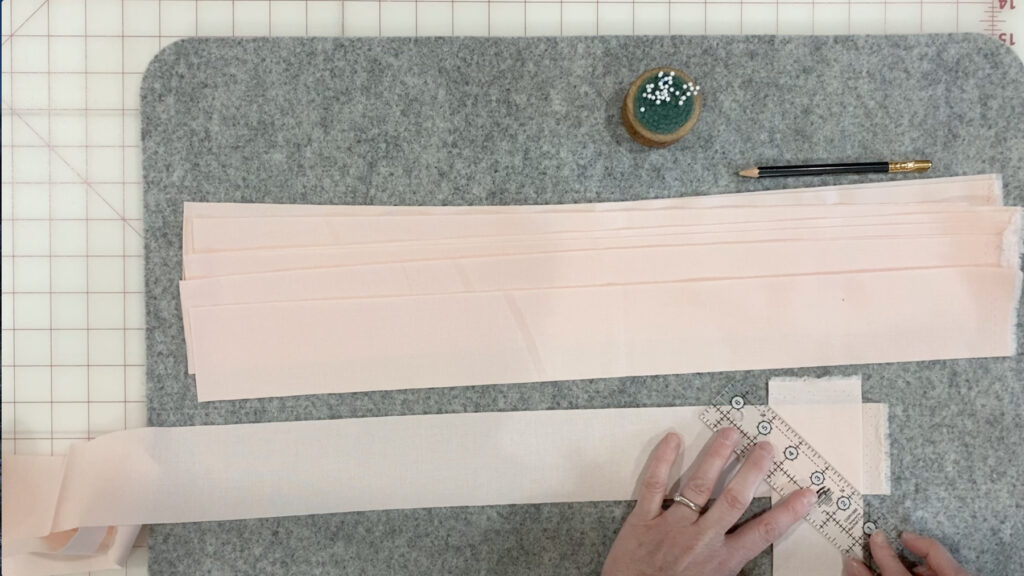

- Sew along the drawn line, then trim the seam allowance to ¼”.
- Press seams open to reduce bulk.
Repeat until you have one continuous binding strip.
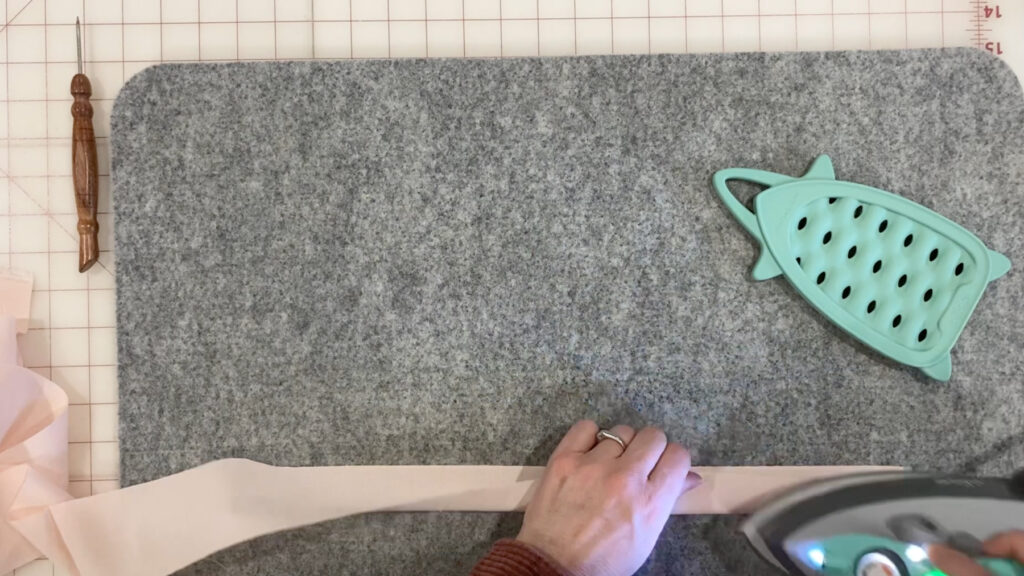
Next, press the binding strip in half lengthwise with wrong sides together.
Watch the full process
Prefer to see it in action? I filmed the entire binding process — from cutting strips to attaching the binding. I hope it clears up any confusion!
Sewing the Binding to the Quilt
- Start by laying your quilt flat. Beginning at the center of one side, align the raw edges of the folded binding with the raw edge of the quilt.
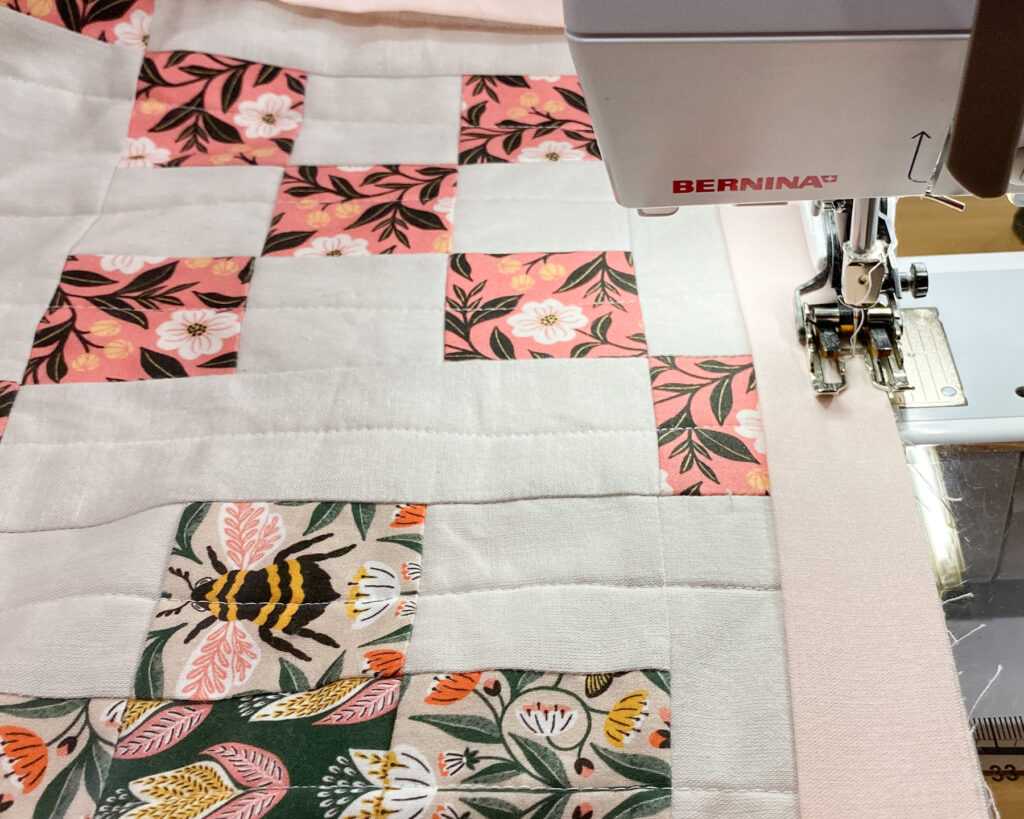
- Leave a 12″ tail of binding unsewn at the beginning. Sew along the edge with a ¼” seam allowance. Stop ¼” from the corner and backstitch. Remove the quilt from your machine.

- To turn the corner:
- Fold the binding strip up at a 45° angle.
- Fold it back down so the raw edge aligns with the next side of the quilt, creating a mitered corner.
- Continue sewing around the quilt in this way, mitering each corner, until you are about 12″ from where you started. Backstitch and remove the quilt from the machine.
Join the Binding Ends
To join the binding ends:
- Lay the quilt flat.
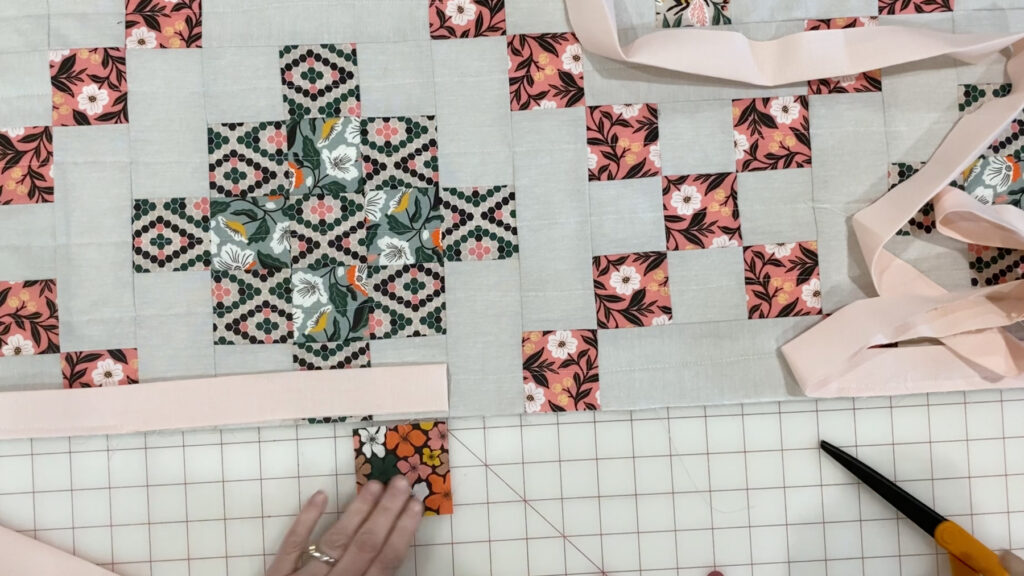
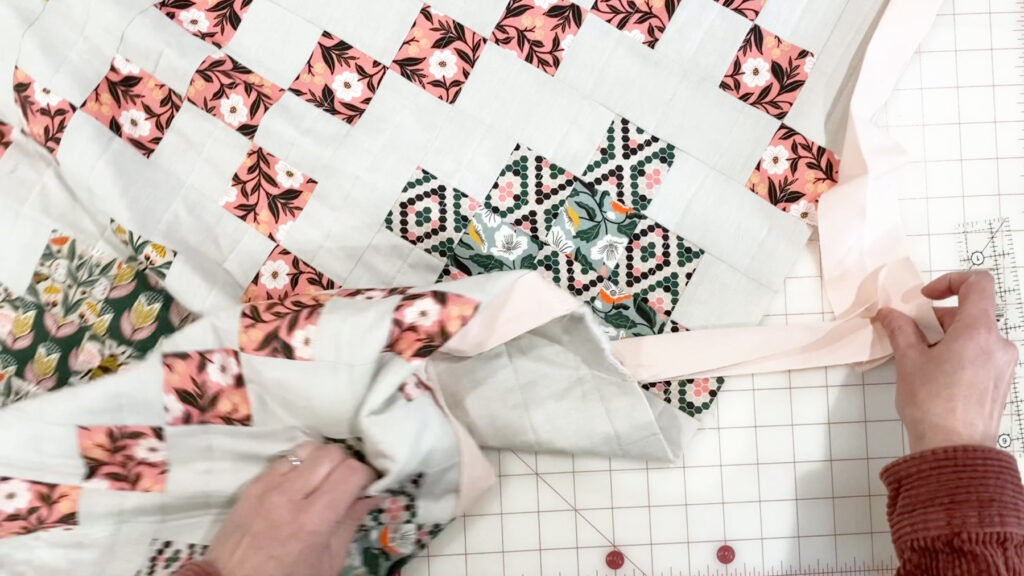
- Trim the binding tails so they overlap by 2 ½”. Tip: use a 2 1/2″ square of fabric as your guide as shown.
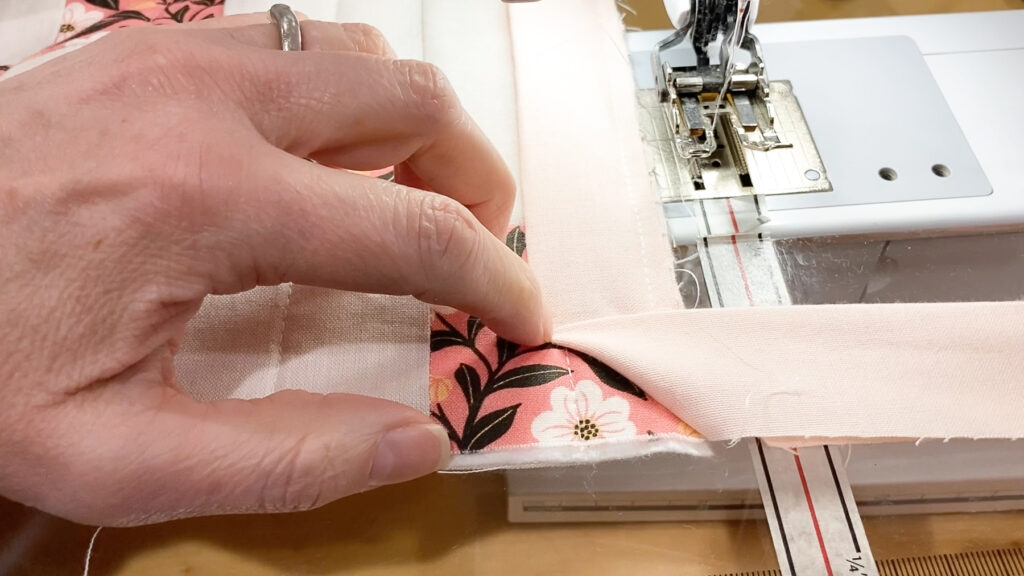
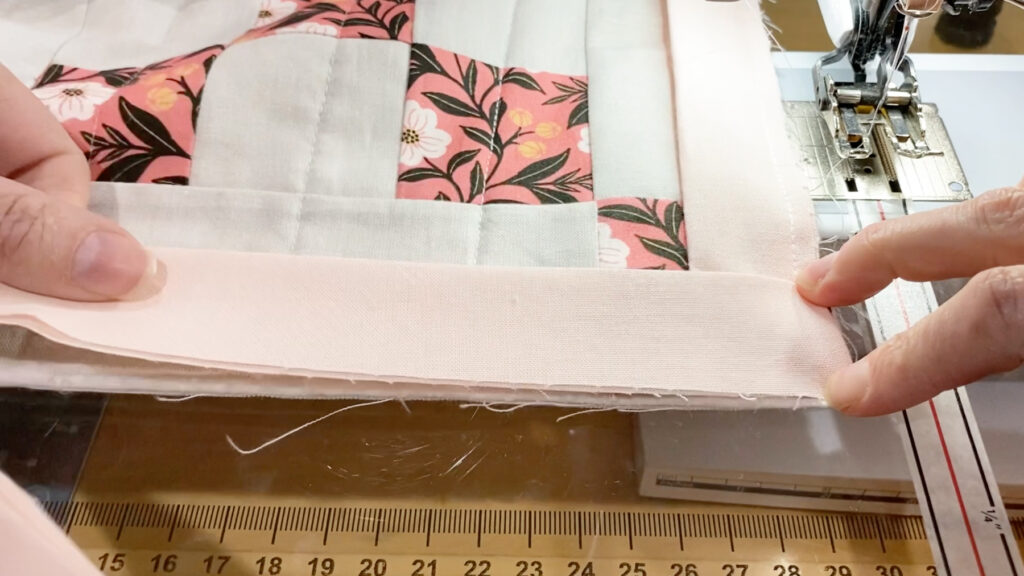
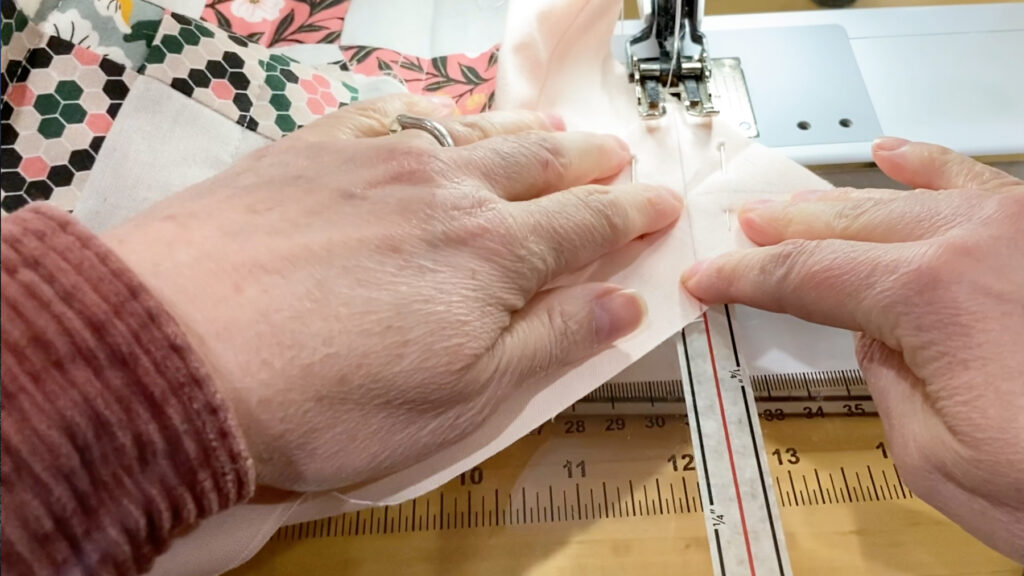
- Open the binding ends and place them right sides together at a 90° angle.
- Draw a diagonal line from corner to corner, pin, and sew.

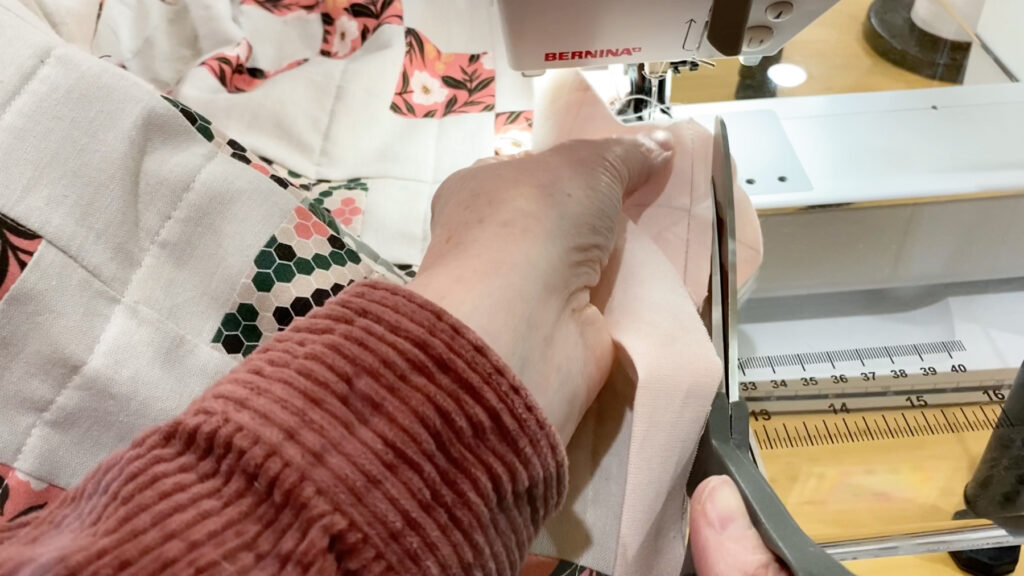
- Trim the seam to ¼”, press open, and finish sewing the last section to attach the binding fully.
Finish the Binding
Fold the binding over to the back of the quilt and secure it in place using your preferred method:
To finish by hand: Use a needle and thread to hand stitch the folded edge of the binding to the back of the quilt with a blind or slip stitch. This creates an almost invisible finish from the front.
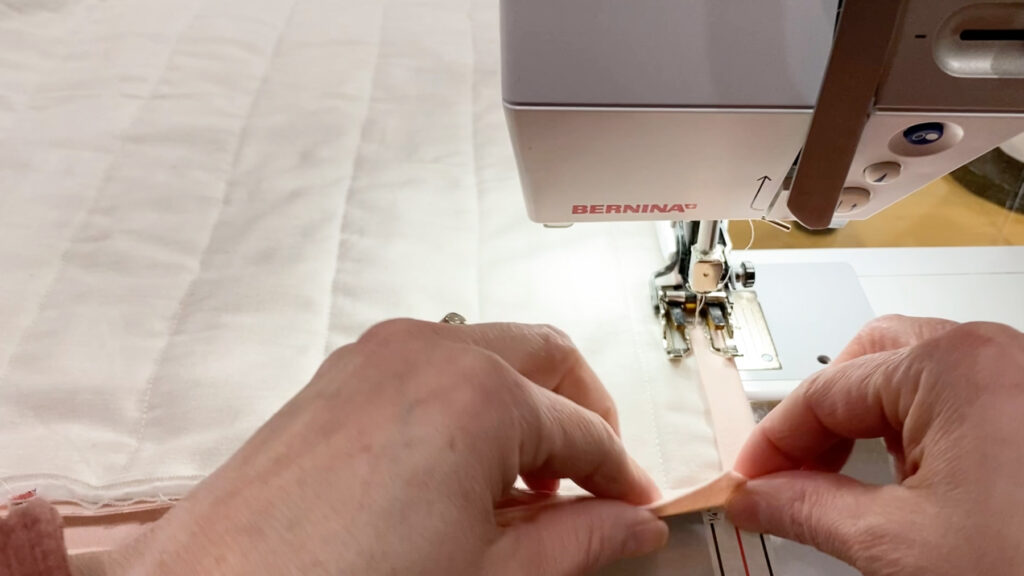
To finish by machine: Fold the binding to the back of the quilt, and sew it ⅛” away from the open edge for a secure finish with a visible seam line on the front. The sewing line blends in and looks like one of your straight stitch quilting lines if you use the same color of thread.
Alternatively, you can fold the binding to the back and secure it with pins or clips, then stitch close to the binding seam from the front of the quilt (also called stitching in the ditch) to catch the folded edge on the back.
You’re finished!
I hope this step-by-step tutorial helped make the binding process easier. I’d love to see your finished quilt — tag me on Instagram @tangledthreadsbyjen so I can cheer you on!