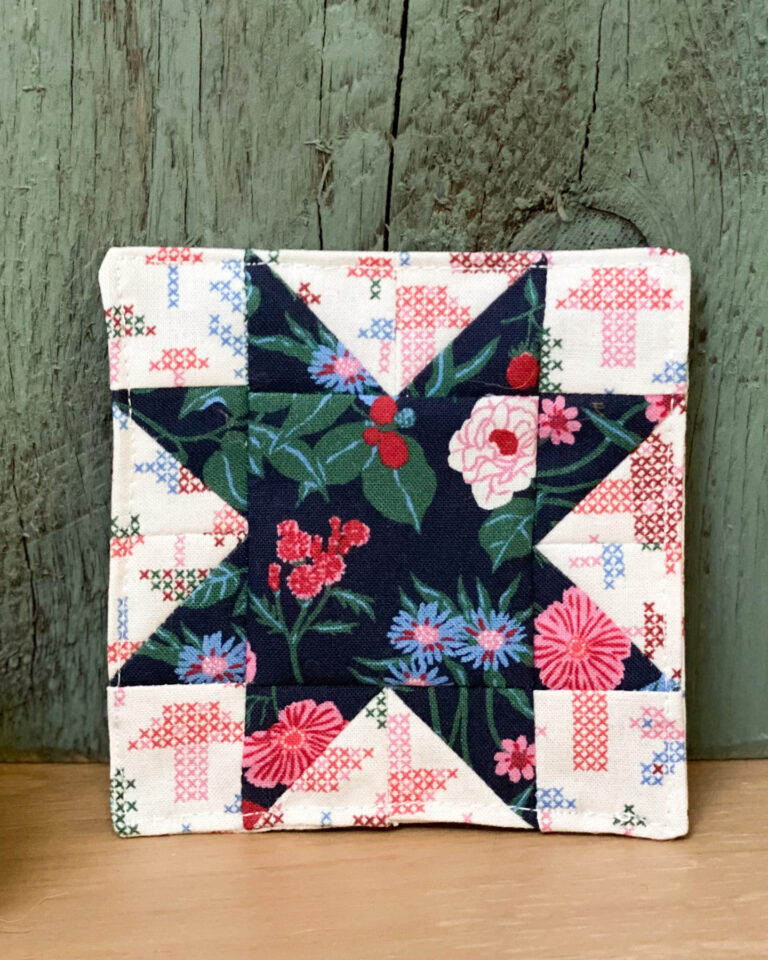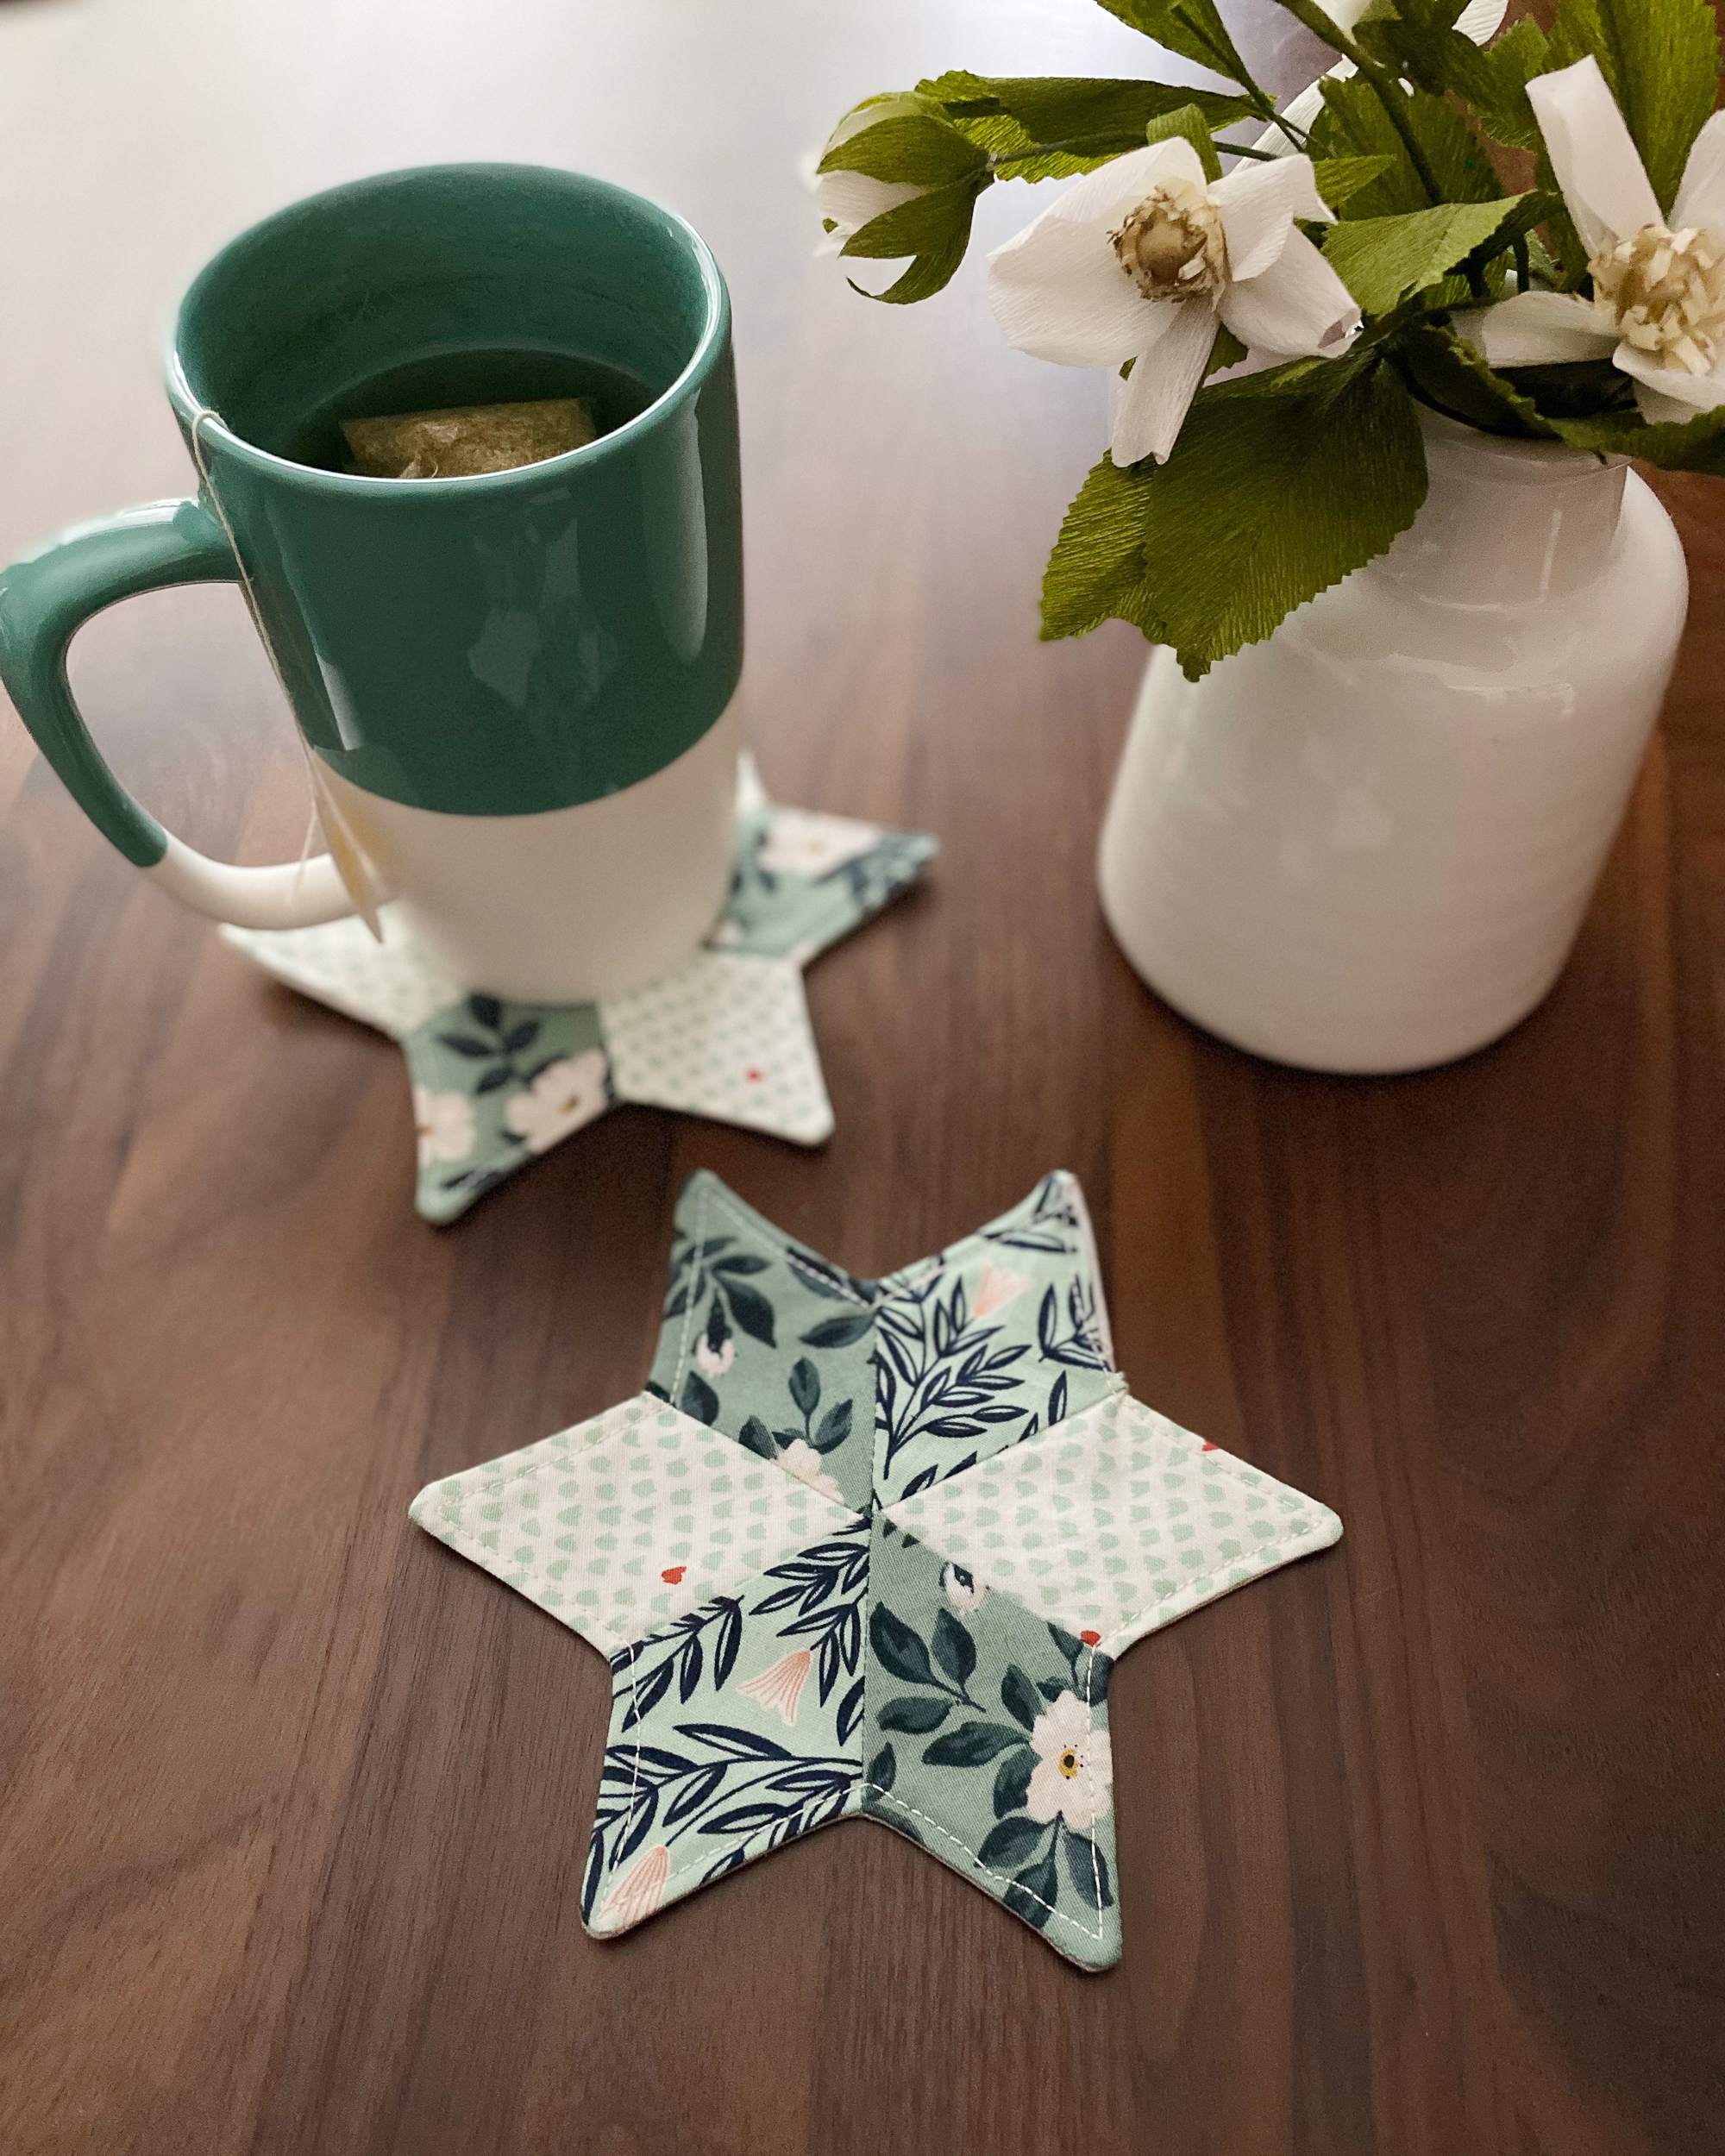
Star Coffee Coaster Tutorial – A Quick Handmade Gift Idea
Looking for a fast and thoughtful handmade gift? This star coffee coaster tutorial is the perfect weekend sewing project. You’ll use a simple diamond template and your favorite fat quarters to create a set of star-shaped fabric coasters—ideal for coffee, tea, or hot cocoa. These sew up quickly and make great gifts during the holidays (or any time of year!).

How do you sew a star coffee coaster?
To sew a star coffee coaster, cut six fabric diamonds using a printable template, arrange them in a star pattern, and sew them together. Add fusible fleece and a fabric backing, sew around the shape, and turn right side out. Finish with topstitching for a crisp, gift-ready look.
Star Coaster Materials
To make one coaster, you’ll need:
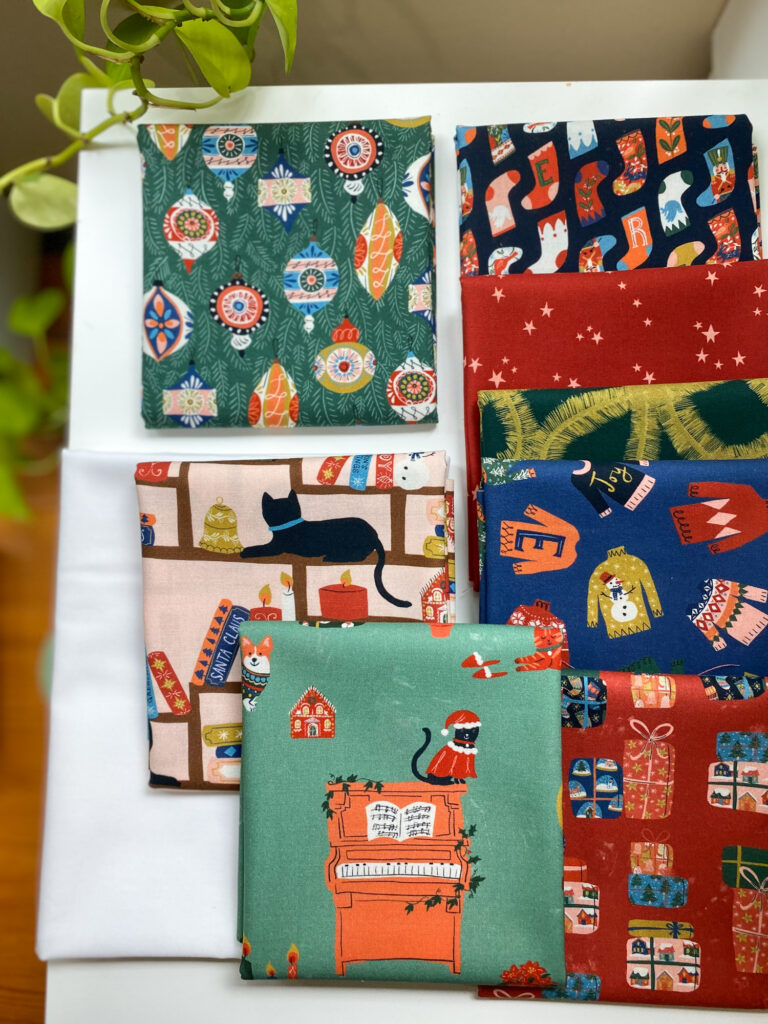
- Fat quarters (3 coordinating prints)
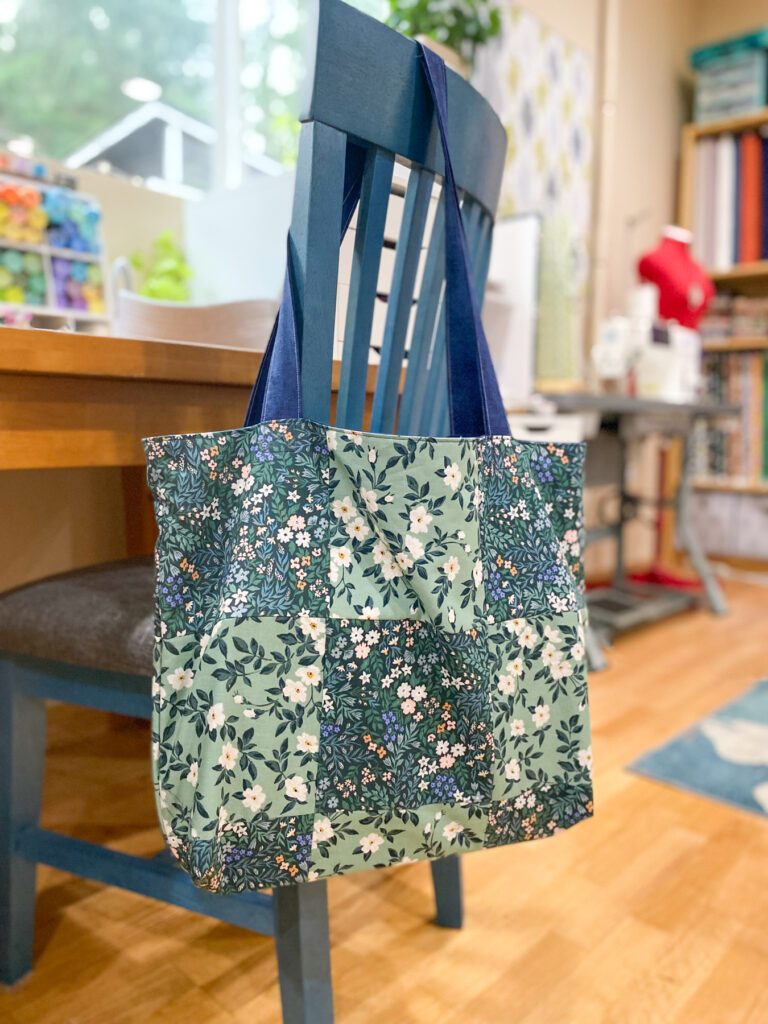
- Need fabric? Explore fat quarter bundles in my shop here.
- Star Coaster Template
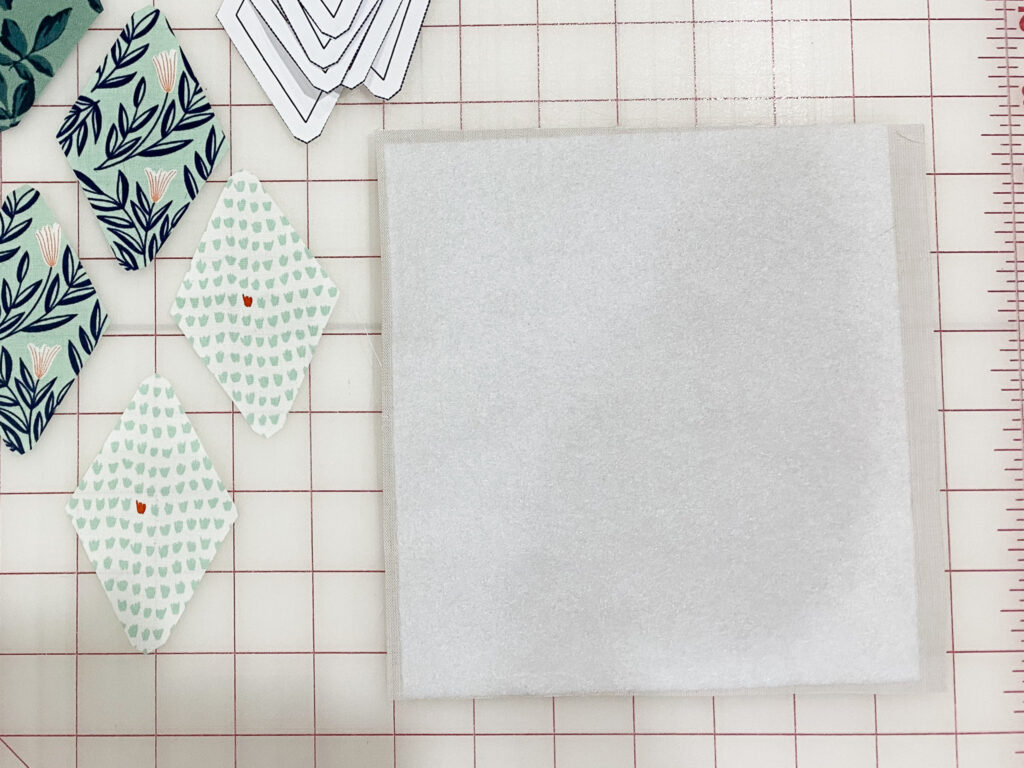
- 7″ square of solid fabric for backing
- Pellon Fusible Fleece 987F or quilt batting
- Point turner – I like the Dritz Bamboo Point Turner & Presser
- Basic sewing supplies
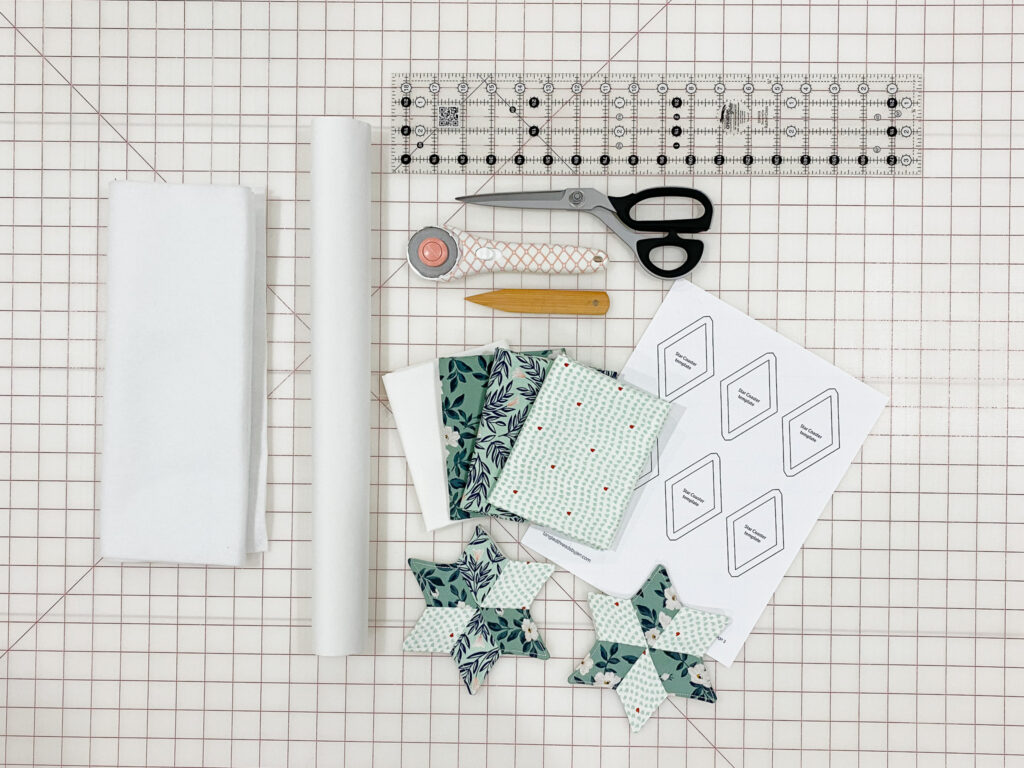
Cutting Instructions
To make one coaster, you’ll need:
- 6 diamonds cut from the Star Coaster Template
- 1 – 7″ square of backing fabric
- 1 – 7″ square of fusible fleece
There are two easy ways to cut out your fabric diamonds: the pin and cut method, or the freezer paper method. Here’s how to use both:
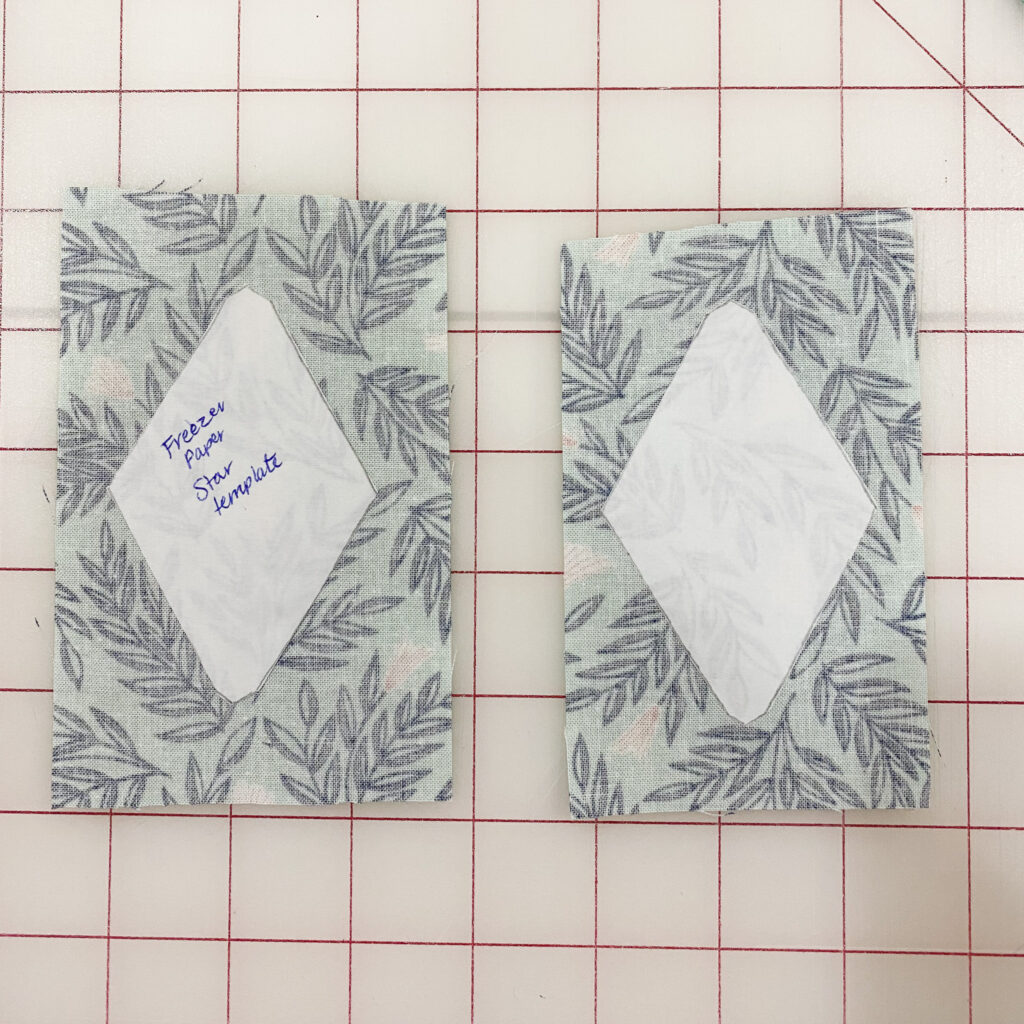
Pin and Cut Template Method
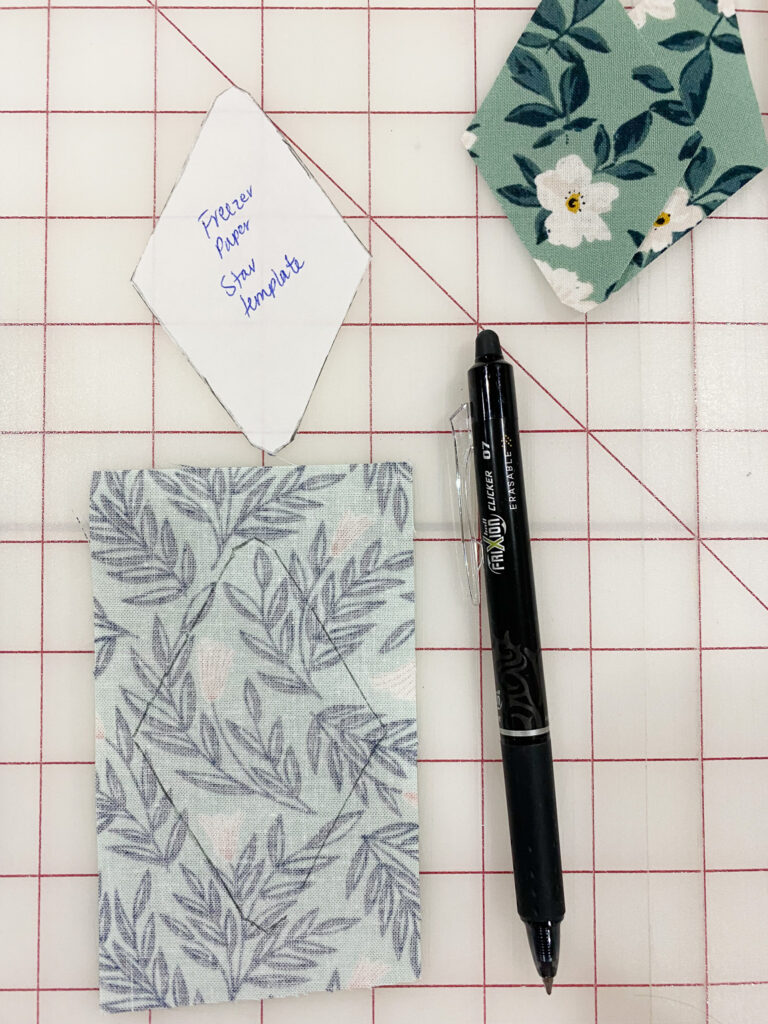
Print the Star Coaster Template and roughly cut out the diamond shape. Pin the paper directly to your fabric and cut out 6 diamonds.
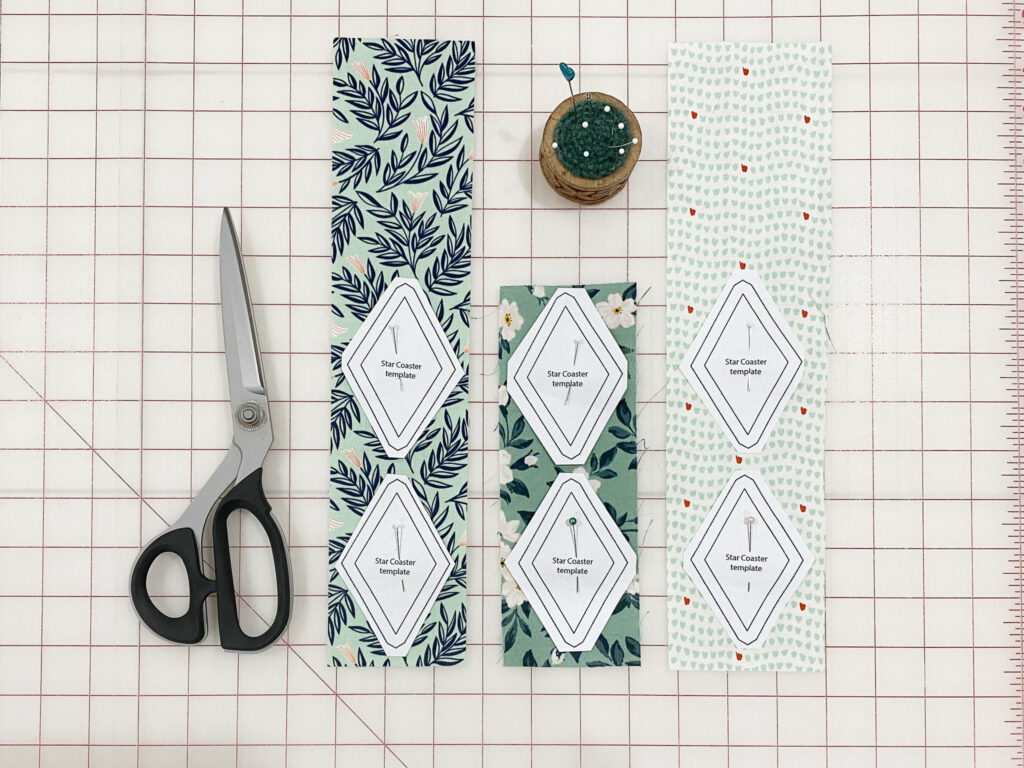
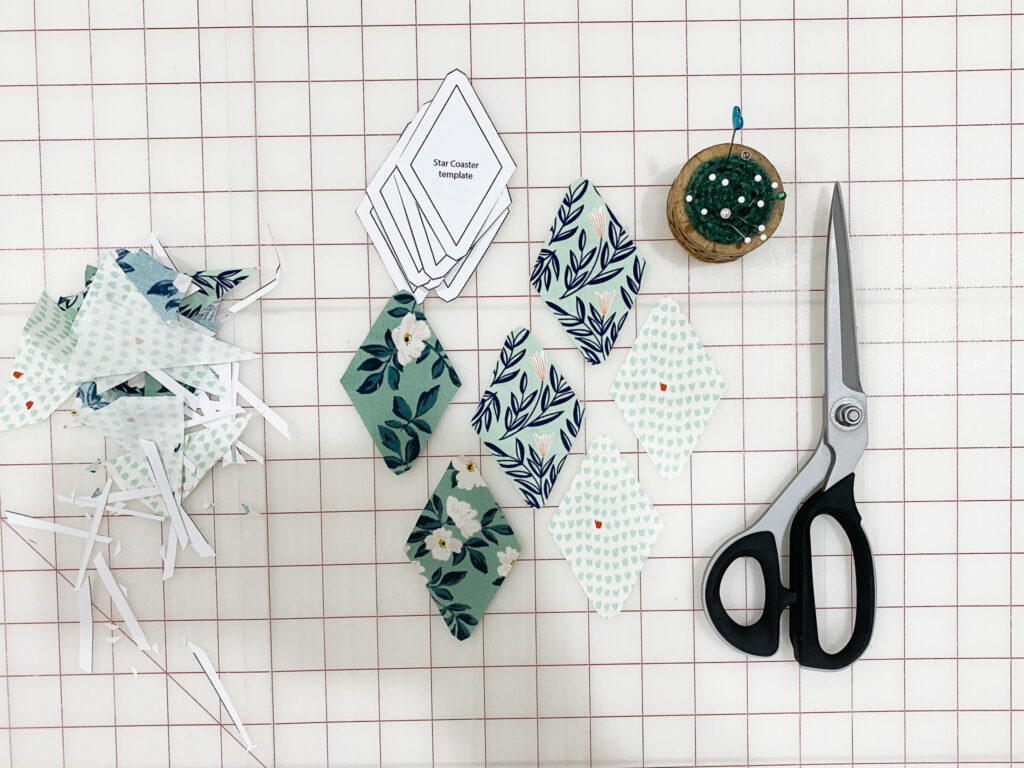
Freezer Paper Template Method
Trace the template onto freezer paper (just 1 or 2 copies is enough). Cut loosely around the shape, then iron the freezer paper shiny side down onto your fabric. Cut out the shape, peel off the paper, and reuse it. You can either trace around the paper or leave it on while cutting—it helps with accuracy.

Star Coffee Coaster Tutorial – Step-by-Step Instructions
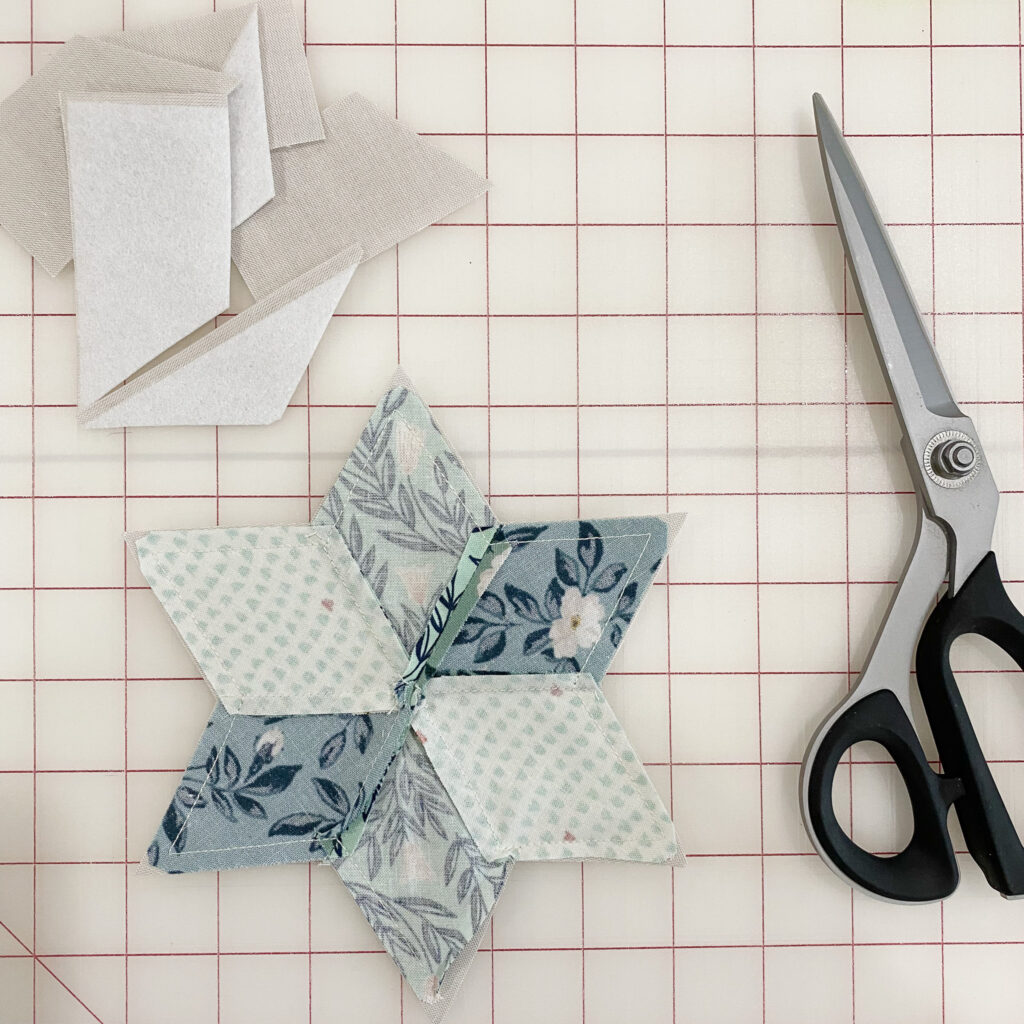
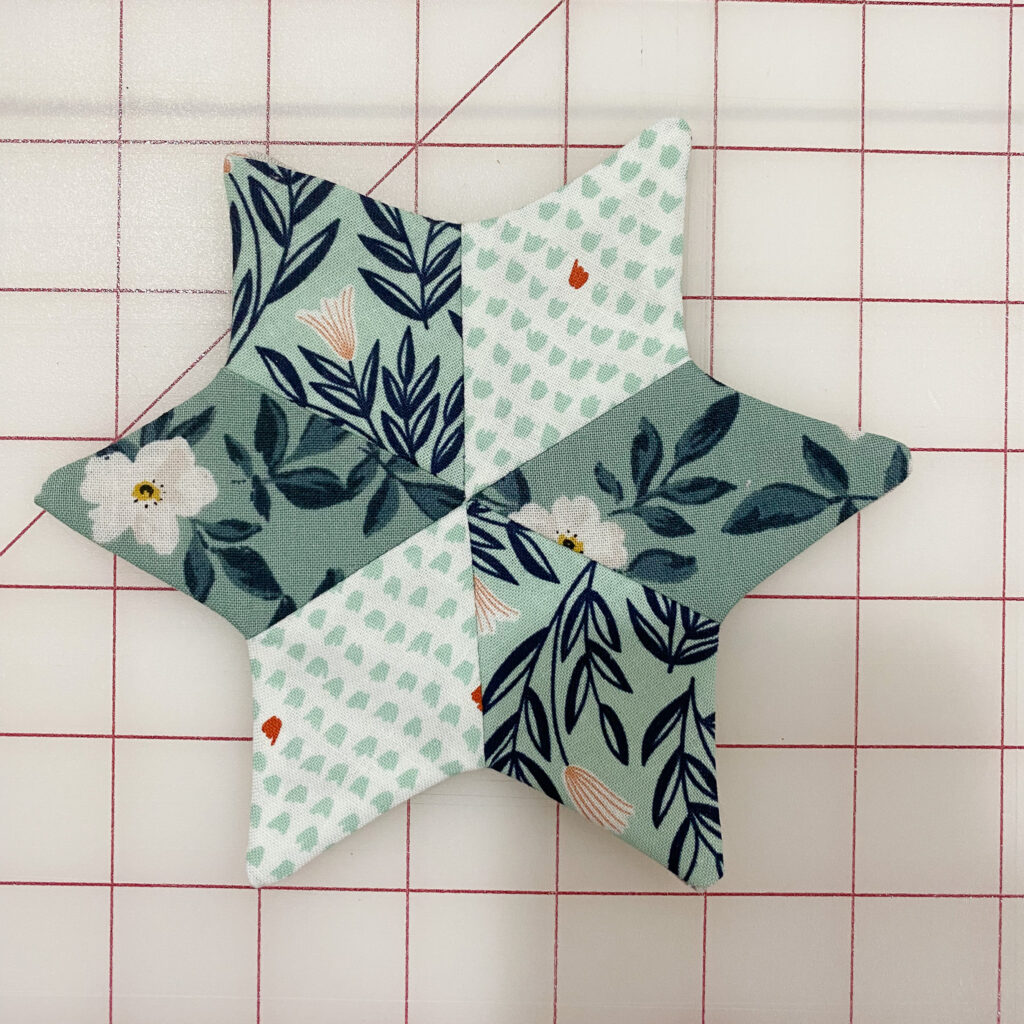
Step 1: Arrange the Diamonds
Lay out your 6 diamonds in a repeating pattern to create your star shape.
Step 2: Sew the First Two
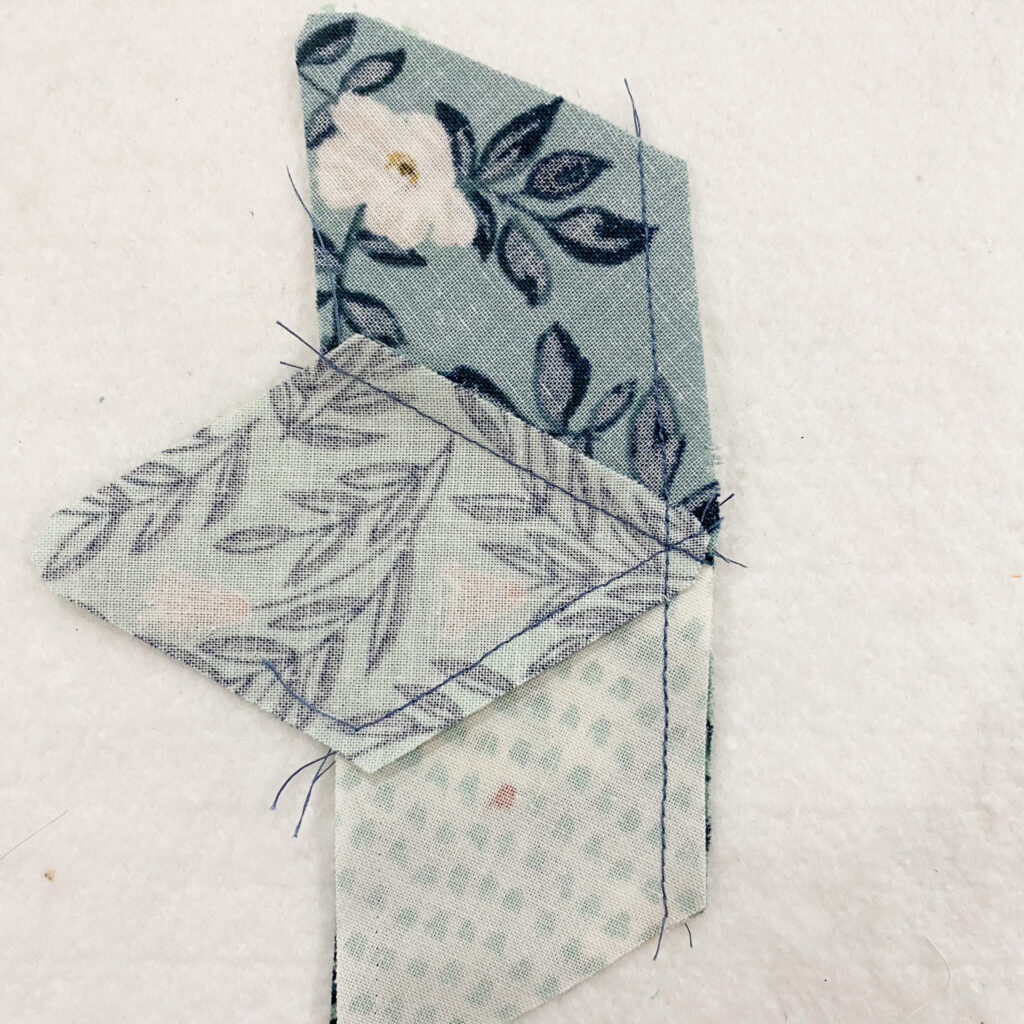
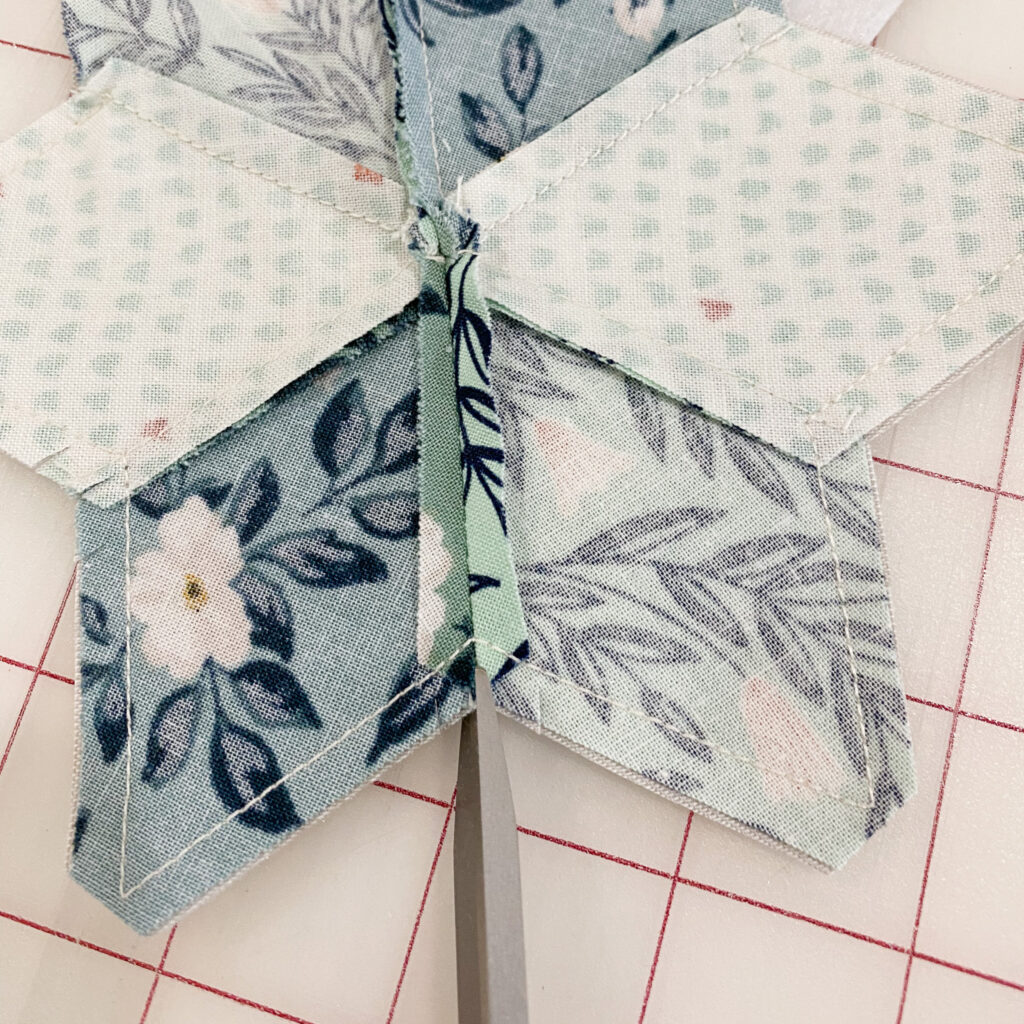
With right sides together, sew two diamonds together along one edge. Press the seam to one side.
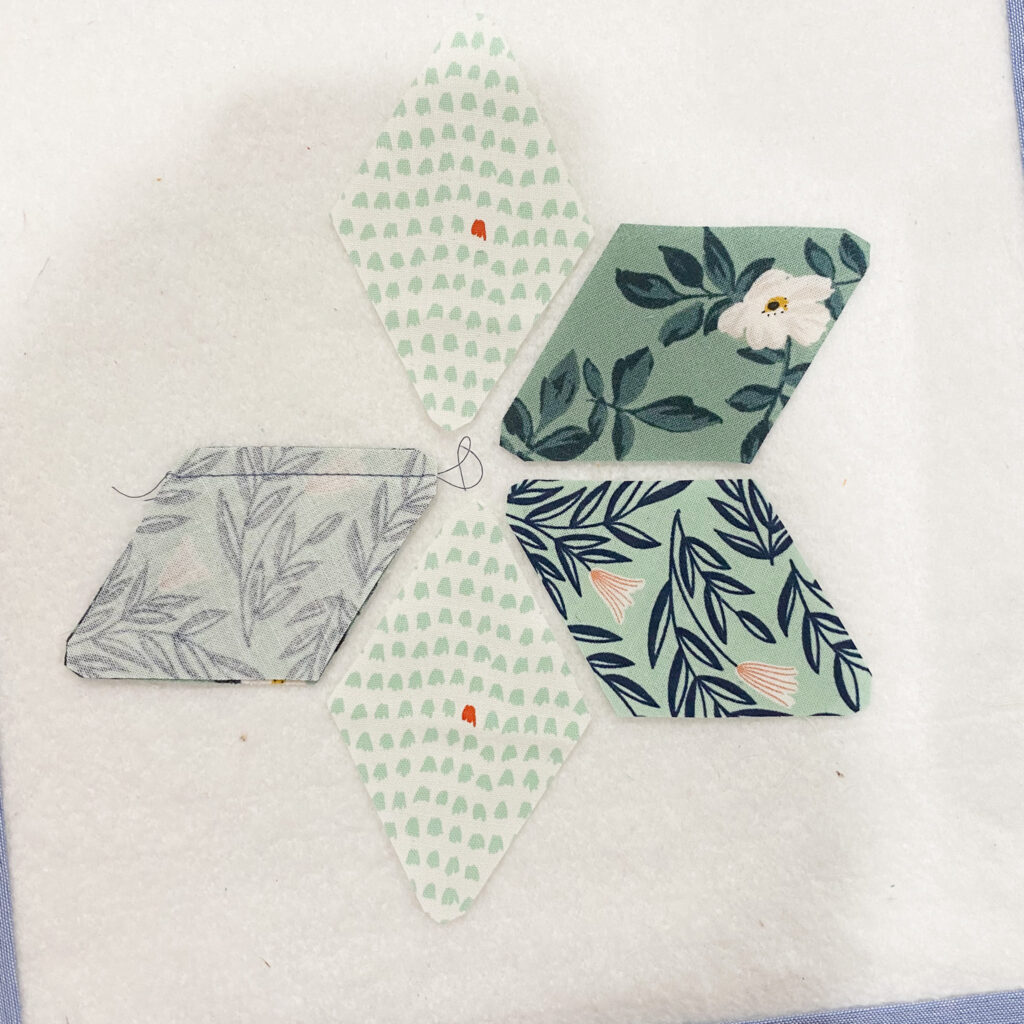
Step 3: Add the Third Diamond
Sew a third diamond to the opposite side of the center one to form half the star. Press.
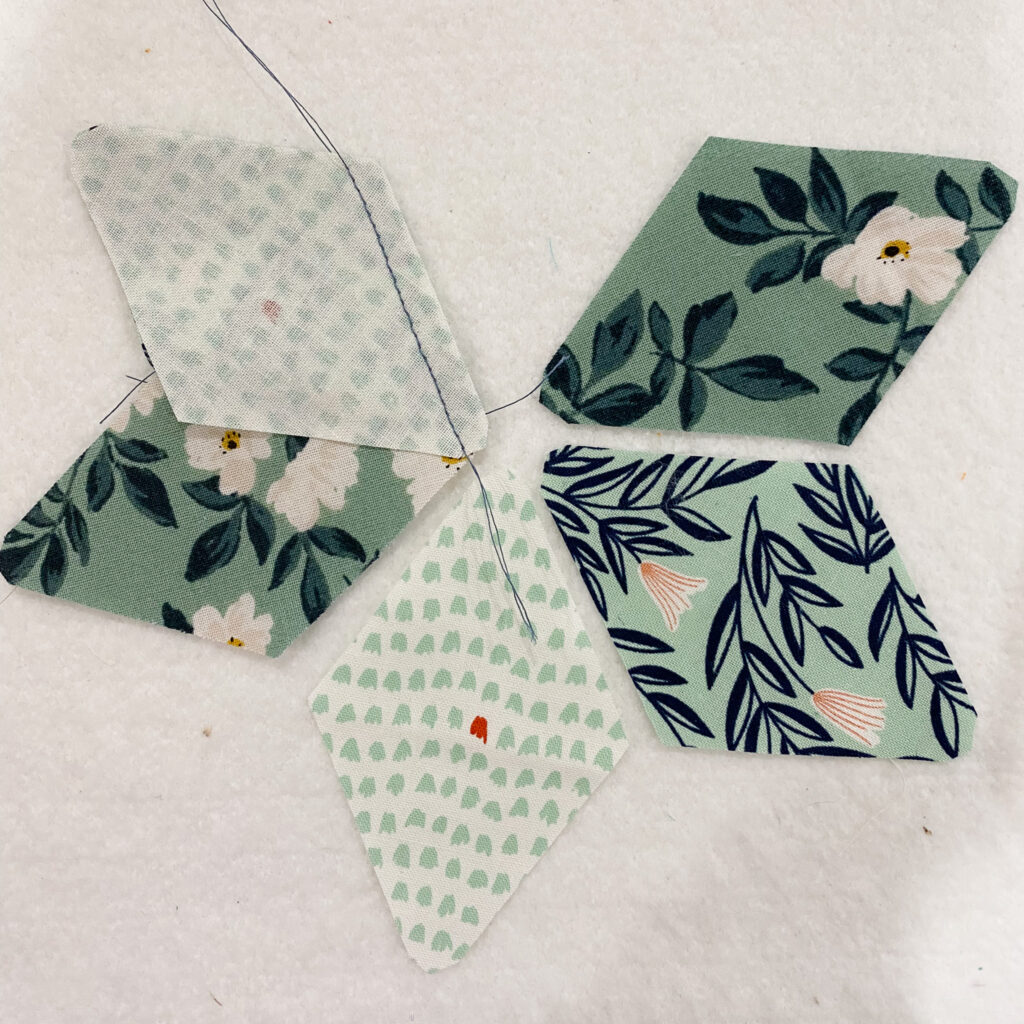
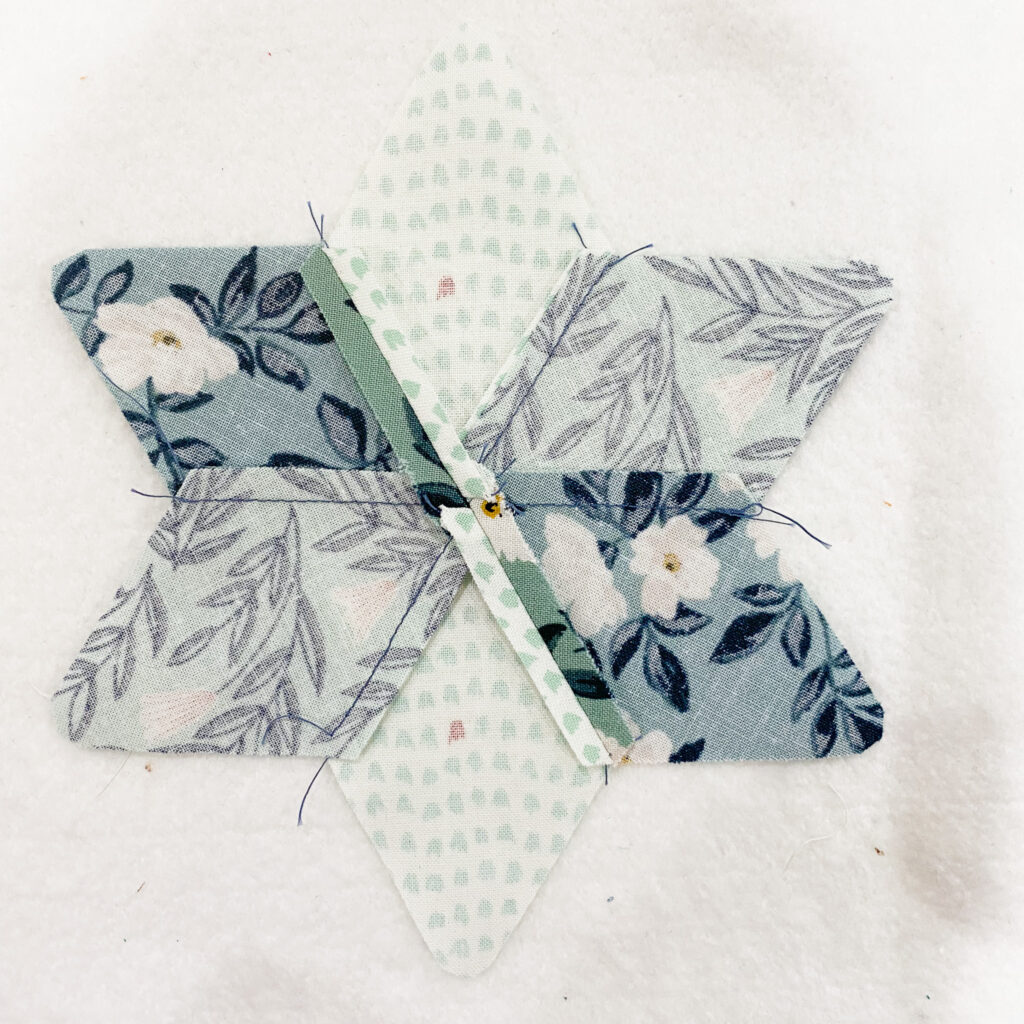
Step 4: Repeat for Second Half
Sew the remaining three diamonds together to form the second half of the star.

Step 5: Join the Halves
Sew the two halves together along the center seam. Press seam open for a flatter finish.
Step 6: Fuse the Fleece
Iron the fusible fleece to the wrong side of the 7″ backing fabric.
Step 7: Sew the Star to the Backing
With right sides together, place the star on top of the backing fabric. Sew just inside the star’s edge, leaving a small 1¼” opening for turning.
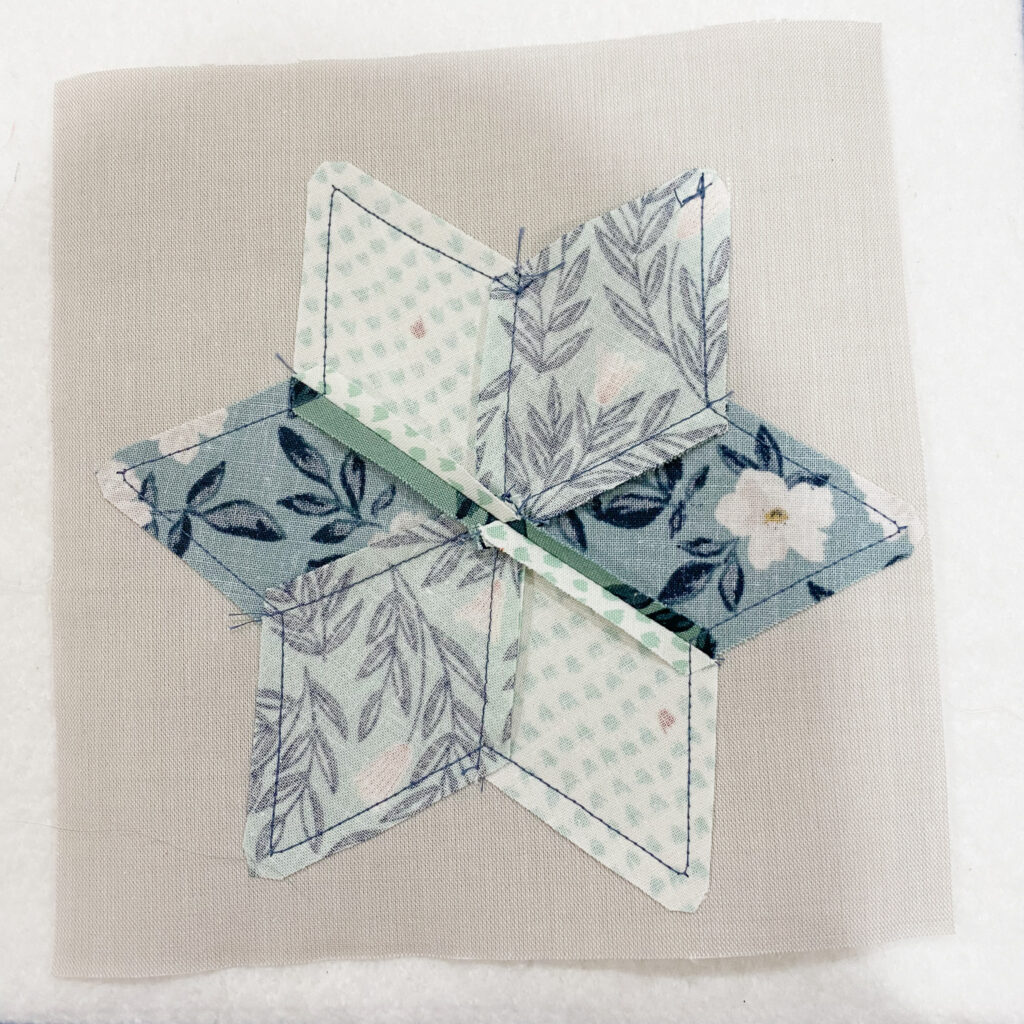
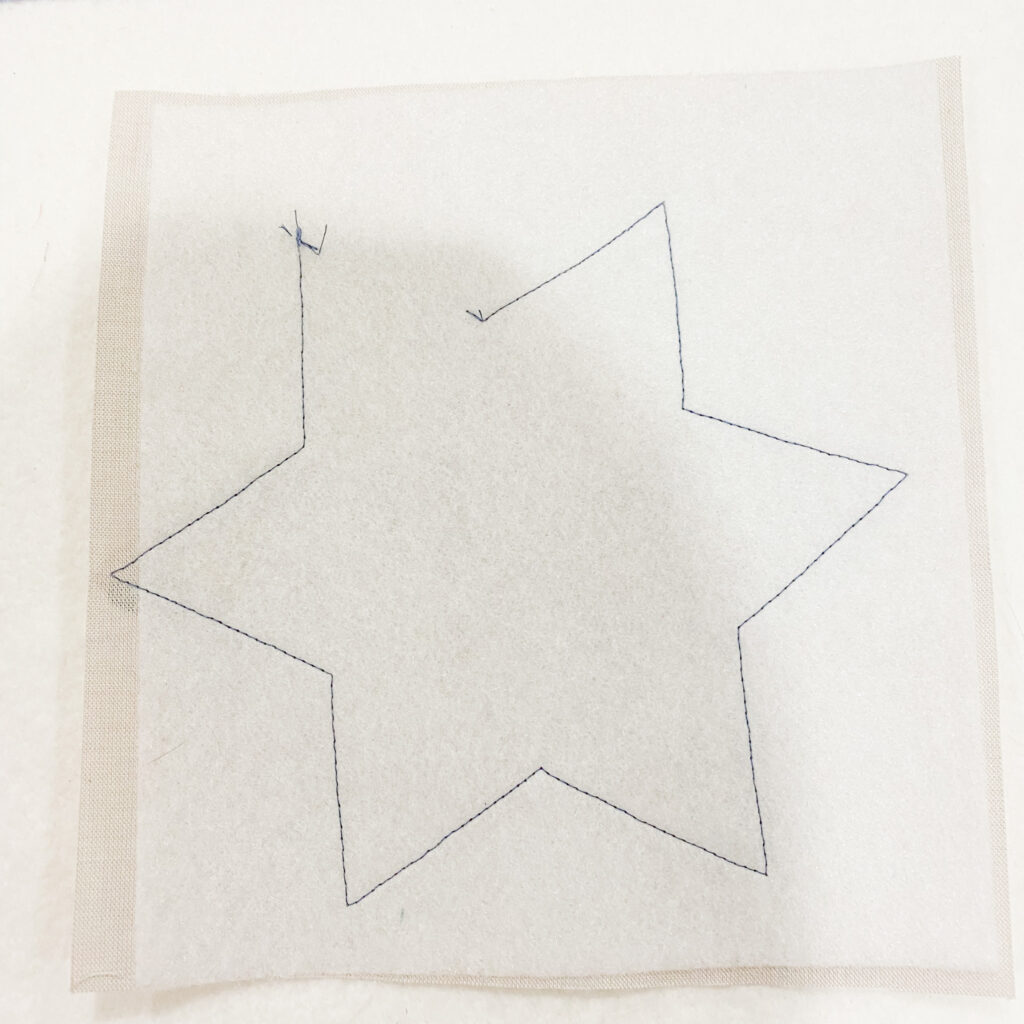
Step 8: Trim & Clip
Trim away the extra backing fabric around the star shape. Clip the points and notches (carefully!) to reduce bulk.
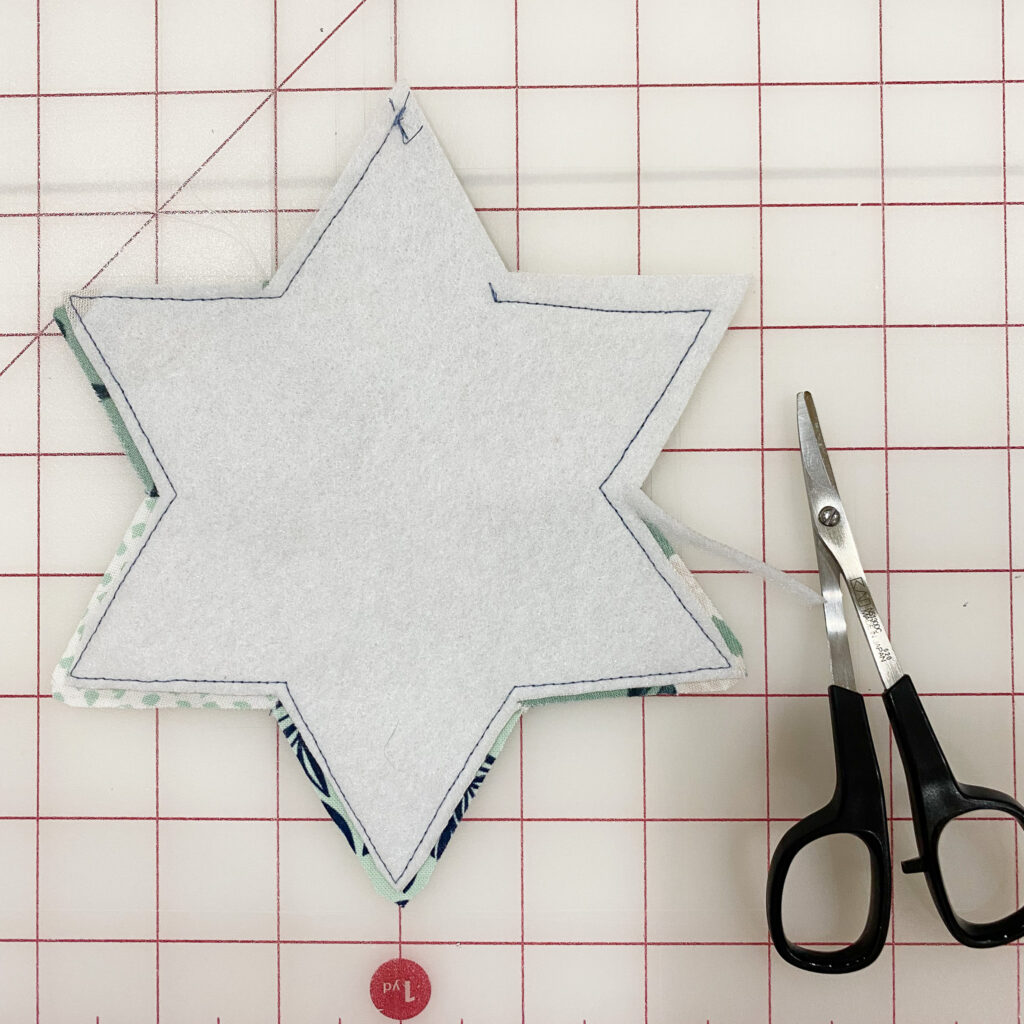
Step 9: Turn & Press
Turn the star right side out through the opening. Use a point turner to gently push out the corners. Press flat.

Step 10: Edgestitch
Topstitch around the star’s edge to close the opening and give it a clean finish. If you run into bulky seams, use a height compensation tool (also called a foot spacer) to help your presser foot glide evenly.
And you’re done! Make a few more and tie them with ribbon for a sweet handmade gift or keep them for your own morning coffee break.