Half Rectangle Triangle Tutorial

Greetings, fellow quilters! Today, I am excited to share some tips on sewing the half rectangle triangle block featured in the “To The Point Quilt” pattern offered by Cloud9 Fabrics. Before we dive in, make sure to download the pattern right here: To The Point Quilt download.
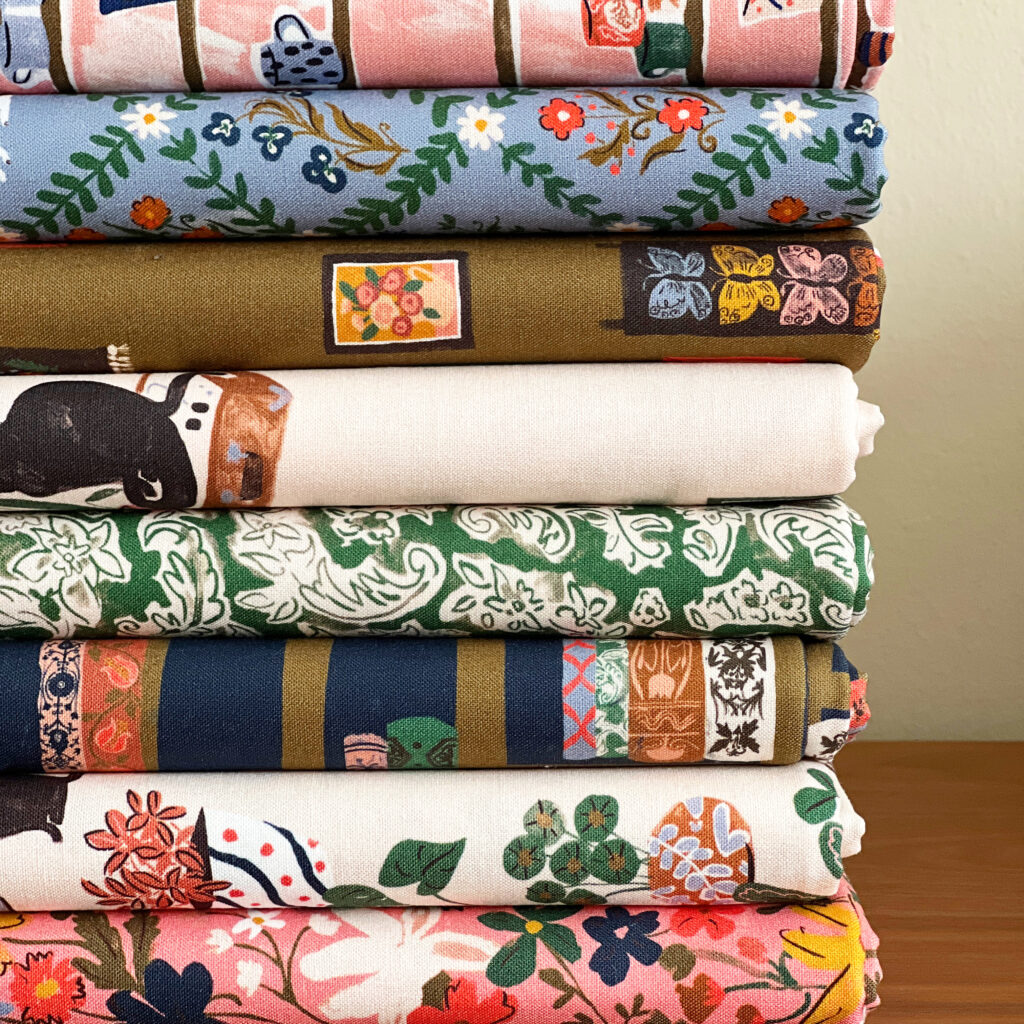
For this quilt, you will need 2/3 yard of 8 print fabrics. If you have a fat quarter bundle, I recommend using the “Mt Fuji Quilt” free pattern from Cloud9, which you can download right here, Mt Fuji Quilt download– it’s fat quarter friendly.
Comparison of Two Quilt Projects
Let’s do a quick comparison of these two awesome free quilt projects. The Mt Fuji Quilt has a finished size of 40″x56″ and uses 6 1/2″ x 8 1/2″ rectangles. On the other hand, the To the Point Quilt has a finished size of 44″x60″ and uses 6 3/4″ x 9 3/4″ rectangles. So choose the one that works best for the fabric you have. My sketch below shows the fabric layout and cutting guide.

Before you start cutting into your beloved fabric, be sure to read the entire pattern to familiarize yourself with the instructions.
Making a Sample Block
Next, grab some fabric and make a test block. Creating a sample block is essential before diving into the project, as it allows you to identify and address any potential problems you might encounter. This way, you can experiment and make adjustments without the fear of cutting into your favorite fabric prematurely. Taking this extra step will boost your confidence and ensure smoother progress when working on the actual quilt.
Steps for Sewing a Sample Block
Below, you’ll find how to make a sample block for the To The Point Quilt, which starts with cutting your fabric into 6 3/4″ x 9 3/4″ rectangles. The Mt Fuji Quilt follows the same method but begins with 6 1/2″ x 8 1/2″ rectangles
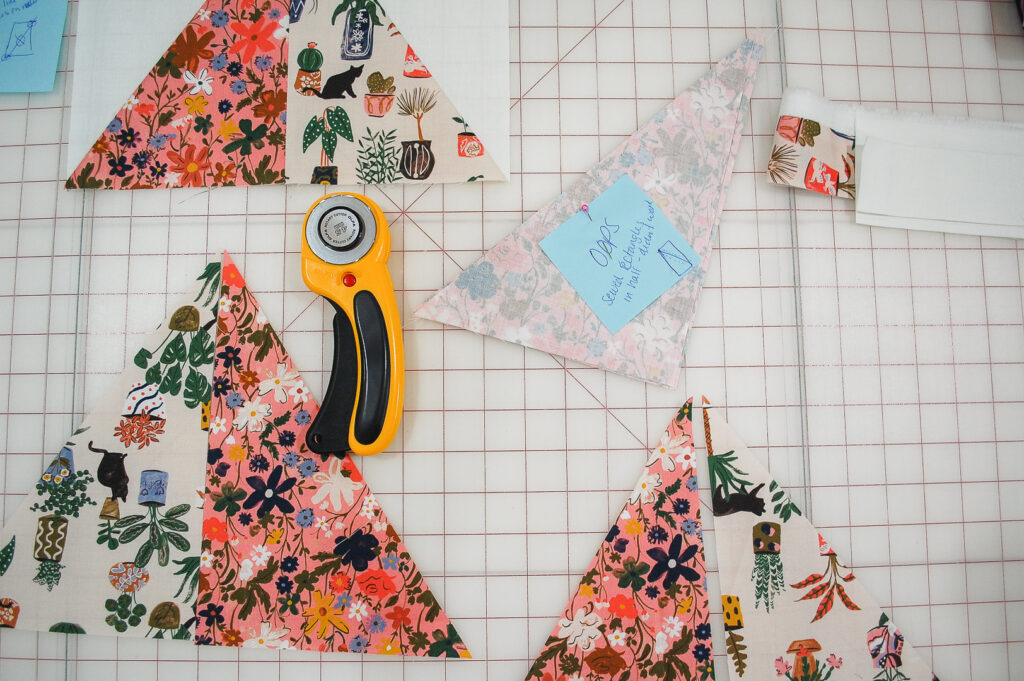
1. Cut rectangles on the diagonal from the upper right to the lower left corner (or vice versa, as per pattern instructions).
2. Cut the white background on the diagonal from the upper right to the lower left corner.
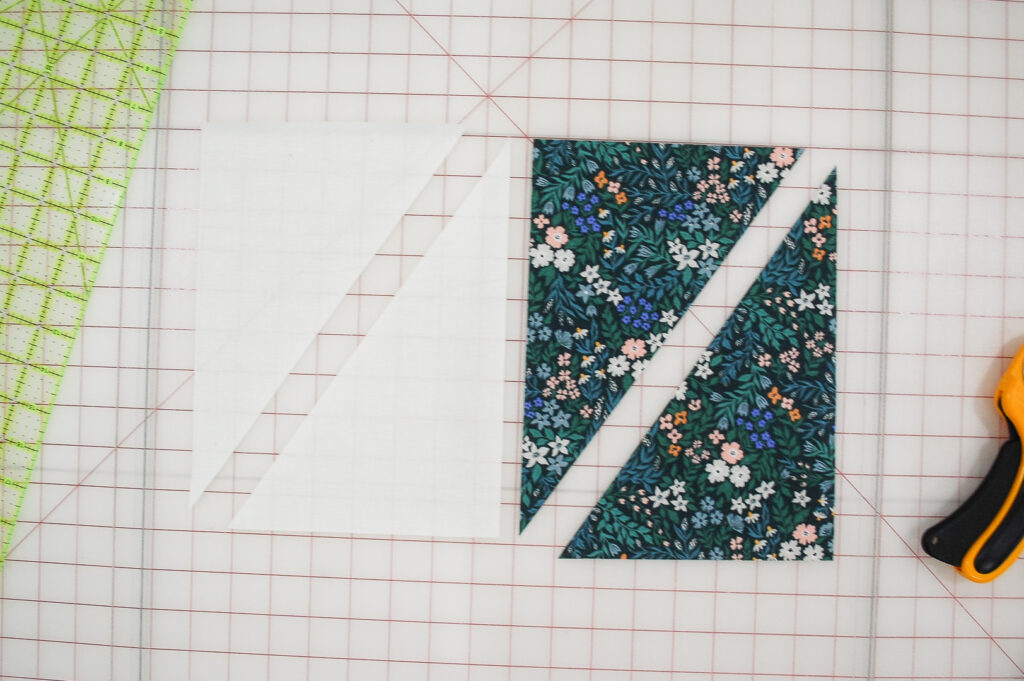
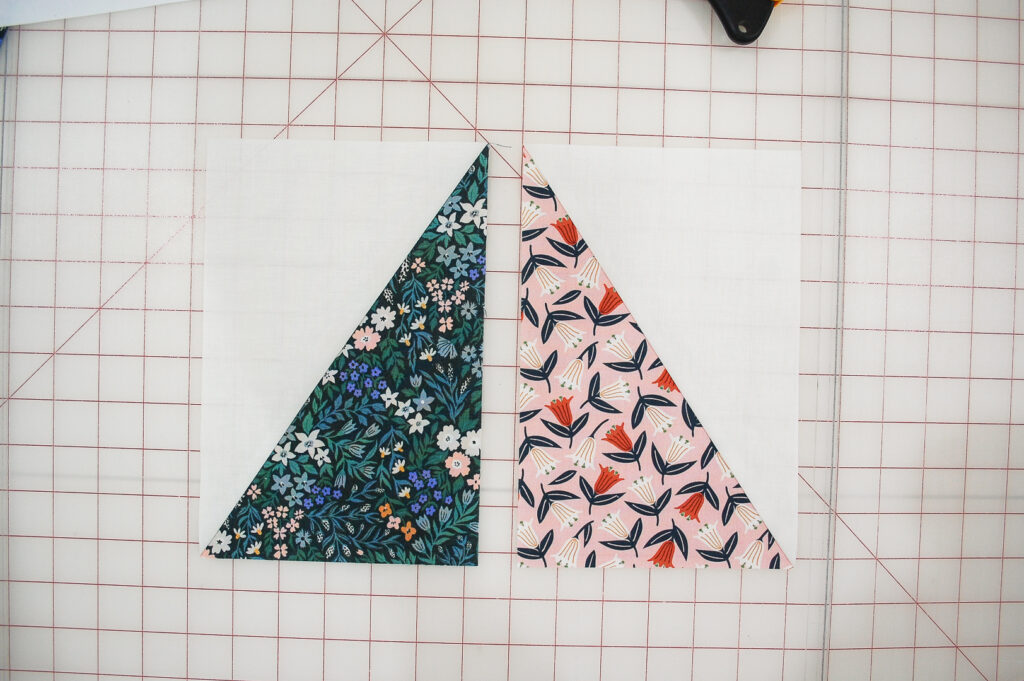
3. Layout your two triangles with the white background square on the left and the print fabric on the right to form a rectangle.
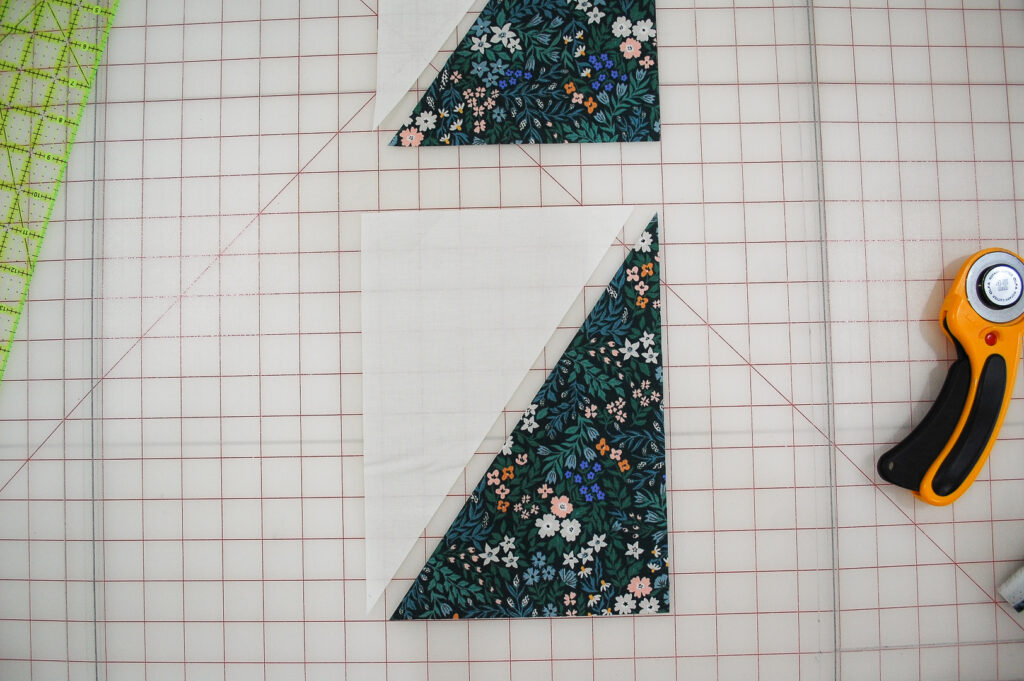
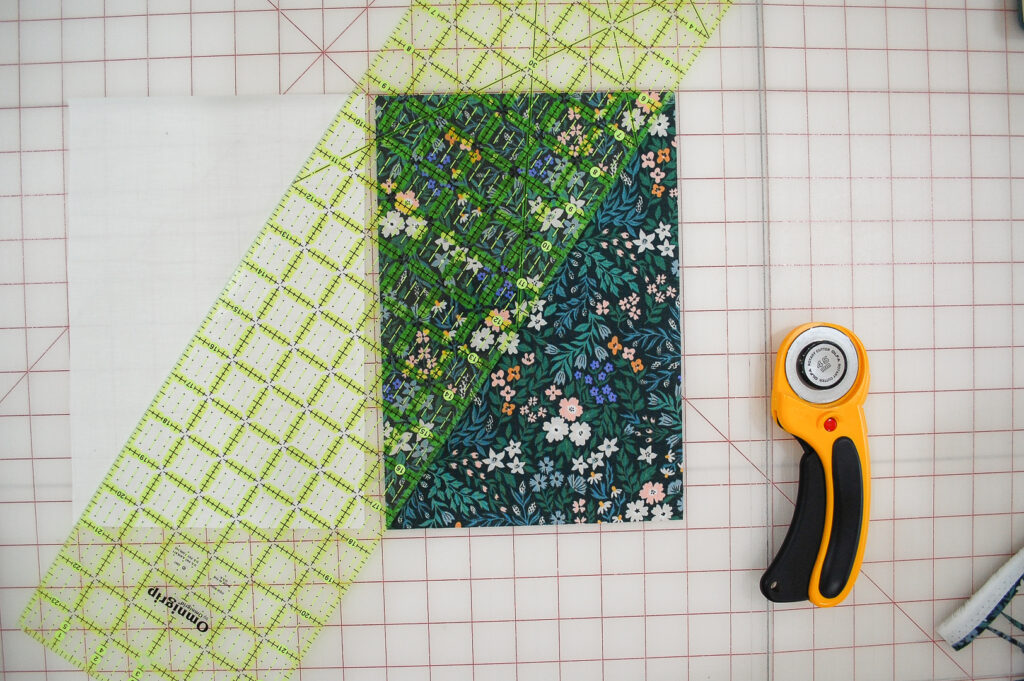
4. Lay the background fabric on top of the print fabric, aligning corners and matching edges. Sew carefully, avoiding stretching or pulling the fabric as you sew since this involves the stretchy bias edge of the fabric. Press.
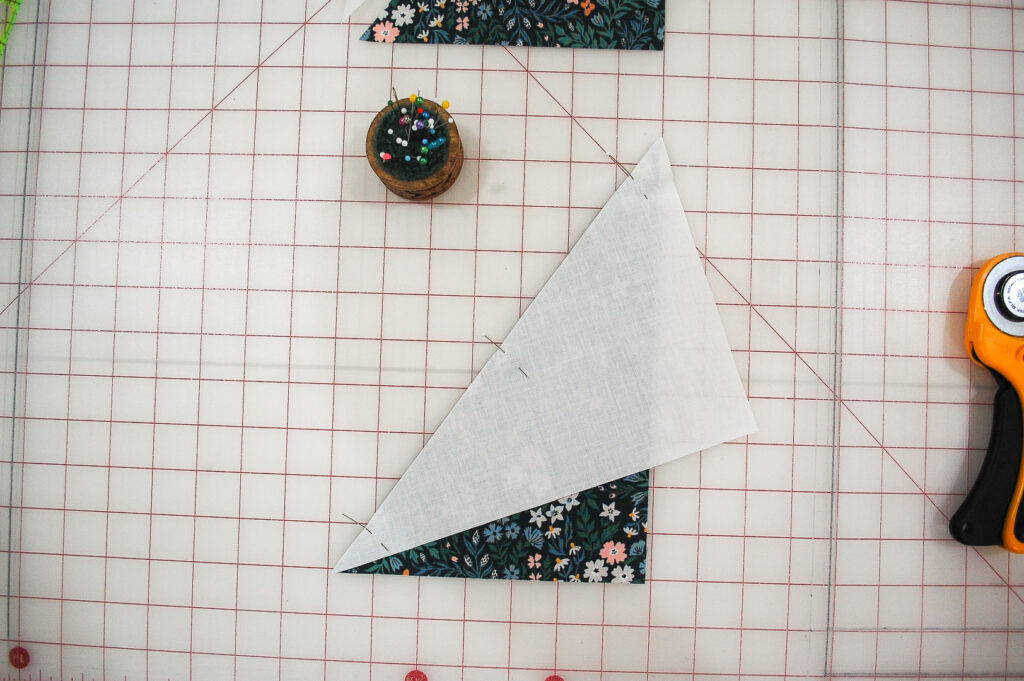
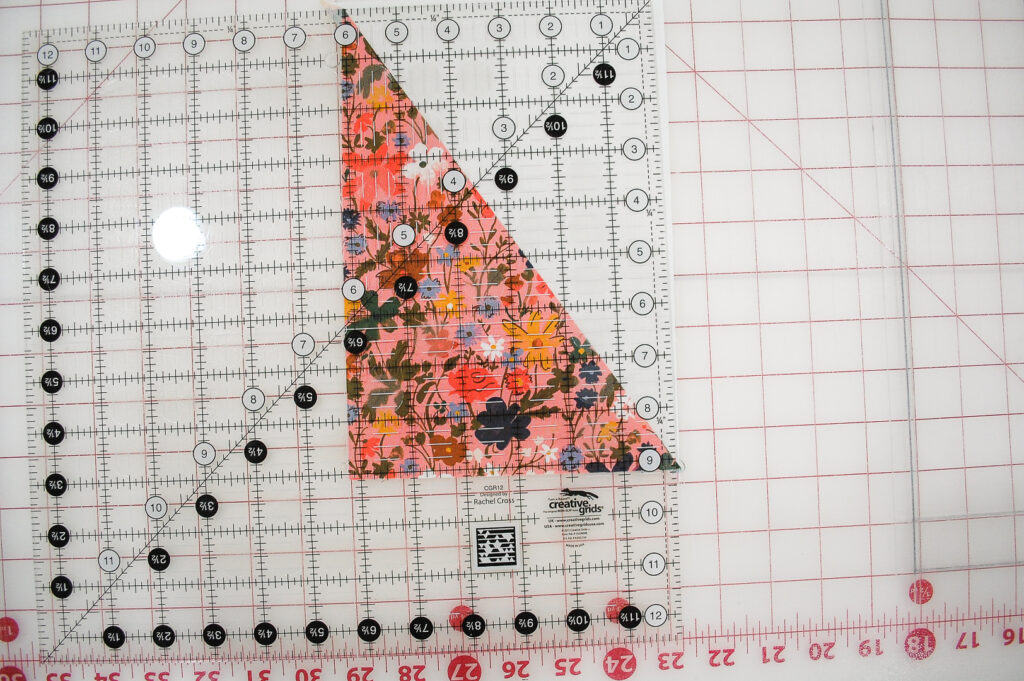
5. Square up the rectangle using a 6-inch wide ruler or larger. To square up, ensure that the diagonal line meets exactly in the top and bottom corners, as shown.
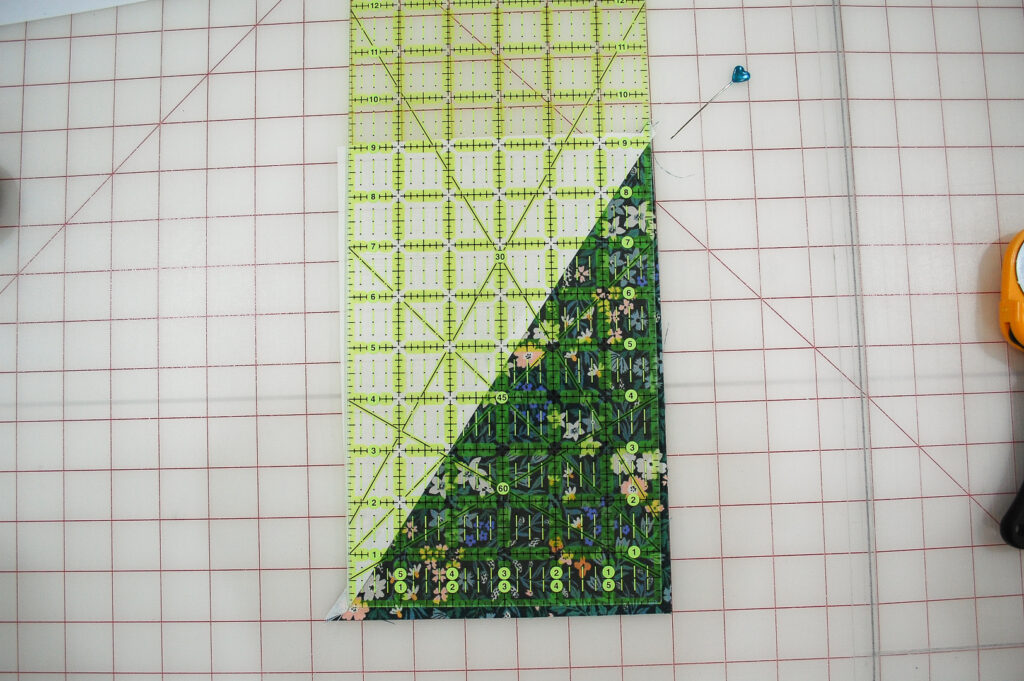
6. Trim the sides and bottom to the finished size, following the pattern instructions (this block calls for 6”x9″).
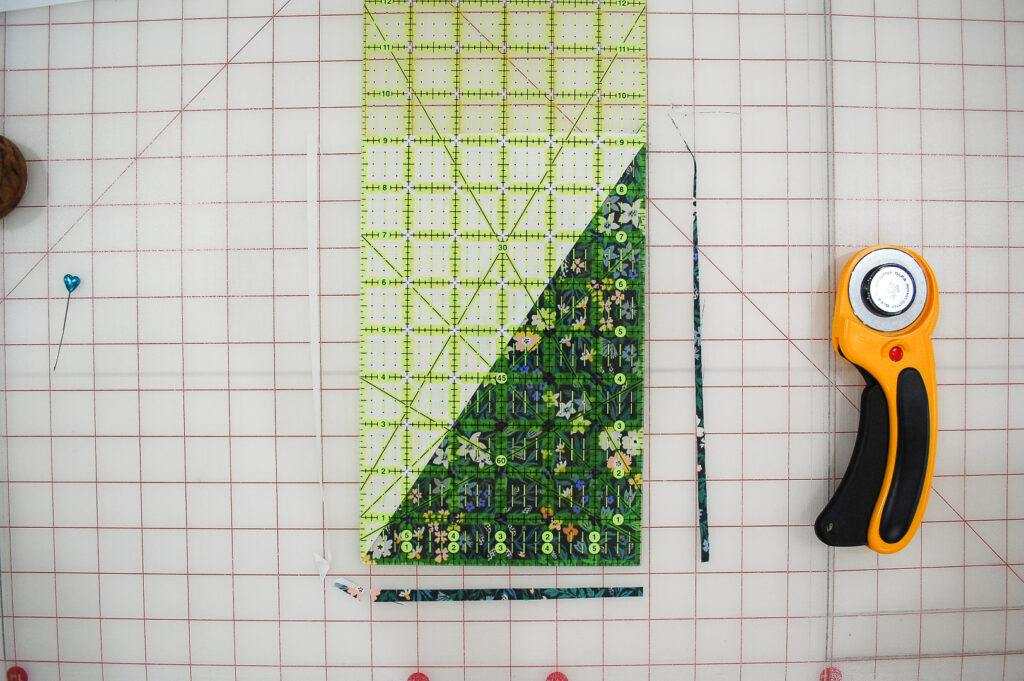
7. Shift your ruler down and cut away the excess fabric from the top of the block.

8. Sew two rectangles together to complete your block.
9. Check that the top points match up perfectly! Yay.
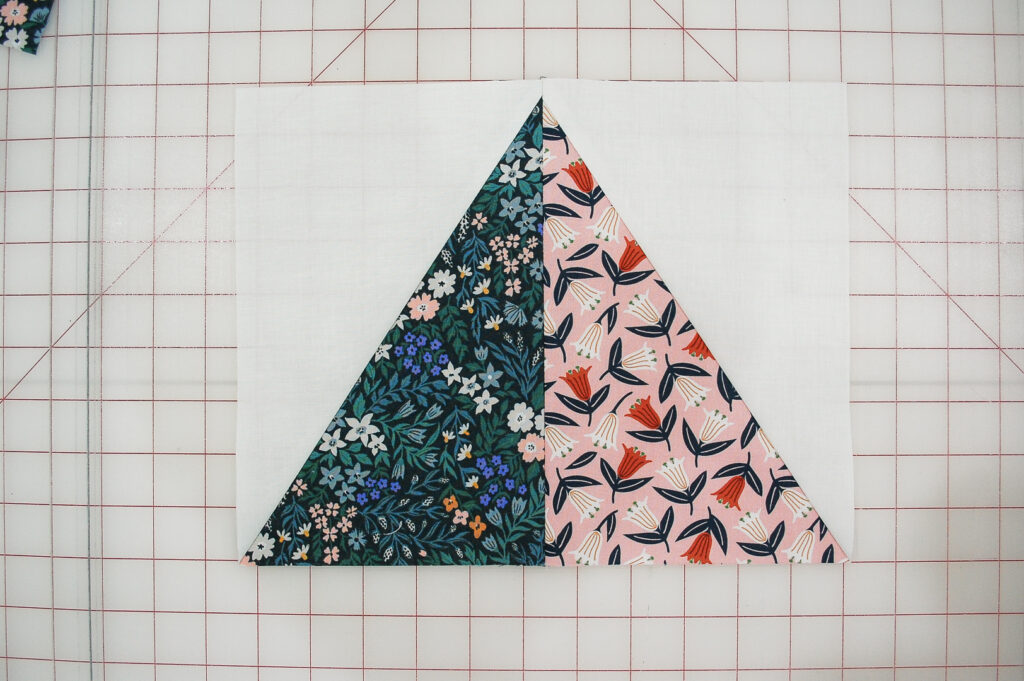
10. Press seams open to avoid bulk or embrace your creativity and press them any which way. There are no pressing police here!

Keep going and you’ll have a beautiful new quilt in no time!
For more sewing tips and projects, be sure to join my email newsletter.