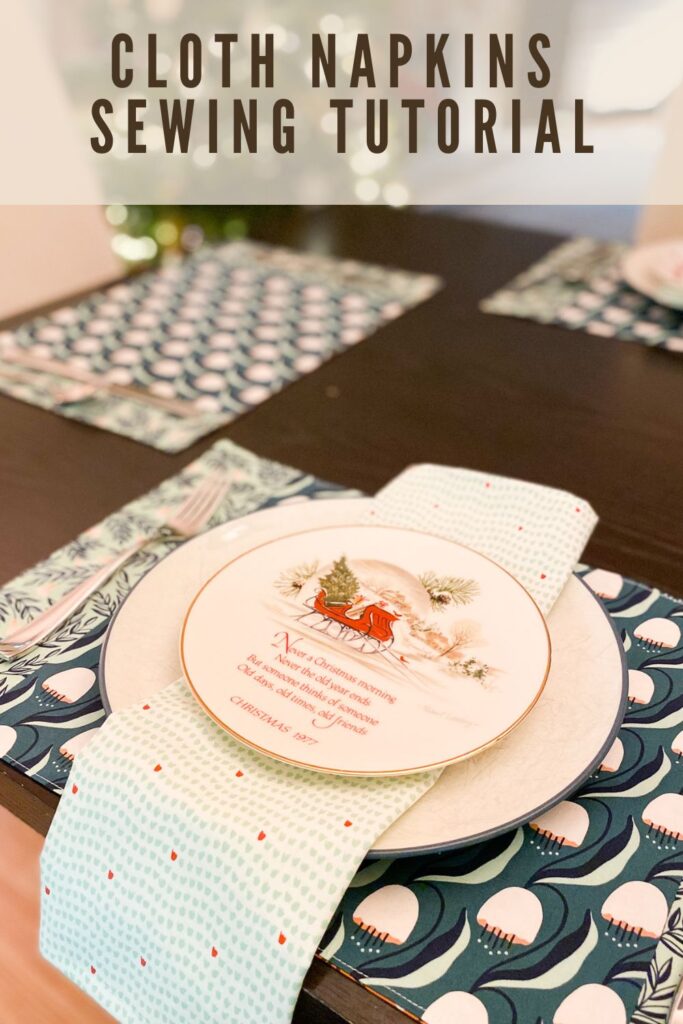
Cloth Napkins Sewing Tutorial
Learn how to sew your own cloth napkins with crisp mitered corners in this simple, step-by-step tutorial. These beginner-friendly napkins are practical, reusable, and add a personal, handmade touch to your table—perfect for everyday use or meaningful gifts. Grab your favorite fat quarters, and let’s get sewing!
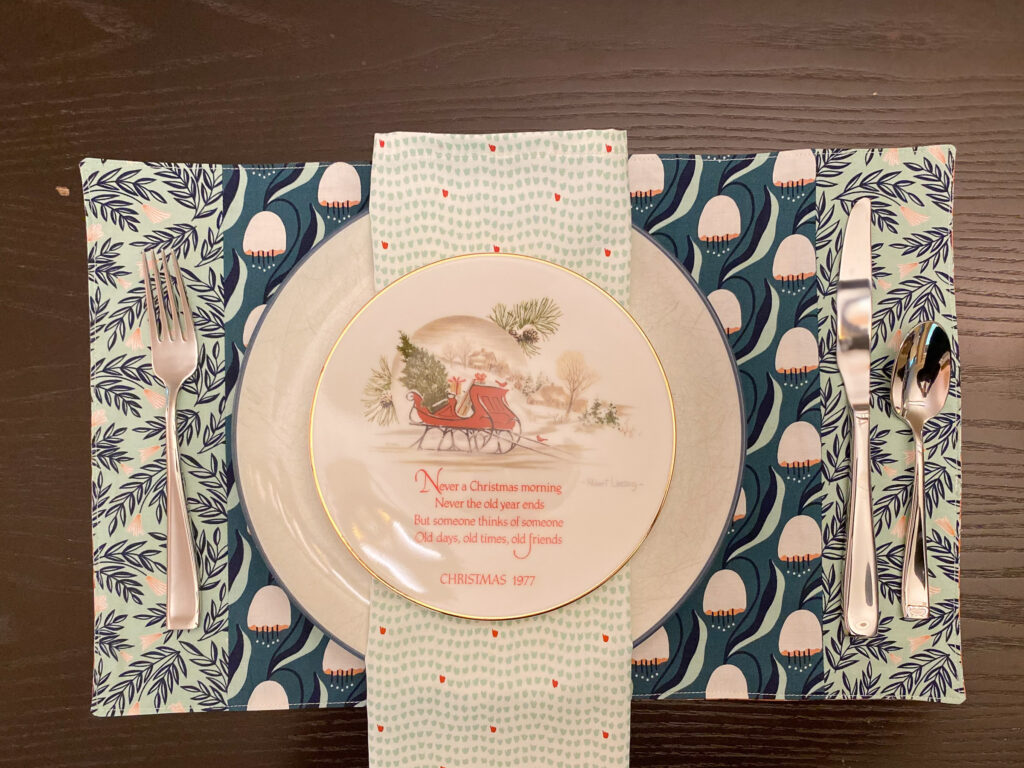
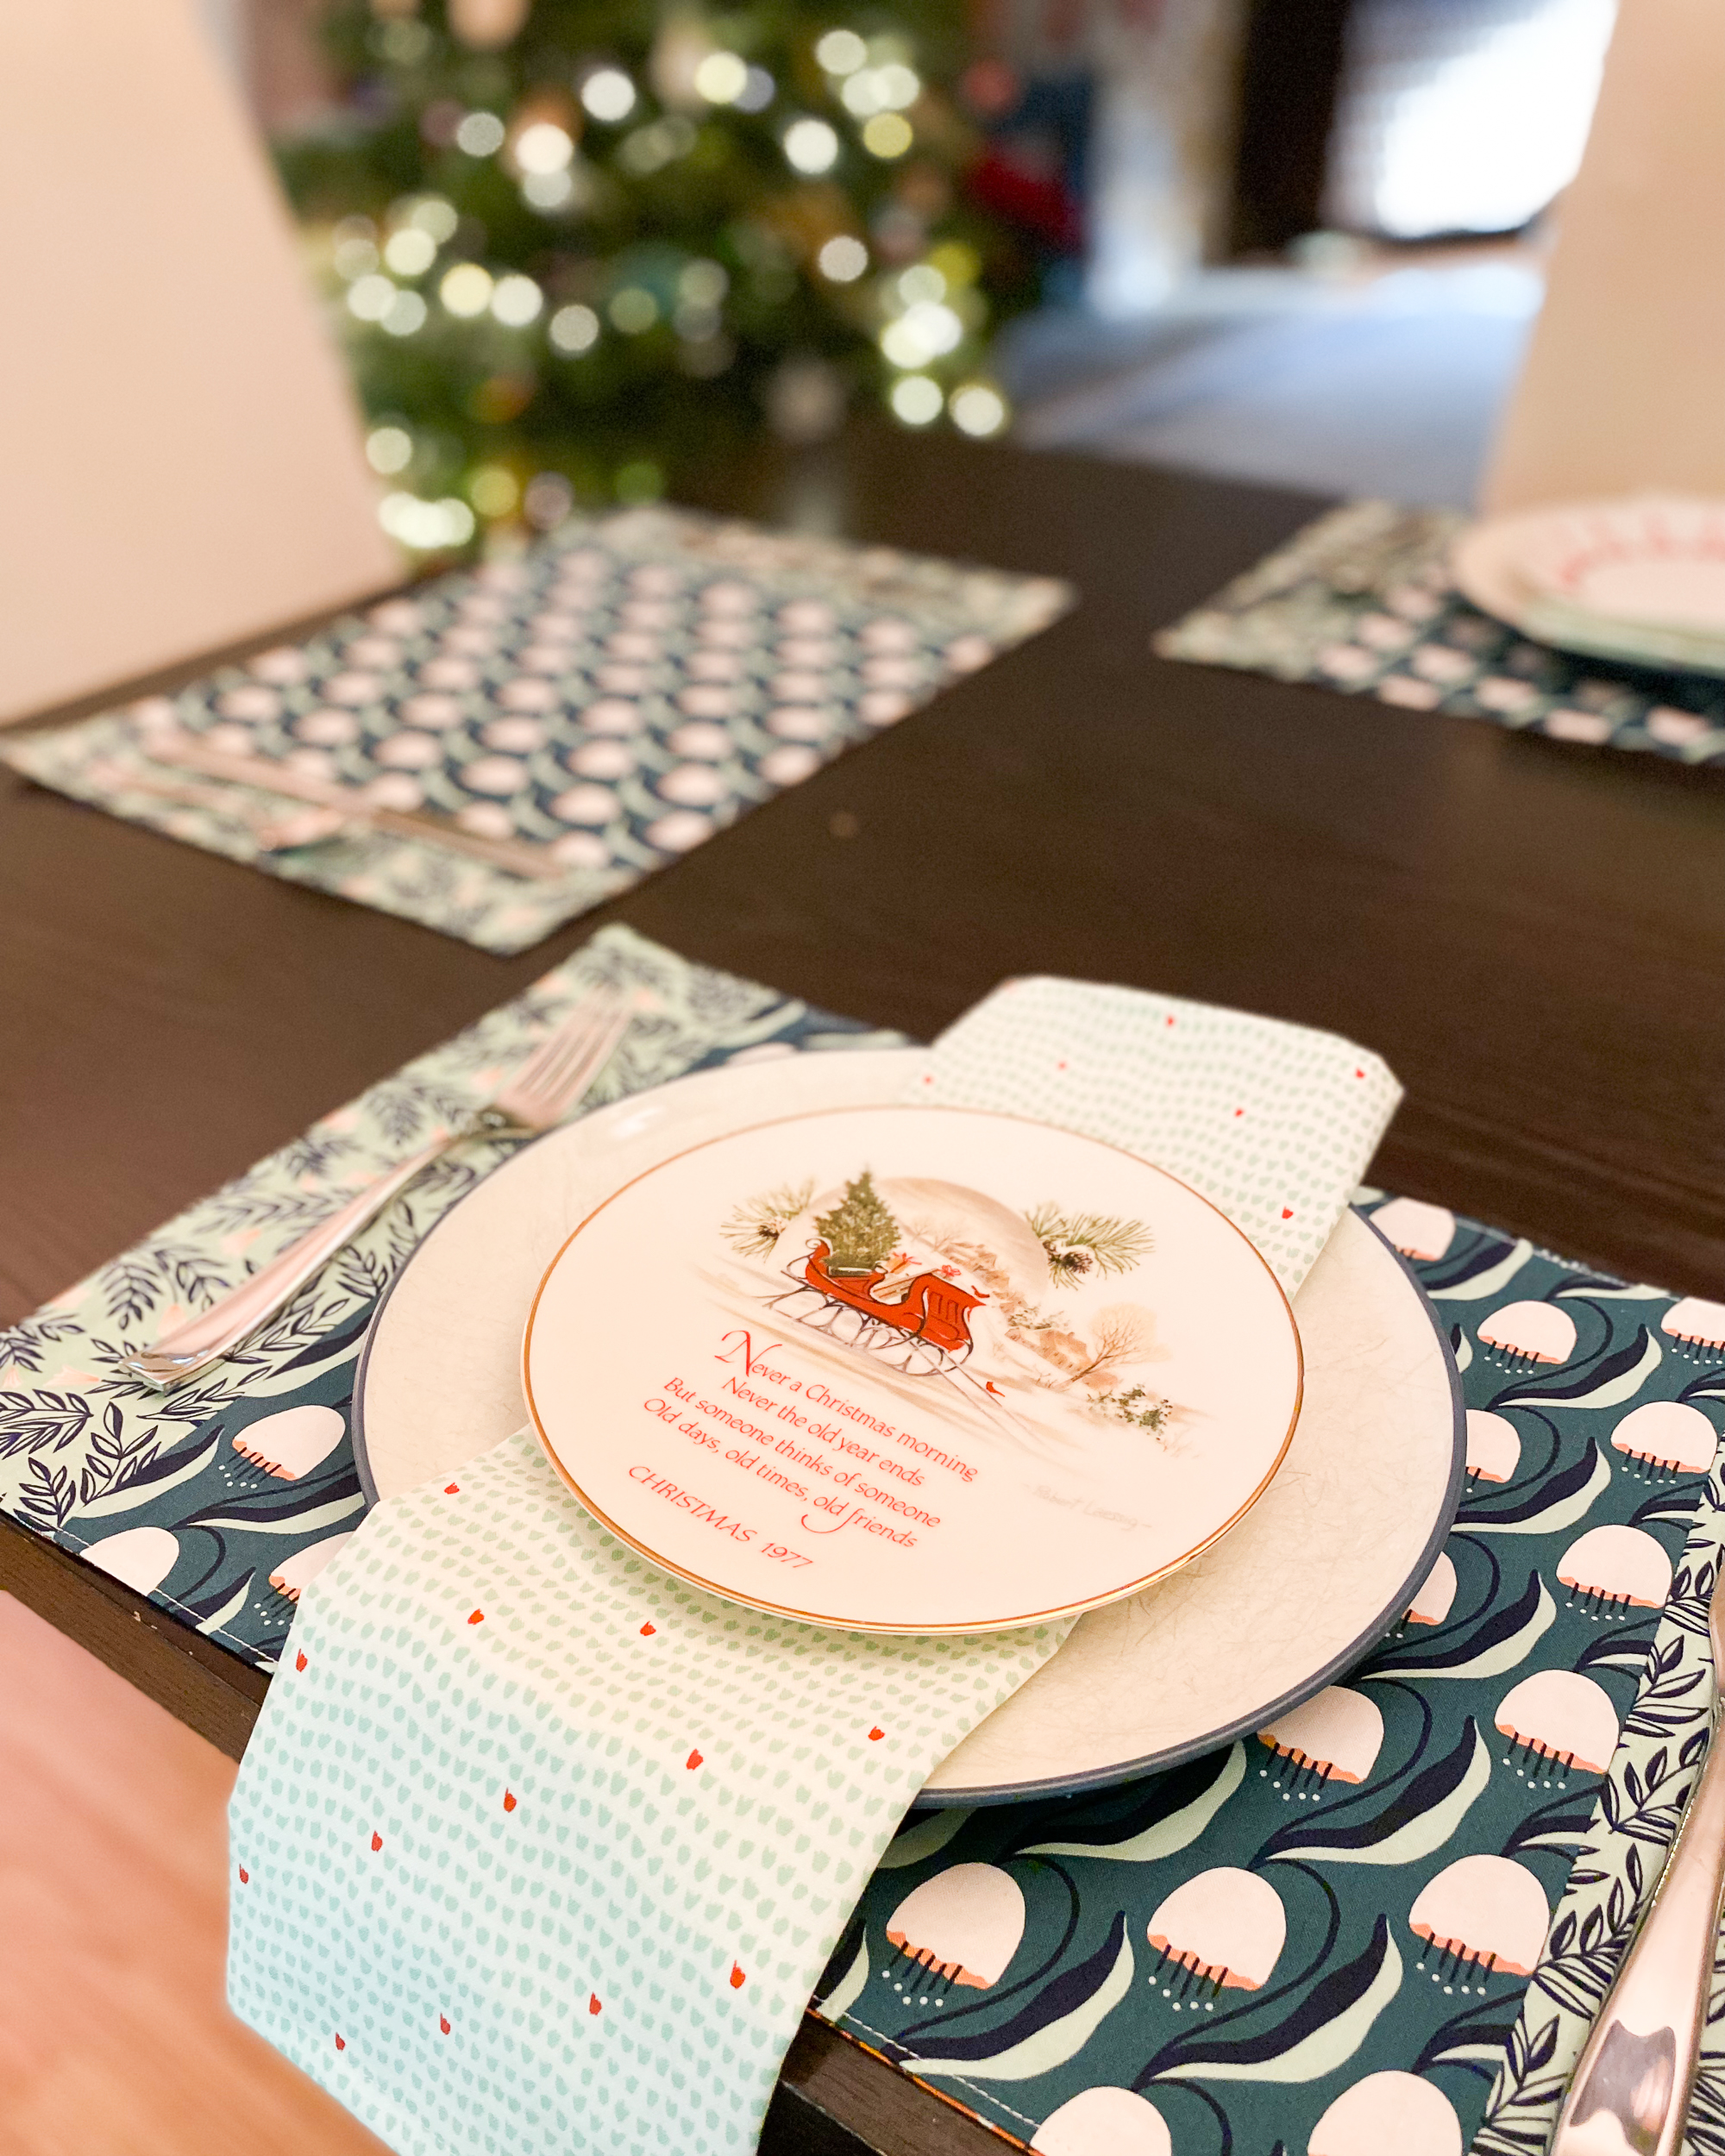
For these napkins, I used the organic cotton print Mosaic from the All That Wander collection by Juliana Tipton for Cloud9 Fabrics. They pair beautifully with the placemats I made using Belles and Wild—also from the same collection.

Cloth Napkins Materials
- 1 yard of fabric (to make 4 napkins), Mosaic
- Seam gauge (Dritz 6″ Sewing Gauge)
- water soluble marking pen or pencil
- Clear Quilters Ruler (Creative Grids 1 1/2″ x 6 1/2″ ruler)
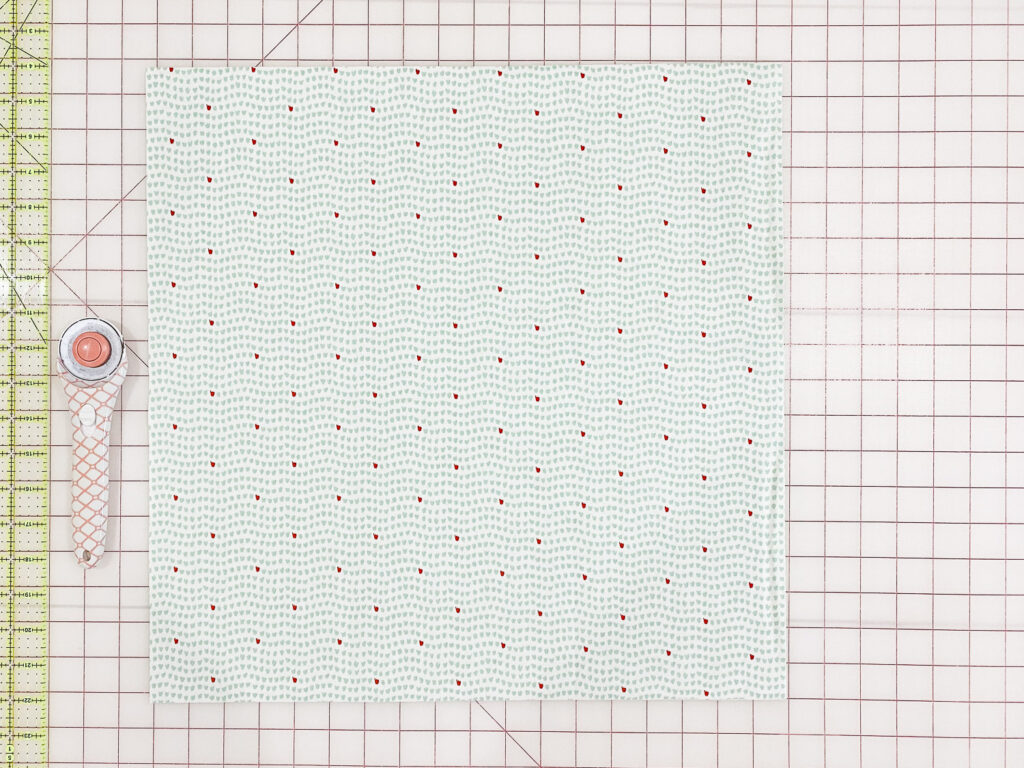
Cloth Napkins Cutting Instructions
To make 4 cloth napkins you will need:
4 – 18″ squares of fabric
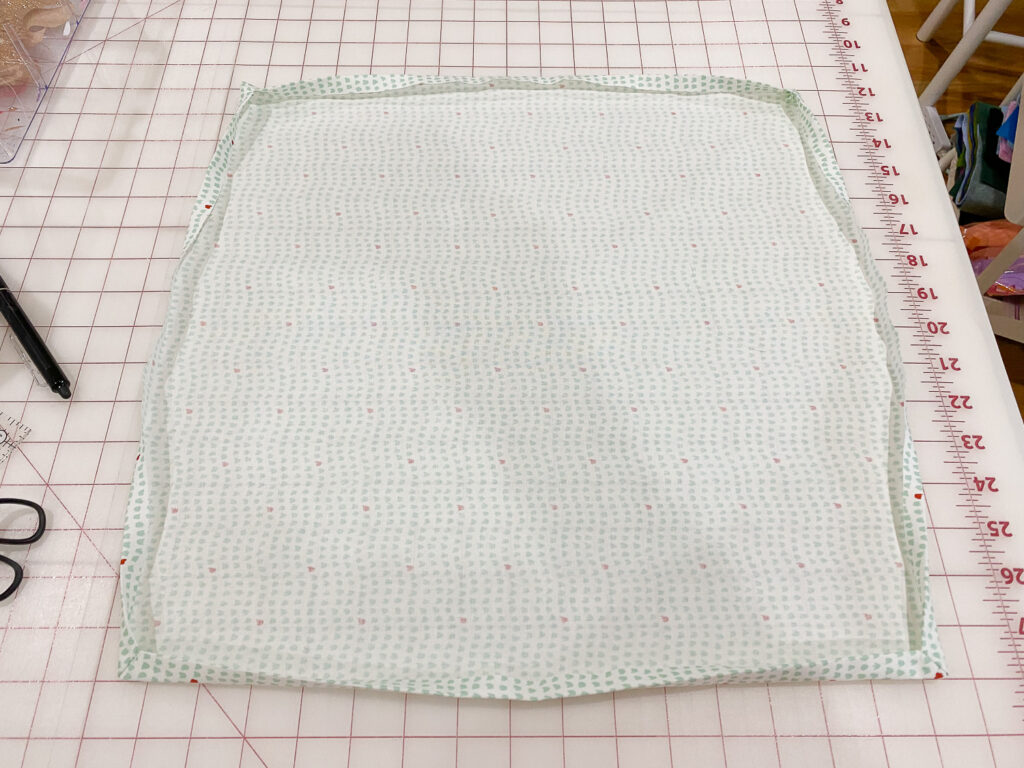
Cloth Napkins Step 1
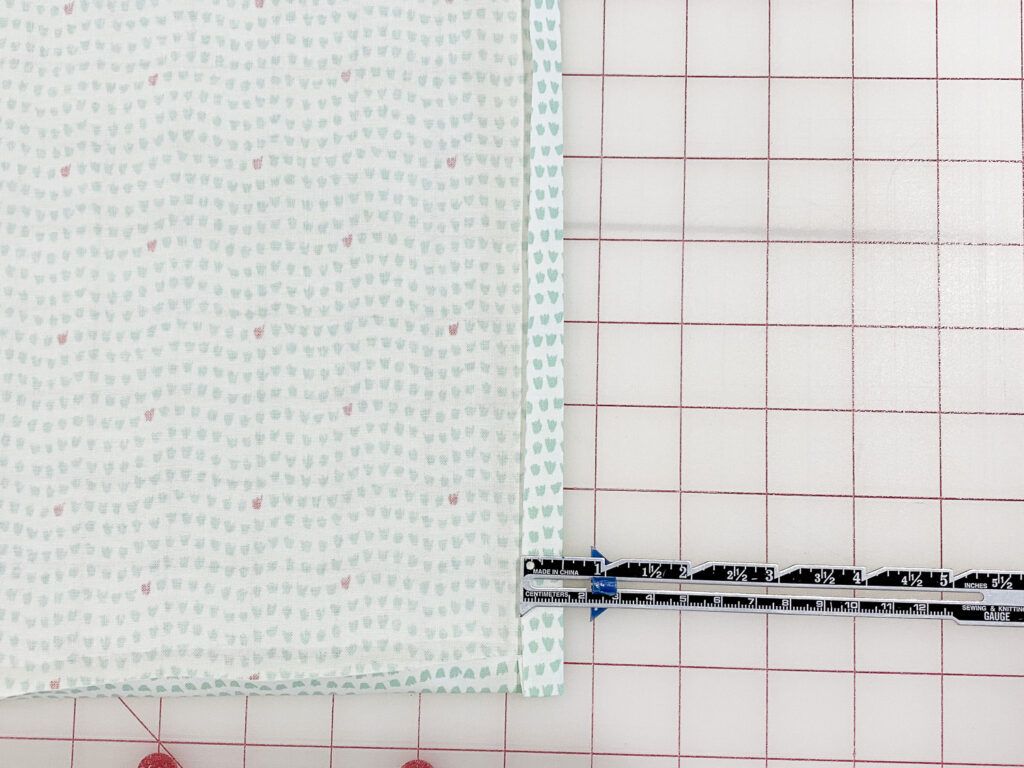
Once you’ve cut out your 18″ square fabric, press the edges under 1/2″ all the way around.
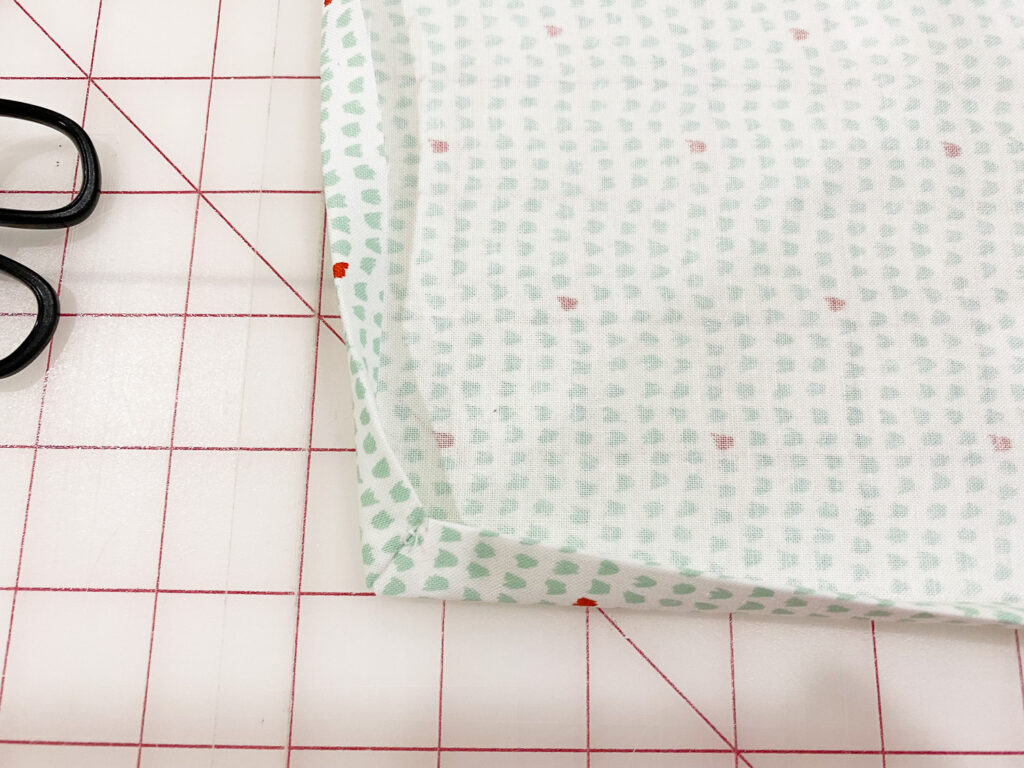
Cloth Napkins Step 2
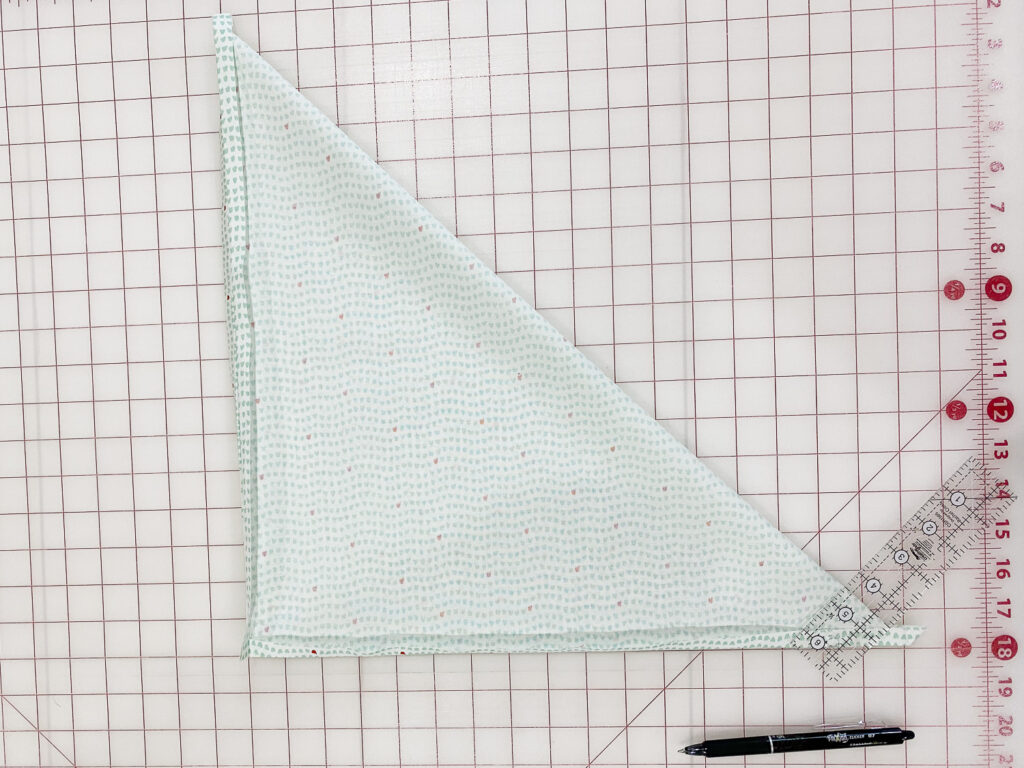
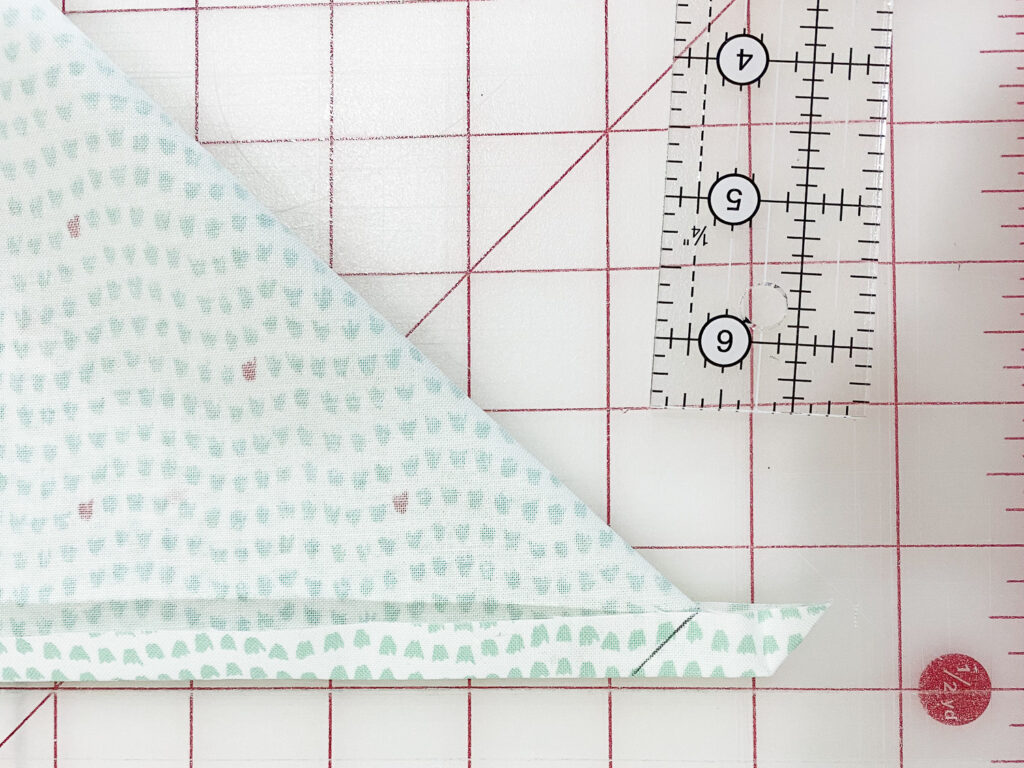
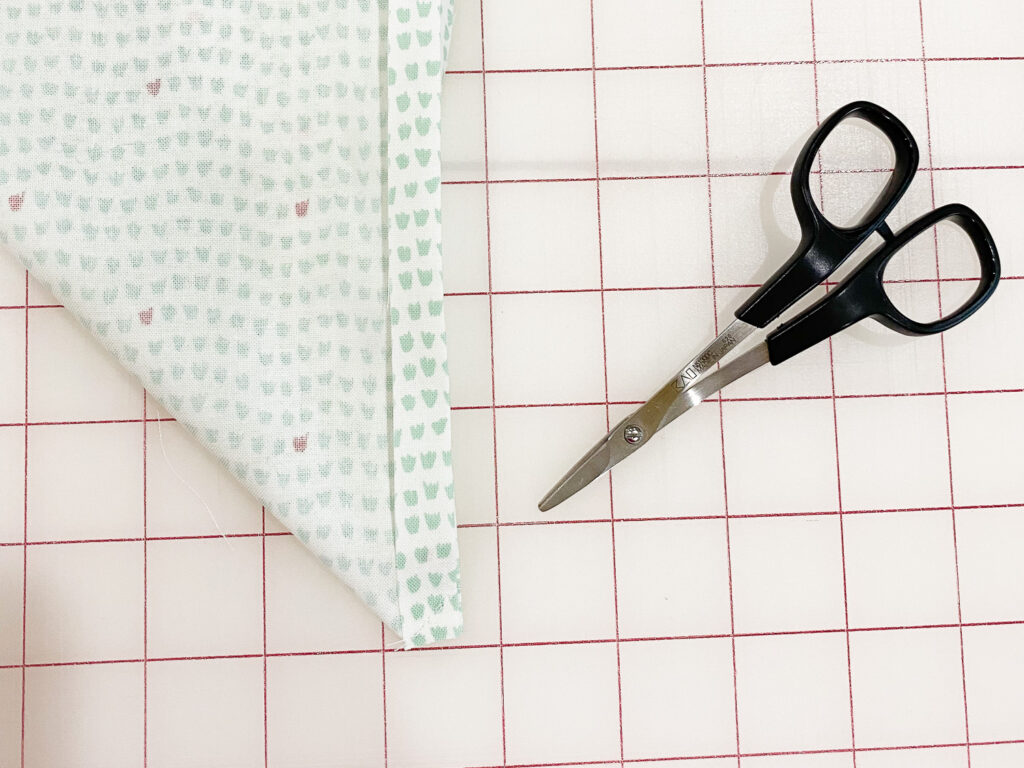
Fold your napkin in half on the diagonal, lining up the pressed edges and pull the pressed corner edges out as shown below. Lay a clear ruler on the folded edge, align it with a line on your ruler. Slide your ruler down to the corner where the folded edge meets the raw pressed under edge, and mark. Sew along this line. Cut off the corner points, being careful not to clip into your sewn line. Repeat for the other 3 corners.

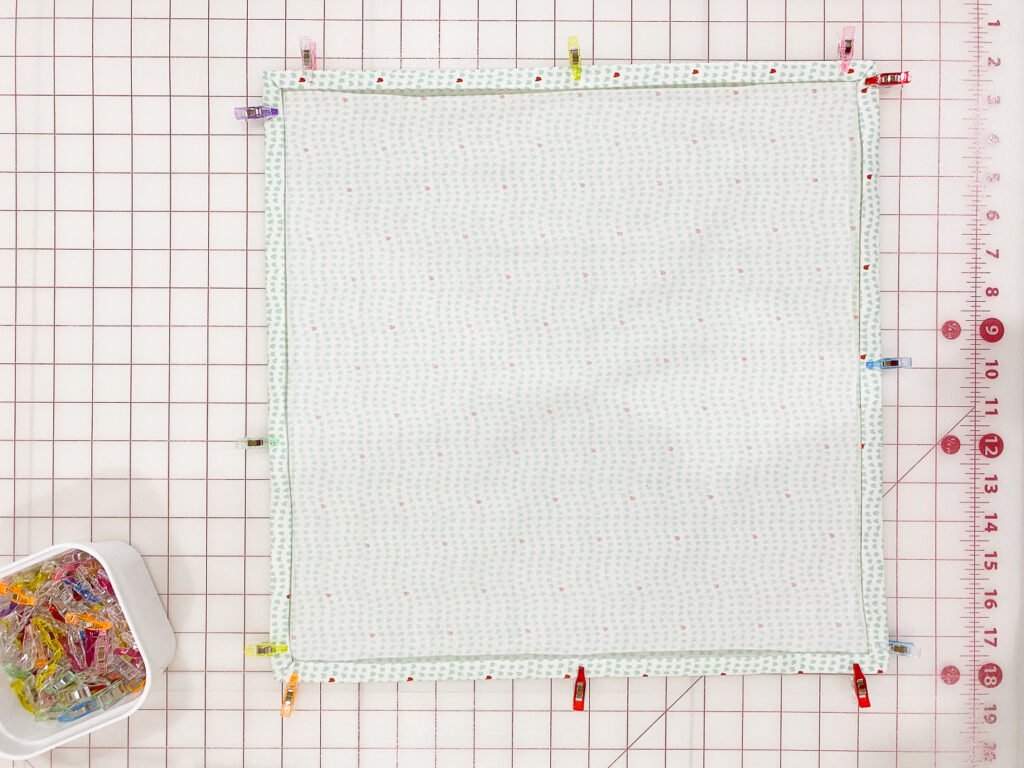
Cloth Napkins Step 3
Push out the corners, and turn under the edges, another 1/2″. The corner sewing you did in step 2 should make this easy, and you should see your pretty mitered corners now. Give the napkin edges a press all the way around, and pin or clip in place. Edgestitch 1/8″ away from the folded edge around the napkin.
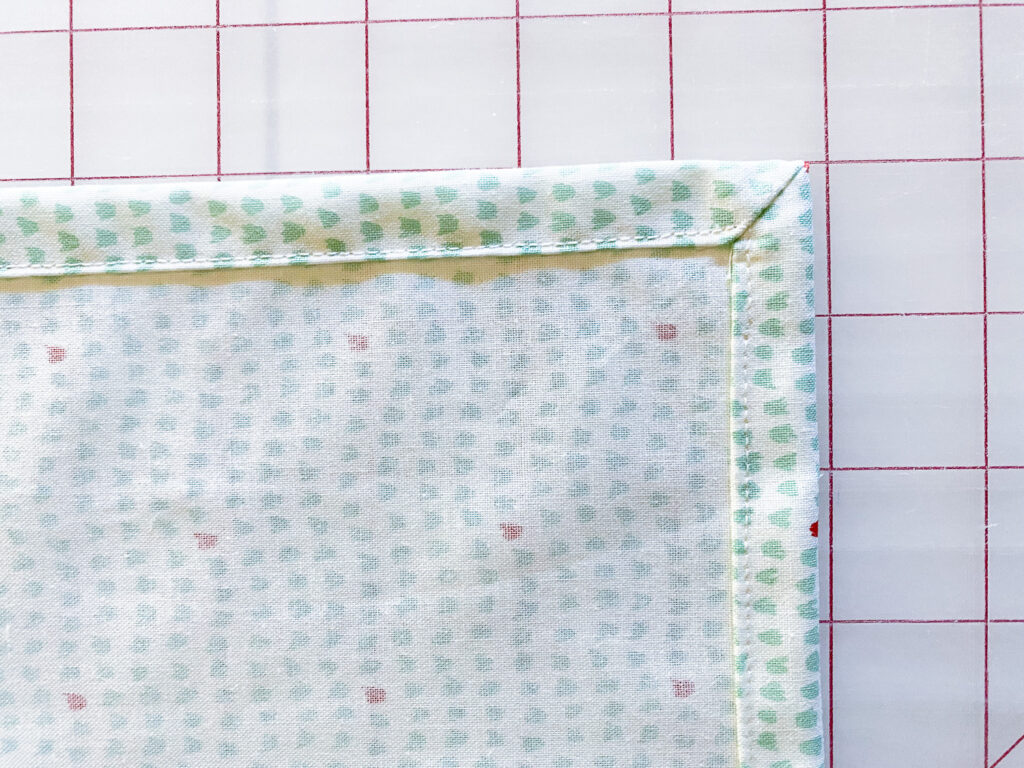

You are done! Now repeat these steps to make 3 more. The process gets easier the more you make.