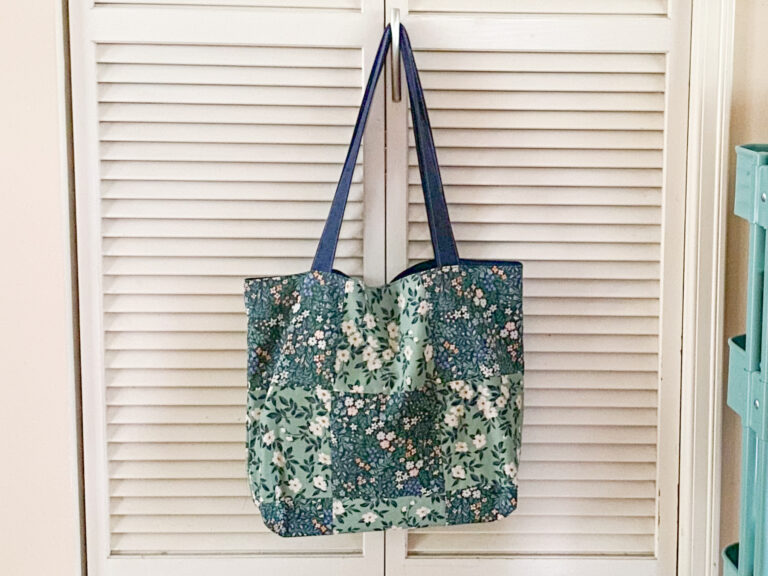
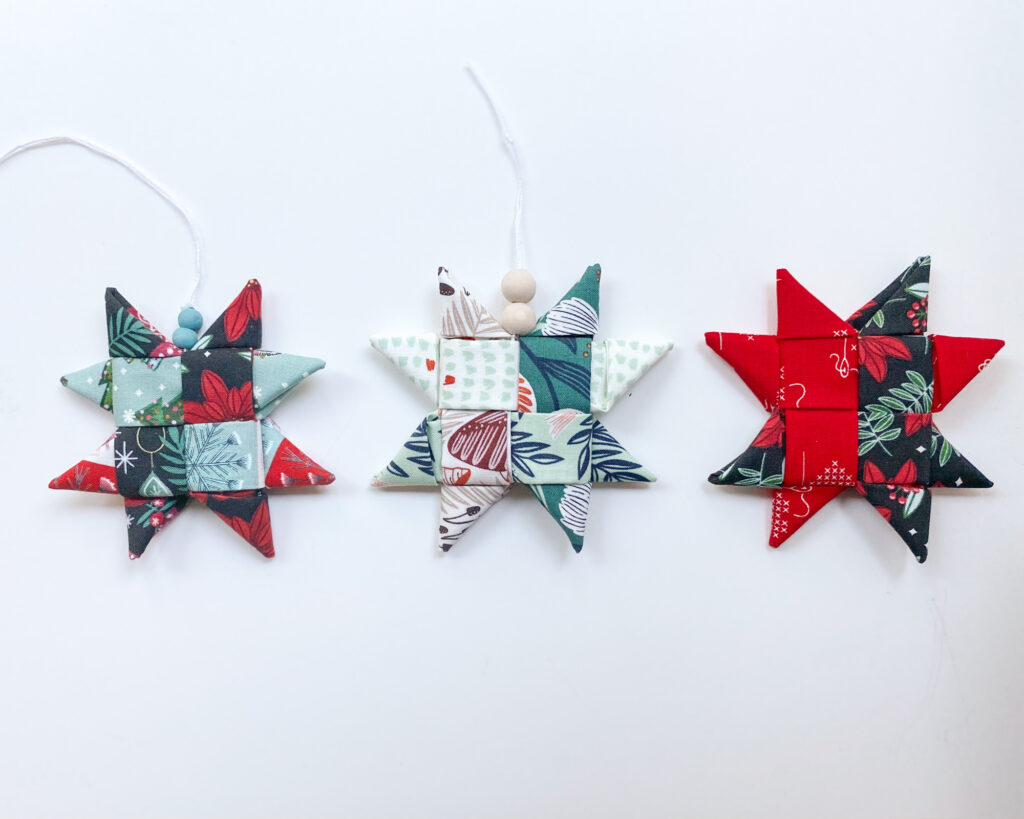
Create No-Sew Woven Stars for the Holidays
Today I’m excited to share a tutorial for making no-sew woven fabric stars. They’re perfect for crafting with family and friends over the holidays. These woven star ornaments are a great way to add a touch of handmade to your Christmas decor. Gather your supplies, and let’s get started!
Supplies
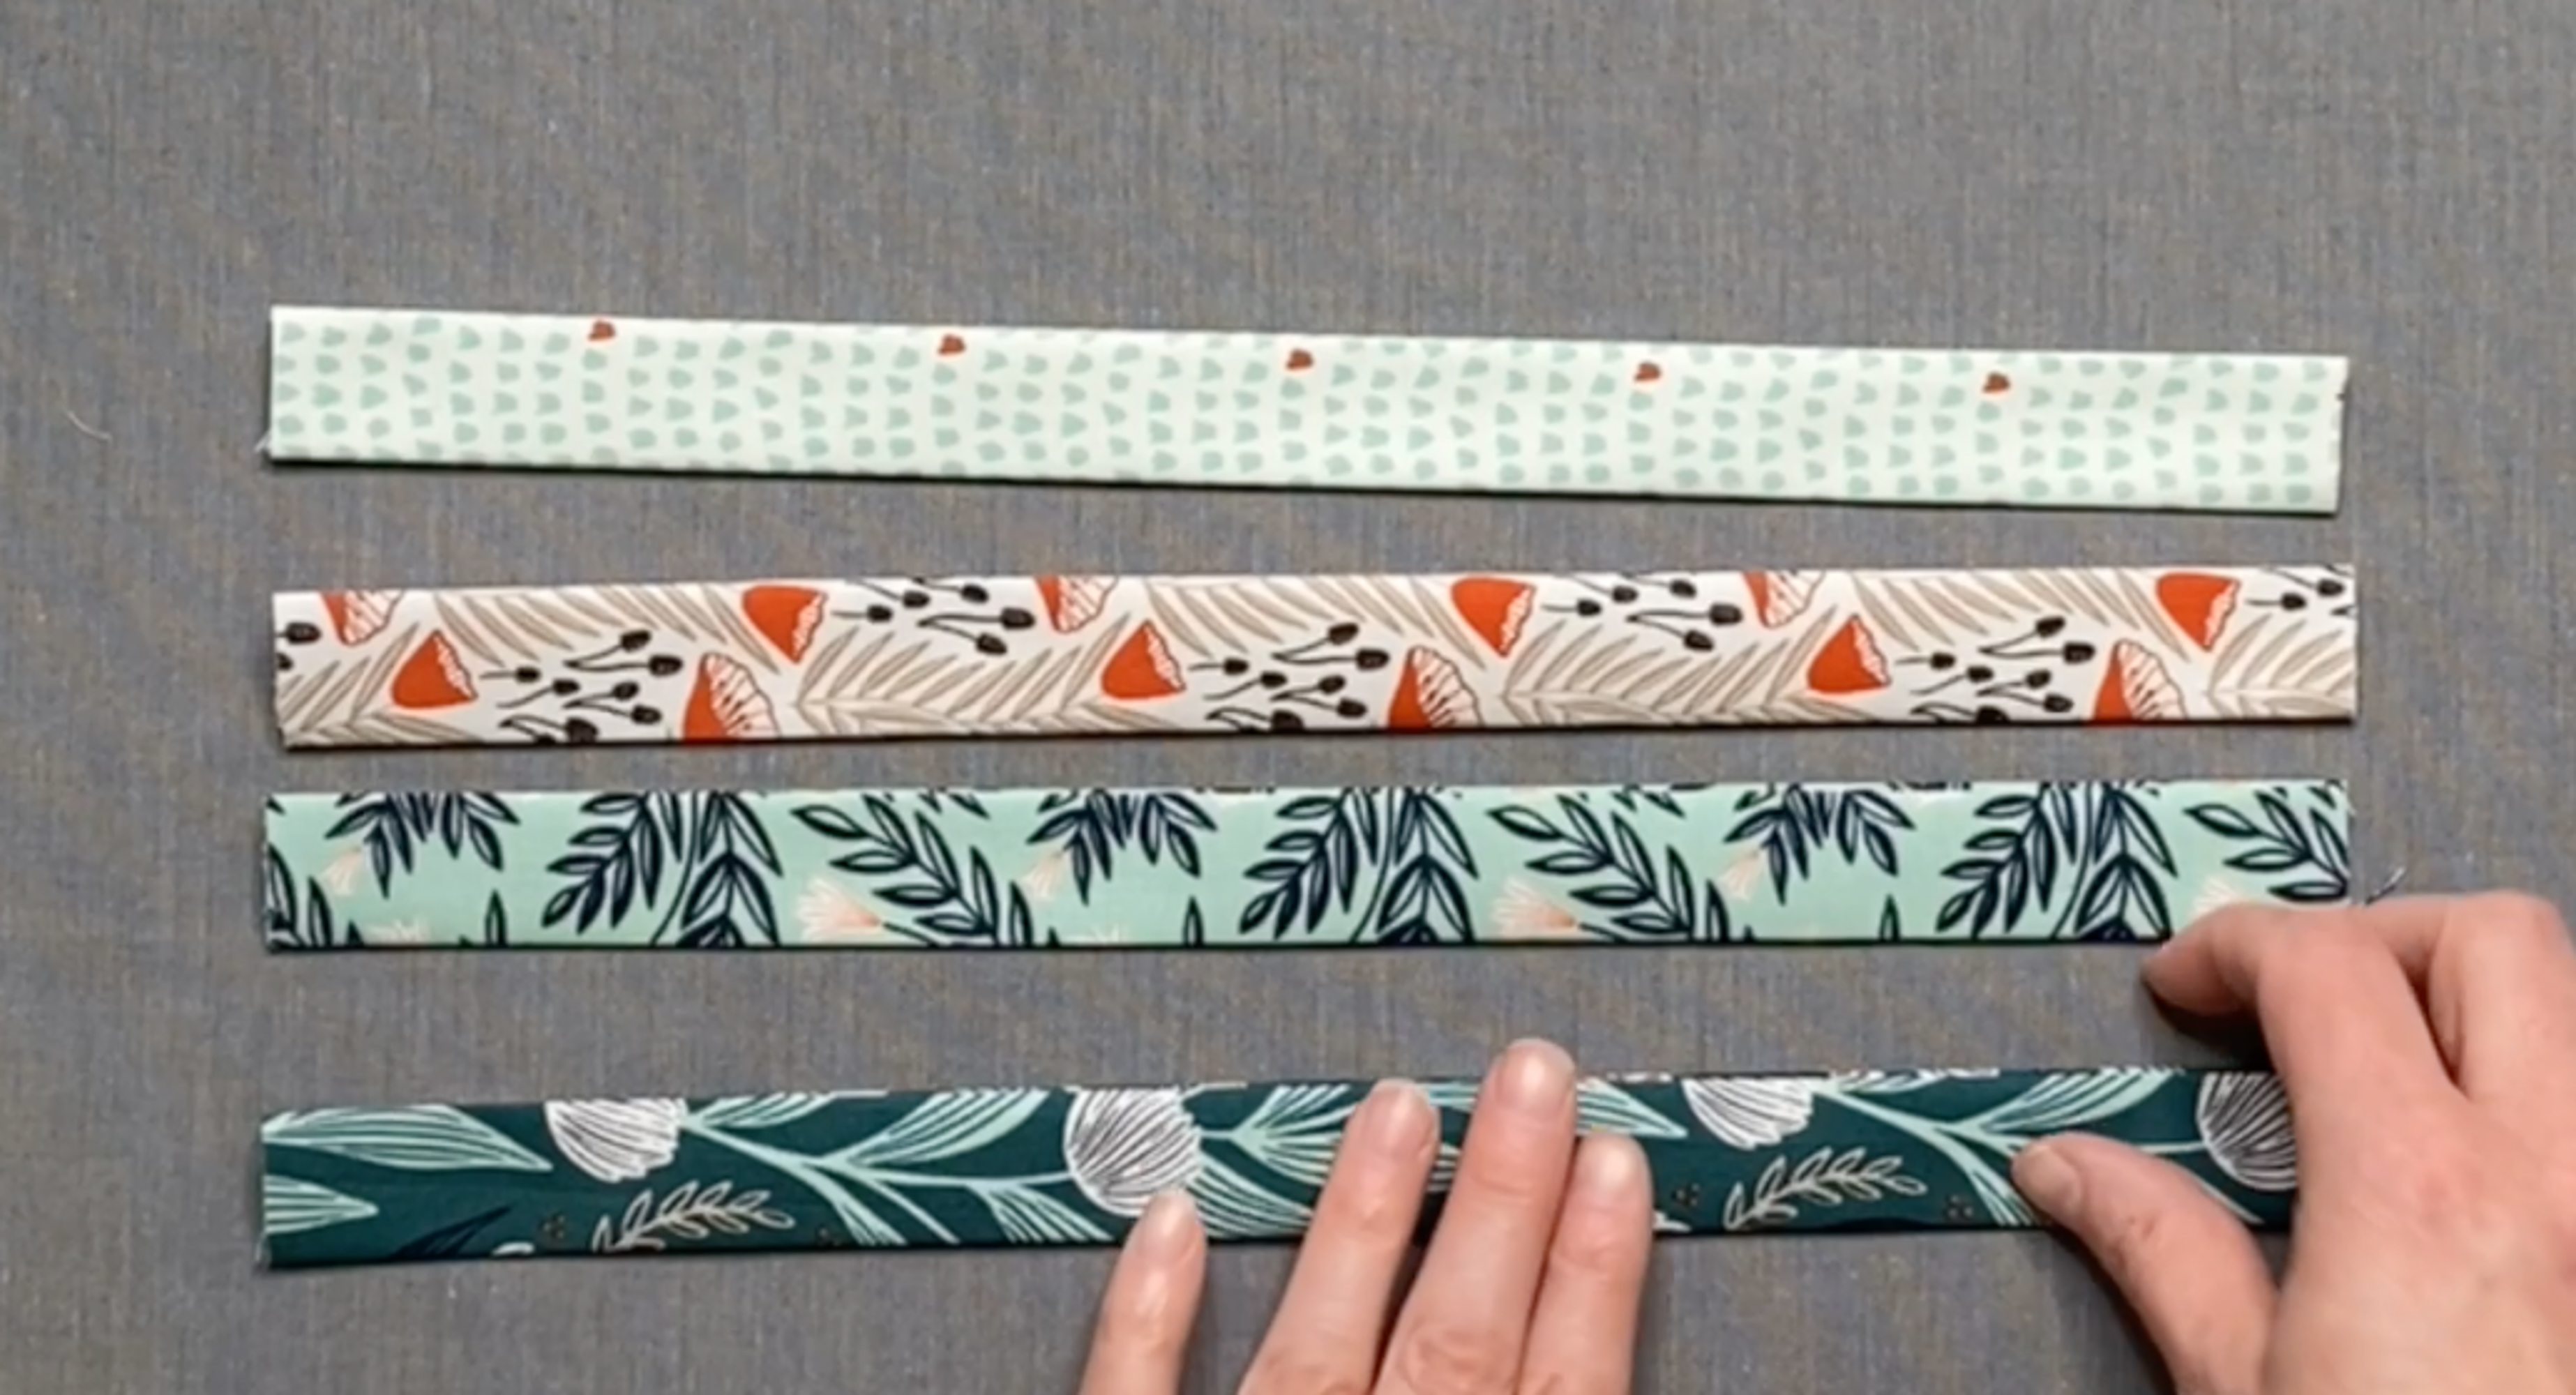
- 4 – 3.5″ x 12″ strips of fabric
- Iron
- Scissors or rotary cutter and cutting mat
- Wooden skewer or stiletto
- Sewing Clip (or small binder clip)
- Chenille needle size 18 (large eye needle)
- Embroidery thread (pearl cotton size 8)
- Fabric Glue (optional)
- Wooden Beads (optional)
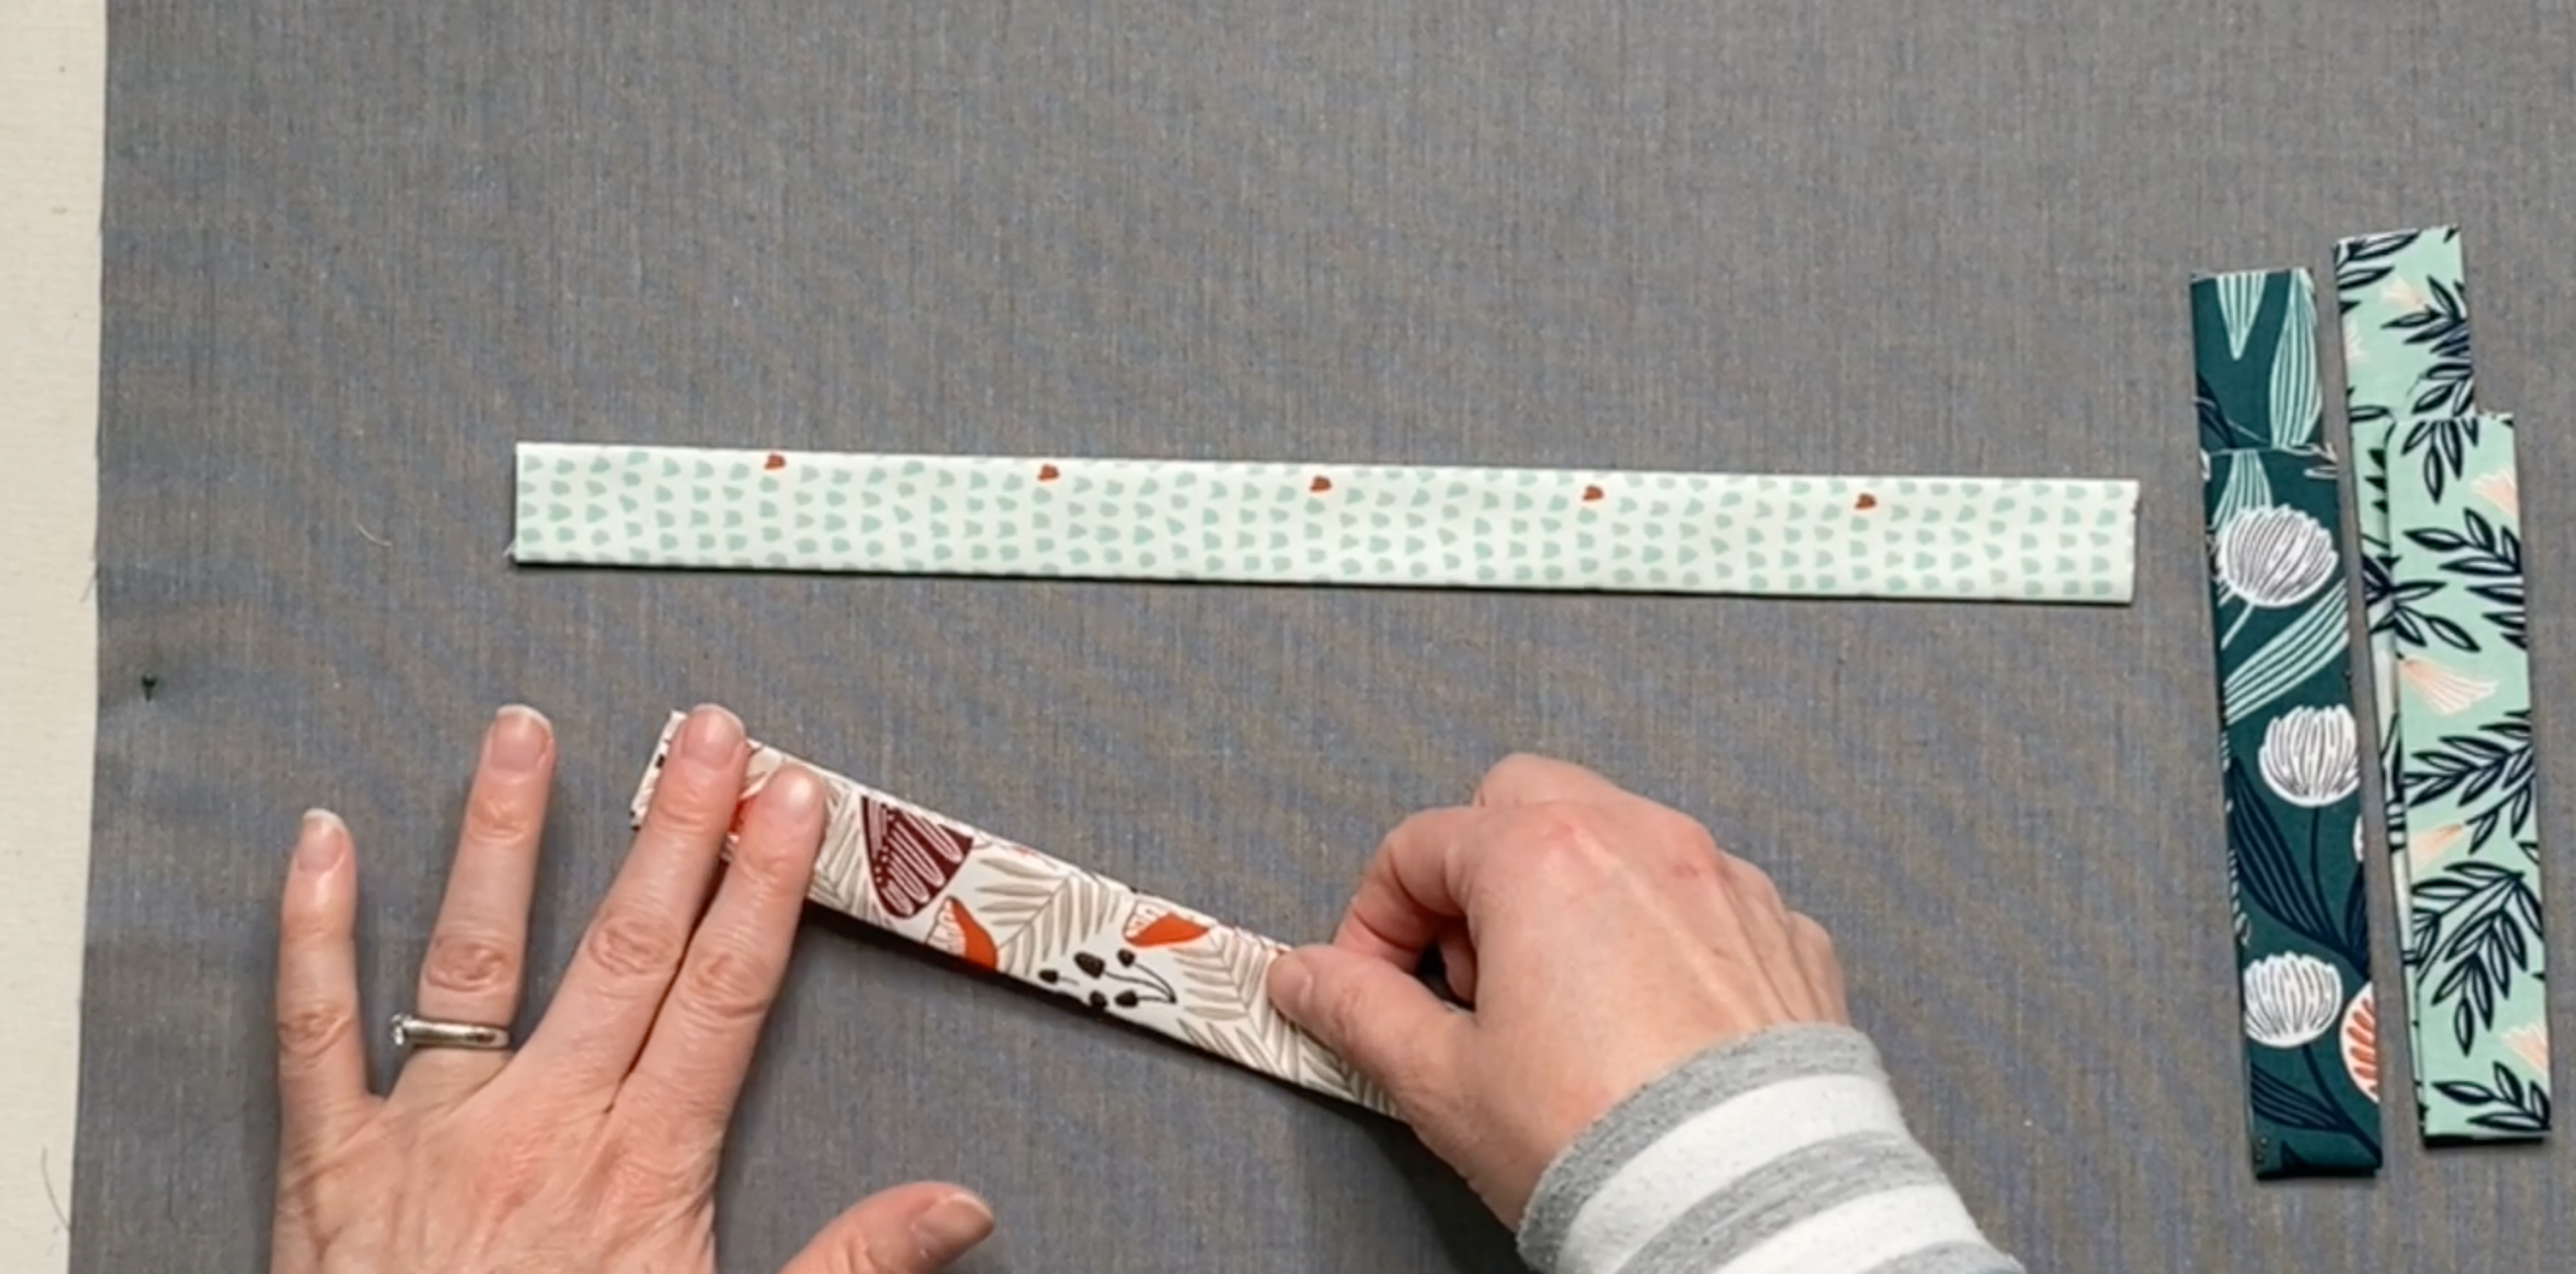
Step 1: Cut & press fabric strips
Cut 4 fabric strips 3.5″ x 12″. Press strips in half lengthwise to crease. Then press each side into the center to meet at the crease. Fold in half and press again. Raw edges will be enclosed inside the fold.
Step 2: Weaving Star Center
Fold each strip in half, leaving the top half 1.5″ shorter than the bottom half, and finger press.
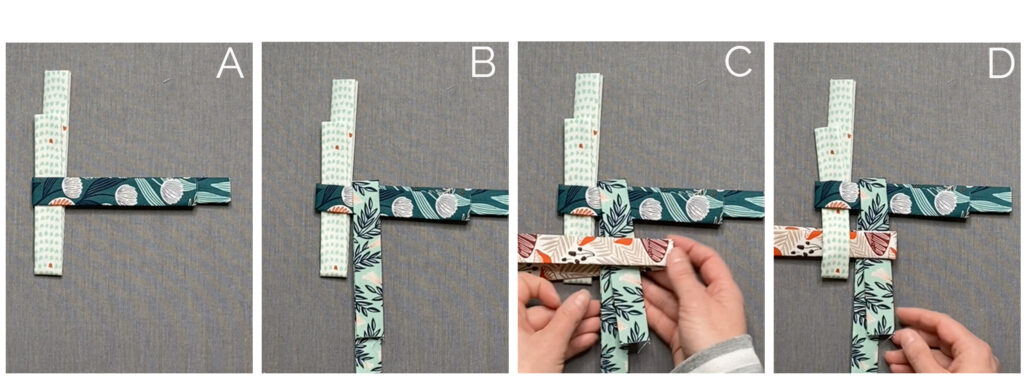
Lay out your strips with short ends facing up. To begin weaving them together, take one of the strips, and lay it flat on table vertically, with its opening at the top, and folded edge on the bottom. Take a second strip, open it up, and overlap the first strip with open ends pointing to the right, horizontally. Your first strip will be sandwiched between the folded layers of the second strip. [Figure A]
Take the third strip, open it up, and overlap the second strip strip with the open ends pointing down vertically. Your second strip will be sandwiched between the folded layers of the third strip. [Figure B]
Take the the fourth strip, overlap the third strip you just added, with the open ends pointing to the left horizontally. [Figure C] Your third strip will be sandwiched between the folded layers of the fourth strip. Then slip both ends of the fourth strip through the first strip. [Figure D]
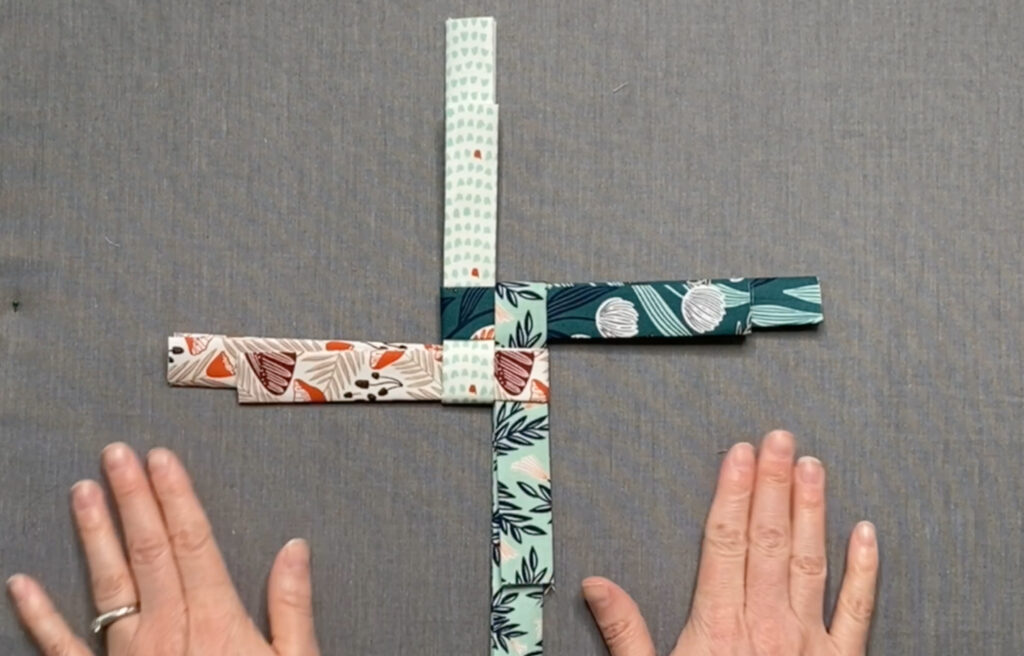
Snug up all the strips until you have a nice tight square in the center of the strips.
Turn the piece over so the long strip ends are now on top. Fold one layer of the left strip over the center square [Figure E]. Fold down one layer of the top strip over the center square [Figure F]. Fold one layer of the right strip over the center square [Figure G]. Fold the final strip over the center square [Figure H].
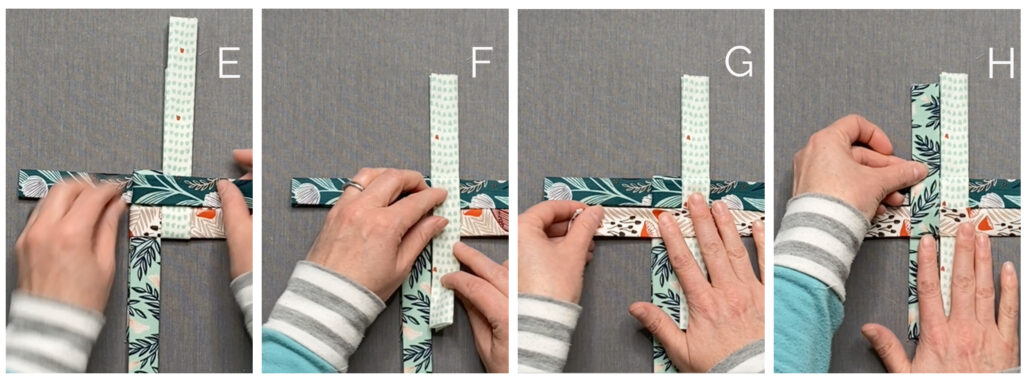
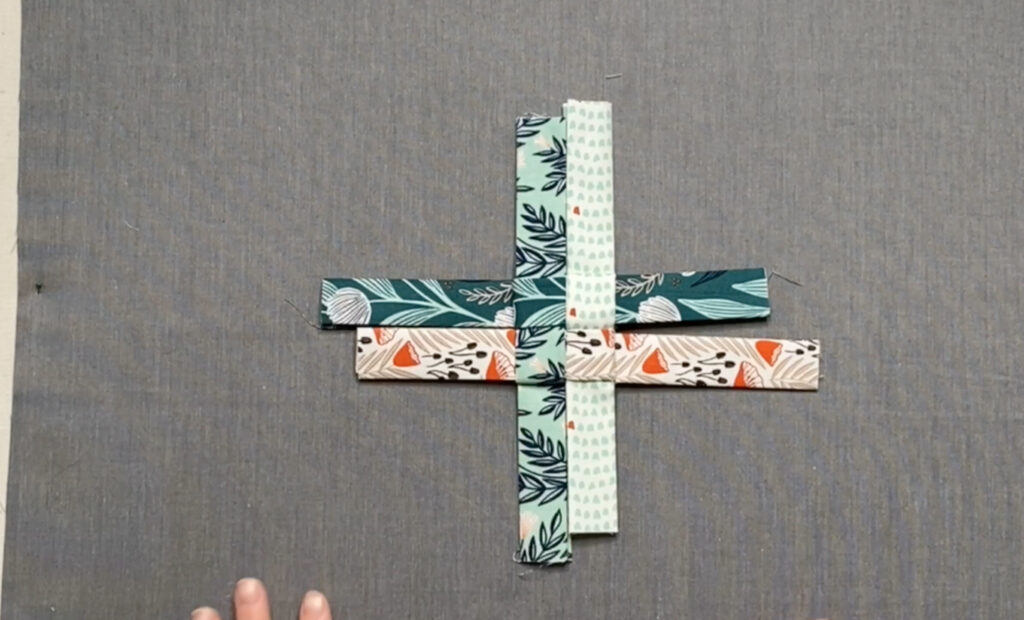
Slip the final strip through the first strip to hold it all together. Snug up the square.
Step 3: Fold Star Points
To make the star points, starting at the top left, fold the strip down and to the left towards the back of the piece, aligning the bottom edge of the pointed strip with the horizontal strip below it.
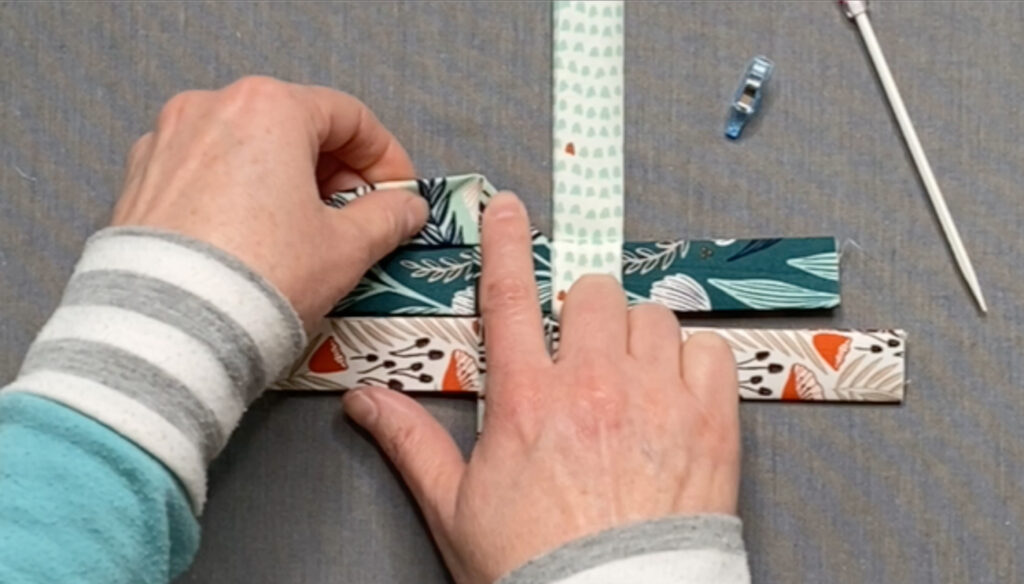
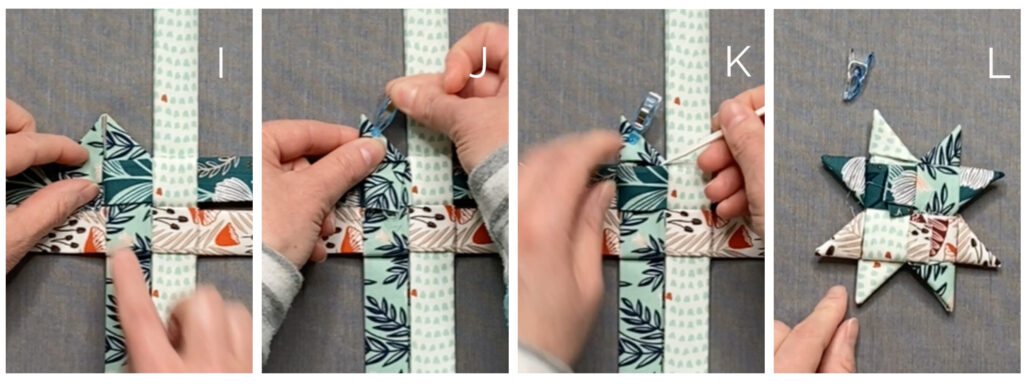
Fold the end of the pointed strip down to create a triangle, leaving a small gap between the point [Figure I]. Fold the point in half to the front, and clip in place [Figure J]. Using a wooden skewer tuck the end of your strip into the opening below [Figure K]. Any overhanging excess fabric can be cut off now or after you finish the star.
Continue working your way around the star to the right, skipping every other strip. To create 4 points. Turn the piece over and create the remaining 4 star points in the same manner.
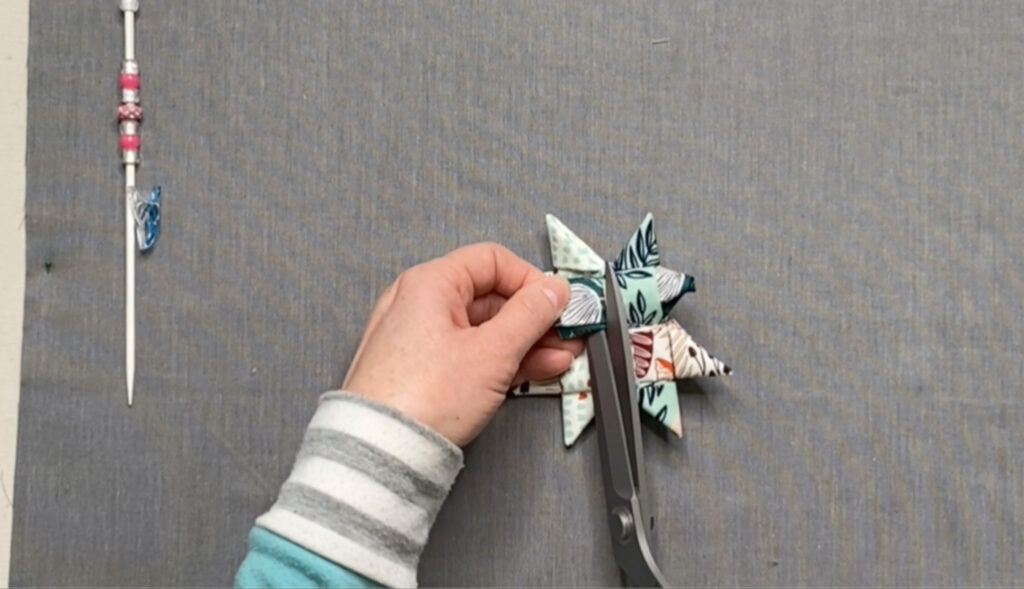
Trim off any extra overhanging strips. Pull the strip further through the opening, and clip. Then straighten up your star point. Continue to trimming up any other excess fabric ends.
Run a thread through the top of the star for a hanger, and add a few wooden beads if desired. Tie off the ends.
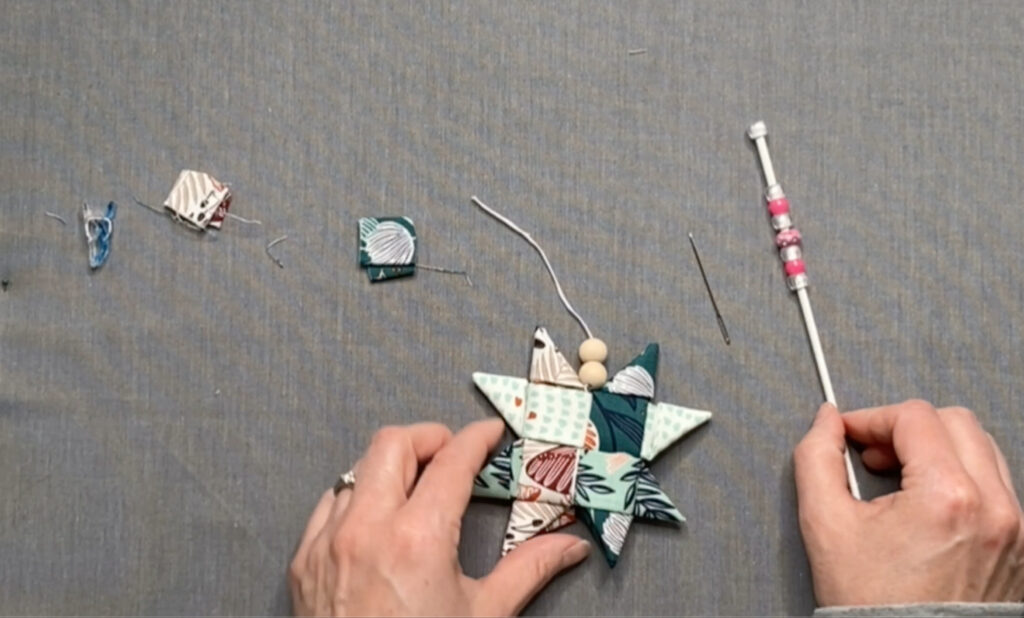
Make a few more for friends and family & enjoy!