How to Make Flying Geese Four-at-a-Time (+ Free Cutting Chart!)
The Flying Geese four-at-a-time method is a fast, accurate way to make one of the most versatile quilt units you’ll use again and again. Flying Geese blocks appear in everything from traditional stars to modern layouts—and once you learn this method, it’s a game changer.
In this post, I’ll walk you through the four-at-a-time method for Flying Geese blocks, which is my go-to for making them fast, accurate, and with less fabric waste. I’ll also share a free printable cutting chart you can keep by your sewing machine for easy reference. It includes sizes from 1″ x 2″ all the way up to 12″ x 24″ finished units—perfect for all your quilt projects.
What is a Flying Geese Unit?
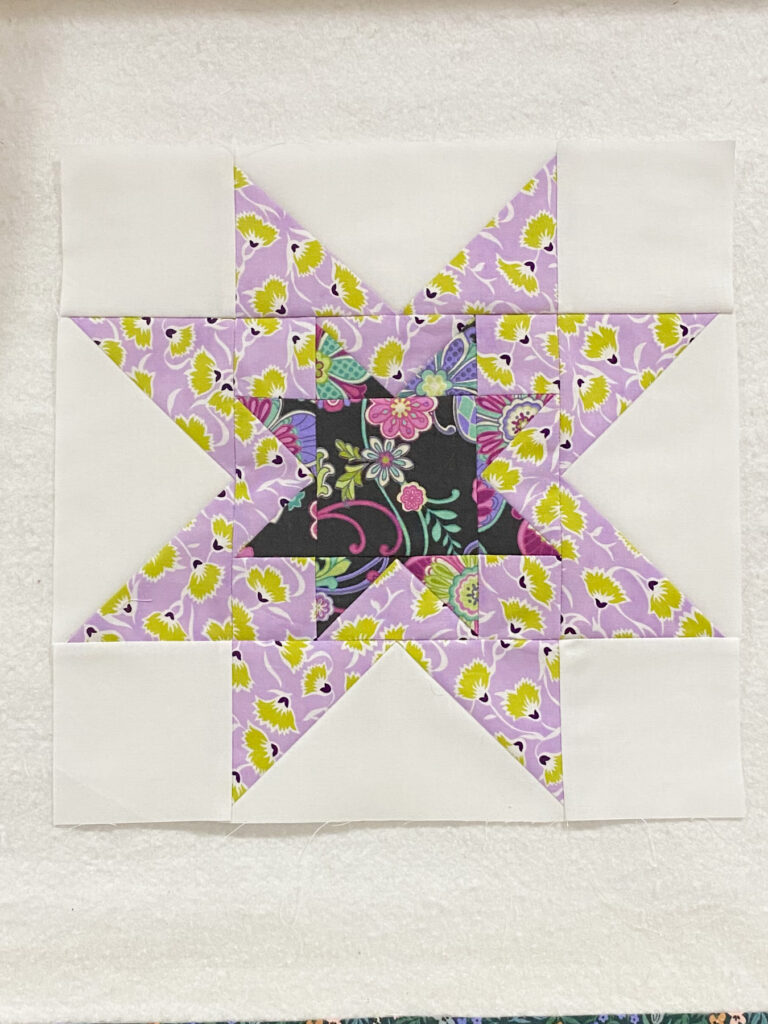
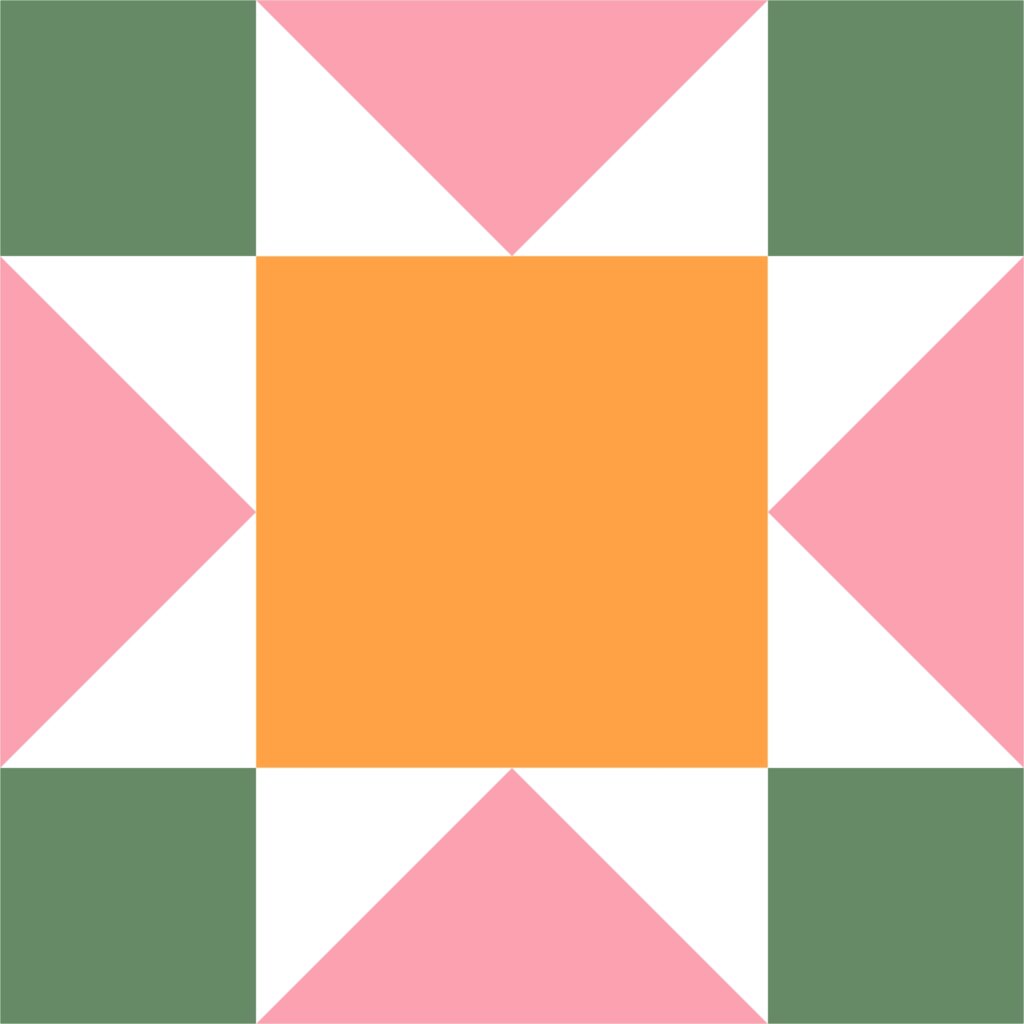
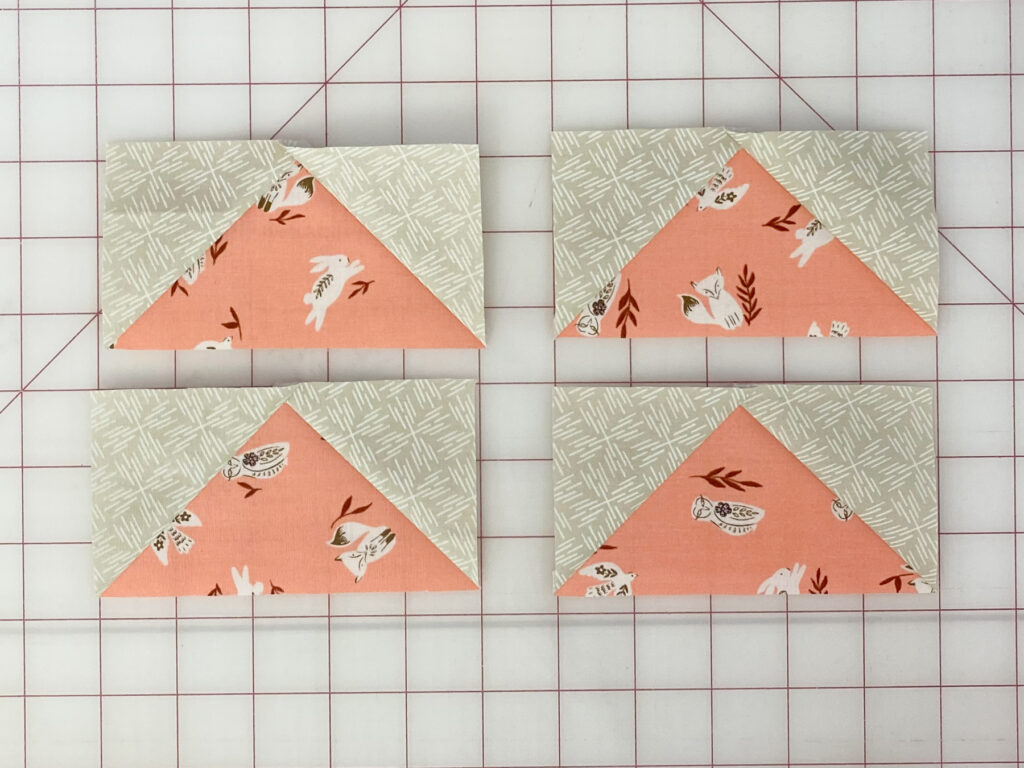
Flying Geese are rectangular units made up of one large triangle in the center (the “goose”) and two smaller triangles on the sides (the “sky”). When sewn into quilts, they often create strong directional movement or elegant framing around other blocks.
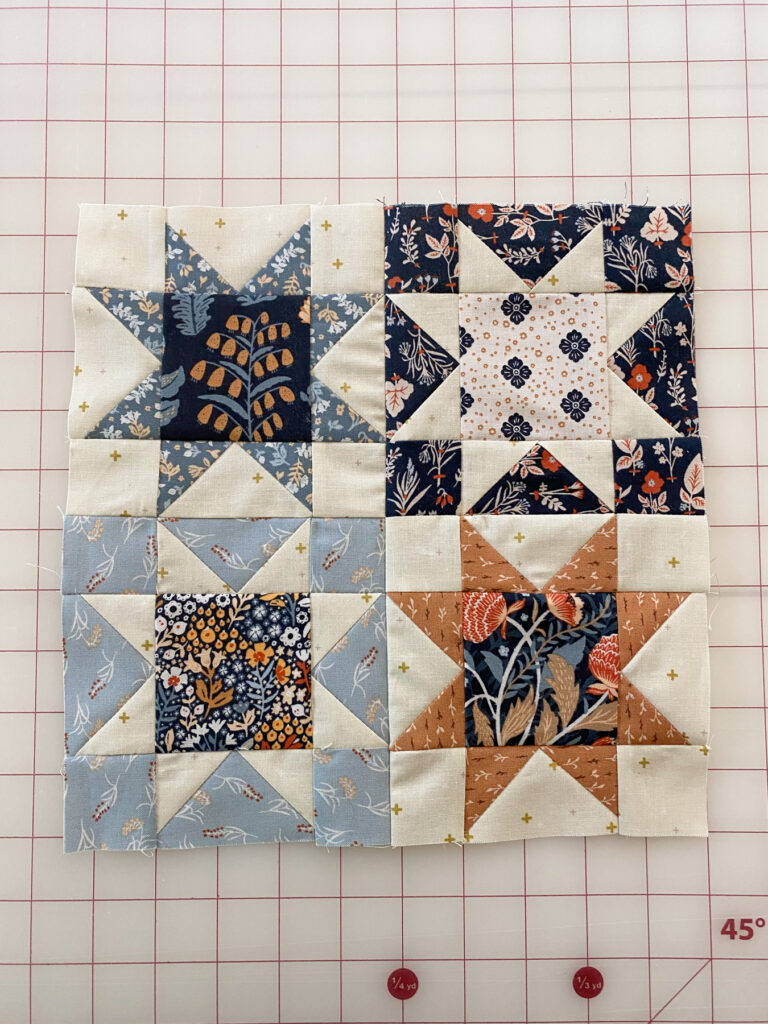
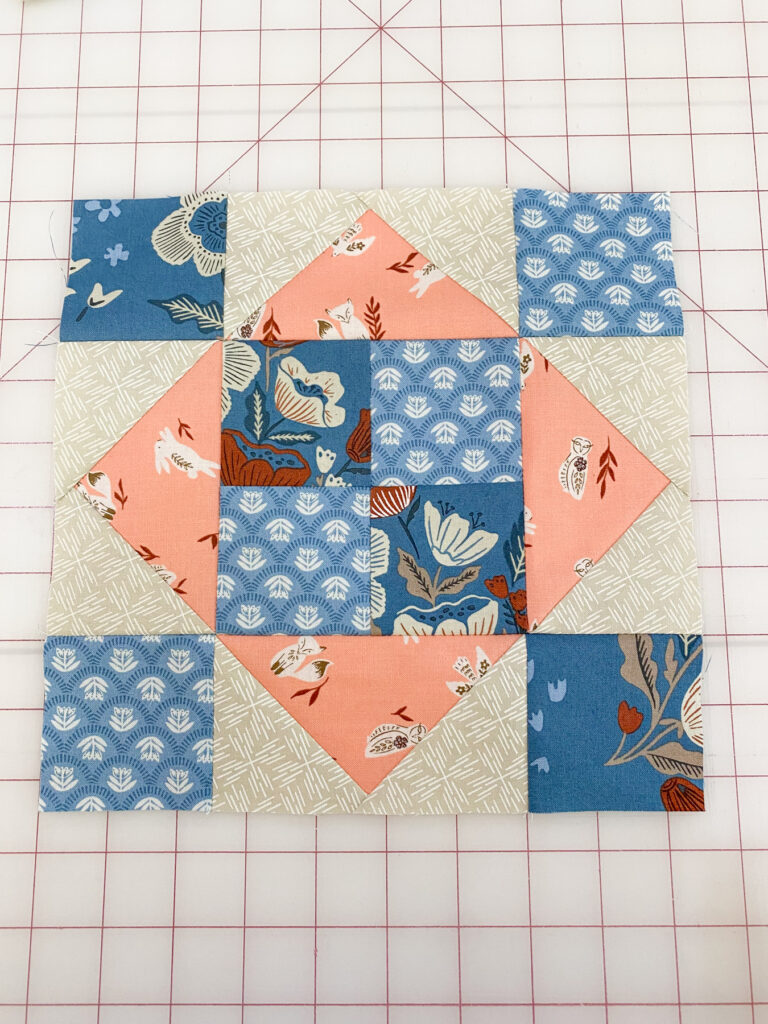
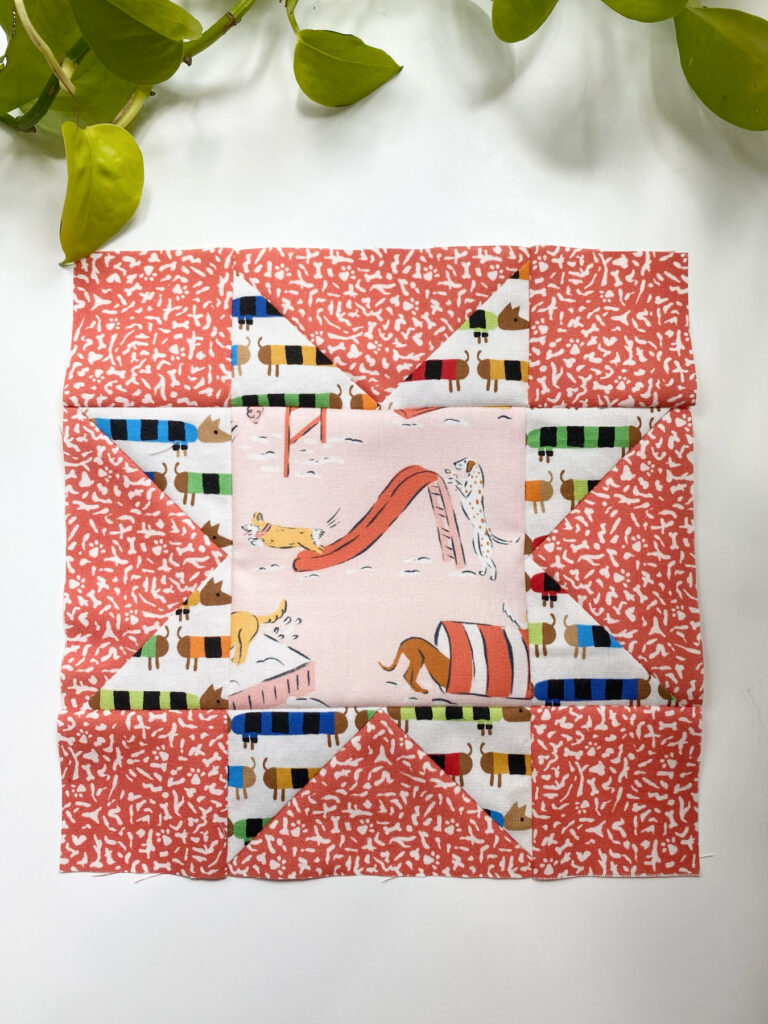
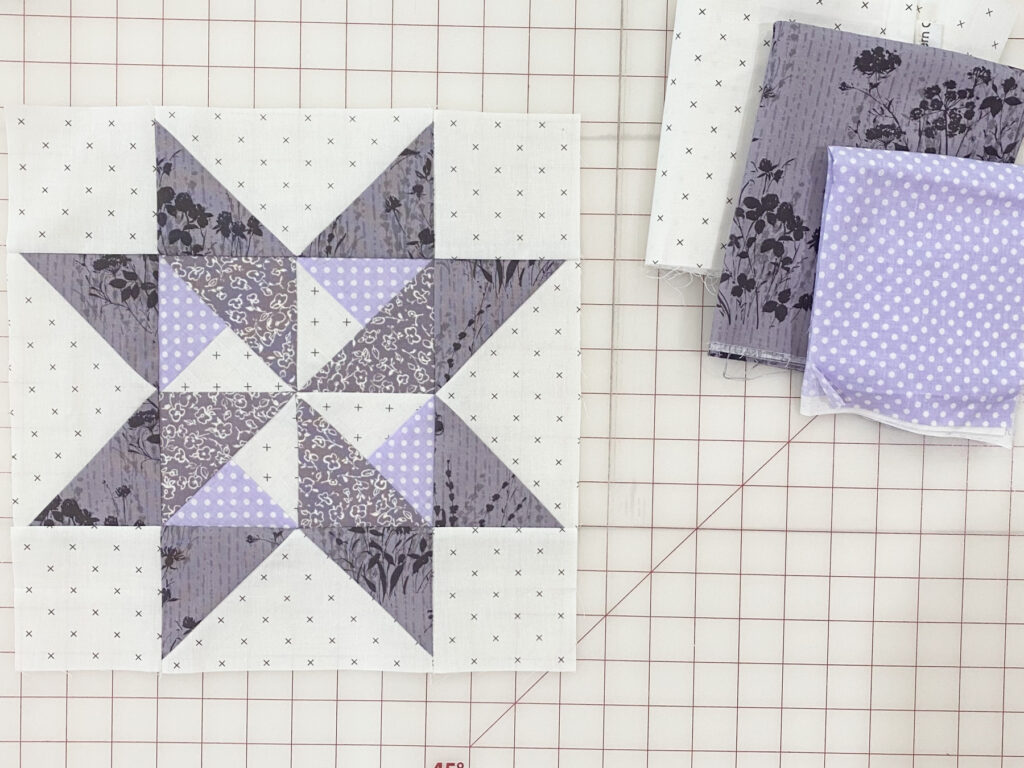
You’ll find them in so many classic designs: Sawtooth Stars, Dutchman’s Puzzle, and Carpenter’s Wheel, just to name a few. Because they’re used so often, mastering a reliable method for making them is a great skill for any quilter.


Why I Love the Four-at-a-Time Method
There are a few different ways to make Flying Geese, but the four-at-a-time method is my favorite, especially for quilt patterns that call for a lot of them.
Here’s why:
- It’s fast – You make four units in one go.
- It’s accurate – You cut oversized and trim down for clean edges and perfect points.
- It’s efficient – Less fabric waste than traditional stitch-and-flip methods.
- It’s scalable – Works for all sizes, from tiny accents to bold borders.
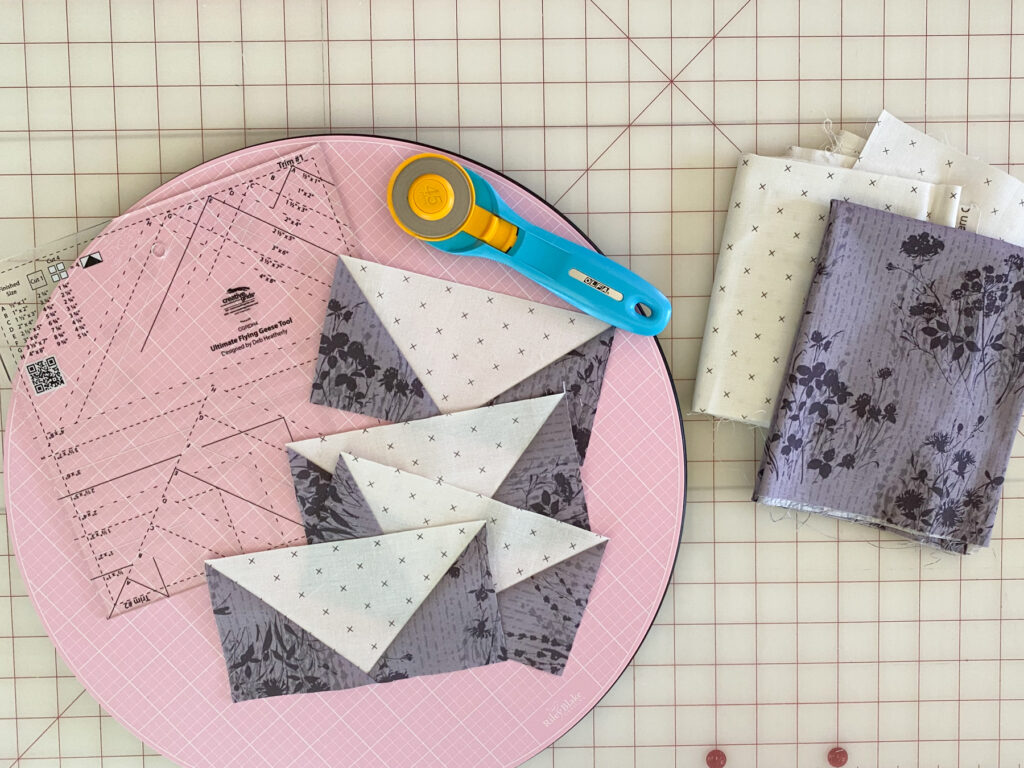
What You’ll Need
To make a set of four Flying Geese, you only need five squares of fabric:
- One large square (for the goose)
- Four smaller squares (for the sky)
I’ll walk you through the math below, but if you want to skip the calculations, I’ve got you covered!
This free PDF includes exact cutting sizes for over 20 Flying Geese sizes using the four-at-a-time method, with built-in oversizing for trimming. Keep it handy for future projects!
The Math Behind Flying Geese Four-at-a-Time
(With Oversizing for Accuracy)
Flying Geese are most commonly made in a 1:2 ratio—meaning the finished block is twice as wide as it is tall (e.g., 2″ x 4″, 3″ x 6″). That’s the proportion used in the chart included with this post.
Note: Some quilt patterns use non-standard proportions. The method below focuses on classic Flying Geese, but I also cover trimming tips for unusual sizes later in this post.
Cutting Formulas (with built-in oversizing)
- Large square: Finished width + 1½”
- Small squares (cut 4): Finished height + 1⅛”
Example: 2″ x 4″ Finished Flying Geese
- Large square: 4″ + 1½” = 5½”
- Small squares: 2″ + 1⅛” = 3⅛” (cut four)
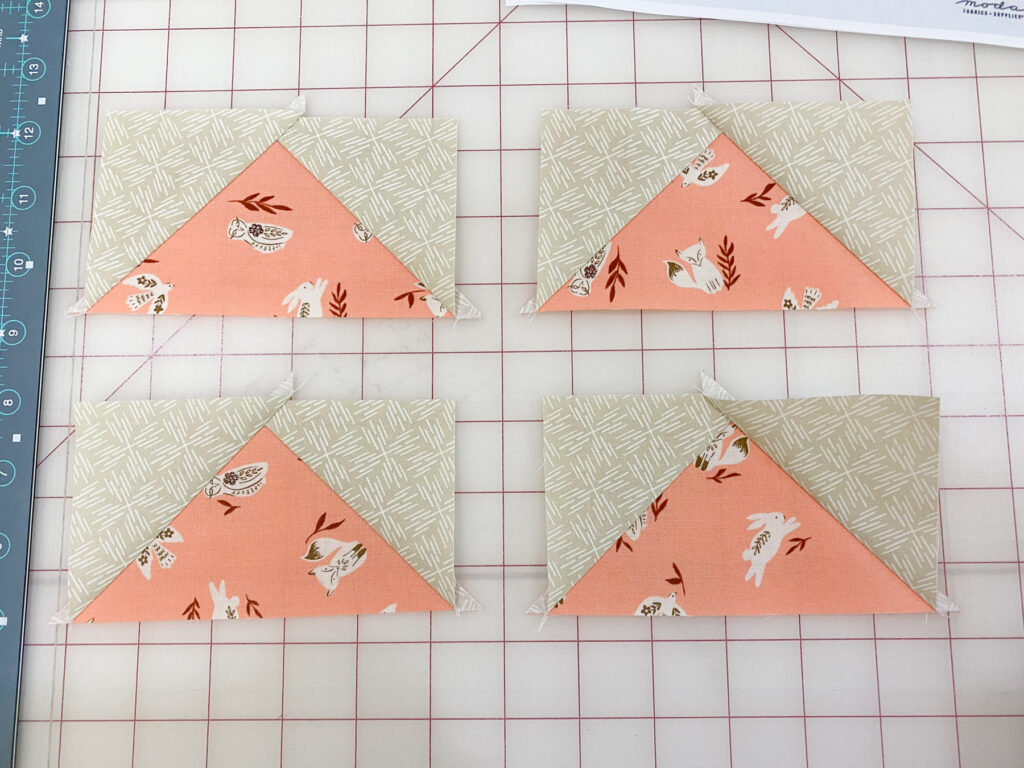
Once sewn and trimmed, you’ll have four perfect 2″ x 4″ Flying Geese blocks.
Step-by-Step: How to Make Flying Geese Four-at-a-Time
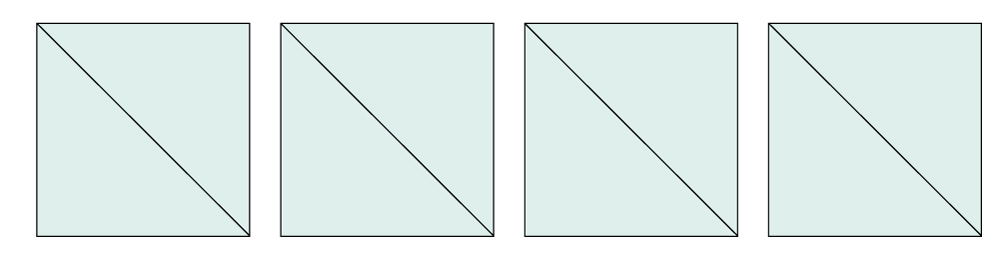
- Draw a diagonal line from corner to corner on the wrong side of each small square
- Place two small squares on opposite corners of the large square, right sides together. The corners will overlap slightly in the center.
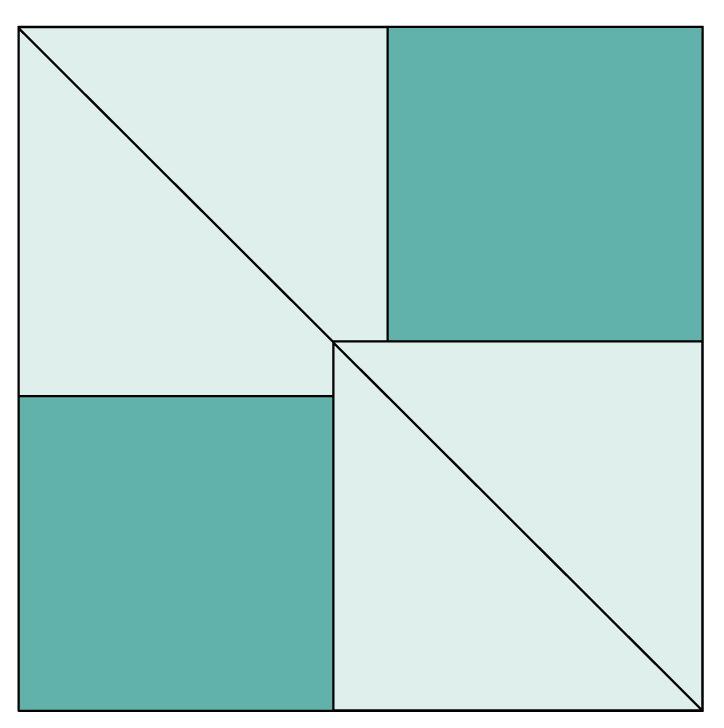
- Sew a scant 1/4″on both sides of the drawn line. Cut along the drawn line.
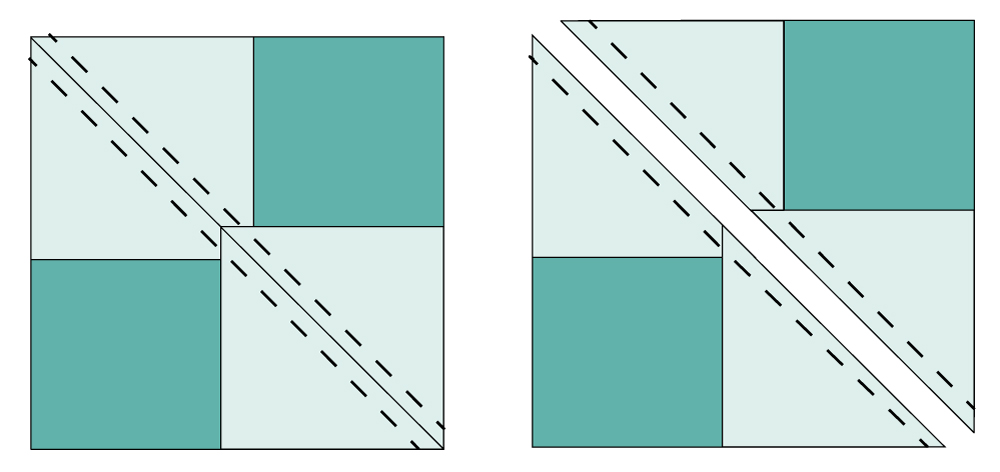
- Press the seams toward the small squares.
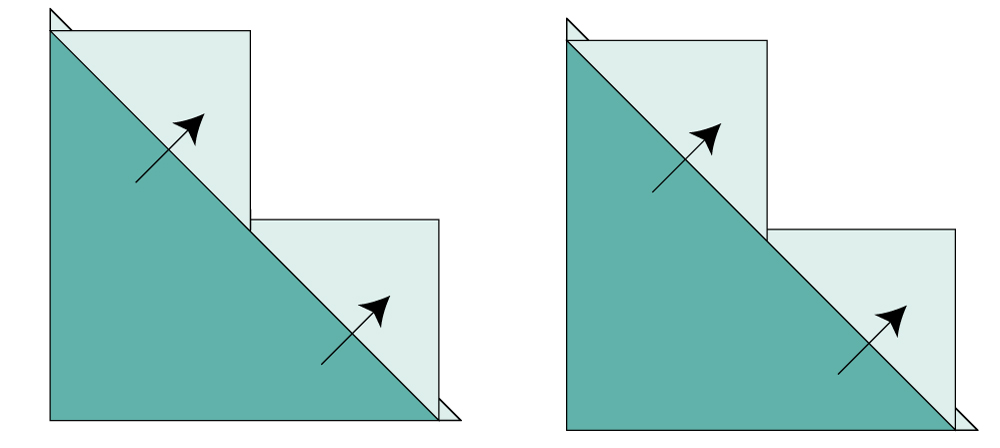
- Place the remaining small square on the corners of each new unit. Sew again a scant ¼” from each side of the drawn line. Cut along the drawn line.
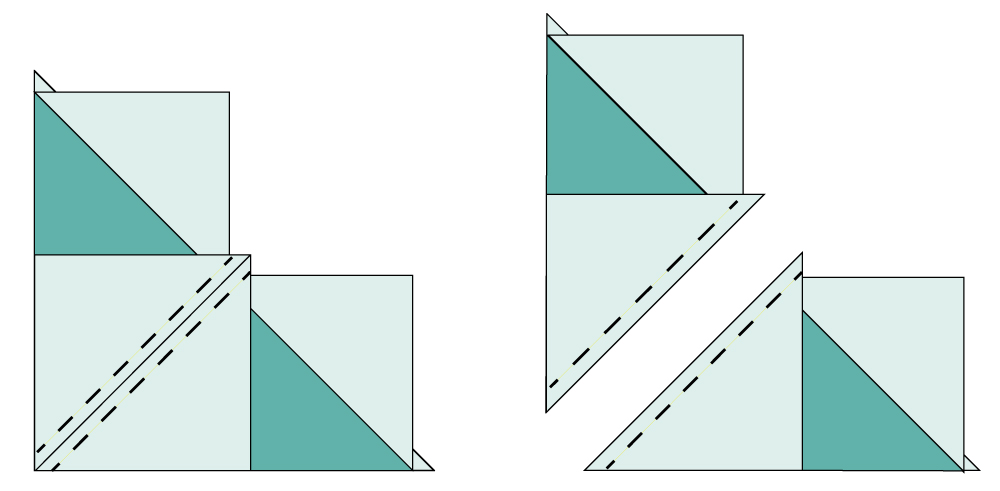
- Press toward the smaller triangles. Trim to the correct unfinished size.

Trimming Tips for Perfect Flying Geese Points
Trimming after sewing ensures sharp points and accurate sizing. I use both a standard quilting ruler and a specialty ruler depending on the project.
Using a Standard Quilting Ruler
(Example: 2 ¾” x 5″ Flying Geese in Moda Blockheads 6 Block 3)
The Flying Geese units in Moda Blockheads 6 Block 3 (“Sunday Best”) measure an uncommon 2 ¾” x 5″ unfinished size.
Here’s how I trim them accurately:
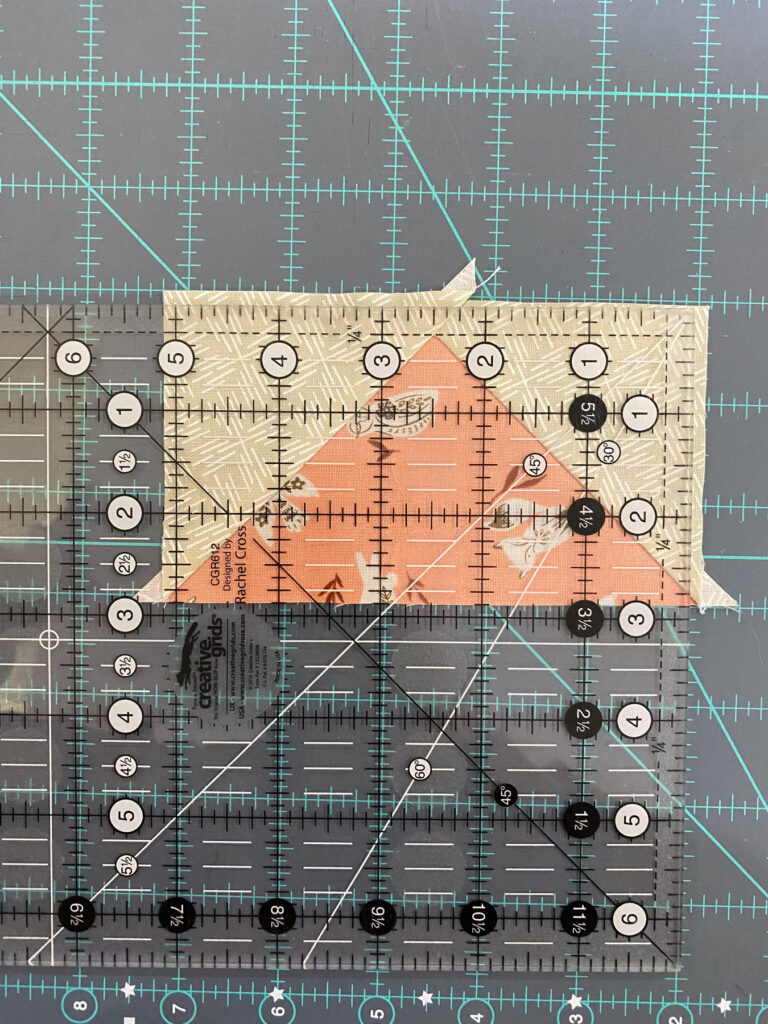
- Place the unit right side up on your cutting mat.
- Align the point of the “goose” at the 2 ½” mark (centered horizontally), with ¼” seam allowance above. The base of the triangle should measure 2 ¾” at the corners.
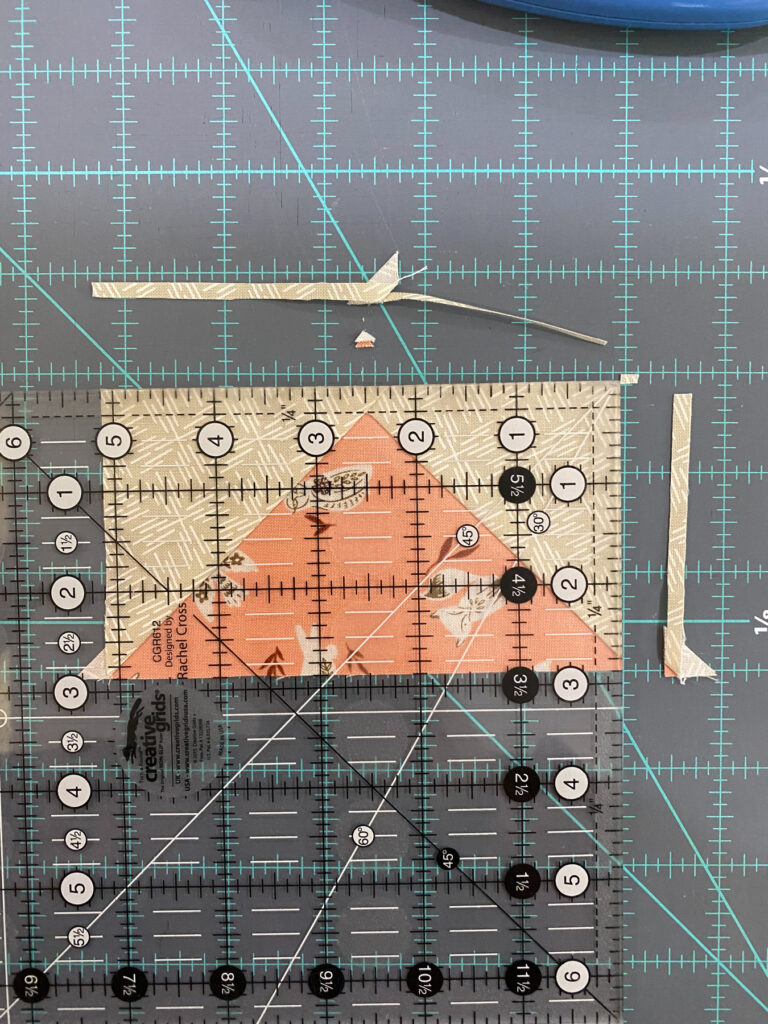
- Trim the side and top edges.
- Rotate the unit and trim the remaining edges to exactly 2 ¾” x 5″.
Want to see how these Flying Geese are used?
Check out my full post on Moda Blockheads 6 Block 3 — “Sunday Best.”
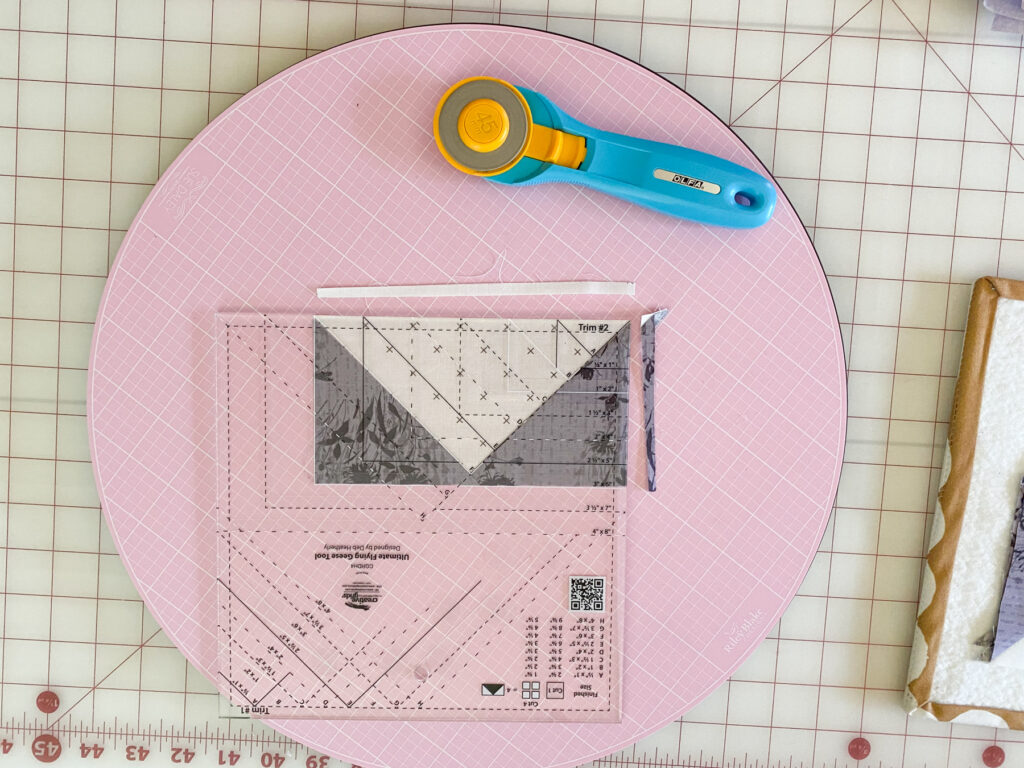
Using the Creative Grids Ultimate Flying Geese Ruler
(Example: 3″ x 6″ Finished / 3½” x 6½” Unfinished)
The Creative Grids Ultimate Flying Geese Tool makes trimming Flying Geese units fast, accurate, and stress-free. It’s designed for Flying Geese in the classic 1:2 proportion and includes eight size options—labeled A through H—ranging from: ½” x 1″ finished units (1″ x 1½” unfinished) to 4″ x 8″ finished units (4½” x 8½” unfinished).
Whether you’re working on tiny accent blocks or large feature rows, this ruler has you covered.
Two-Step Trimming Process
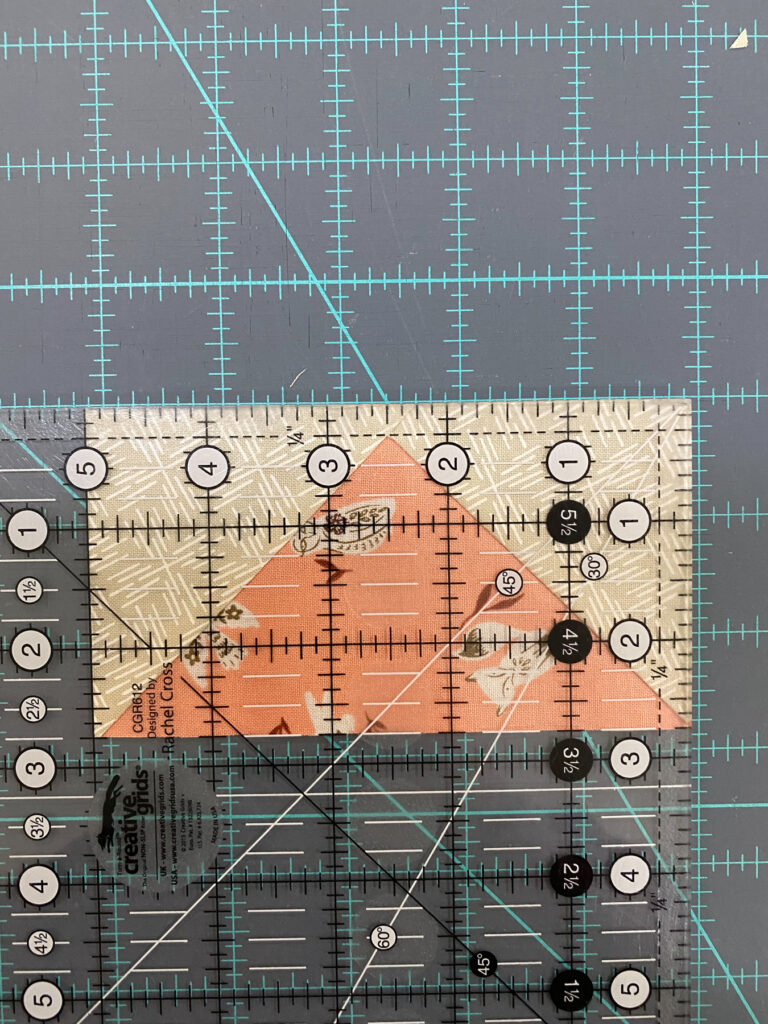
Step 1: Trim #1 Side
- Place the Flying Geese unit right side up.
- Locate the finished size marking you need (e.g. “F” for 3″ x 6″).
- Align the dashed lines with the seams and the point of the goose.
- Trim the right and top edges.

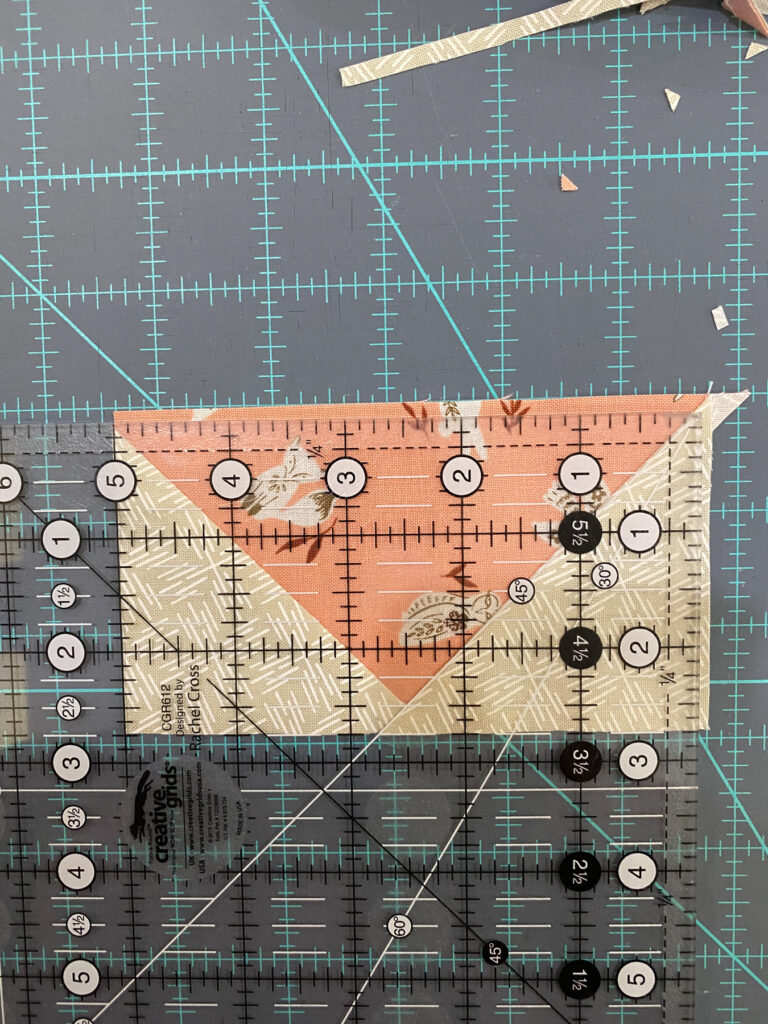
Step 2: Trim #2 Side
- Rotate the unit 180°.
- Align the same dashed guidelines with your trimmed edges and seams.
- Trim the final two sides to square it up to the correct unfinished size (e.g. 3½” x 6½”).
With built-in seam allowance guides and clearly marked size references, this ruler really speeds up the trimming process and helps maintain precise points every time.
Ready to Try It?
Whether you’re a beginner or a seasoned quilter, the four-at-a-time method is a simple, efficient way to make one of the most used blocks in quilting. It’s a handy reference you’ll want to keep near your sewing machine
I hope this helps you feel more confident and organized as you plan your next quilt. And if you try this method, I’d love to see what you make—tag me on Instagram so I can cheer you on @tangledthreadsbyjen
Happy quilting!
– Jen