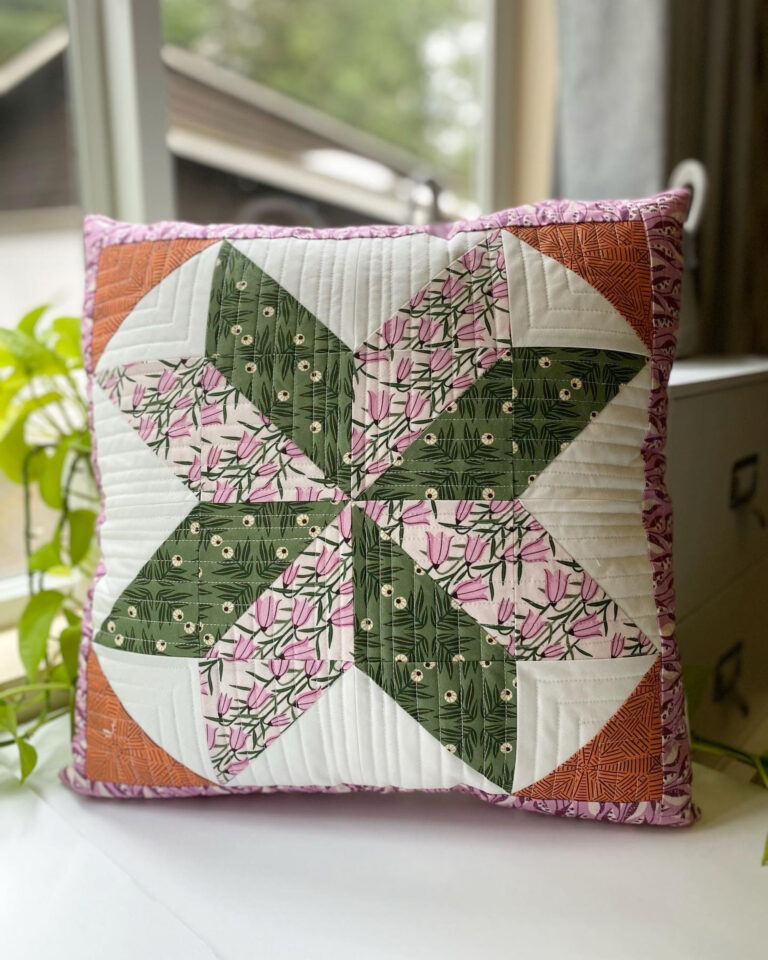
How to sew a zipper into a pillow
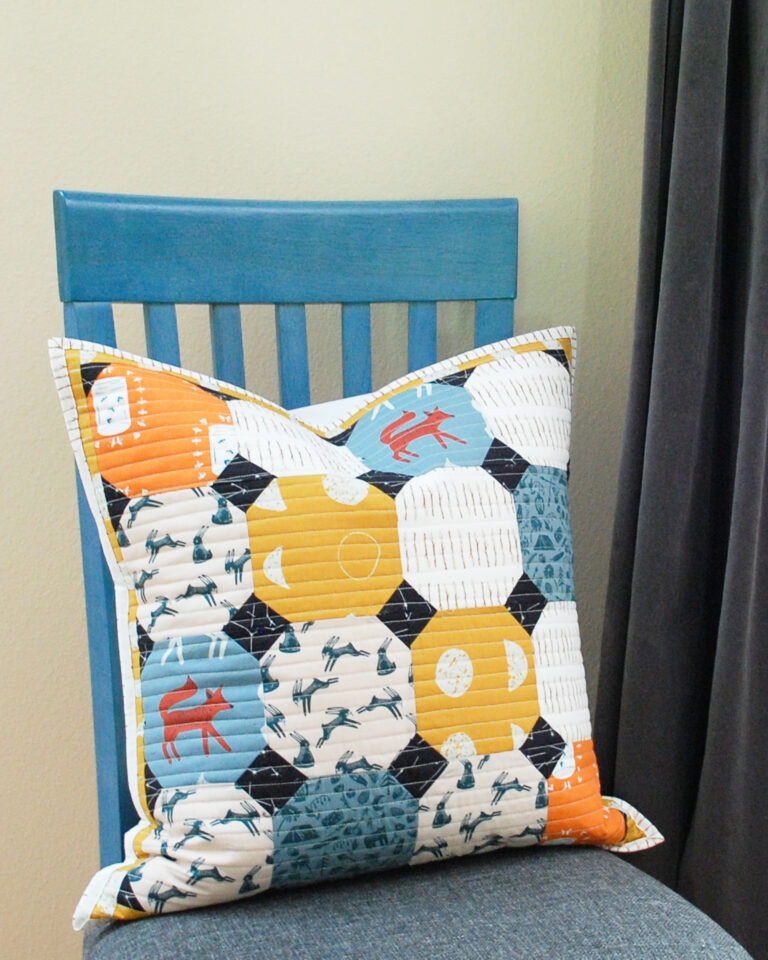
Learn how to easily sew a zipper into the back of your pillow with this step-by-step photo tutorial. Be sure to Pin it so you’ll have it handy the next time you need to finish your pillow. These instructions are for an 18 inch pillow. See more in my pillow making series here.

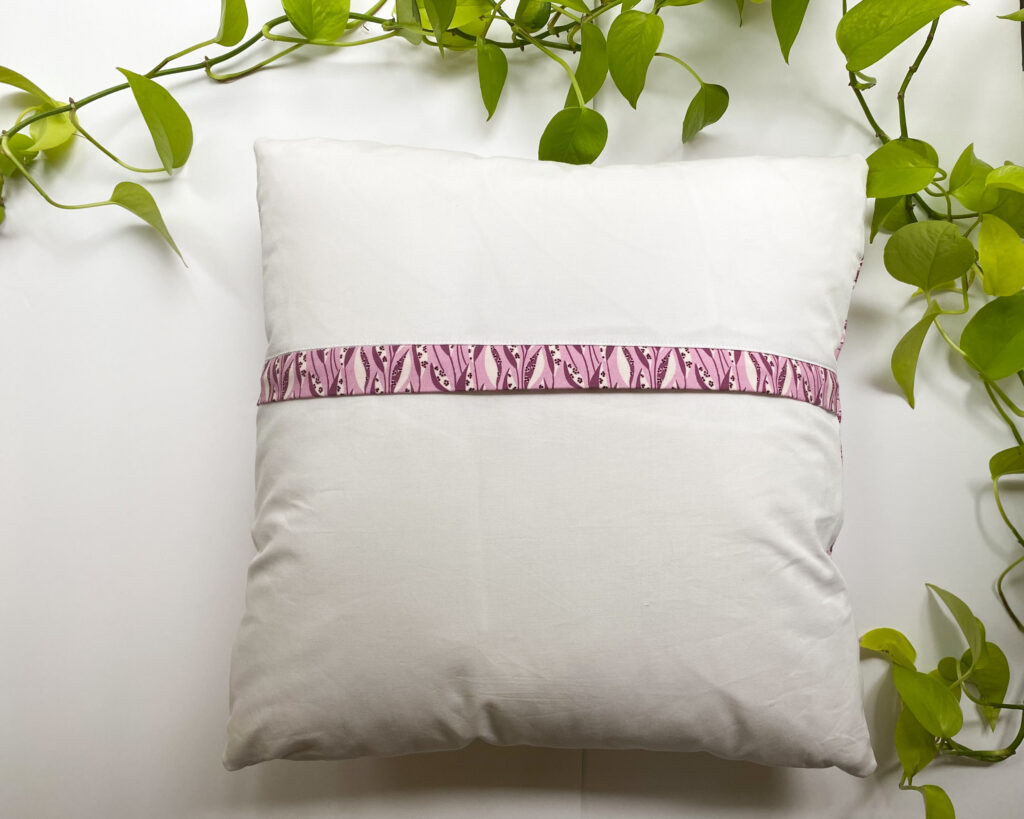
Materials you’ll need
Directions are for one 18″ pillow. Width of fabric (WOF) is assumed to be 42″. All seam allowances are 1/4″ unless indicated.
- 18 1/2″ pillow front – Stars A Glow pillow tutorial
- 1/2 yard pillow back fabric, I used solid white quilting cotton
- 1/2 yard fusible interfacing, I used Pellon 906F
- 2 1/2″ x 18 1/2″ strip of accent fabric for the zipper cover, I used Bountiful from Wild Haven
- 18″ pillow form
- 20″ nylon zipper
Step 1 – Cut the fabric for the pillow back
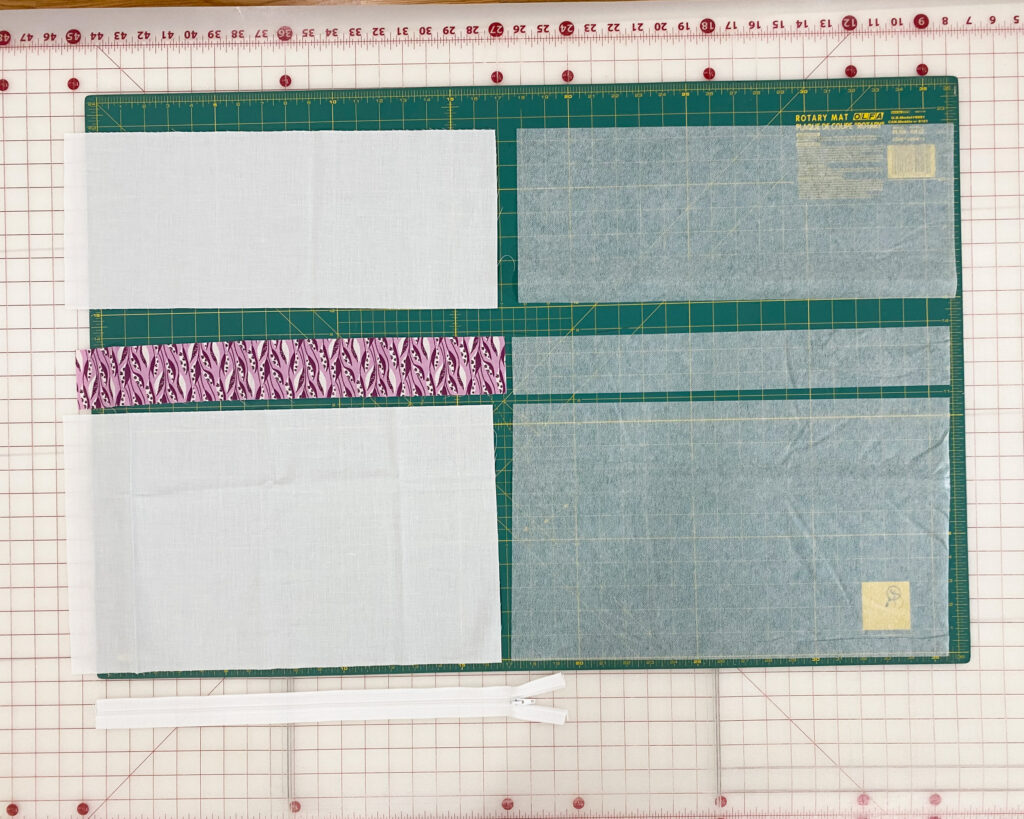
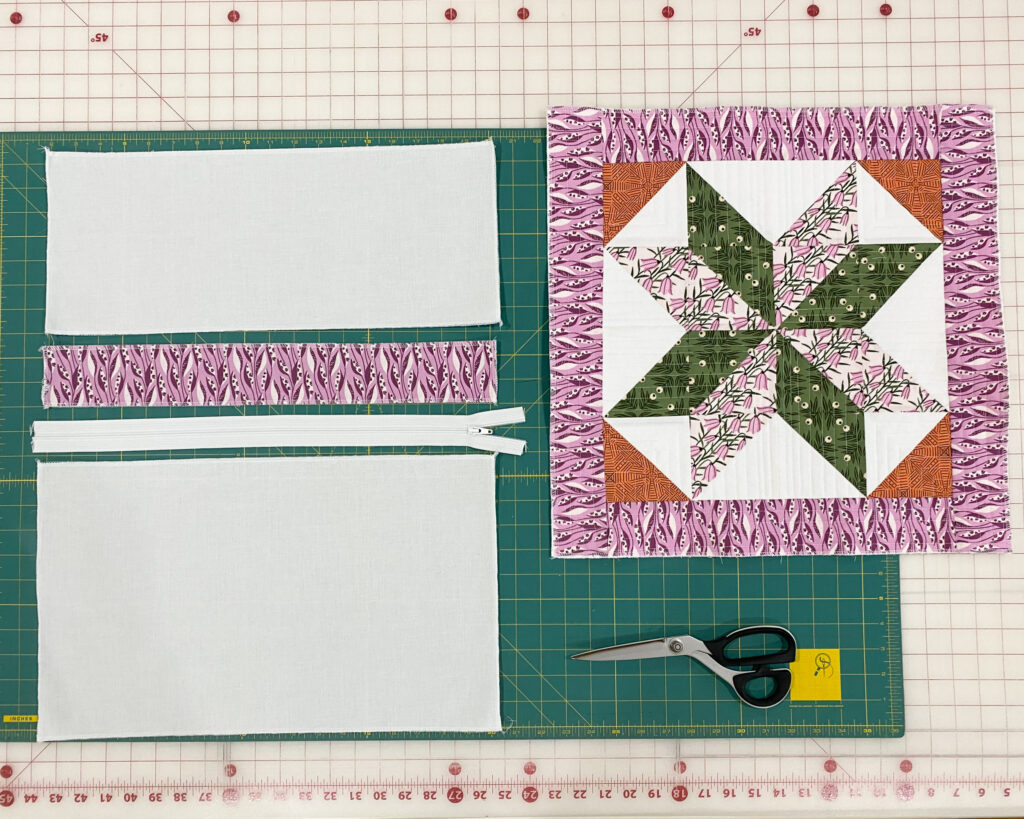
From pillow back fabric, cut 1 – 11″ x width of fabric, then sub-cut:
- 1 – 18 1/2″ x 11″ (pillow back bottom panel)
- 1 – 18 1/2″ x 7 1/2″ (pillow back top panel)
- 1 – 2 1/2″ x 18 1/2″ accent fabric for zipper cover
Step 2 – prepare fabric with stabilizer
- Cut and fuse lightweight stabilizer to the wrong side of the two pillow back pieces following manufacturers instructions. I used Pellon 906F Fusible Sheerweight interfacing because that is what I had on hand from making t-shirt quilts. It’s very lightweight but gave plenty of stability to the quilting cotton fabric.
- Place the interfacing with the rough shiny side on the wrong side of the fabric. Cover with a damp cloth, set your ion on the wool/steam setting. Press firmly for 10-12 seconds. Repeat, lifting and slightly overlapping iron until all interfacing is fused. Steam press on the right side. Let fabric cool, then check the bond.
- In previous projects i’ve shared here on my blog I used Pellon Shape-Flex SF101 (fabric bookmark project), and Pellon 987F Fusible Fleece (reading pillow project). They all work great, so use what you have if you have something, if not give Fusible Sheerweight a try.
Step 3 – Finish the pillow edges
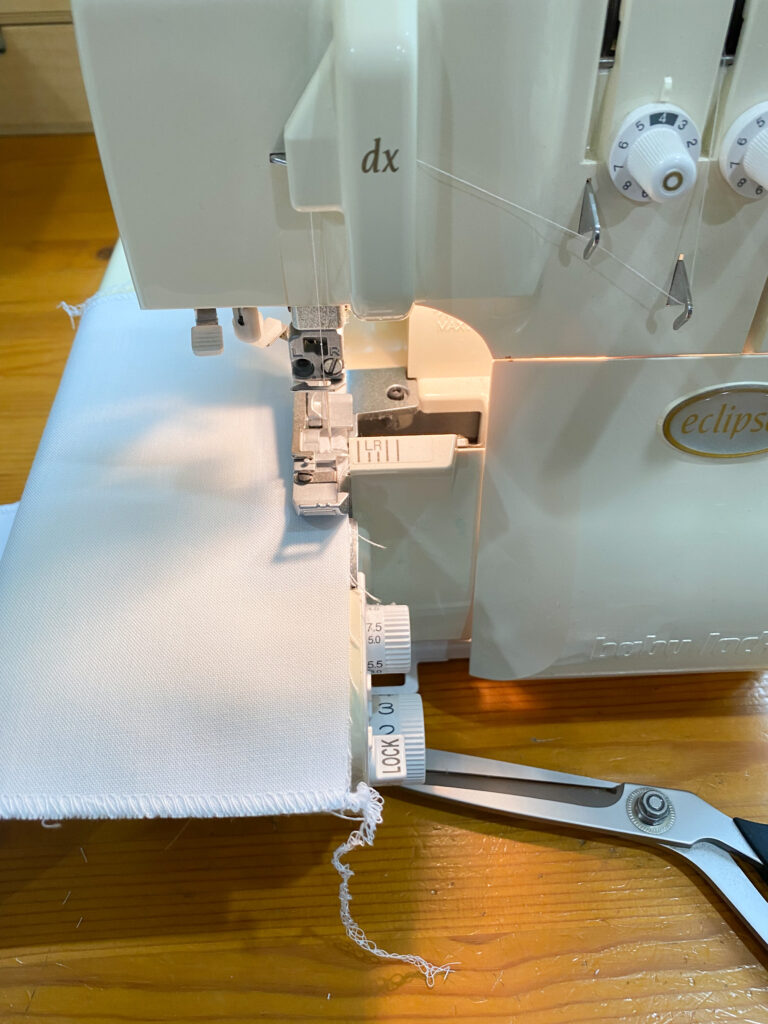
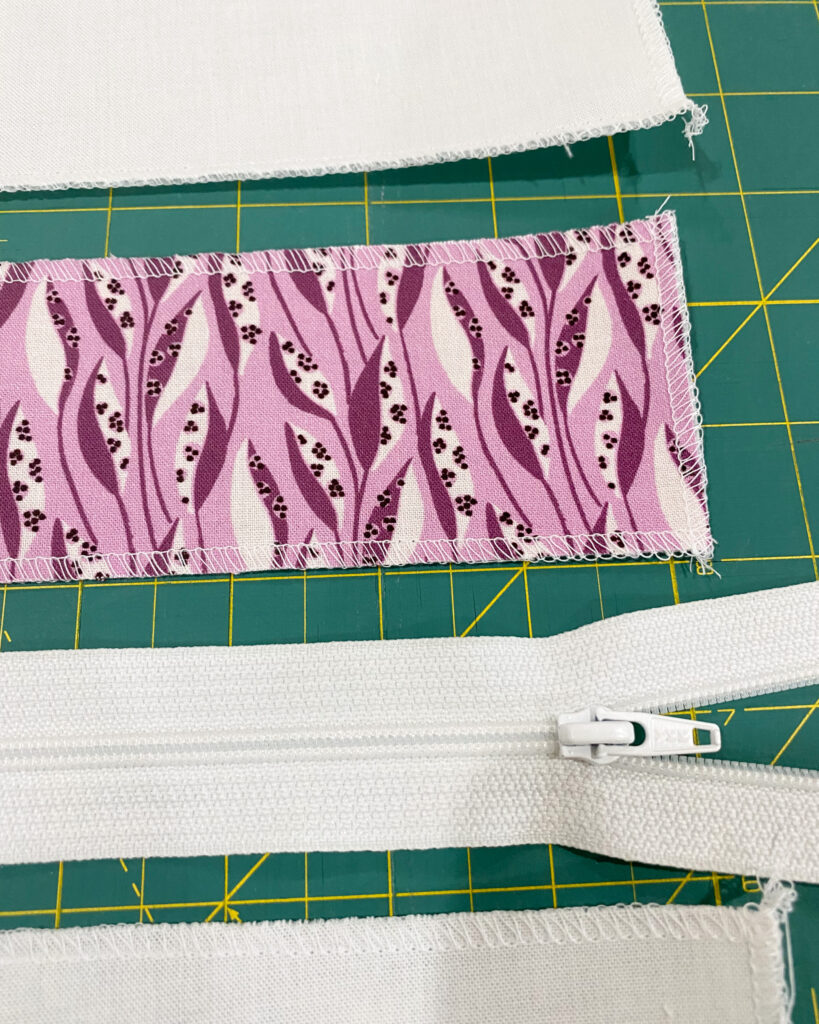
- Use a serger or zig zag stitch on your sewing machine to finish all the edges of your pillow, including the pillow top. This keeps it from fraying over time with frequent washings, and stuffing the pillow in and out of the cover.

I have a Baby Lock Eclipse from my alterations days. I also have 3 other sergers… don’t tell. Ha Ha! I’m a bit of a collector of sewing machines in general. One of the sergers was my moms and it’s practically vintage now.

My serger is set up with a single needle right now from doing rolled hems, I didn’t bother to change it out to double needle for this pillow, but it would be smart of me to have it set with a double needle – next time.
Step 4 – Attach the zipper
Ok, now that the serging is out of the way, let’s dive into that zipper.
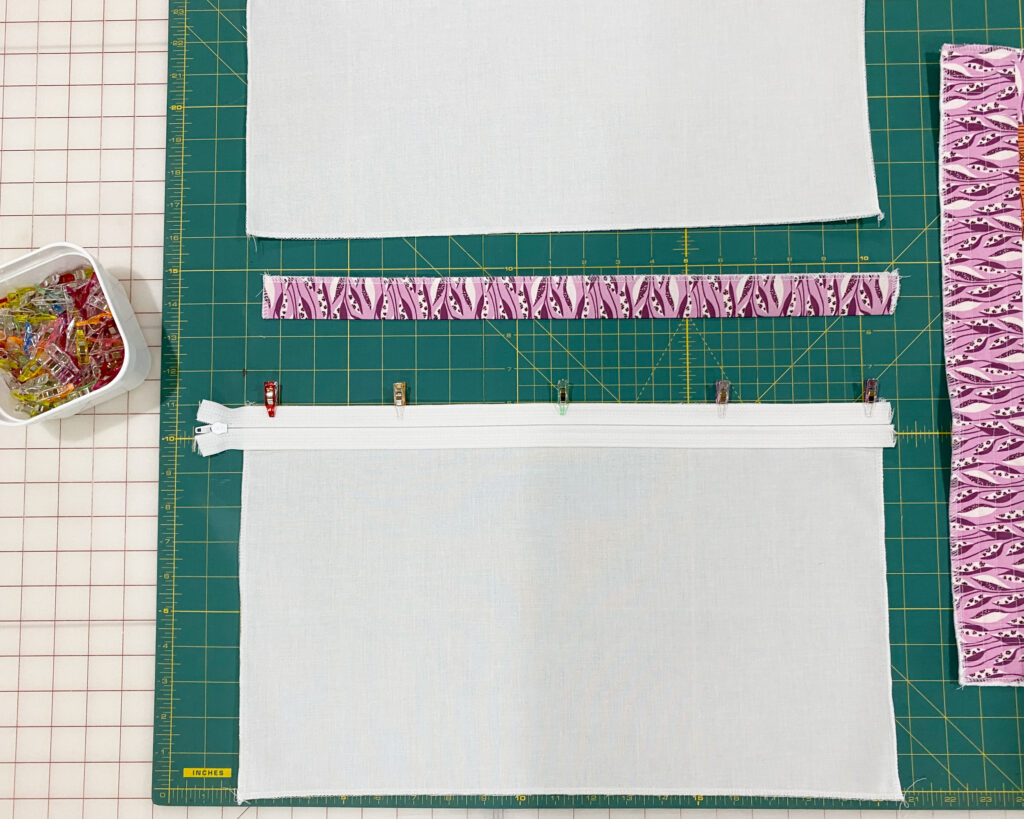
- Fold the 2 1/2″ x 18 1/2″ accent fabric in half lengthwise, and press. Set aside. Then, place the zipper with zipper pull facing down, on top of the pillow 18 1/2″ x 11″ back bottom panel, pin in place. Sew with a narrow 1/4″ seam using the zipper foot on your sewing machine.
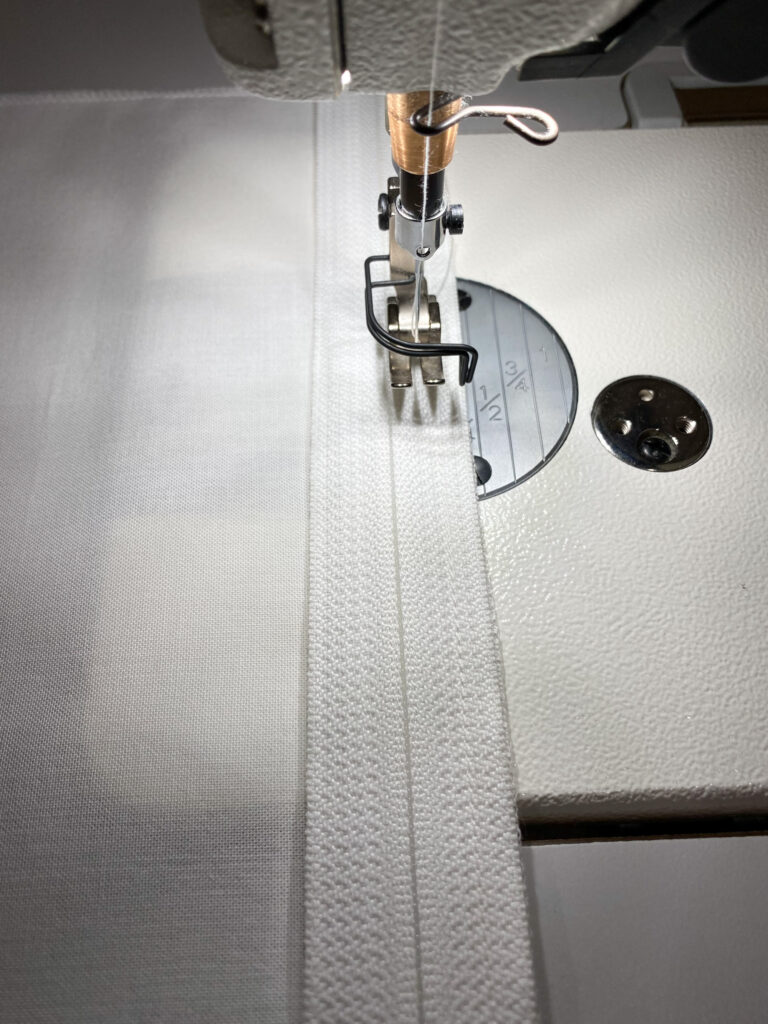
- Press the bottom panel away from the zipper, and top stitch with 1/8″ seam.
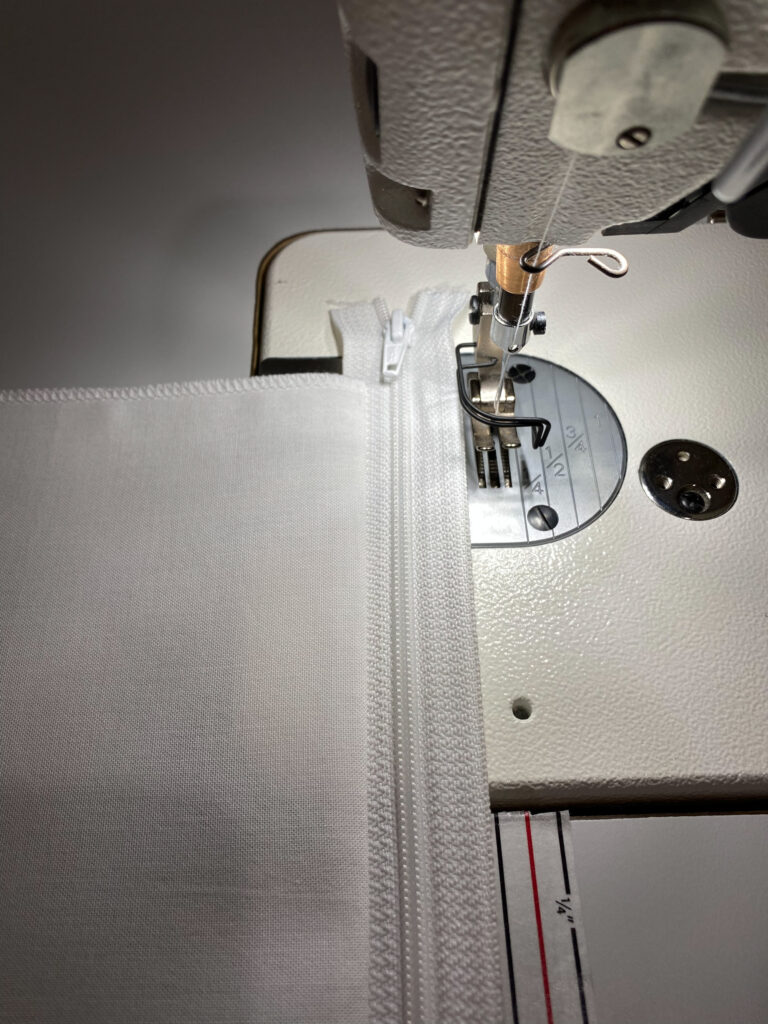
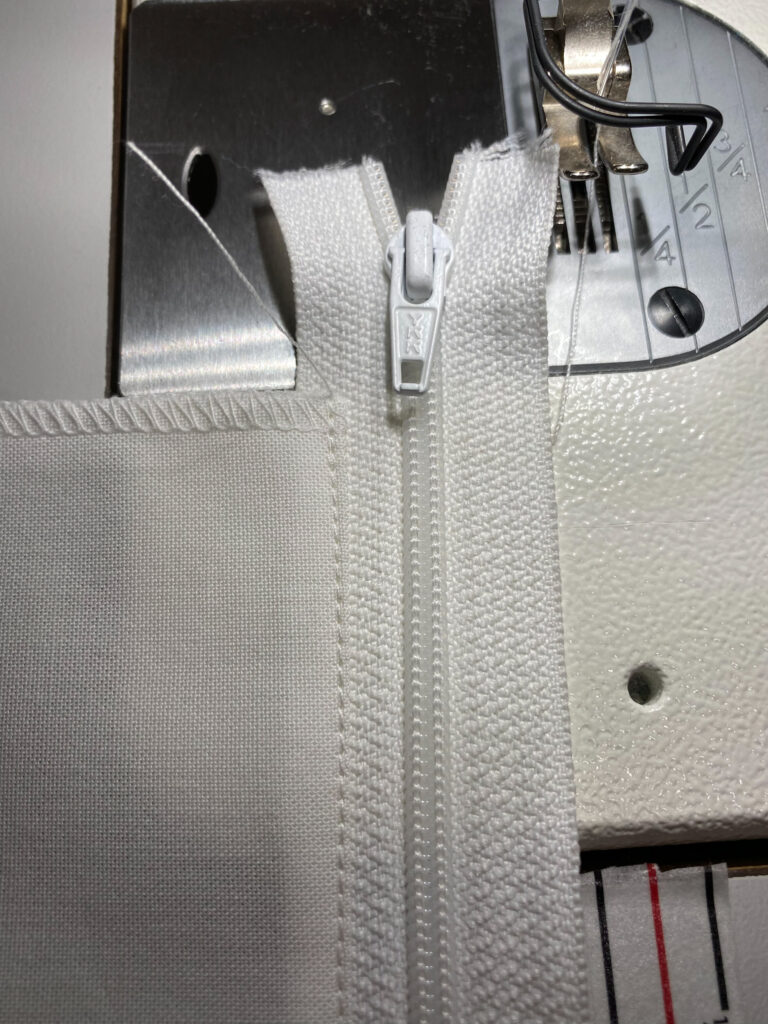
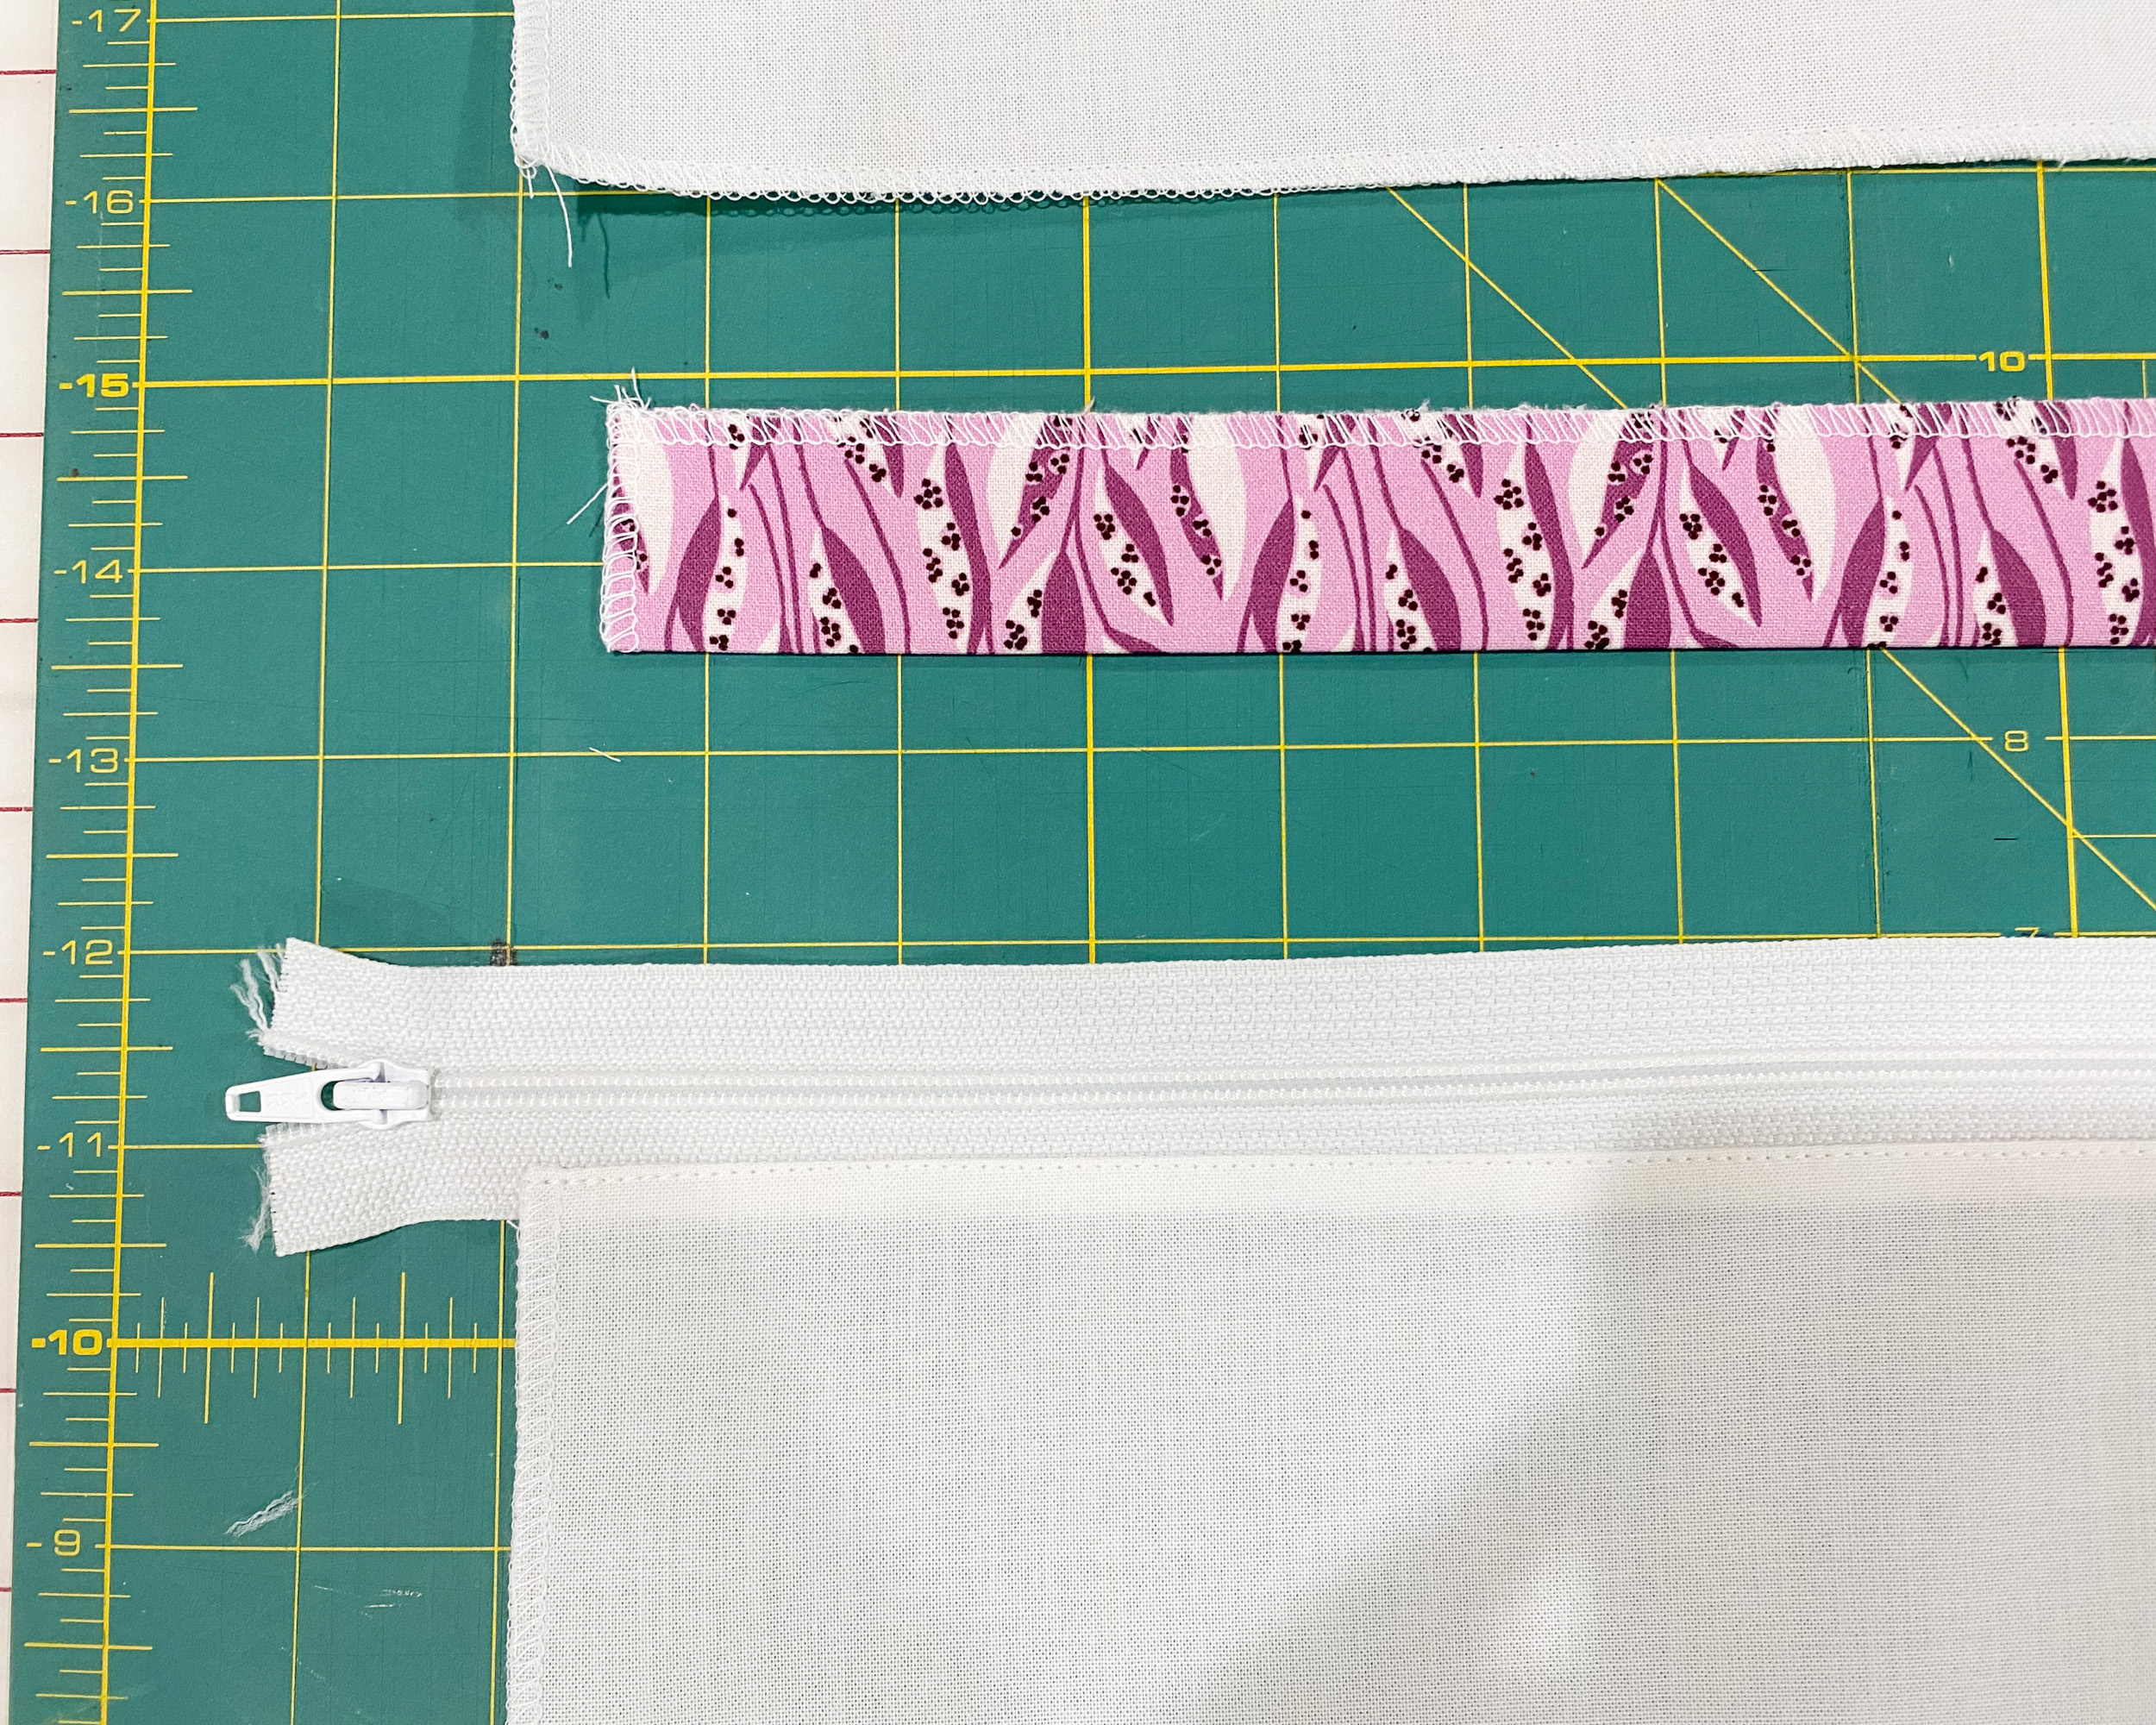
- Place the zipper accent fabric on top of the bottom panel, aligning the edge of the zipper with the raw folded edge of the accent fabric.
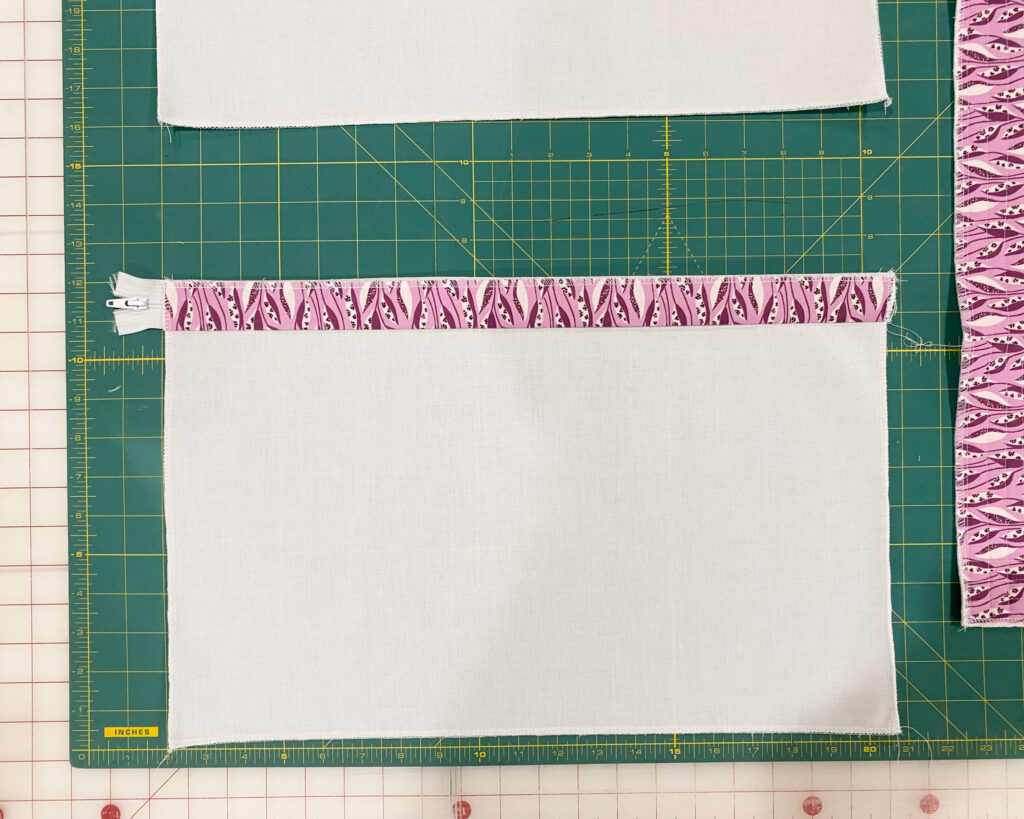
- Then place the pillow back top panel right side facing down on top of the two layers. Pin in place. Sew with a narrow 1/4″ seam using the zipper foot on your sewing machine.

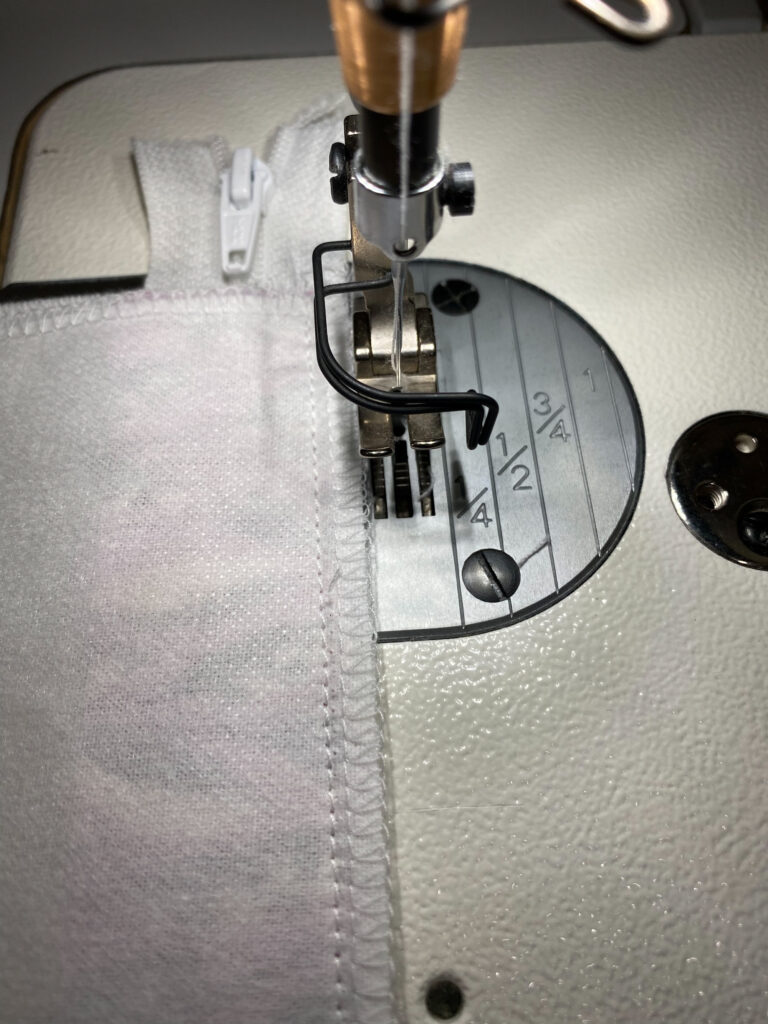
- Press the top panel away from the zipper, and top stitch with 1/8″ seam.
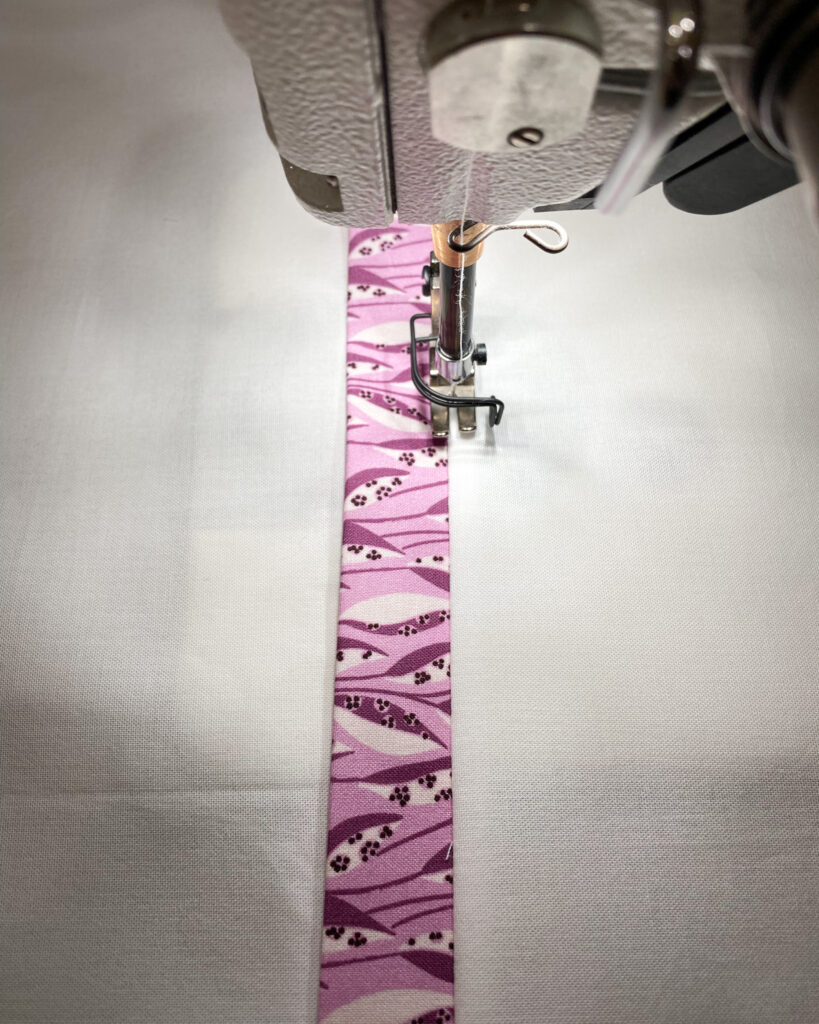
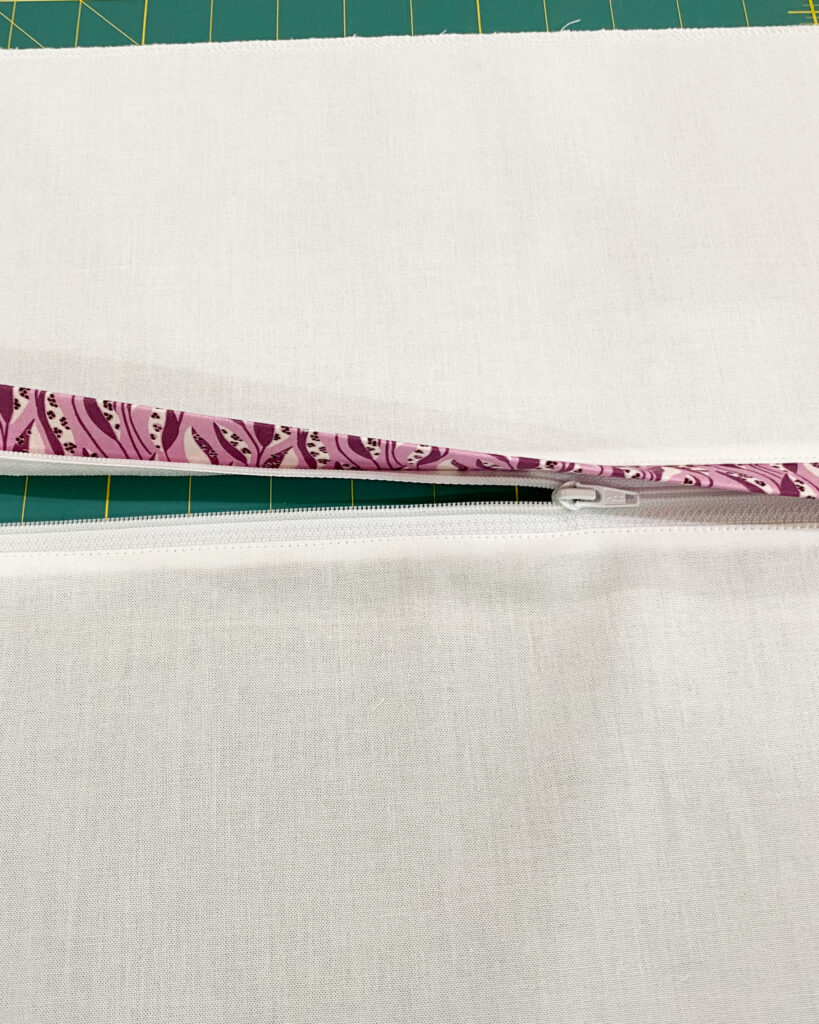
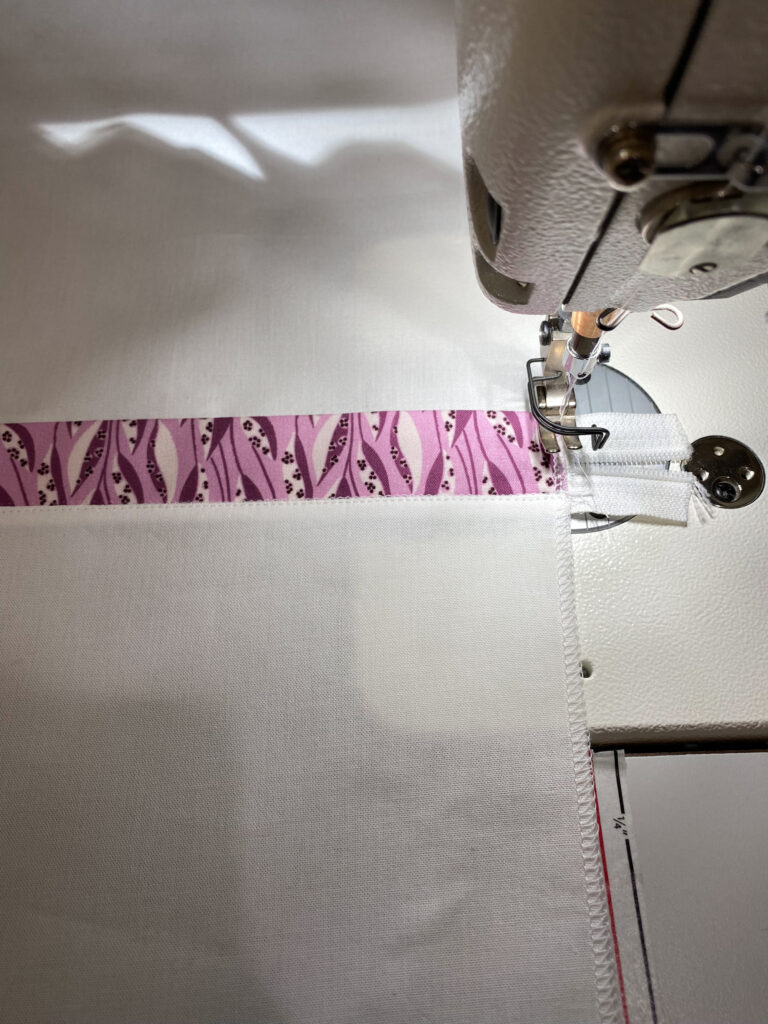
- Sew over the zipper ends 2 to 3 times going back and forth over the zipper, 1/4″ away from the pillow edge. This secures the zipper in place. Cut off any excess overhanging zipper.
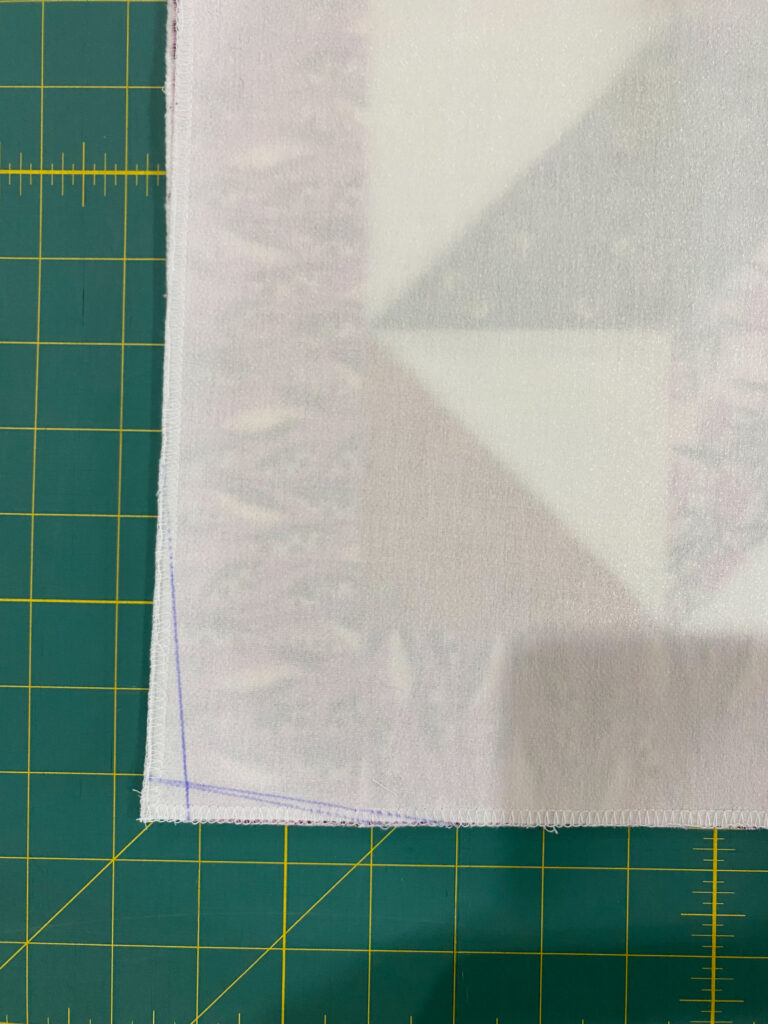
- Place the pillow top and back right sides together. Tip: To avoid “dog ear” pillow corners I like to trim away a taperd 1/2″ over 4 inches on each pillow corner. To do this, draw a tapered line from the corner at 1/2″ and place ruler at an angle going off the edge of the pillow at the 4″ mark. Do this on all 4 corners. Trim on the lines.
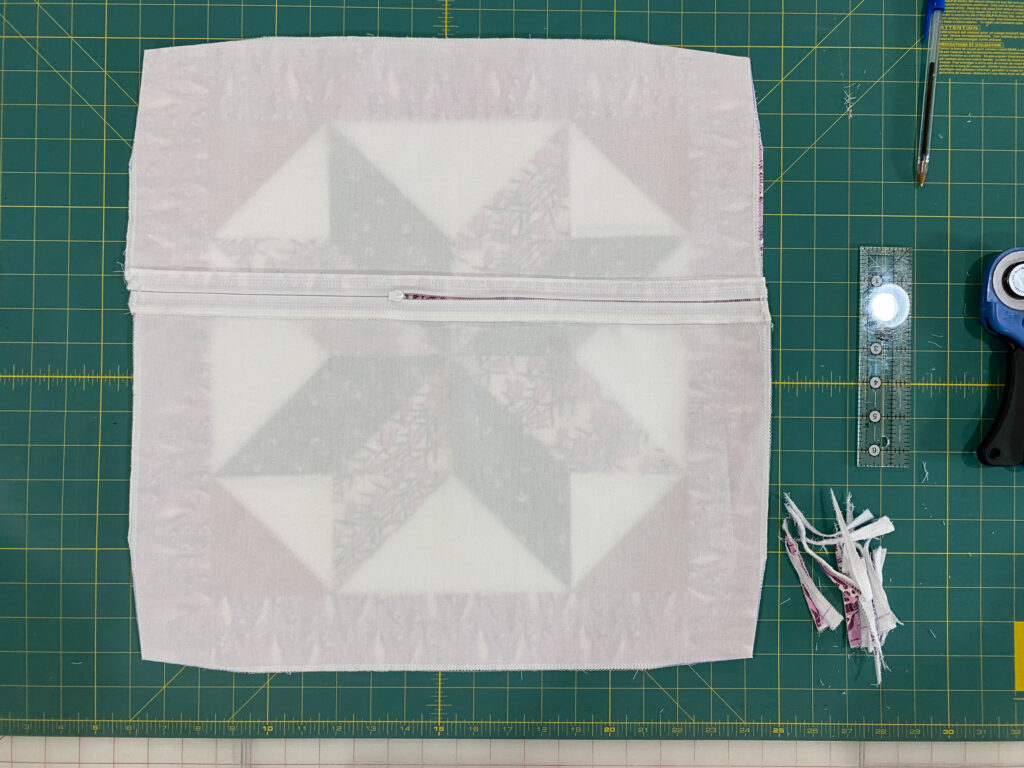
- Open the zipper halfway, pin and sew around the pillow with 1/2″ seam. Clip off the corners, turn your pillow right side out, and push out the corners.
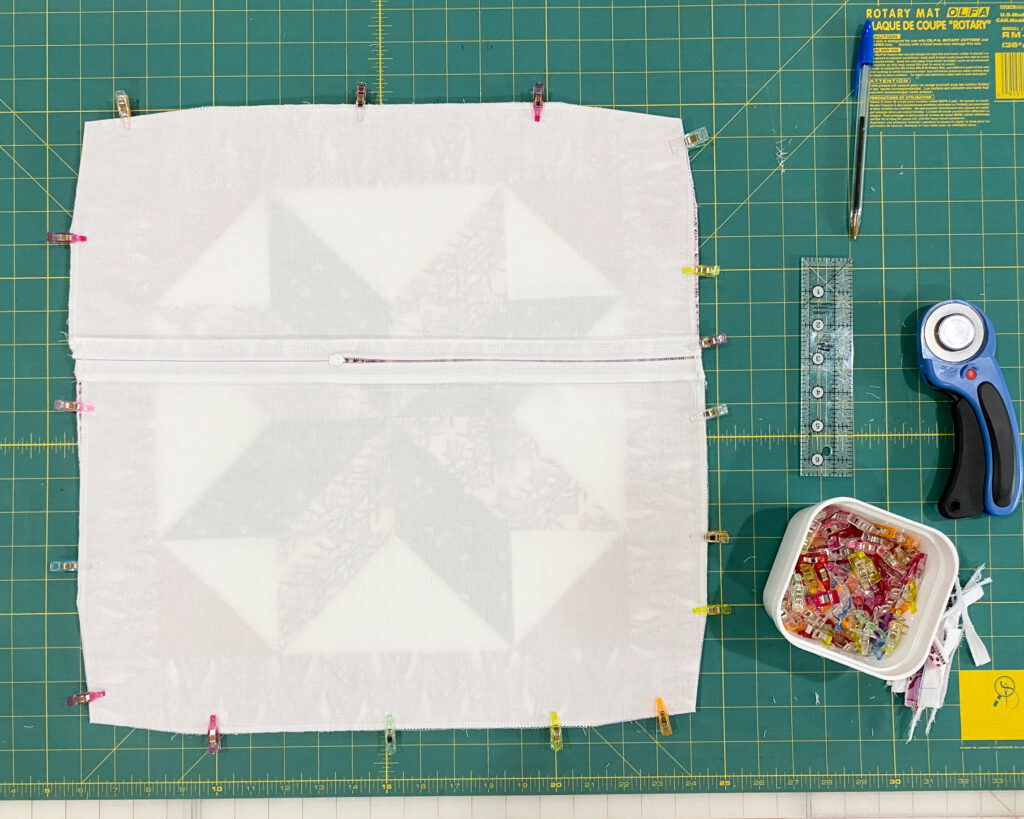
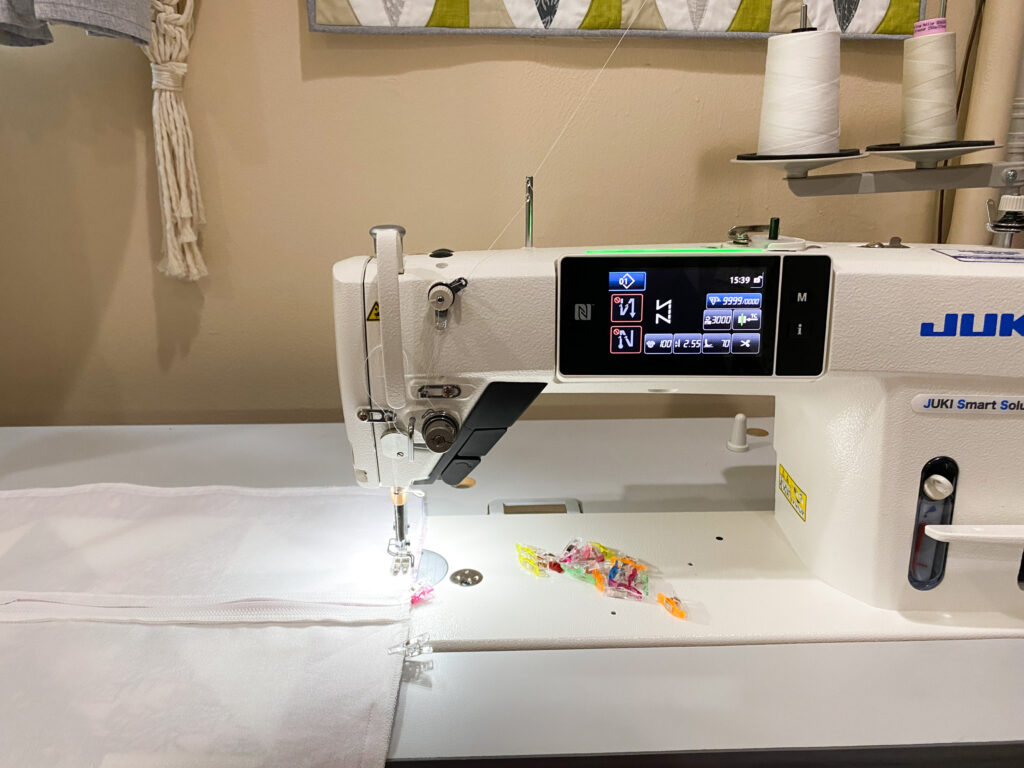
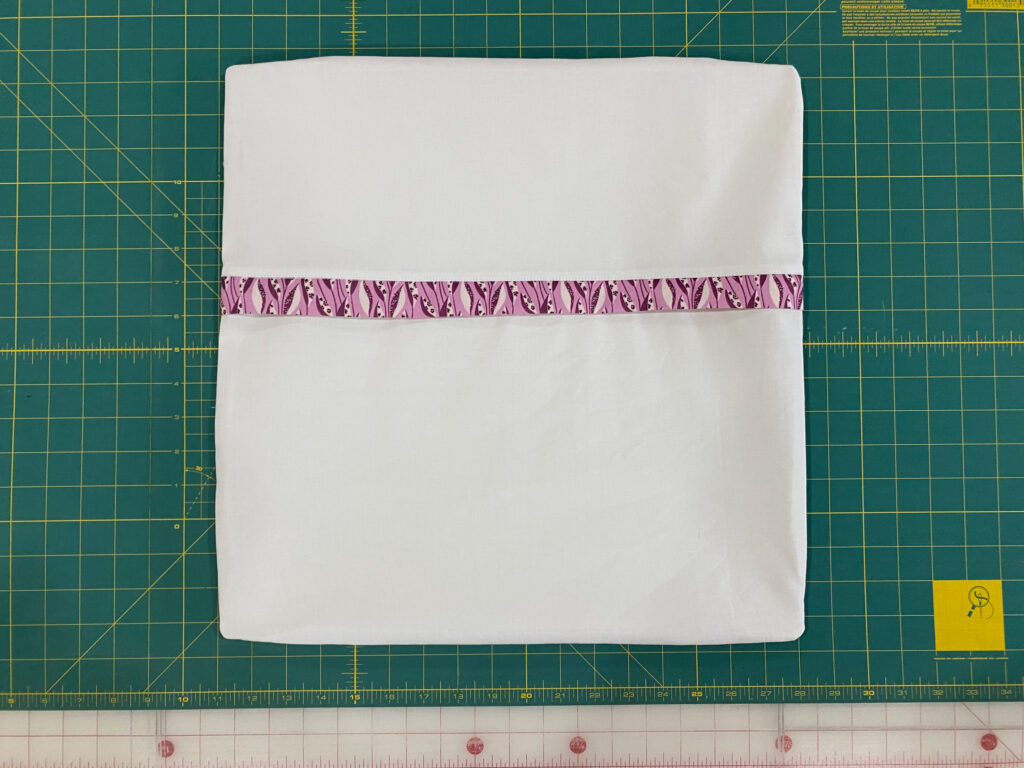
- Place your pillow insert inside, and your pillow is complete. Enjoy!

If you loved this project. sign up for my email to stay up to date when my next post comes out. I share tutorials, and what’s new in my fabric shop.
Happy sewing!

