How to Sew a Snowball Quilt Block
If you’re new to quilting and looking for an easy quilt block to get started with, the snowball block is a great choice. In this tutorial, I’ll walk you through the history of this classic block and show you exactly how to sew a snowball quilt block—step by step.
What is a Snowball Quilt Block?
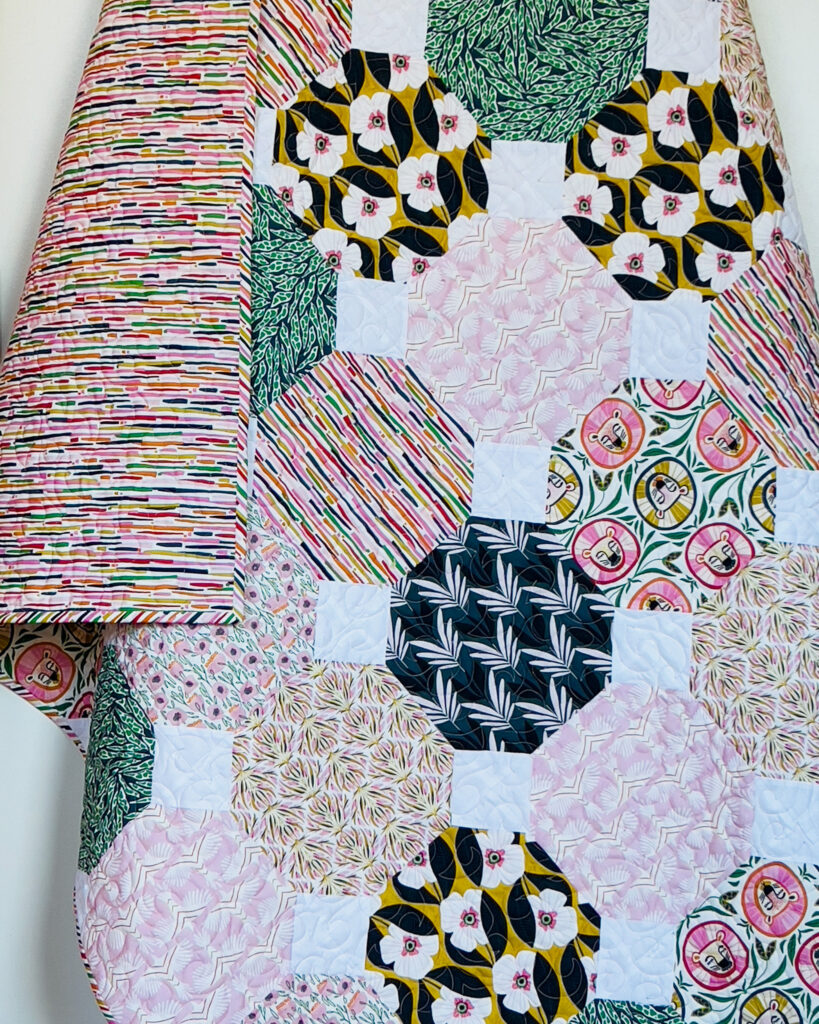
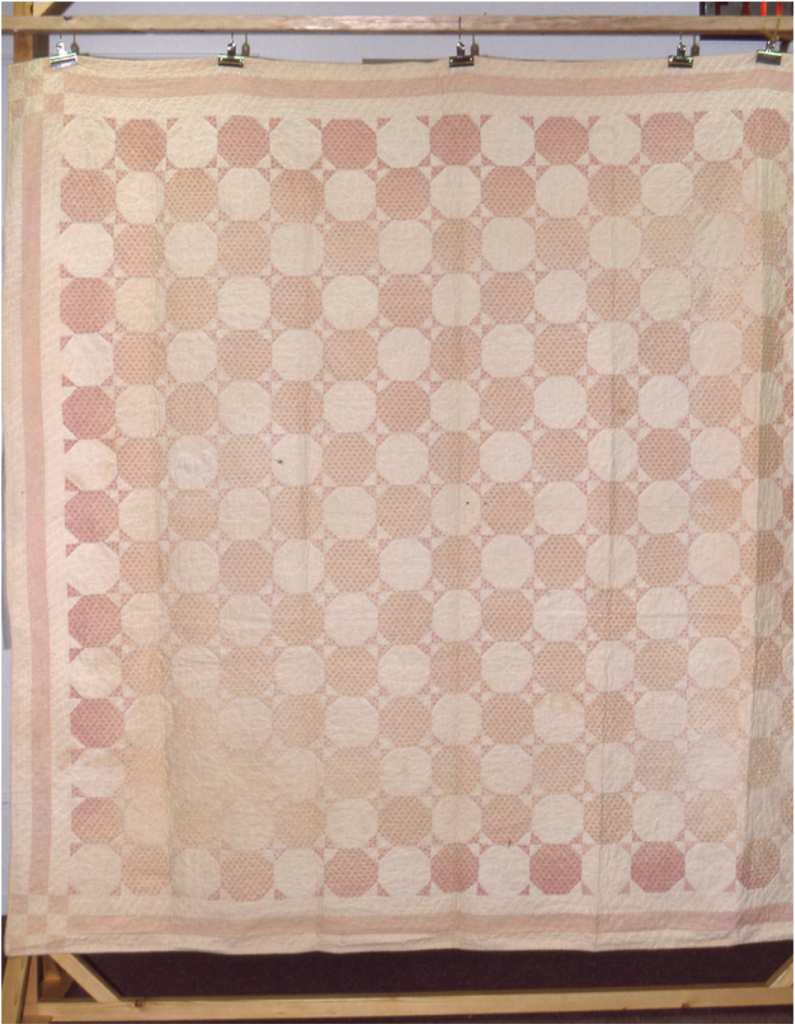
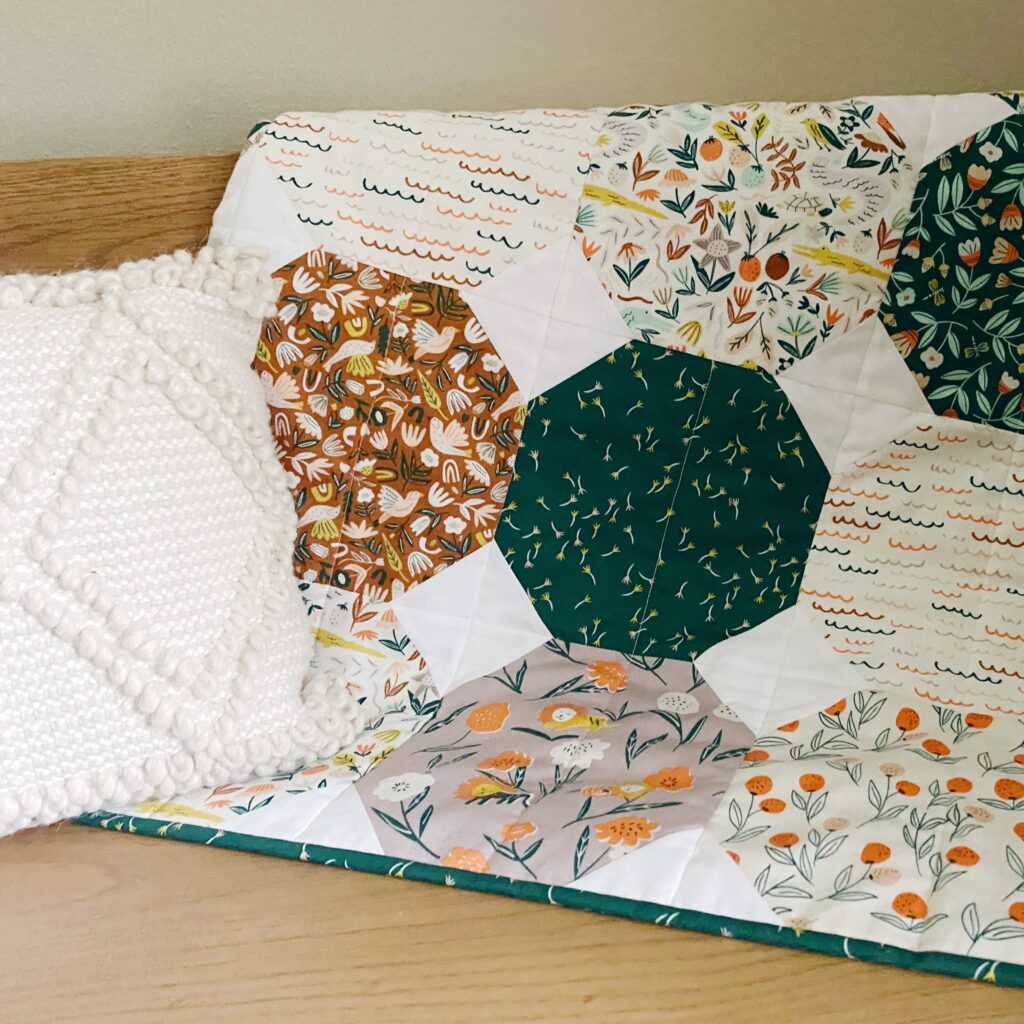
The snowball block is a traditional quilting design that dates back to the mid-1800s, with deep roots in Amish quilt making. It’s a simple yet visually striking block where corners of a square are trimmed and sewn to give the illusion of a circle or octagon—hence the name “snowball.”
Here’s a beautiful example from 1840: a hand-pieced snowball quilt made with just three fabrics—red print, solid red, and solid white. The visual impact is enhanced with a striped border and nine-patch cornerstones.
Fabric Requirements
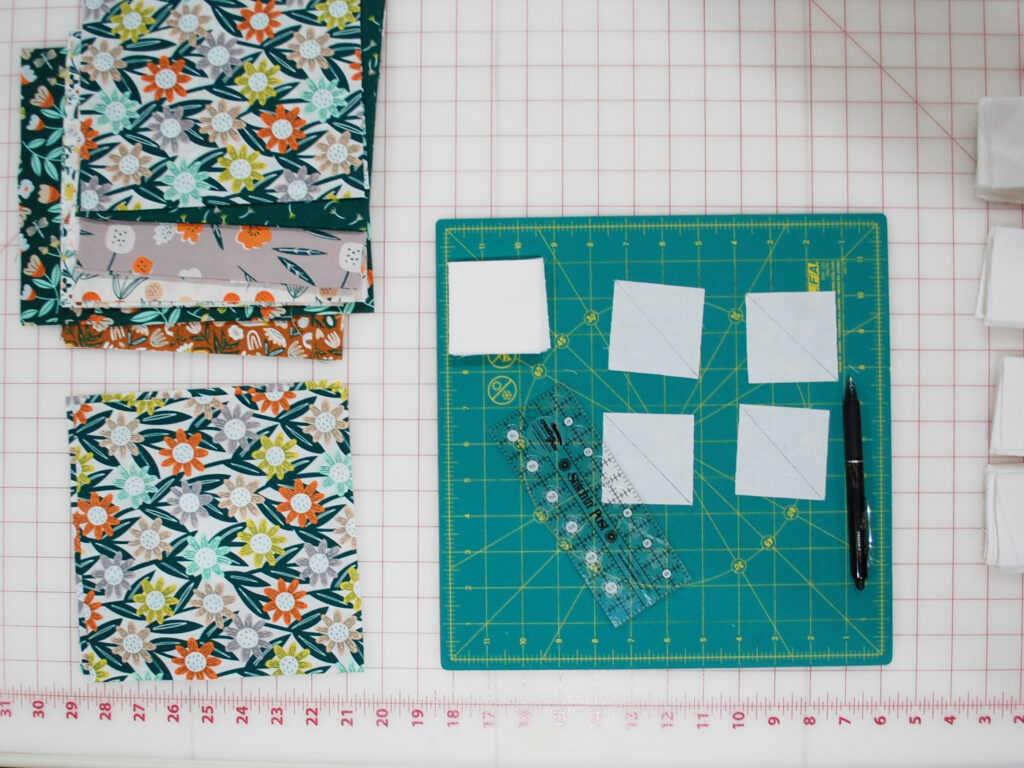
Here’s what you’ll need to make one 8″ snowball quilt block:
- (1) 8″ x 8″ square of print fabric
- (4) 2½” x 2½” squares of solid white fabric
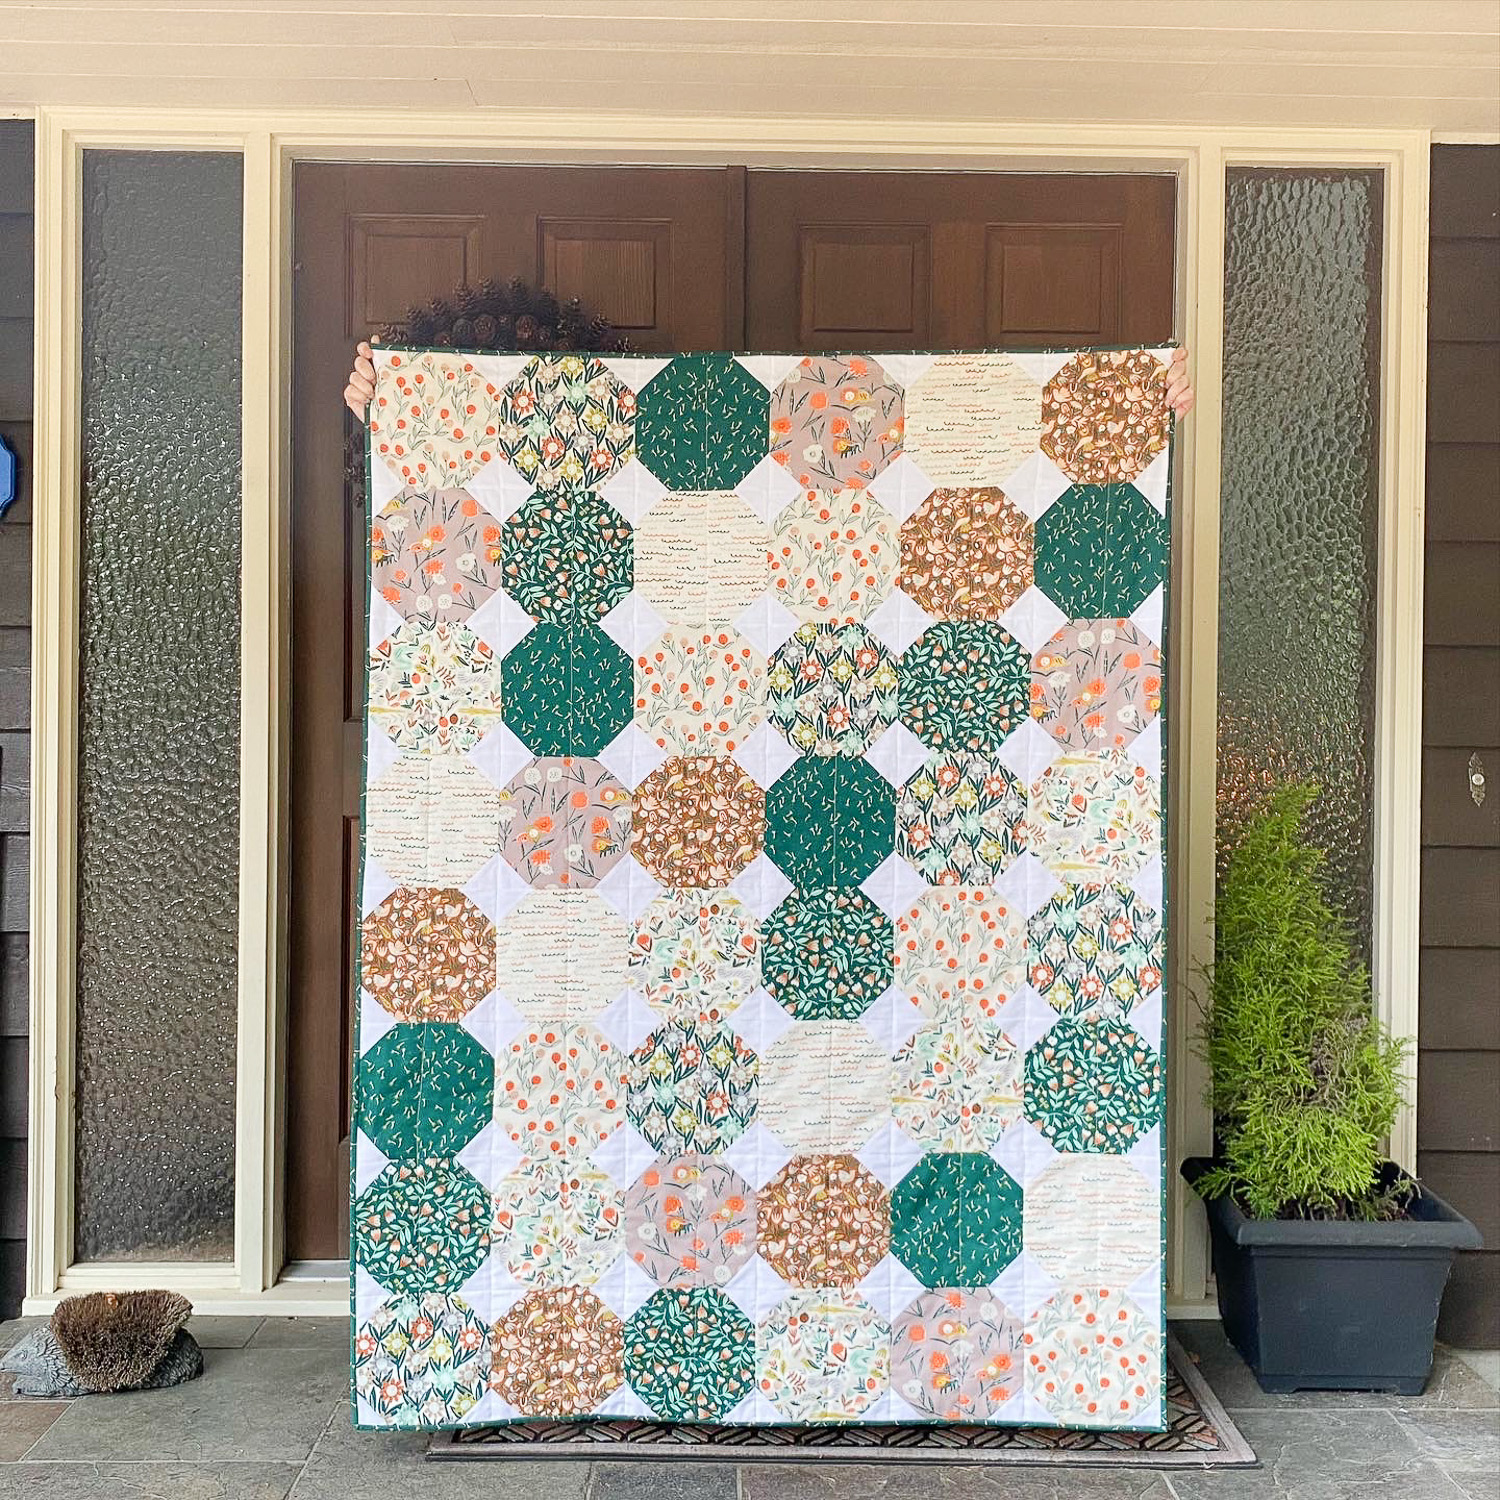
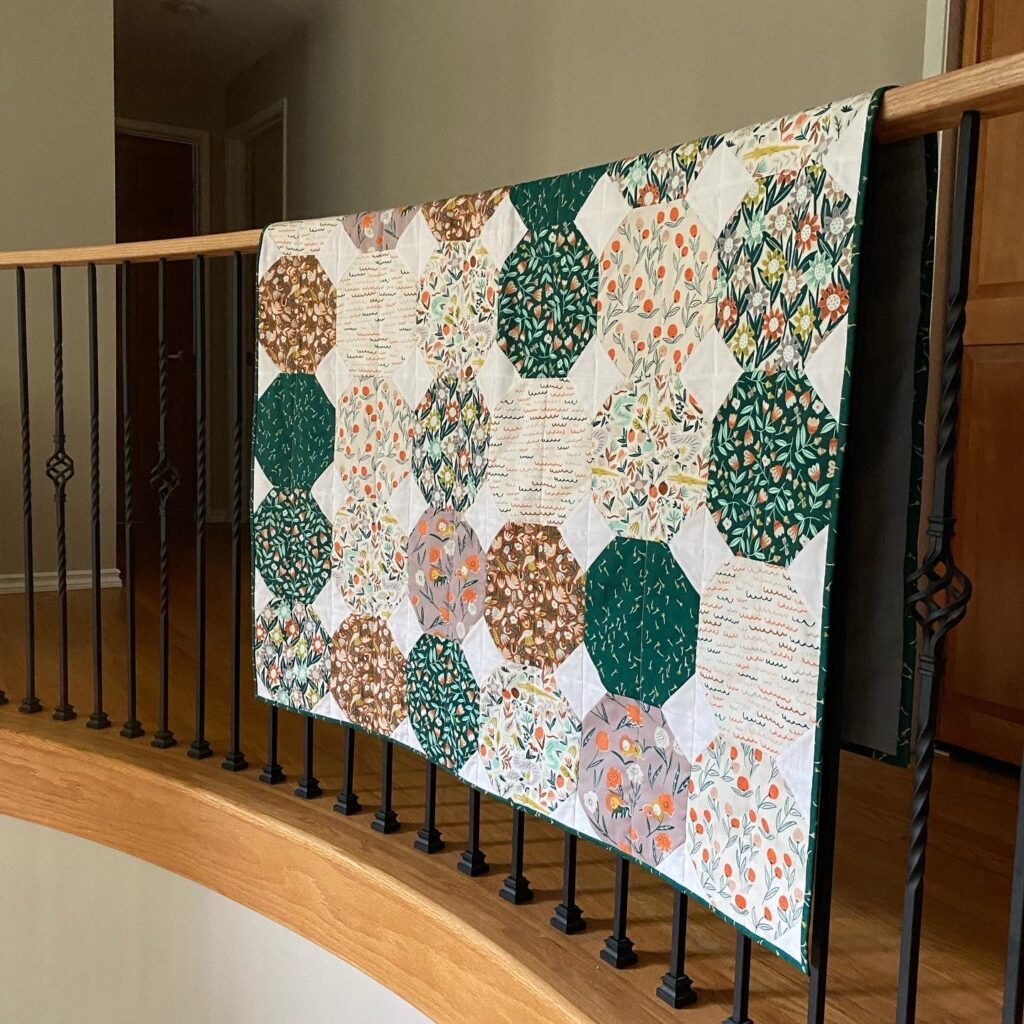
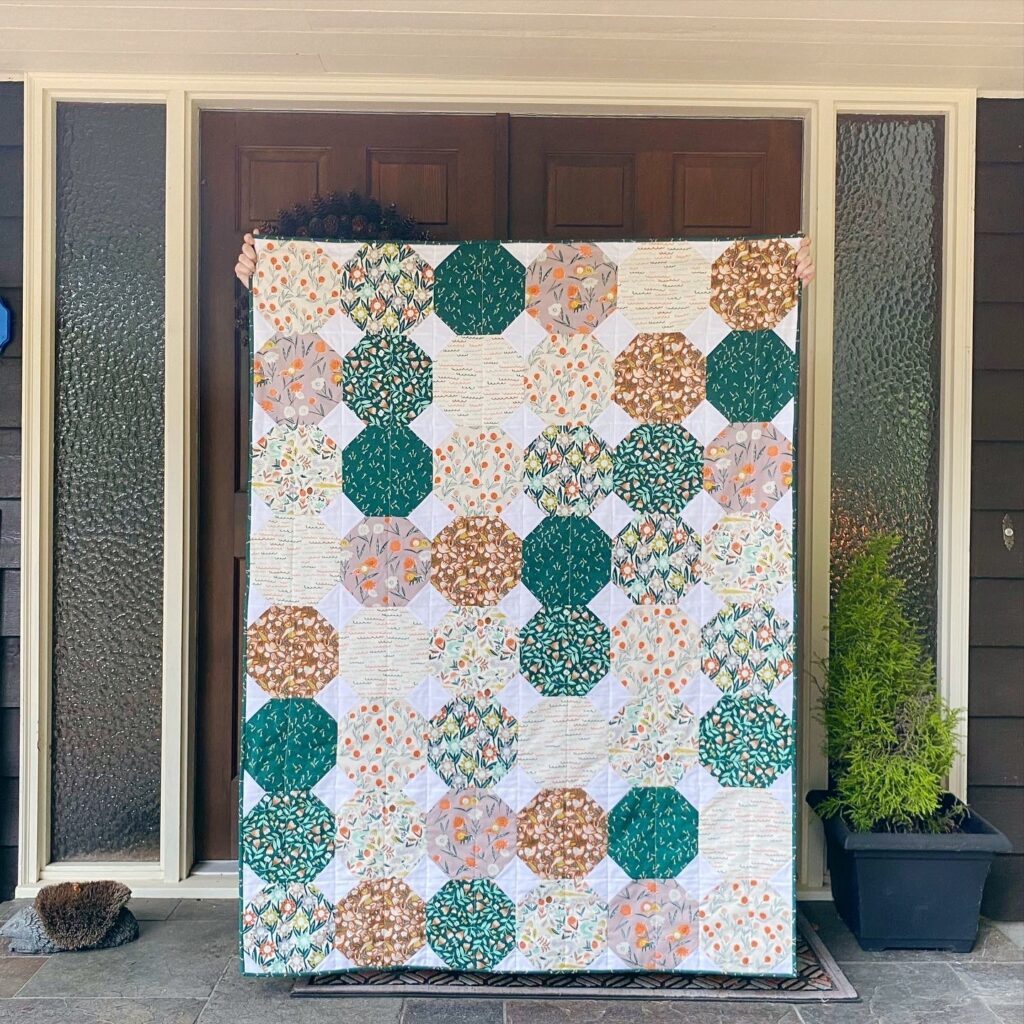
Want to make a full lap-size quilt? You’ll need 48 blocks total. Download the free Snowball Quilt Pattern from Cloud 9 Fabrics here.
How to Sew a Snowball Quilt Block
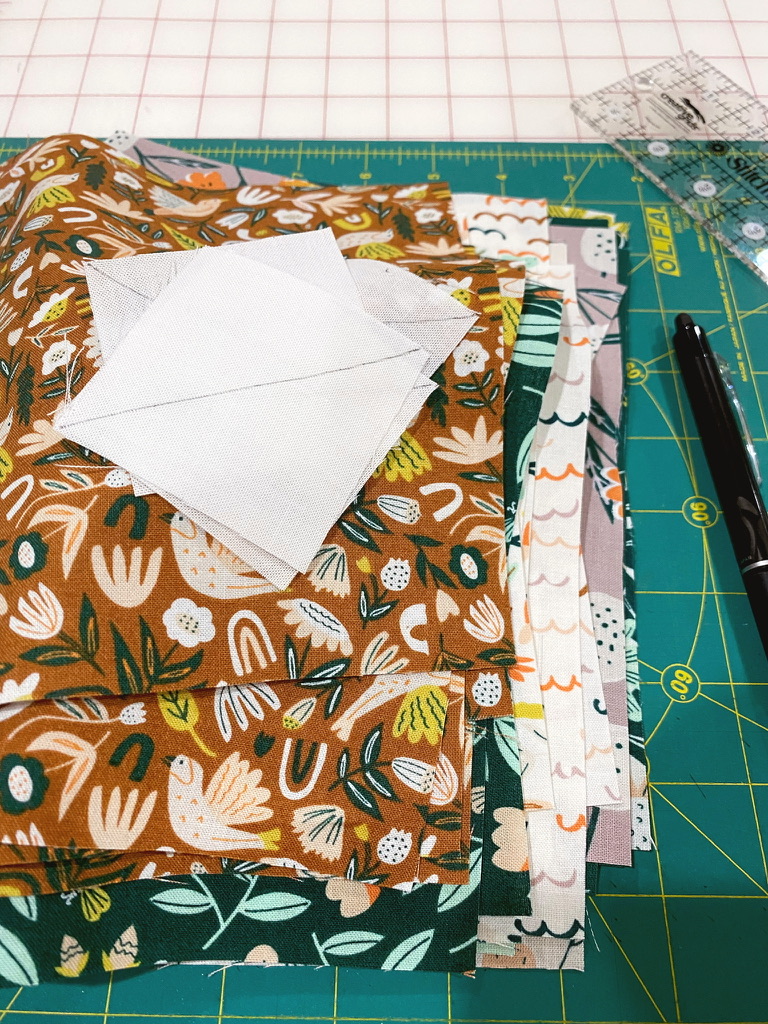
Step 1: Mark Diagonals on the Small Squares
Using a fabric pen or pencil, draw a diagonal line from corner to corner on the back side of each of your four small squares.
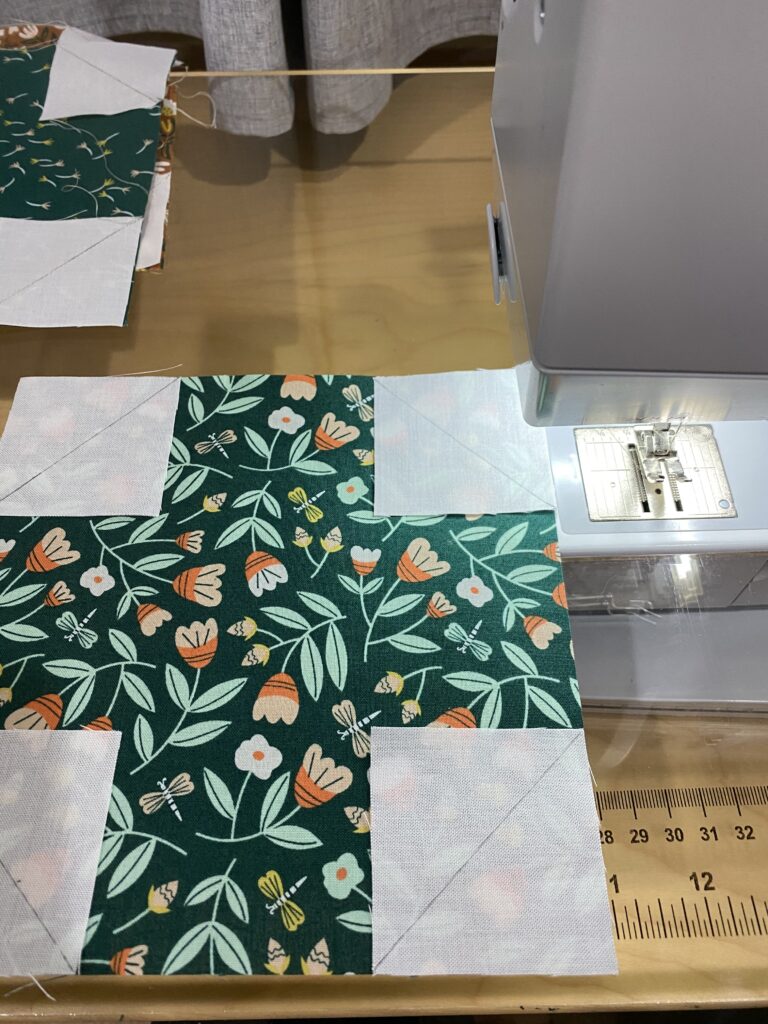
Step 2: Position the Corner Squares
Place one small square on each corner of your large square, right sides together. Make sure the drawn line goes across the corner, not toward the center of the block.
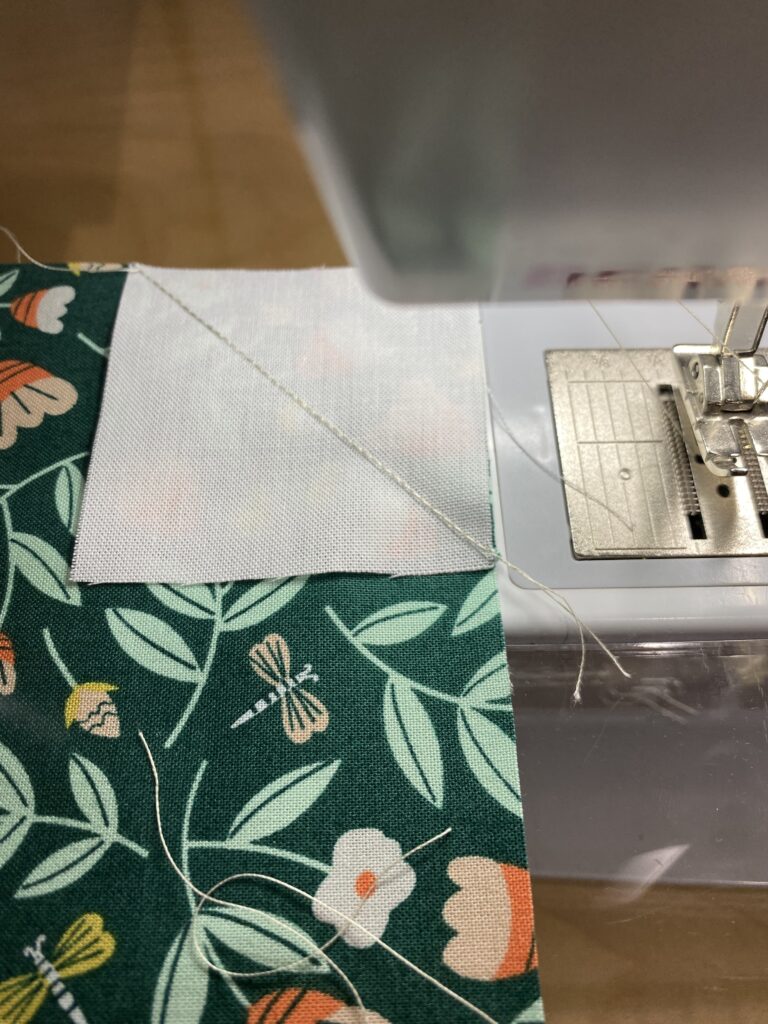
Step 3: Sew Along the Lines
Sew directly on the drawn line, or just a thread’s width to the right of it. Since you’ll be pressing along the line, sewing slightly to the right helps prevent the fold from eating into your seam—keeping your block more accurate. Repeat for all four corners.
Step 4: Press the Corners
Fold each small square outward and press. If the corners don’t line up, now’s the time to resew before trimming.
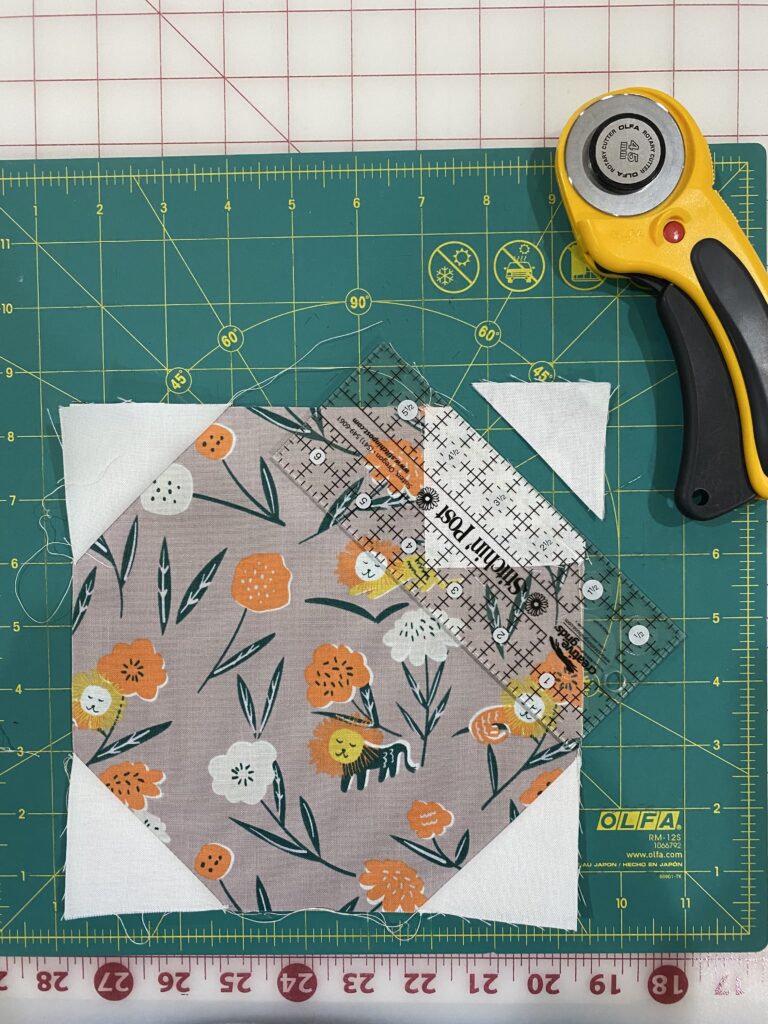
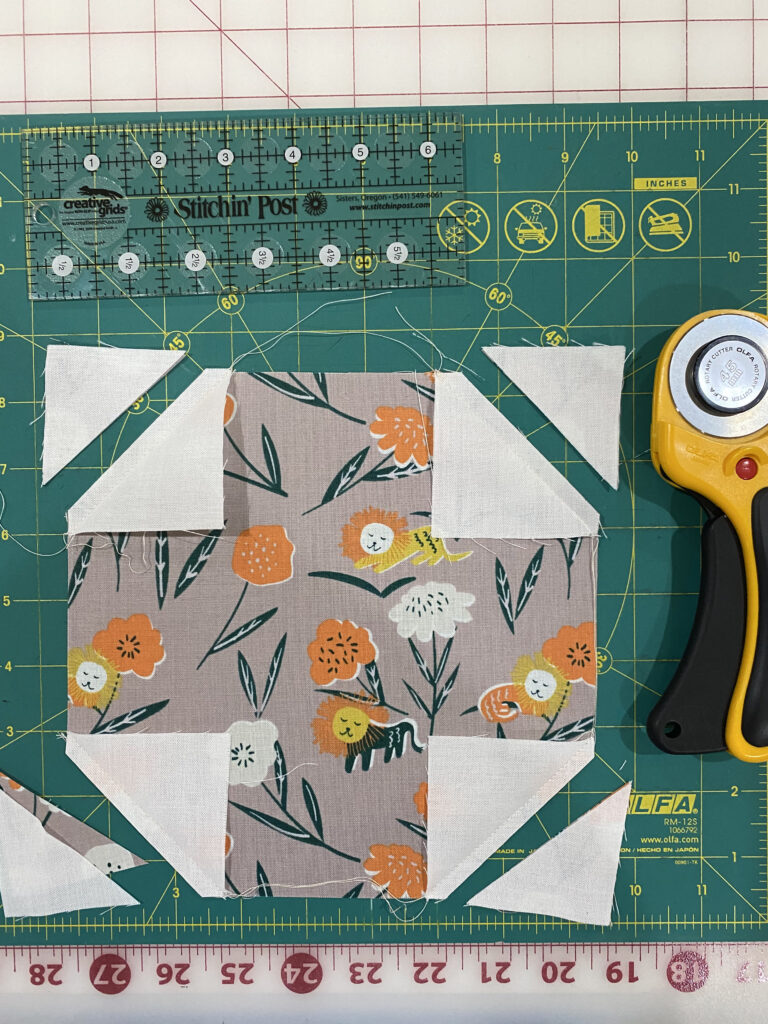
Step 5: Trim the Corners
Using a ruler and rotary cutter, trim ¼” away from your sewn line on each corner. This reduces bulk and ensures crisp edges.
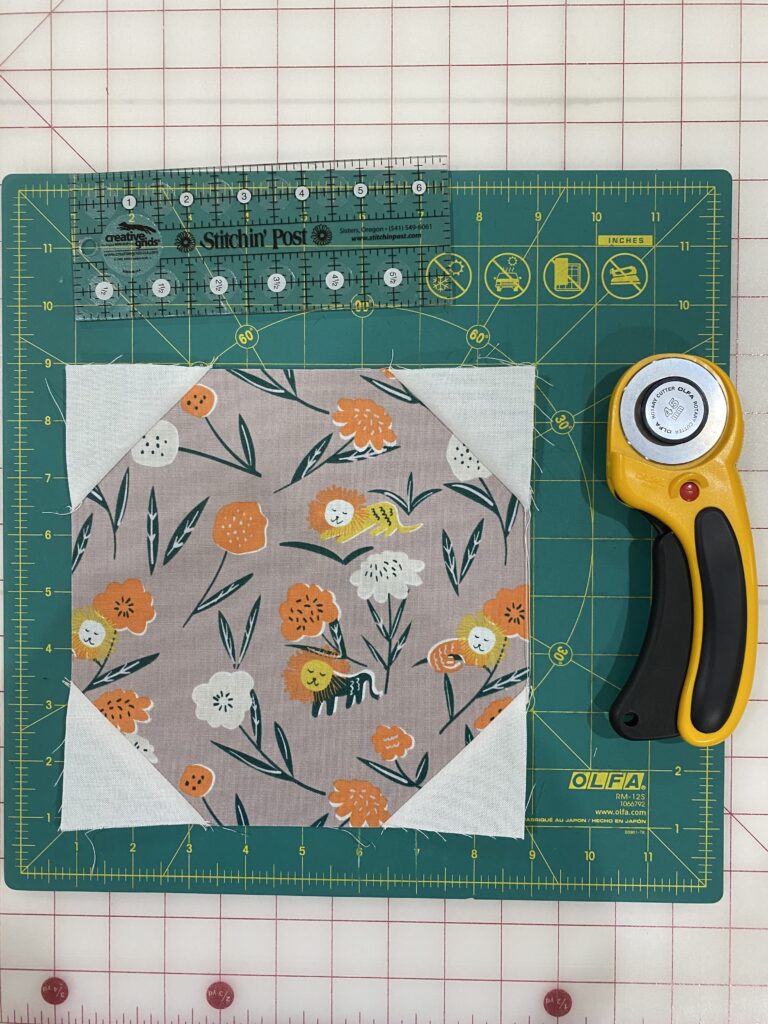
That’s it – your first snowball block is done! Make 48 to create a cozy lap quilt.
More Blocks Using the Snowball Corner Technique
This corner technique is also known as stitch and flip, SNF, or flippy corners. Try it in:
- Economy Blocks
- Square-in-a-Square Blocks
- Flying Geese Blocks
It’s a versatile skill every quilter should have in their toolkit!
Shop Quilt Kits Featuring the Snowball Block
Looking for inspiration? Here are two collections that would look beautiful in a snowball quilt:
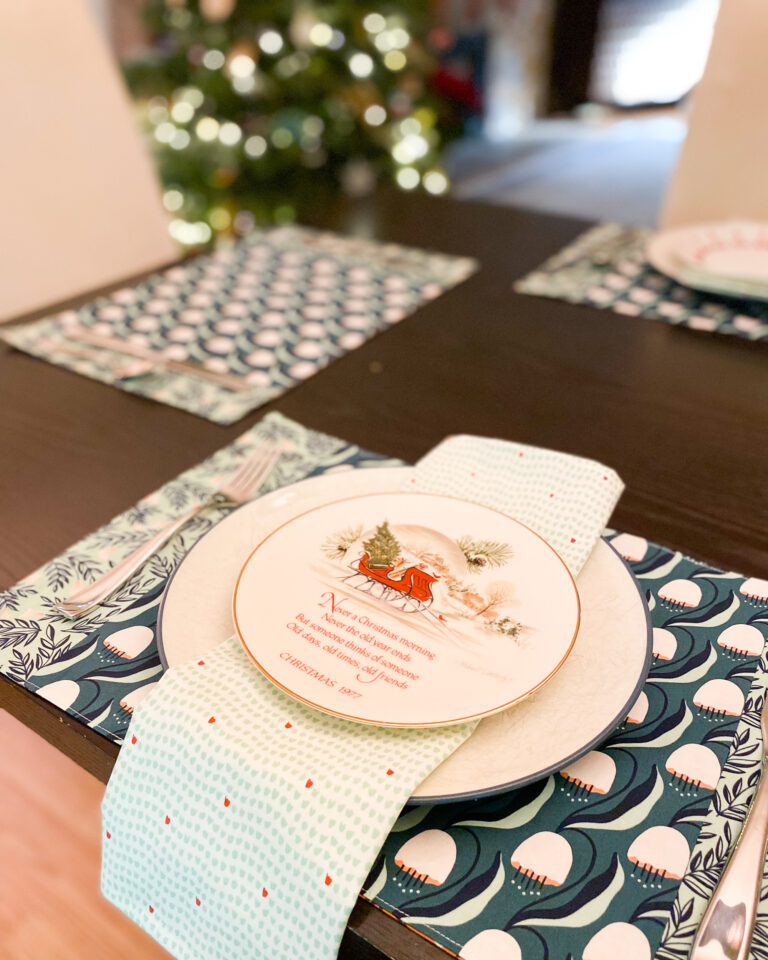
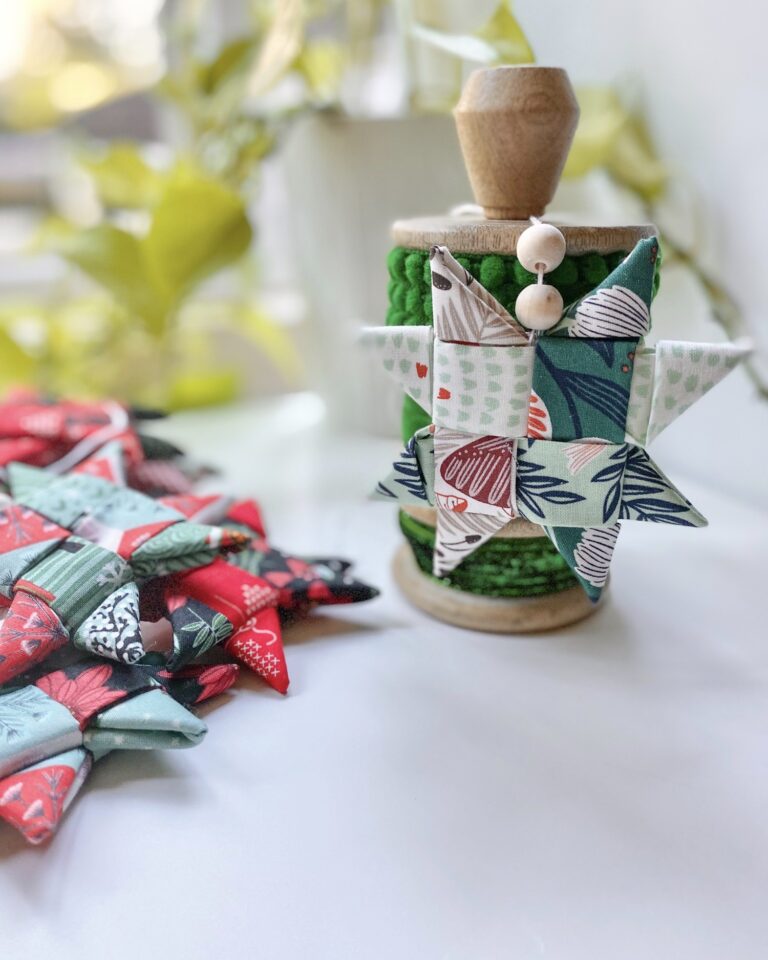
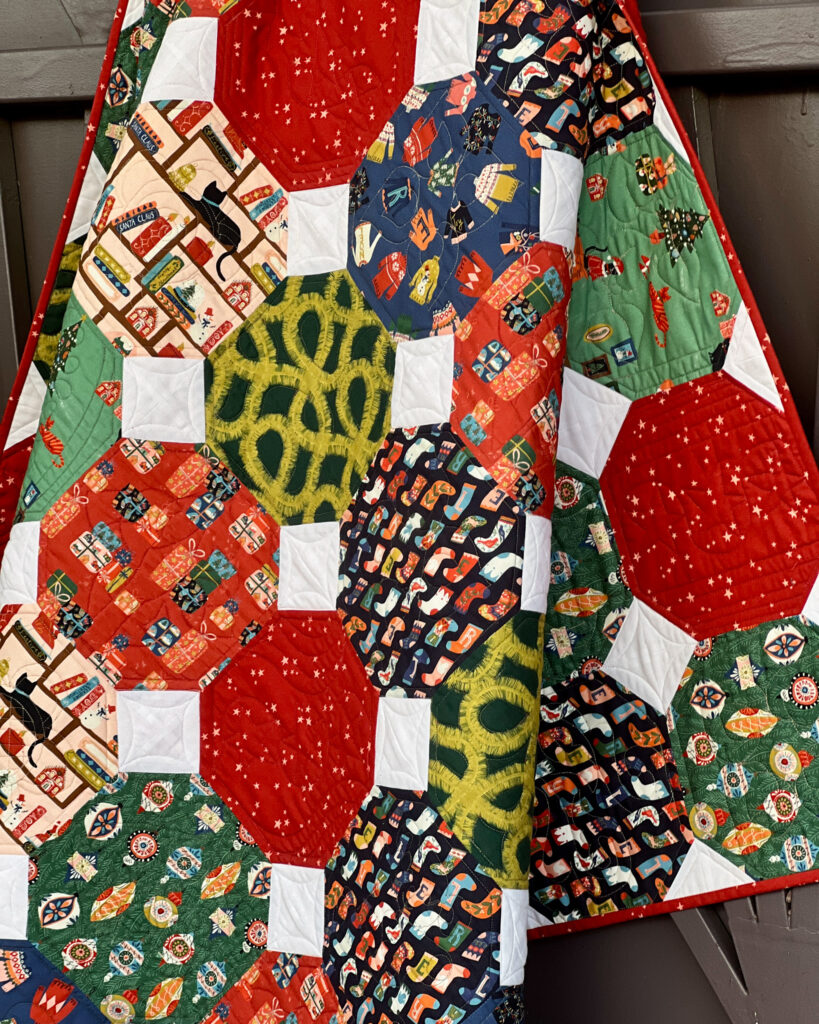
Tinsel Time Christmas Quilt Kit – festive and on my personal to-do list!
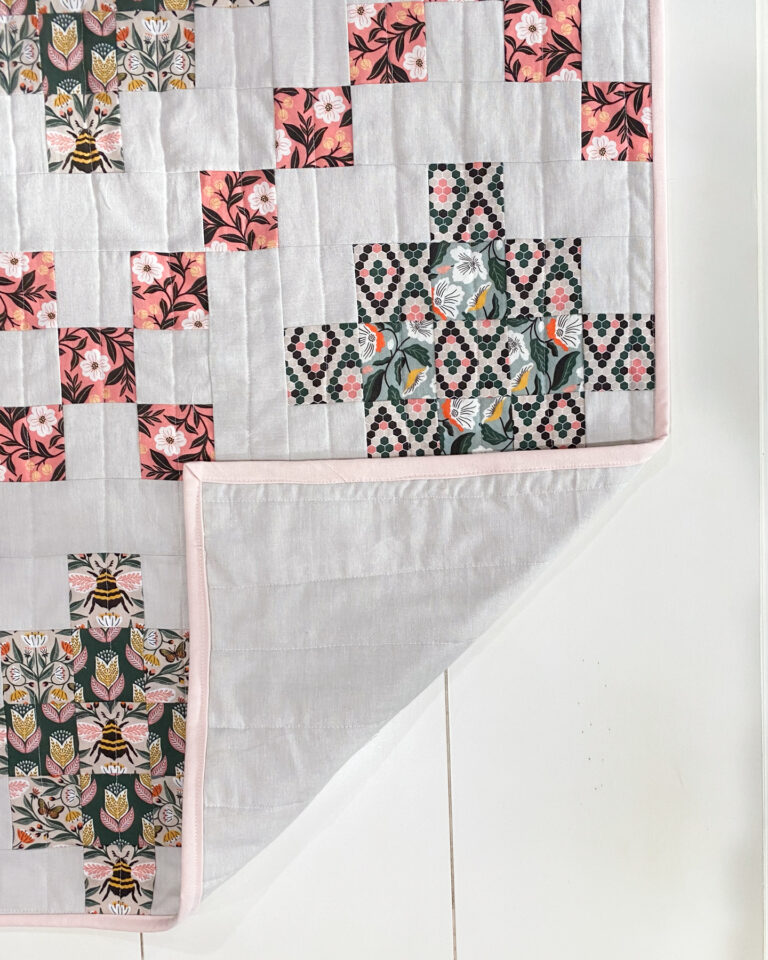
Savanna Dreams Collection – perfect for a dreamy quilt in a little girl’s room.