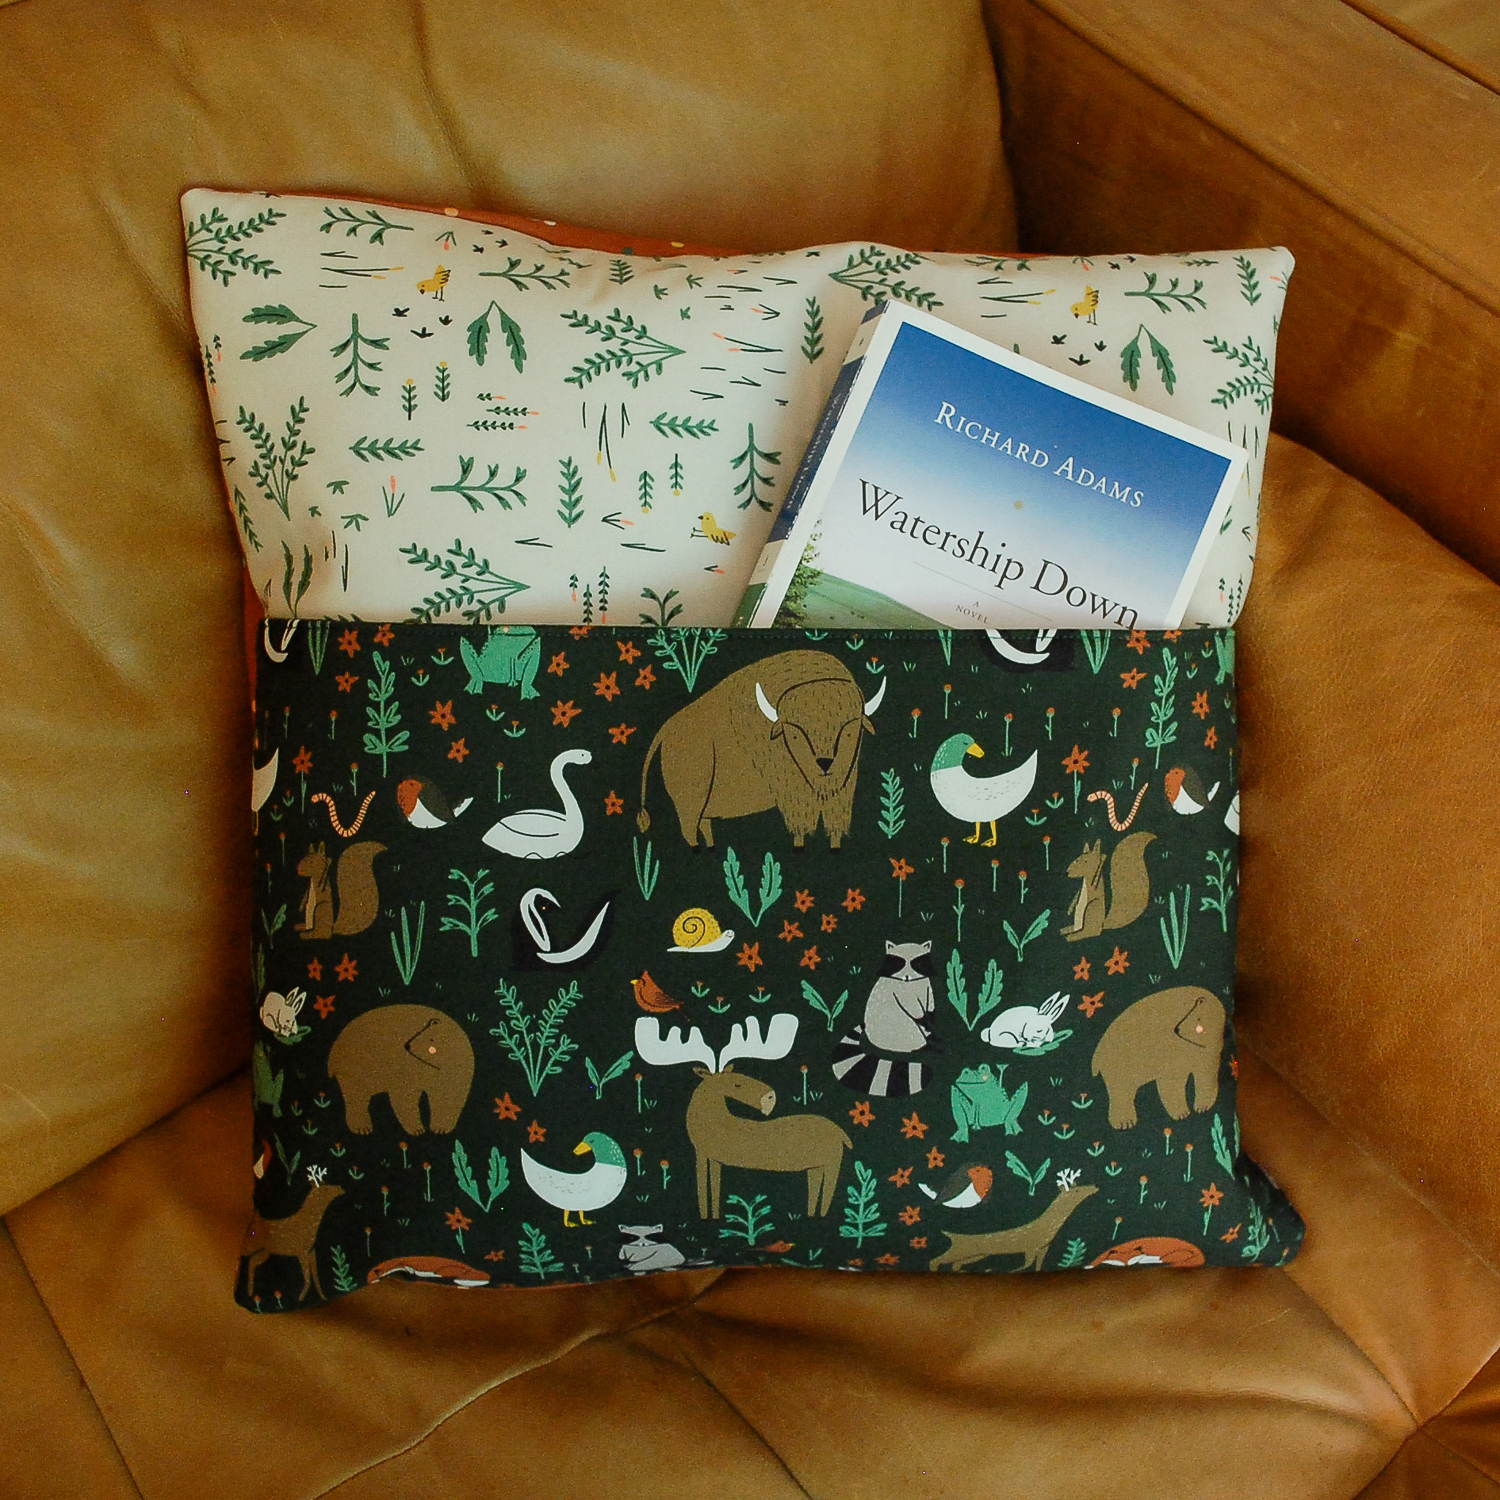
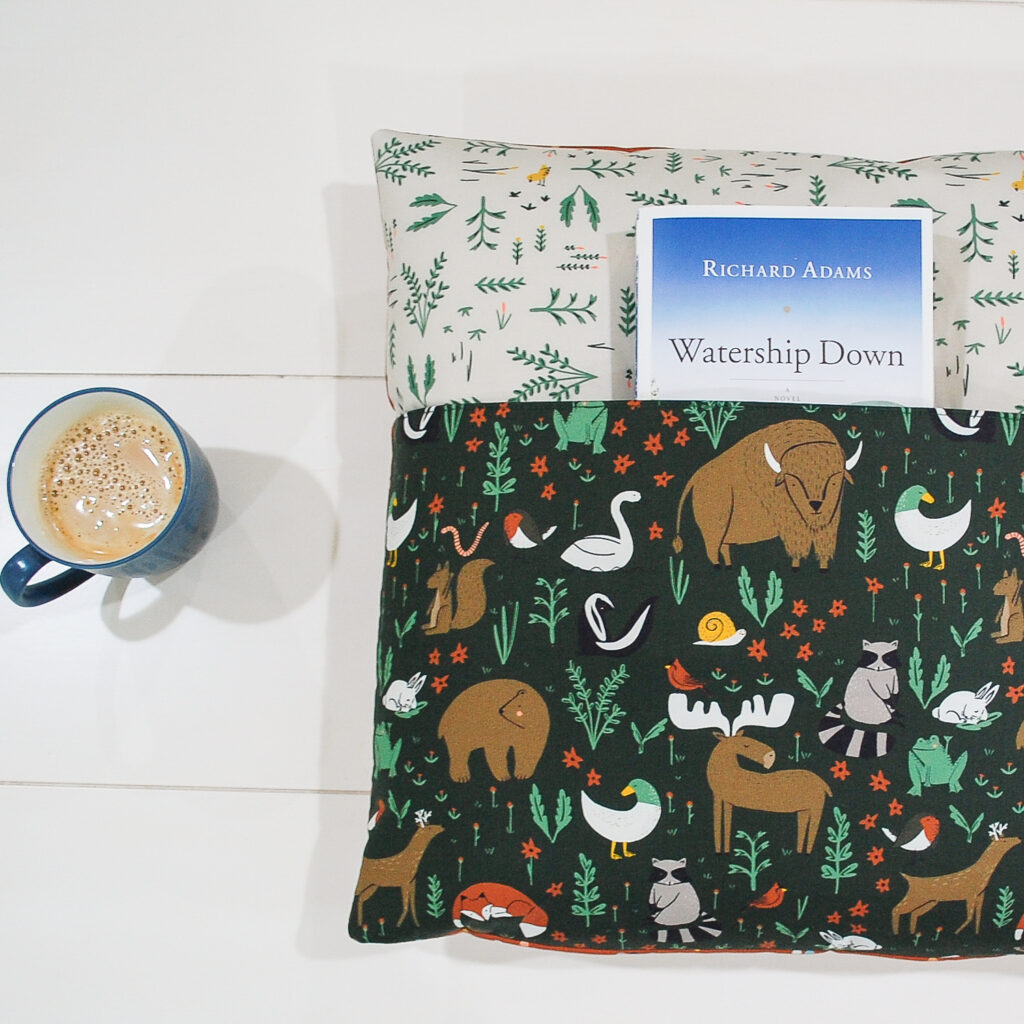
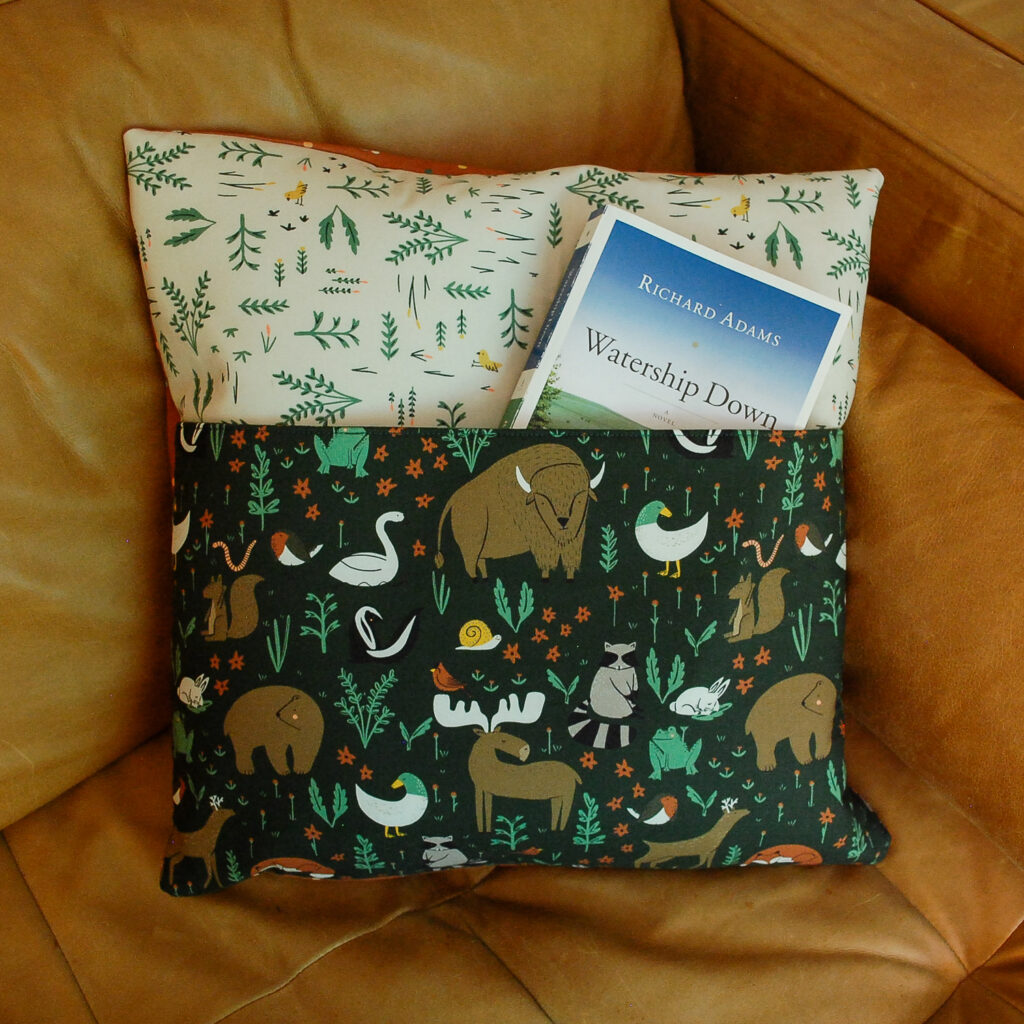
Reading Pillow Tutorial with Pocket
Looking for a fun and functional sewing project? Today I’m sharing how to sew a reading pillow with a pocket—perfect for holding books, journals, or even a small stuffed animal. These pillows make thoughtful handmade gifts for kids and book lovers alike.
Whether you’re a beginner or a seasoned sewist, this is a quick and easy project you’ll enjoy making. Let’s get started!
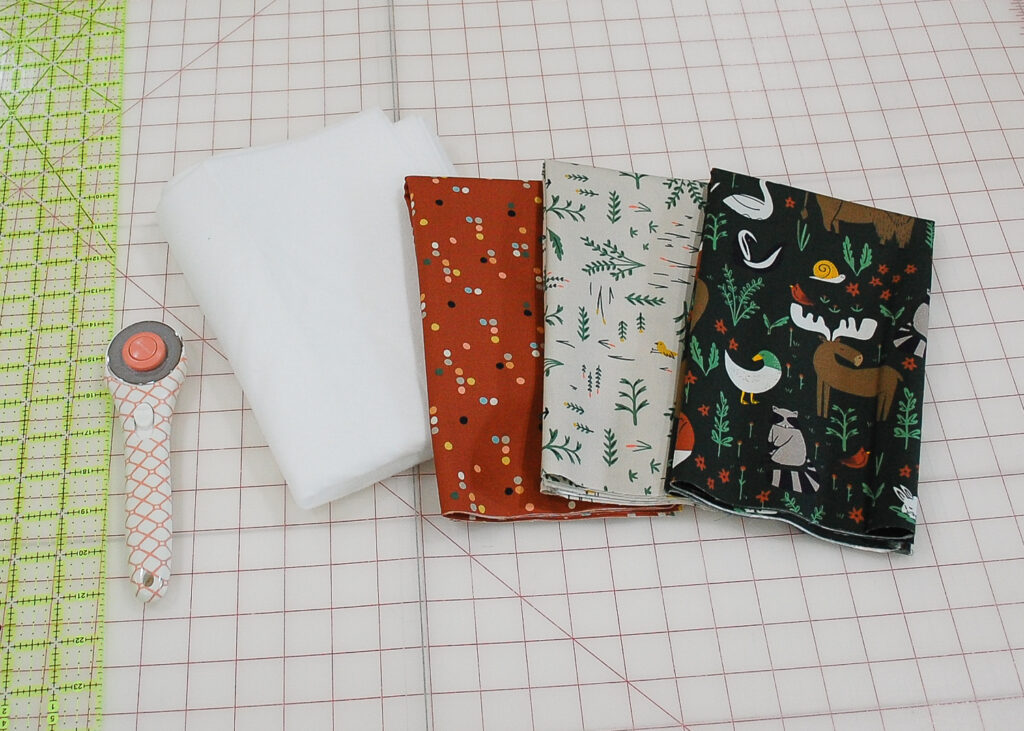
Materials Needed for Reading Pillow
- 1/2 yard pillow front fabric — sample shown: Wild Things by Betsy Siber for Cloud9
- 1/2 yard pocket fabric
- 1/2 yard pillow back fabric
- 1 yard Pellon® 987F Fusible Fleece
- 18″ pillow insert
Need fabric for your pillow?
Shop my selection of curated fabric bundles—handpicked to pair perfectly with this reading pillow tutorial and other beginner-friendly sewing projects.
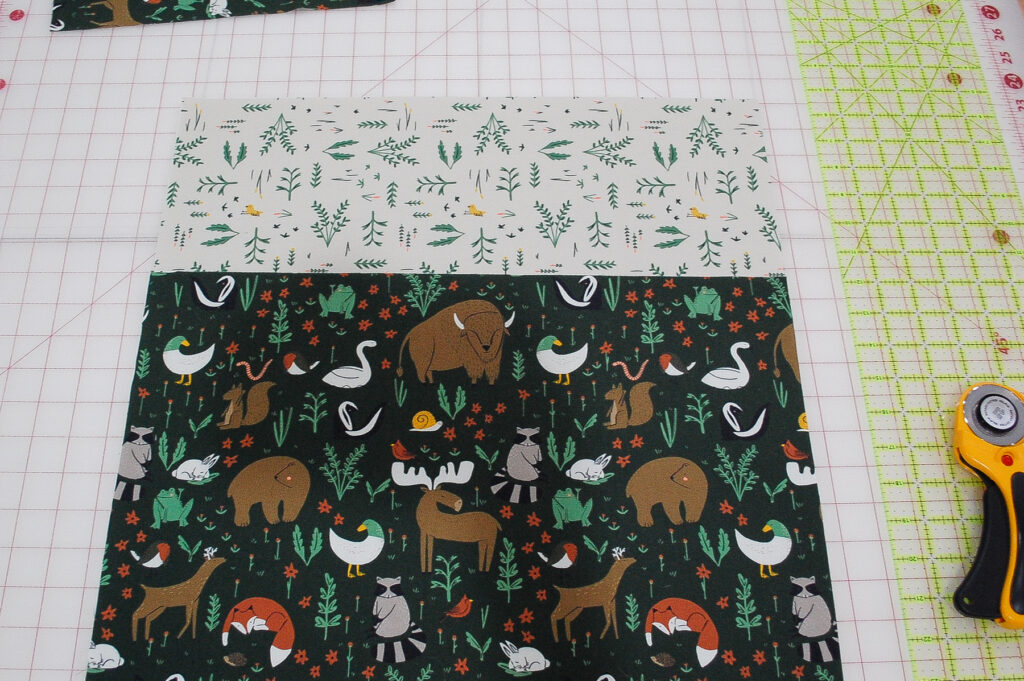
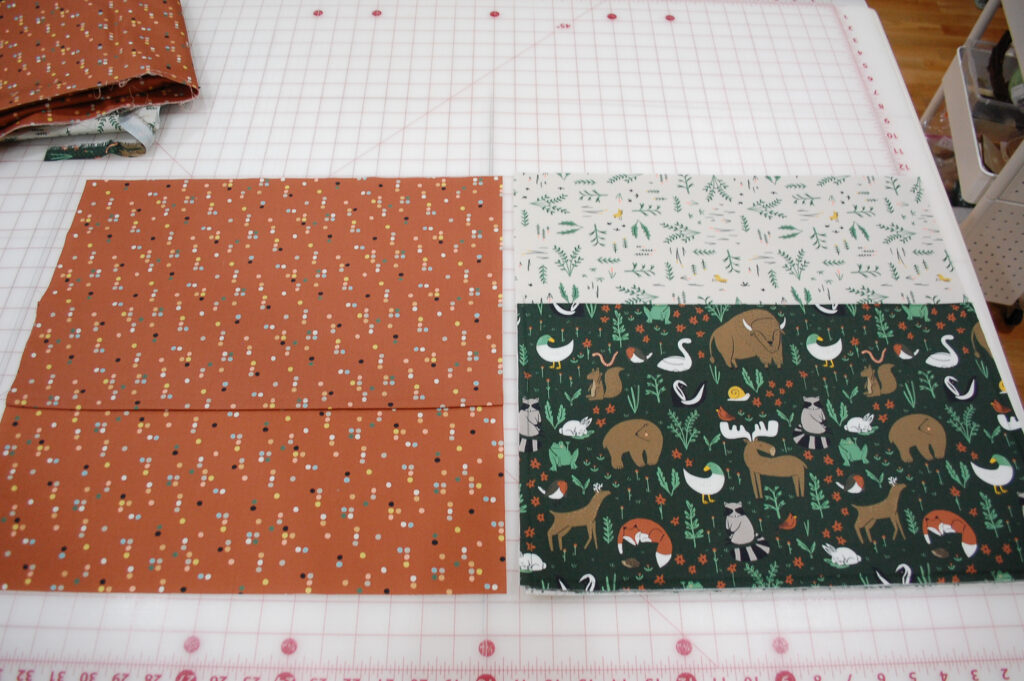
Step 1: Cut and Prepare Your Fabric
- (1) 18″ x 18″ for the pillow front
- (2) 11 1/2″ tall x 18″ wide for the pocket
- (2) 12 1/2″ tall x 18″ wide for the back of the pillow
- (1) 18″ x 18″ fusible fleece
- (1) 11 1/2″ x 18″ fusible fleece
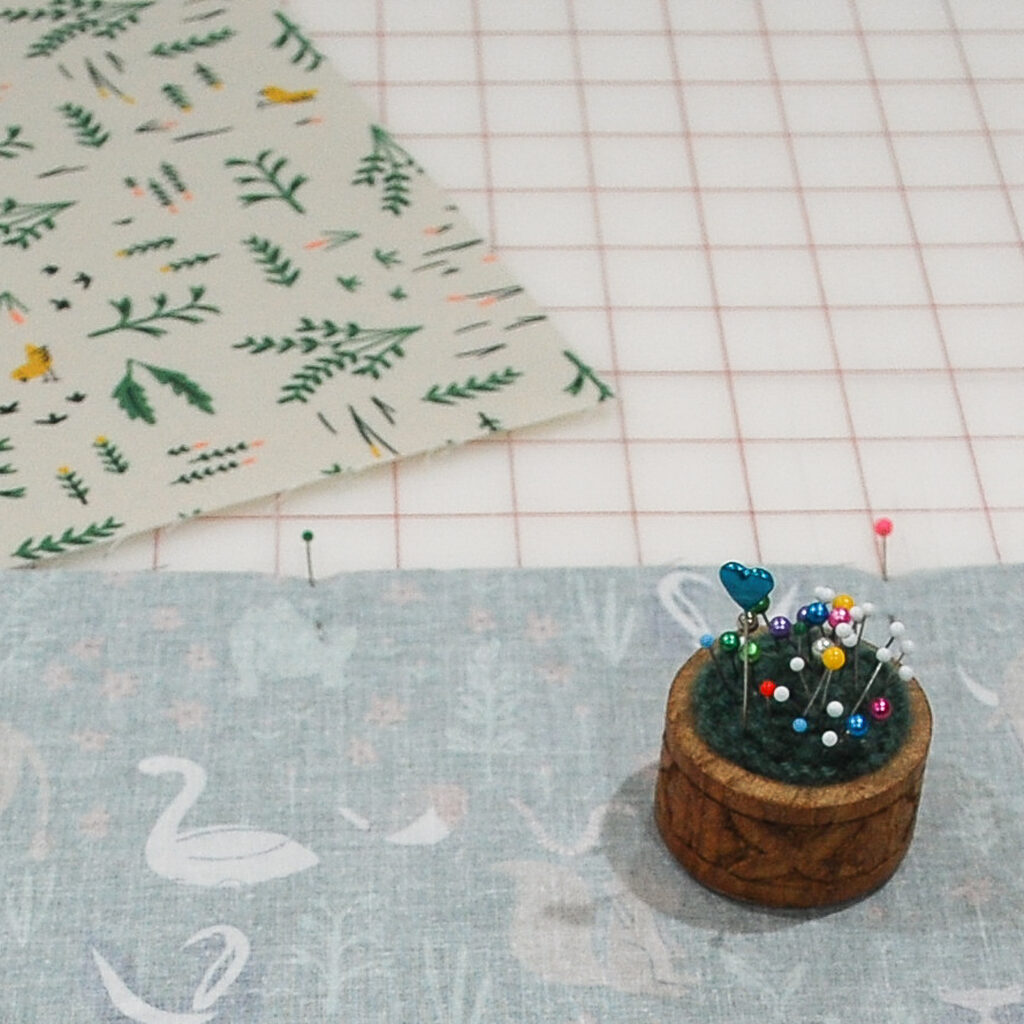
Fuse the fleece to one pocket piece and the pillow front following manufacturer instructions. Here’s a quick refresher for Pellon 987F:
Place fusible fleece fusible side up on your ironing surface. Position the fabric right side up on top. Press with a hot iron for about 10 seconds per section, overlapping slightly. Let cool and check the bond.
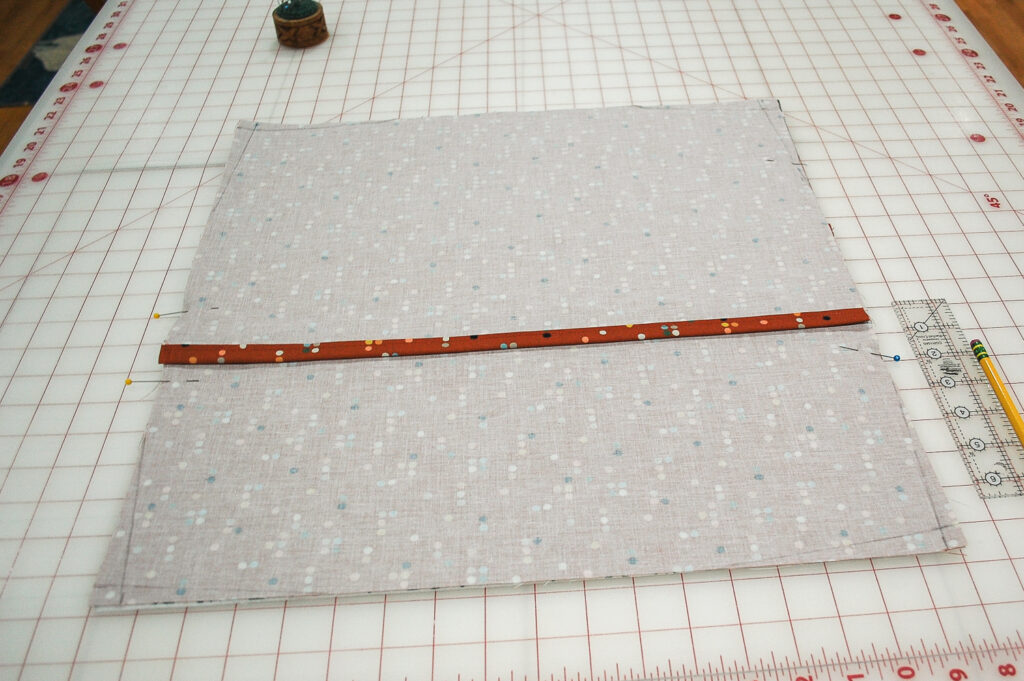
Step 2: Sew the Pocket
Step 2: Sew the Pocket
Place the two pillow pocket pieces right sides together and pin along the top edge. Sew across the top with a 1/2″ seam allowance.
Next, fold the pieces down so the wrong sides are together and press the seam flat. Topstitch 1/8″ from the top edge to secure the layers and give the pocket a nice finish.
Set the pocket aside for now.
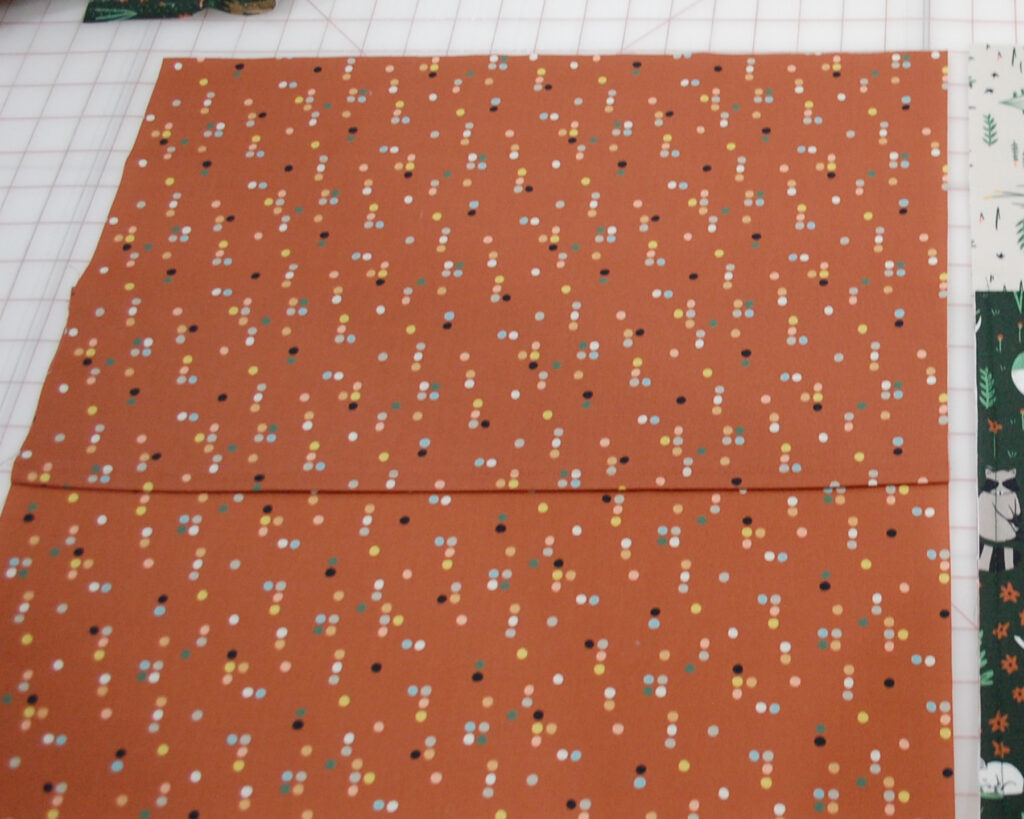
Step 3: Prepare the Envelope Back
Press under 1/2″ twice along the long edge of each of the two pillow back pieces. Sew along the long edges 1/8″ away from the double folded edge.
Step 4: Assemble Your Reading Pillow
- Lay the pillow front right side up. Place the pocket on top, aligning the bottom and sides. Baste around the edges with a seam allowance less than 1/2″ (this will be hidden later).
- Lay one pillow back piece on top, right sides facing, aligning with the top edge.
- Add the second pillow back piece, aligning it with the bottom edge. The two back pieces should overlap slightly in the middle.
- Pin everything in place.
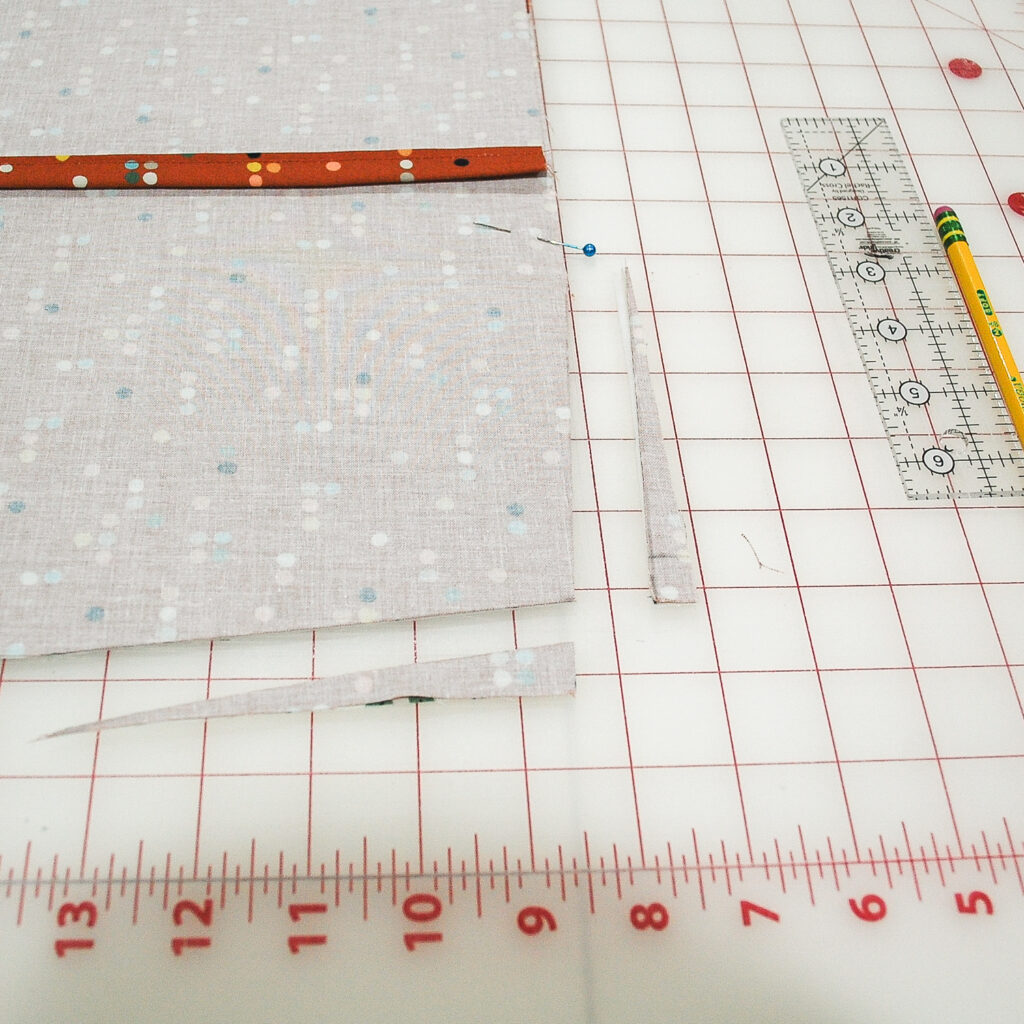
Optional Tip to Prevent Dog-Eared Corners:
Trim a slight taper—cutting away about 1/2″—at an angle along each corner, at least 4″ in from the edges. This helps your finished pillow keep a crisp square shape.
- Sew all the way around with a 1/2″ seam allowance.
- Clip corners, turn right side out, and press.
- Insert your pillow form and you’re done!
Handmade Gift Idea!
Reading pillows are a favorite go-to handmade gift for birthdays, holidays, or back-to-school surprises. You can tuck in a favorite book and personalize the fabric to match the child’s interests.
Want More Easy Sewing Projects?
Here are a few tutorials you might enjoy next:
- Beginner Patchwork Pillow Tutorial — a simple project perfect for first-time quilters
- Heart Mug Rug Tutorial + Free Template — makes a sweet gift for a teacher or friend
- How to Make a Fabric Napkin Set — great for adding handmade charm to your home
Shop More Pillow Patterns
Love sewing pillows? Check out my other patterns featuring stars, hearts, pumpkins, and more in the shop. These quick, beginner-friendly designs are perfect for gifting or decorating your home.