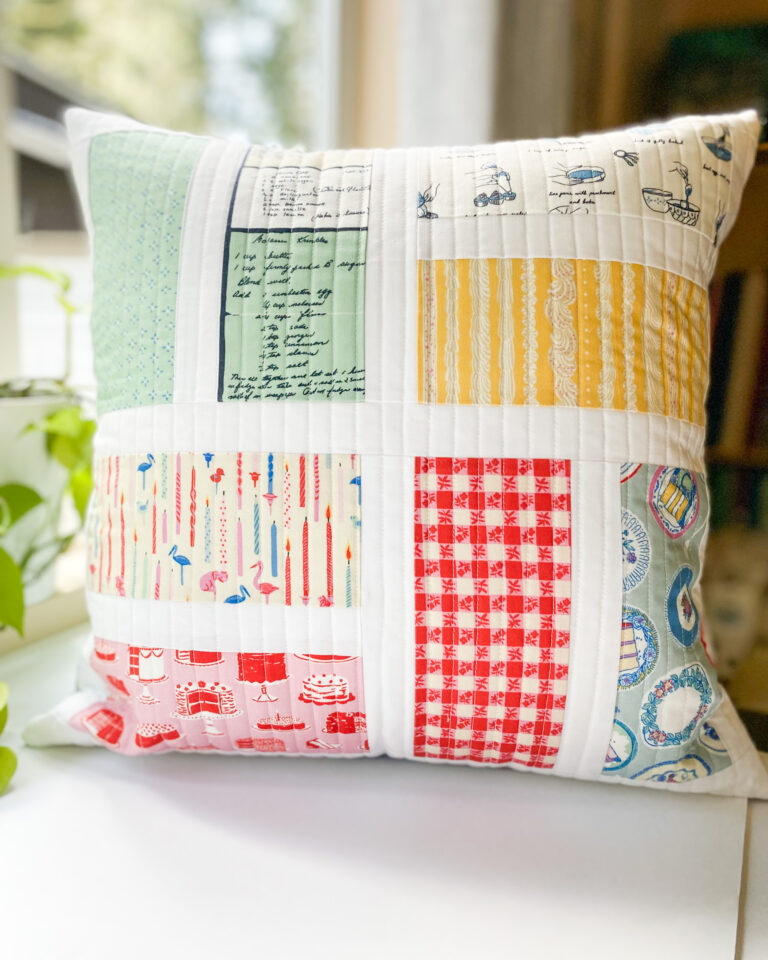
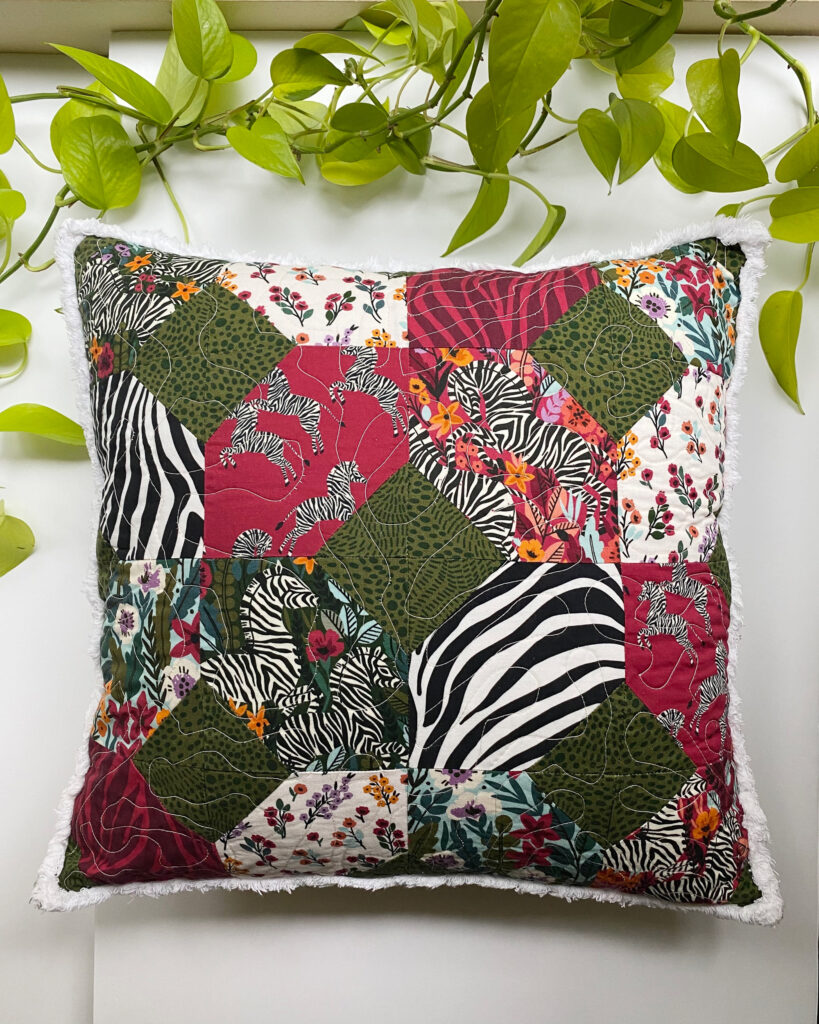
X’s and O’s Pillow Sewing Tutorial
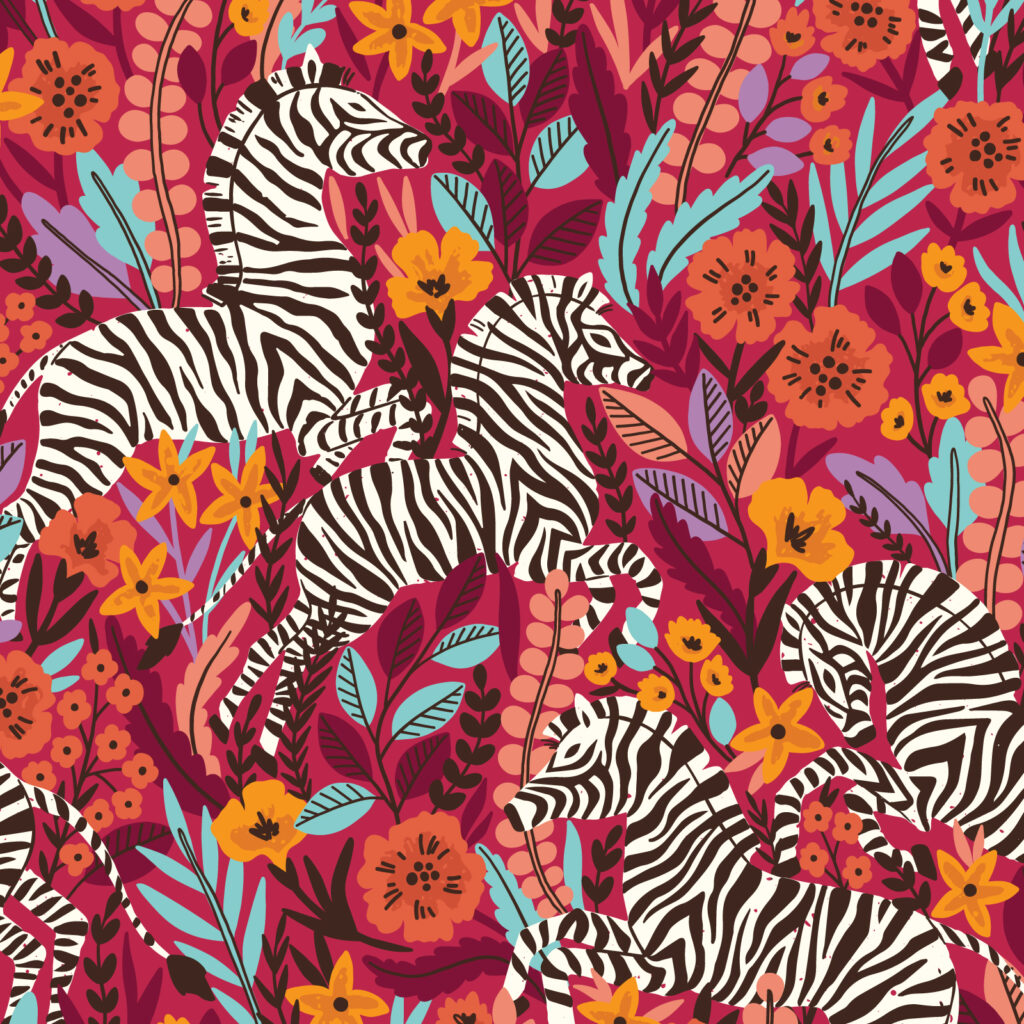
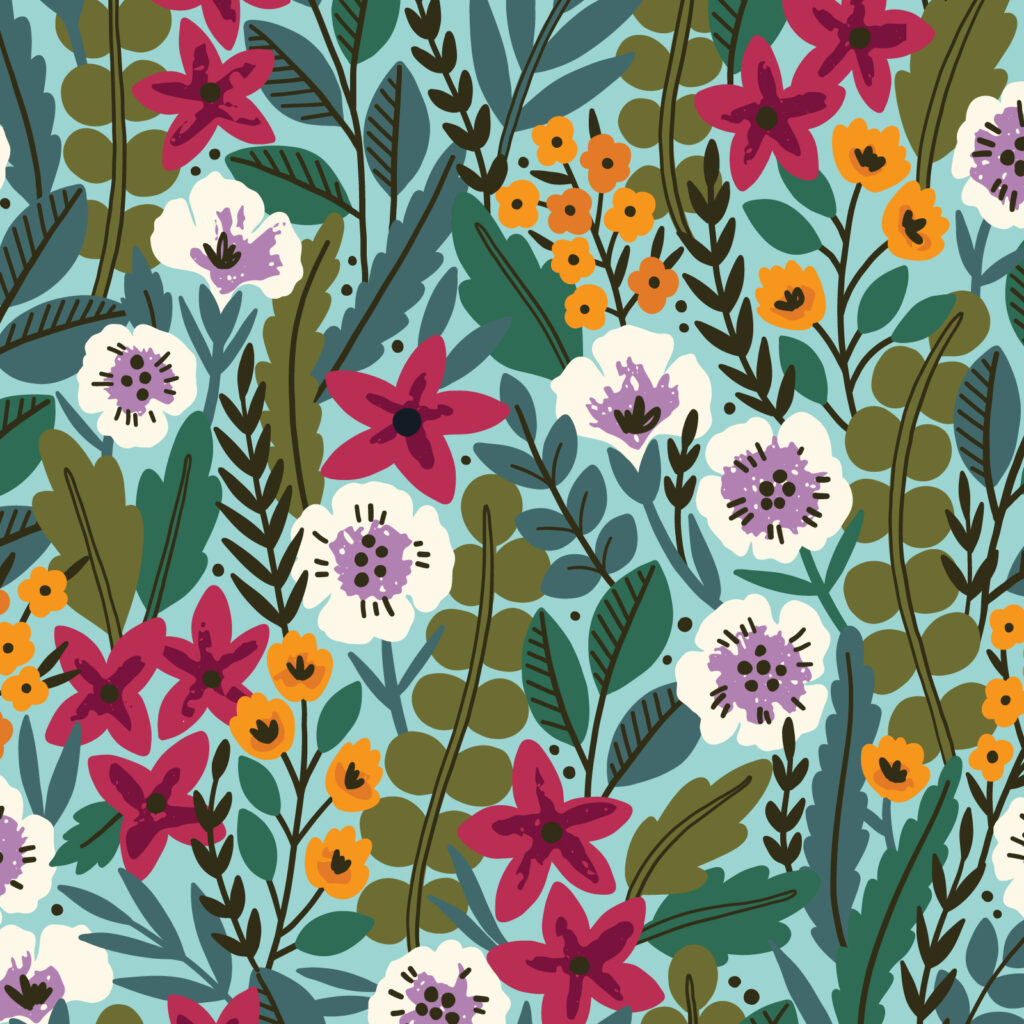
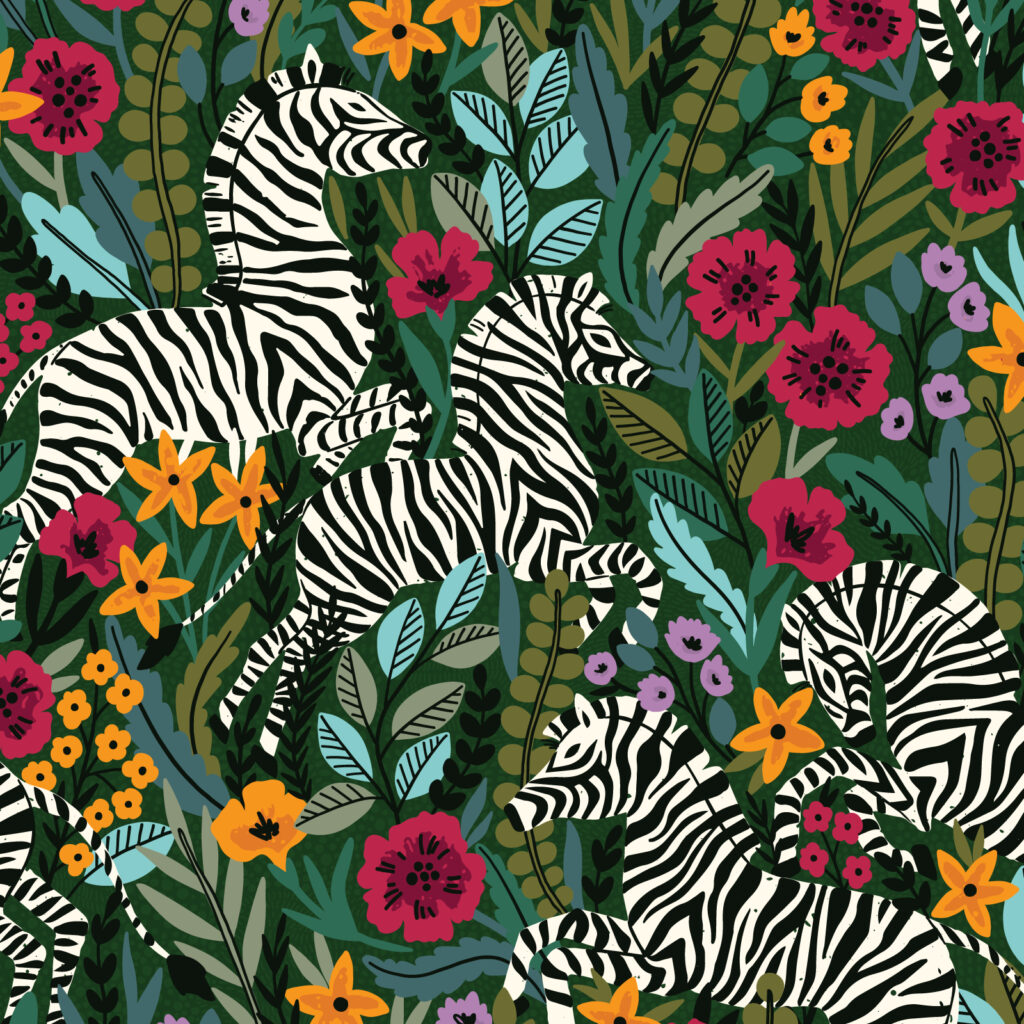
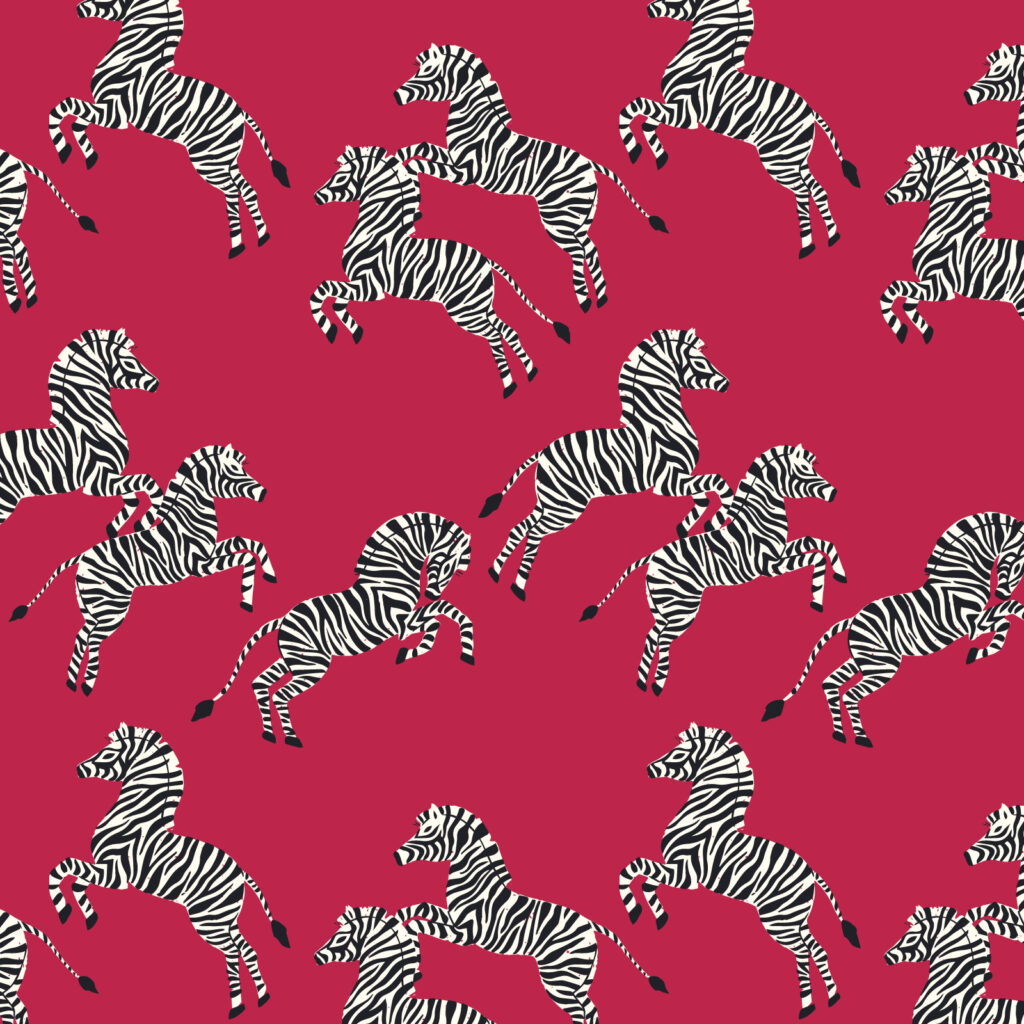
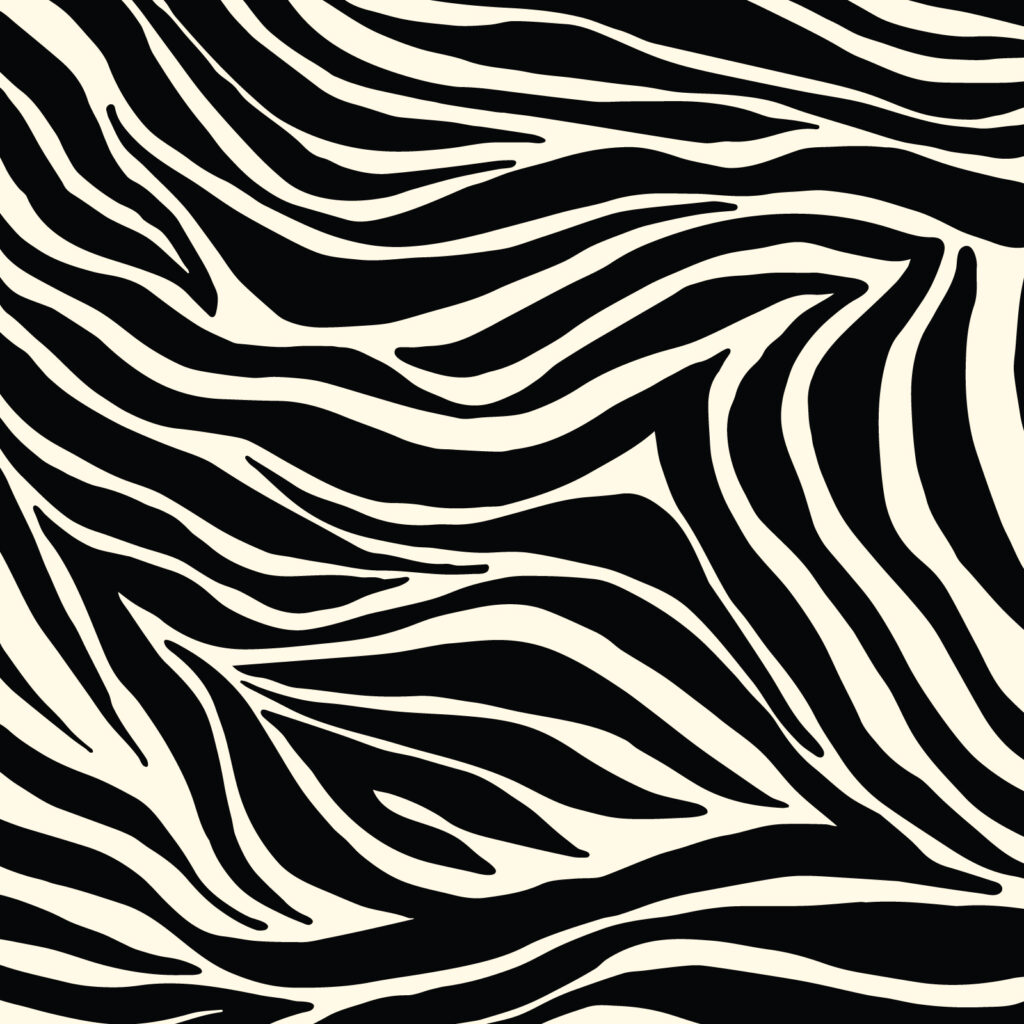
Start the year off with a new pillow sewing project! This month, I’m showcasing the latest fabric collection from Cloud 9 – Zebras by Maria Galybina. Timed perfectly for my Valentine’s Day decor, this pillow pattern features a charming design reminiscent of X’s and O’s. Below you’ll find the step-by-step sewing instructions to make one for yourself!

I’m loving the addition of blooming bias trim!


Grab a Zebra bundle from my shop, and let’s get sewing!

Download Free X’s and O’s Pillow Pattern
Join my email newsletter to receive this tutorial as a downloadable PDF pattern. When you sign up you will also receive my monthly newsletter featuring a new pillow project each month of 2024, along with sewing tips and discounts on fabric and kits. I’d love to have you join my community! Let’s create something beautiful together!
X’s and O’s Pillow Tutorial
Pattern Notes
Seam allowances are 1/4 inch unless specified. Press all seams open (or in preferred direction) unless specified.
Material Requirements
For the pillow top you will need:
- Fat Quarter or 1/4 yard each of 8 different printed fabrics – Zebra Fat Quarter Bundle
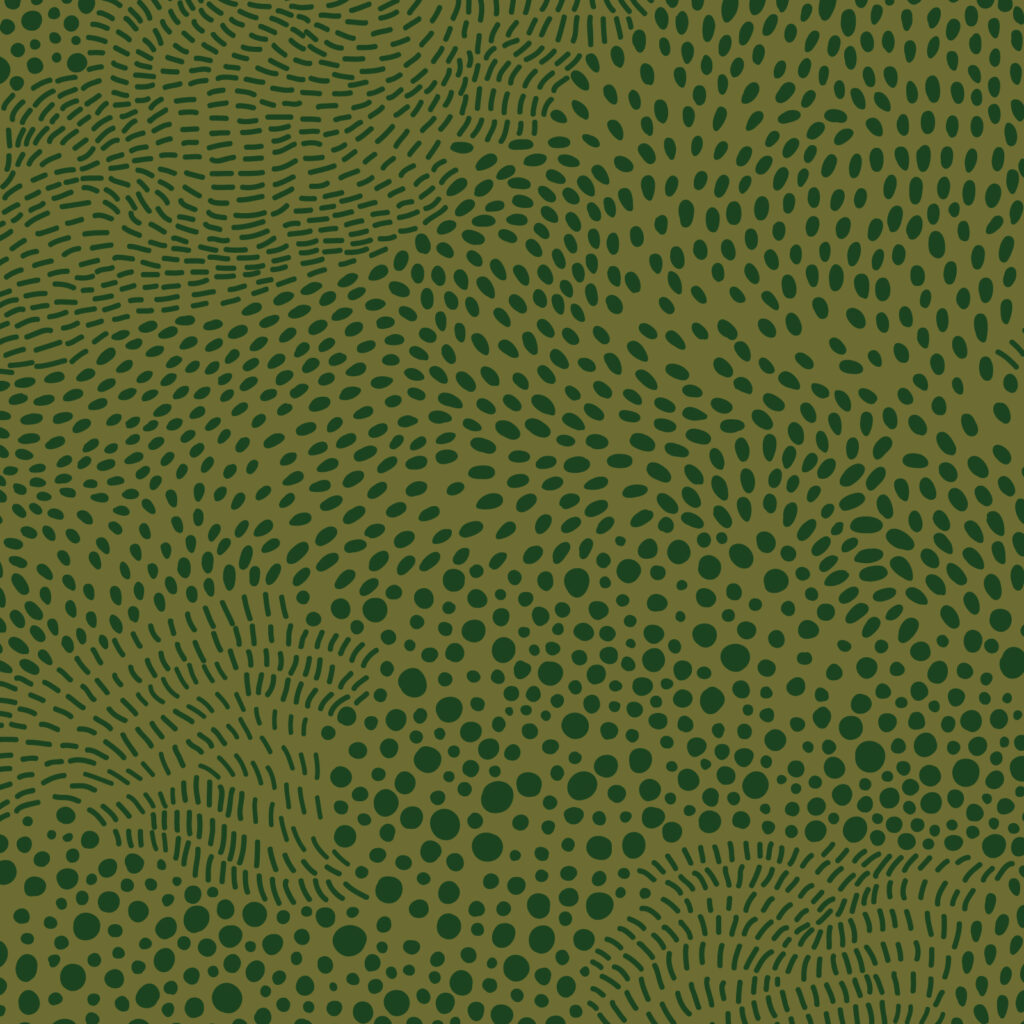
- Fat Quarter or 1/8 yard of background fabric (the Zebra fat quarter bundle has plenty for the pillow if you chose to use the green Zebra Tracks, or go with a black solid like Caviar Pure Solids AGF)
For the pillow back you will need:
- (1) 22-24″ square piece of muslin or other fabric for quilting the pillow top
- (1) 22-24″ square piece of batting for quilting the pillow top
- (2) 13″ x 18″ pieces of backing fabric for the envelope style pillow back – Forest Night Pure Solids AGF
- (1) 18″ pillow form
Optional: Chenille-It 5/8″ Blooming Bias natural or white – (8) 19″ strips, 4 1/4 yards
Cutting Directions
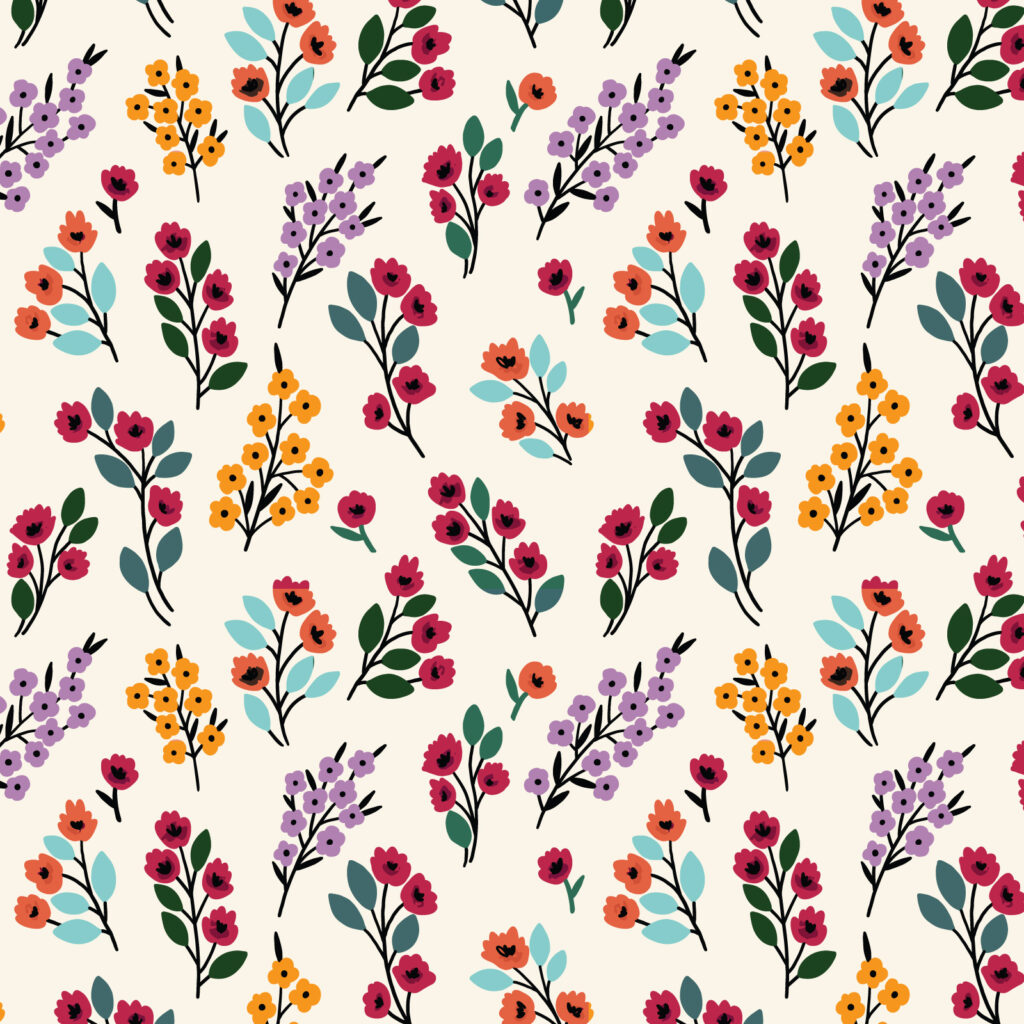
- Cut (16) 5 inch squares – (2) Frolicking Zebras Red, (2) Frolicking Zebras Green, (2) Just Zebras, (2) Zebra Stripes Black, (2) Zebra Stripes Red, (3) Flower Meadow, and (3) Tiny Flowers.
- Cut (32) 2 1/2 inch squares of your background fabric Zebra Tracks, or solid black.


Piecing Directions
Step 1: Draw a diagonal line from corner to corner on the back side of all (32) 2 1/2 inch background squares.

Step 2: Layout your 5 inch squares into a 4 by 4 grid in the way that appeals to you.

Step 3: Place (2) 2 1/2″ squares on each 5 inch square with right sides together on opposite corners. Follow the placement below as your guide.


Step 4: Pin corner squares in place with pin running in the direction of your marked line.

Step 5: Sew along diagonal marked line of all 16 squares.

Step 6: Trim away the corners, 1/4 inch away from seam for all 16 squares.

Step 7: Press seams open for all 16 squares.

Step 8: Arrange blocks in 4 horizontal rows of 4 blocks each. Sew the blocks together in rows. Press block seam allowances in one direction for each row, alternating the direction from row to row, as indicated by the arrows in the diagram below. This steps helps seam line up nicely, and reduces bulk.

Step 9: Sew the 4 rows together. Press. Your pillow front is now complete!
Step 10: Layer the completed pillow top on the 22″-24″ batting and muslin square and quilt as desired. I did meandering free motion quilting, to replicate the look of zebra stripes. When finished quilting trim the pillow top to 18″ square. If it’s slightly less, no worries, just make it square and neat and make the pillow back width the same size when you get to that step.

Step 11: Prepare the (2) pillow back pieces by pressing them under 1/2″ twice along the long edge of the pillow back. Sew along the long edges, 1/8″ away from the folded edge.

Step 12: Layer the pillow back with wrong sides up, and lay the finished pillow top next. Pin or clip in place. Square up your pillow top now if you need.

Step 13: Zig zag stitch or serge close to the edge to hold all the layers in place.


Step 14: Now let’s add the blooming bias to finish off the pillow. Line up 2 layers of blooming bias along one of the edges of your pillow, with 1/4″ overhang at the top. It’s helpful to sew the blooming bias on the bottom with the pillow on top, leaving 1/8″ of the blooming bias sticking out from under the pillow. Trim the bias 1/4″ beyond the edge of the pillow. Continue adding the 2 layers of bias binding all the way around the pillow. Repeat this process adding 2 more layers of blooming bias to the top, for a total of 4 fluffy layers!


Step 15: Wash your pillow and watch it bloom!
Alternatively, if you don’t want to add the Chenille binding skip steps 13-15, and jump in here.
With the pillow top facing up, layer the envelope pieces right sides together on top. Pin in place.

Sew a 3/8″ seam around the edge of the pillow top.

Trim the corners of the pillow to reduce bulk. Turn the pillow right side, pressing out the corners. Insert your pillow form.
Your pillow is done! I hope you enjoyed creating it. Tag me on Instagram @tangledthreadsbyjen #tangledthreadsbyjen I’d love to see your pillow!
Check out more in my Pillow of the Month Series here.
Alternate Background Fabric Options


Alternate Fabric Collection Ideas

Rosy Deco with Tiny Moon Pearl background

Flower Garden with Denim background

Yuma with Pumice background

All That Wander with linen background
If you liked this post, be sure and join my email newsletter for more sewing tips, and tutorials.
Happy sewing!