Coffee Coasters Sewing Tutorial
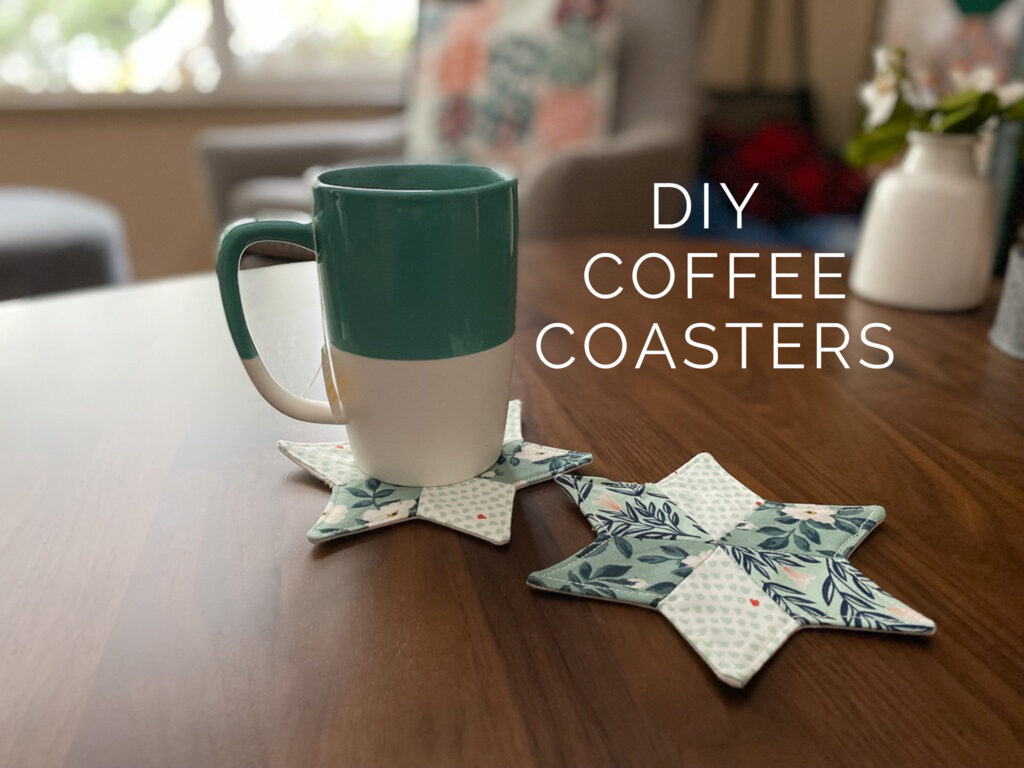
I have a new sewing project to share with you today, a little something you can sew up in a few hours, and give to someone special on your Christmas list. Gather up some supplies, and let’s make coffee, tea, hot cocoa coasters, whatever your beverage of choice.
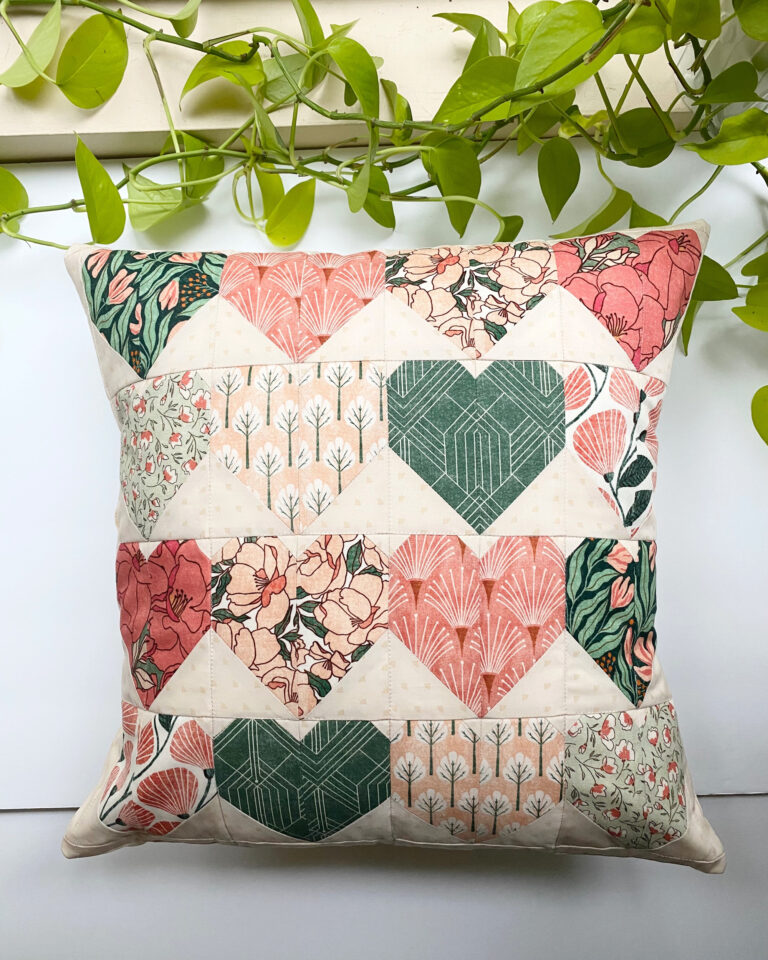
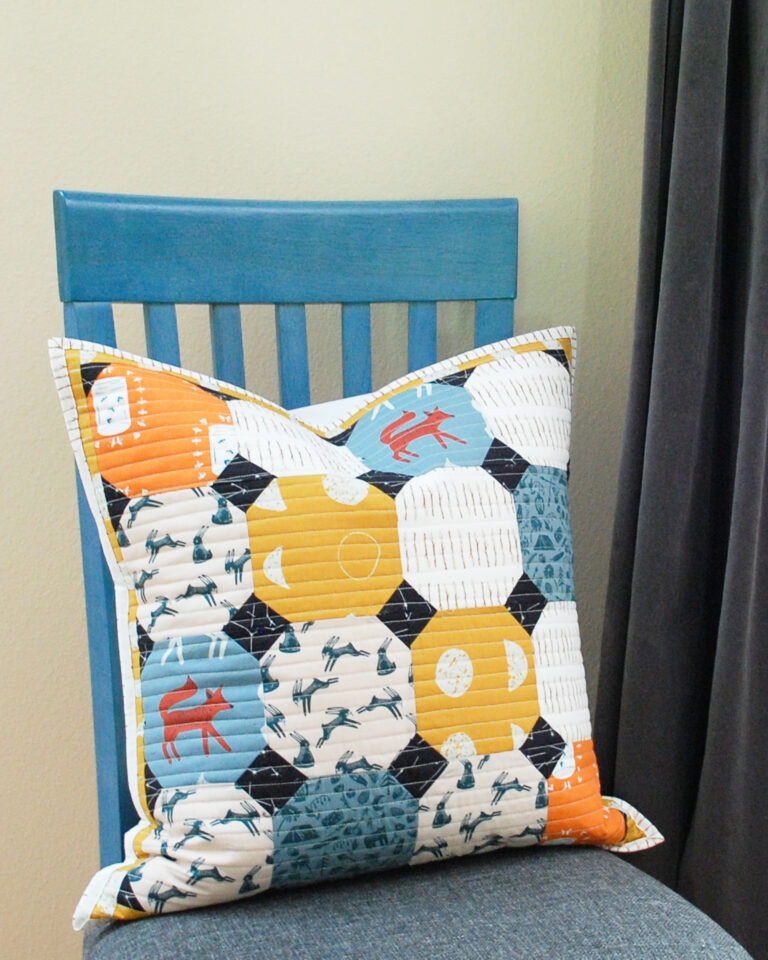
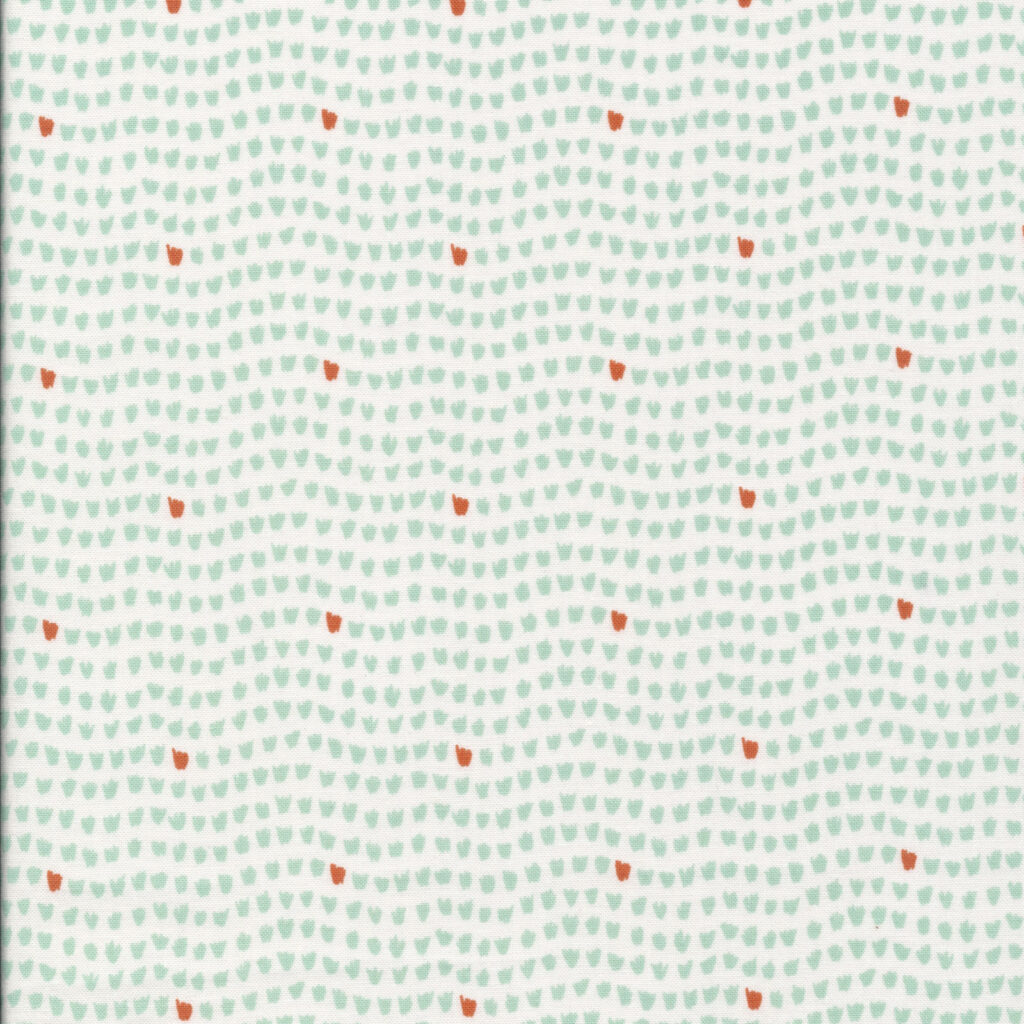
For these coasters I used a variety of fat quarters from Cloud 9 Fabrics available in my shop. I used Mosaic, and Wild from the All that Wander collection by Juliana Tipton, and Bramble from the Flora collection designed by Cassidy Demkov. I love how beautifully these fabrics paired together to make the perfect wintery color scheme, they look like little snowflakes.


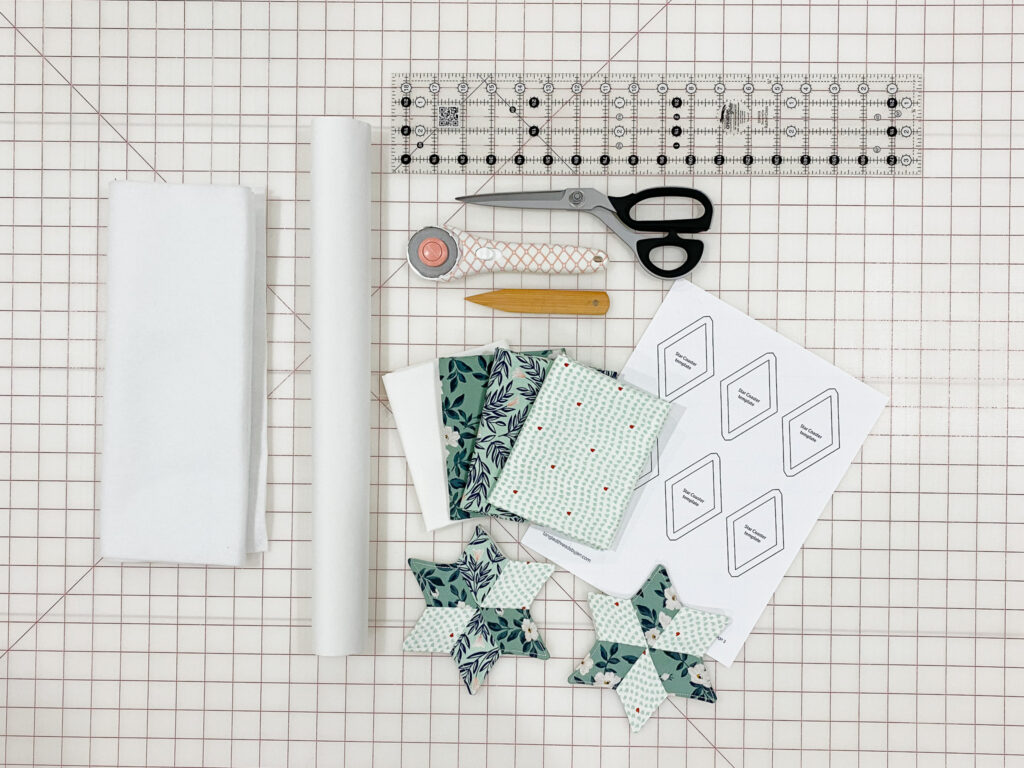
Star Coaster Materials
- Fabric Fat Quarters – Mosaic, Bramble, Wild, solid for back
- Star Coaster Template
- Pellon Fusible Fleece 987F or batting
- Point turner – Dritz Bamboo Point Turner & Presser
Star Coaster Cutting Instructions
To create the coaster you will need:
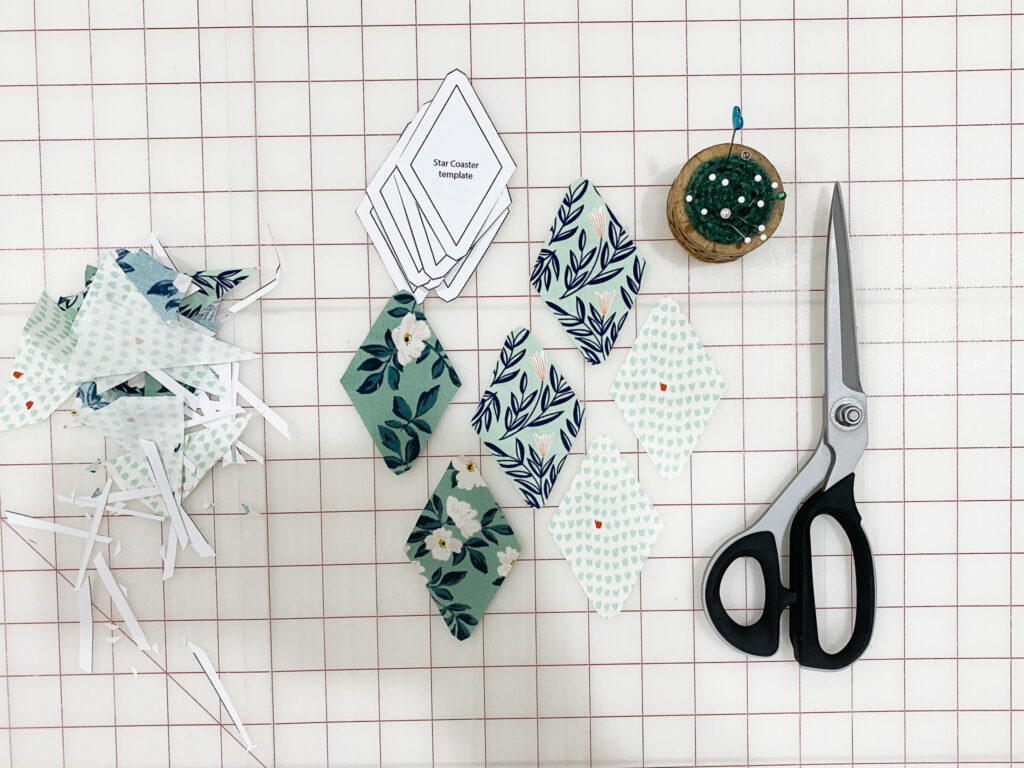
- 6 diamonds cut from Star Coaster Template
- 2 each from – Wild, Mosaic, and Bramble
- 1 – 7″ square from Limestone Solid for back of coaster
- 1 – 7″ square of fusible fleece
There are several ways to cut fabric using templates, here are two of my go to methods – what I like to call the pin and cut method, or the freezer paper method.
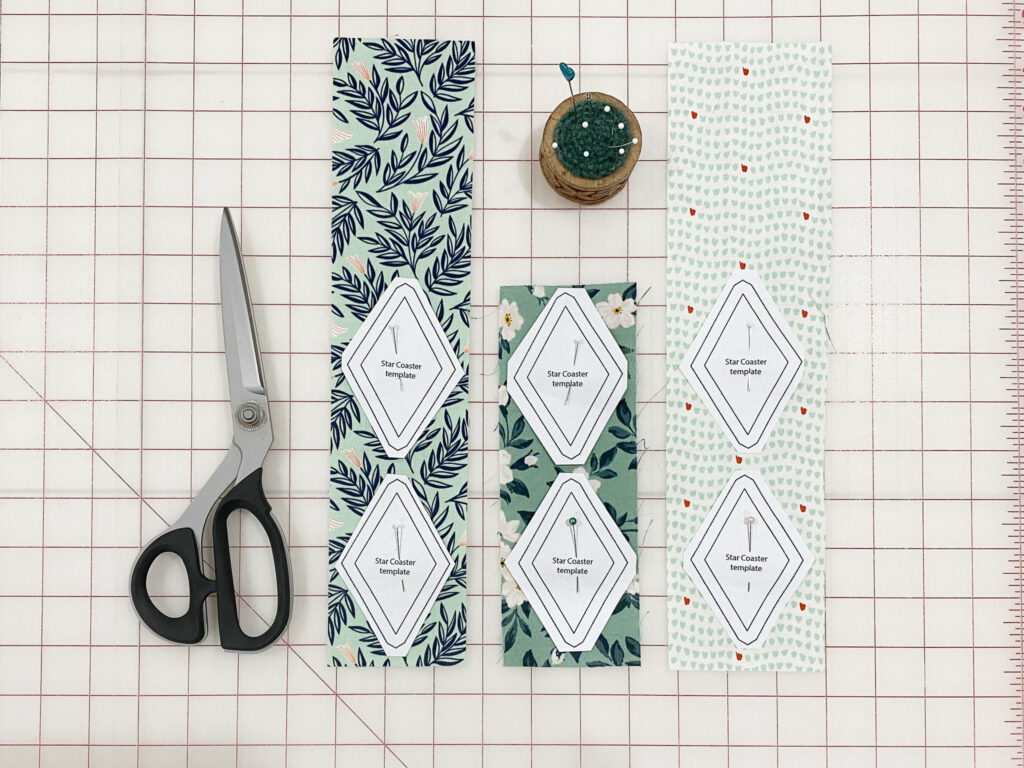
Pin and cut template method
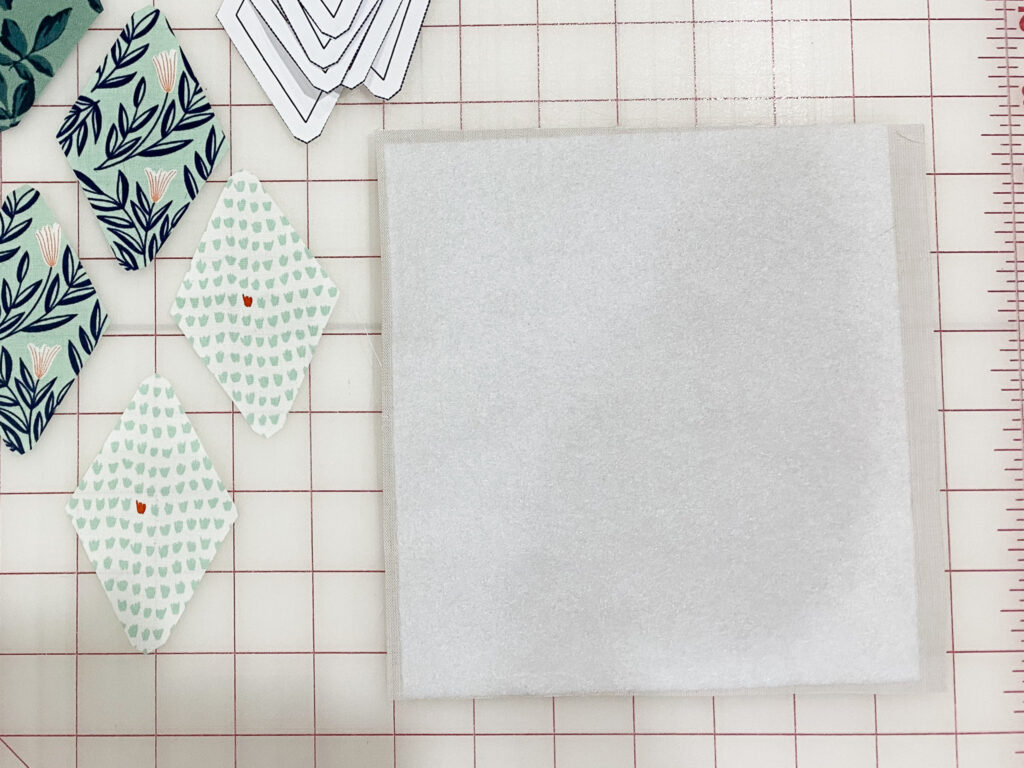
To cut your fabric using the pin and cut method, print out the Star Coaster Template, roughly cut around each of the 6 diamonds, pin paper templates onto your fabric, then cut.
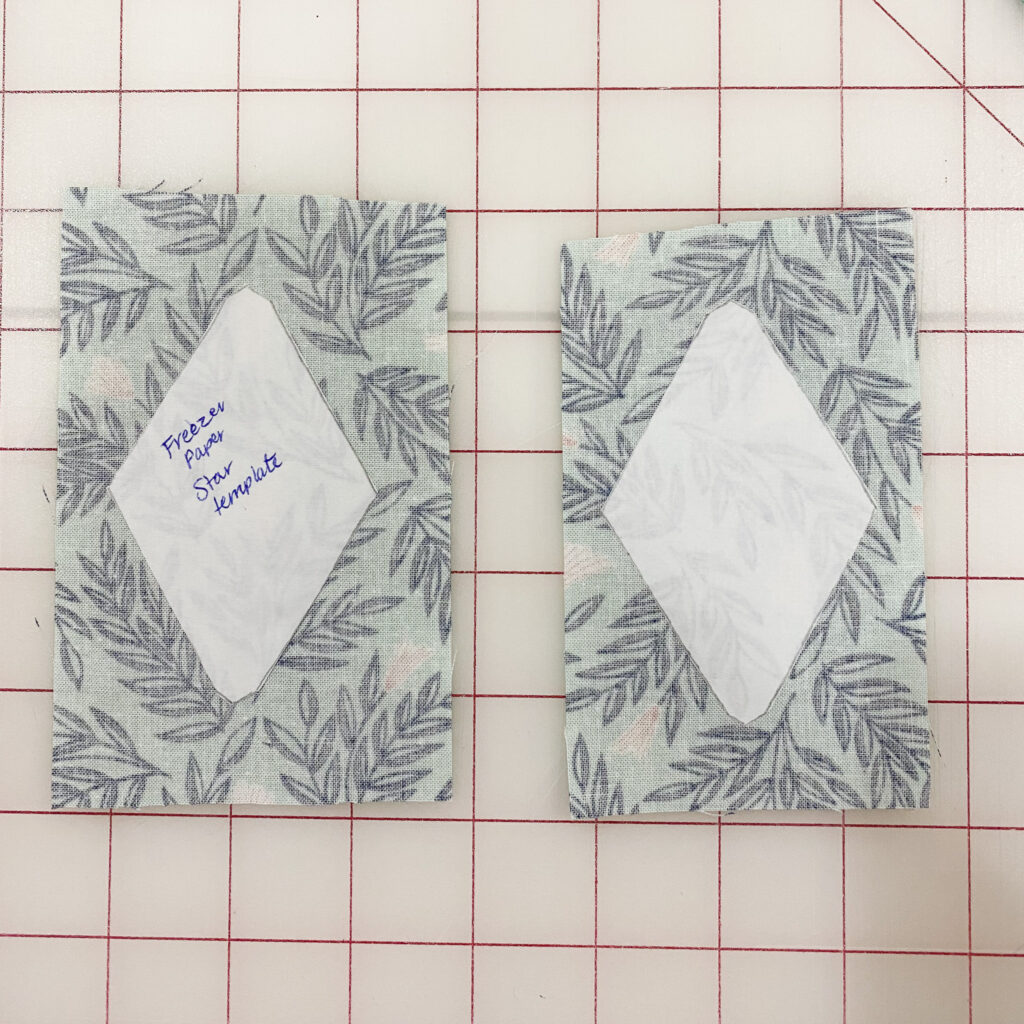
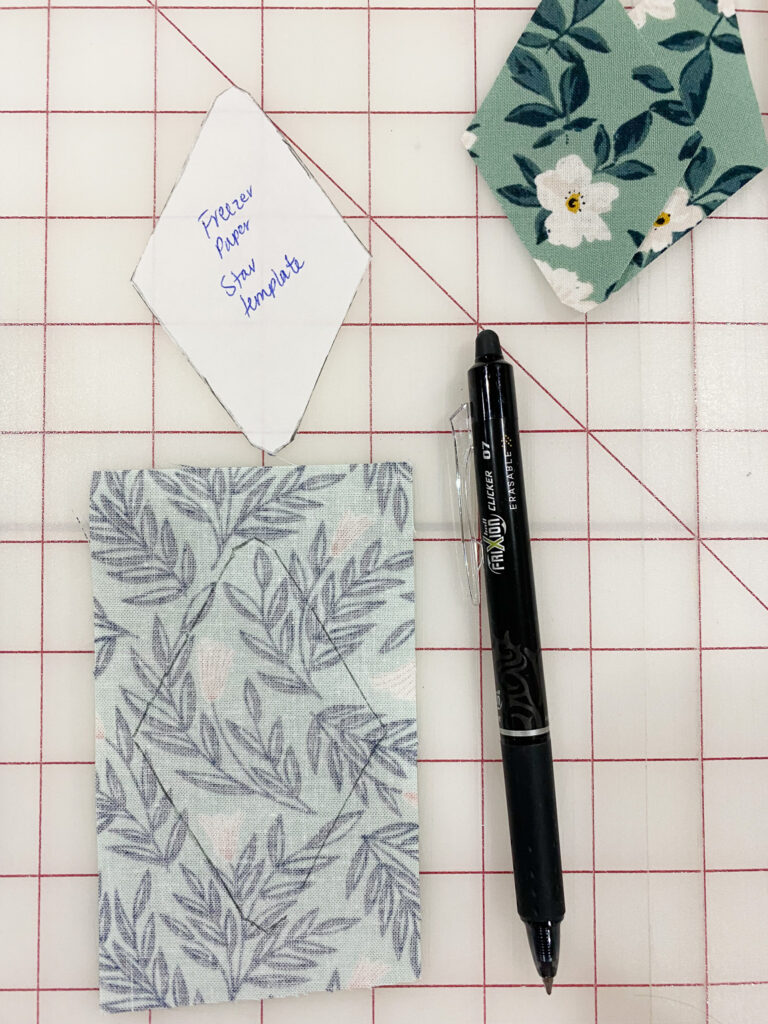
Freezer paper template method
To cut your fabric using the freezer paper method, print out the Star Coaster Template, then trace the template onto freezer paper (you don’t need to trace all 6, I traced 2). Then roughly cut around the freezer paper template. Next, iron the freezer paper template onto your fabric. Freezer paper has a wax coating on one side that when ironed will melt and stick temporarily to your fabric without damaging it. Cut out your diamond, and peel off the freezer paper. The freezer paper template can be reused again and again. To cut out your next diamond, simply iron the previously cut freezer paper onto another piece of fabric and cut out, or trace around your freezer paper template, remove the paper, then cut. I like to leave the freezer paper on the fabric, it helps hold it in place to cut more accurately.

Star Coaster Step 1
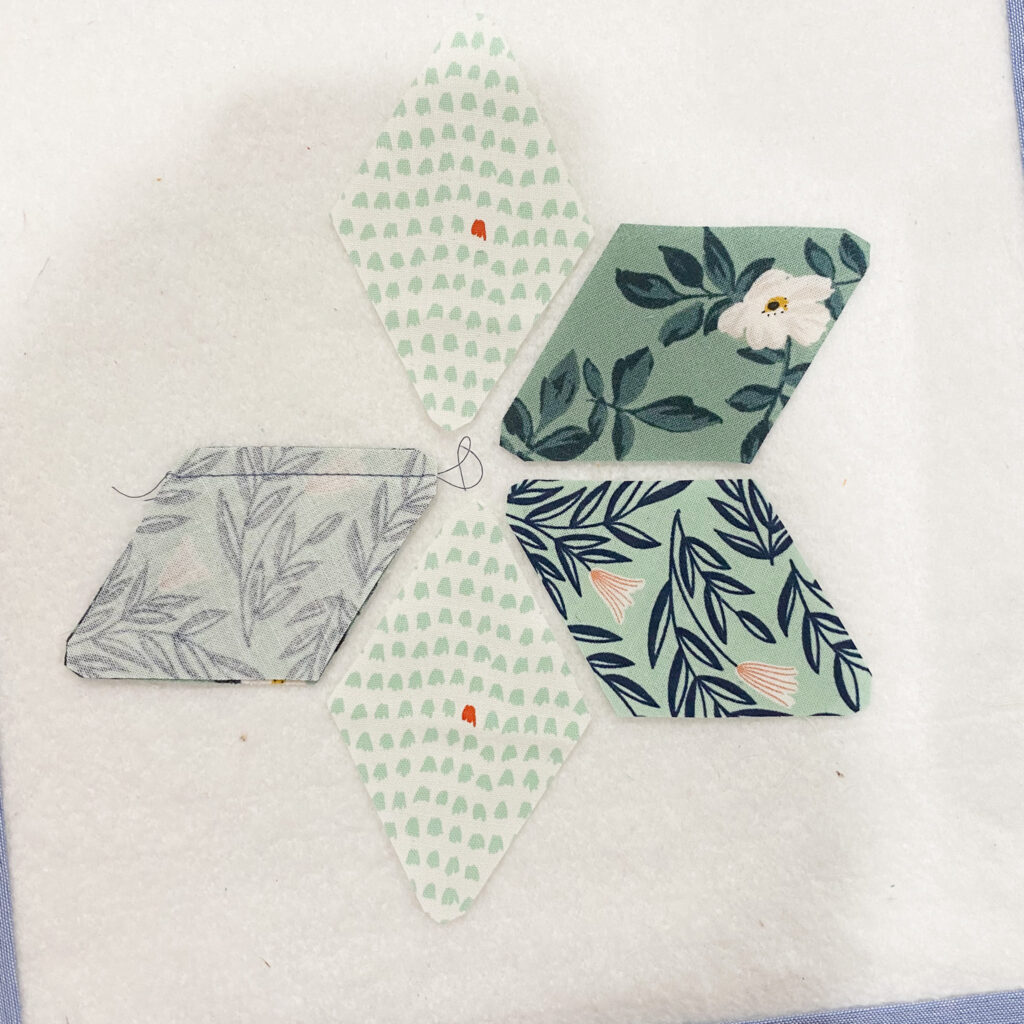
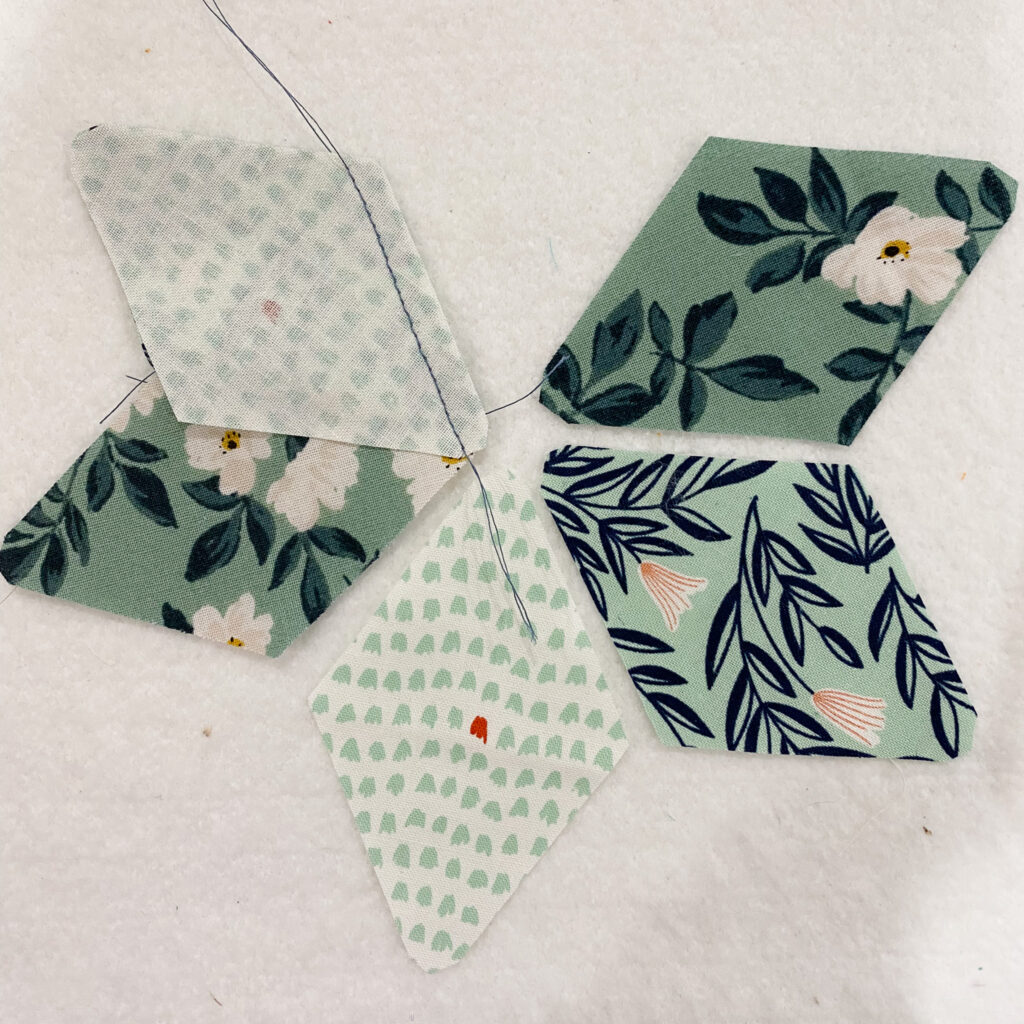
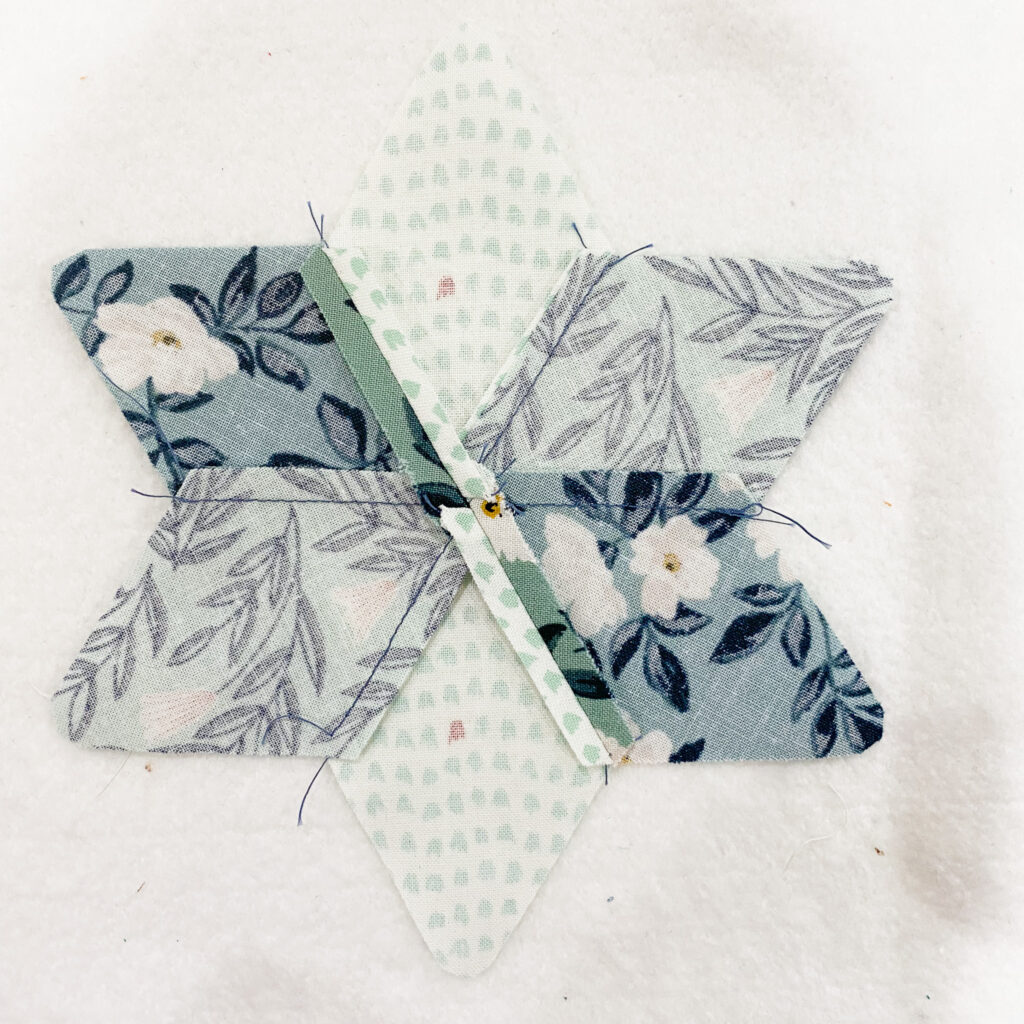
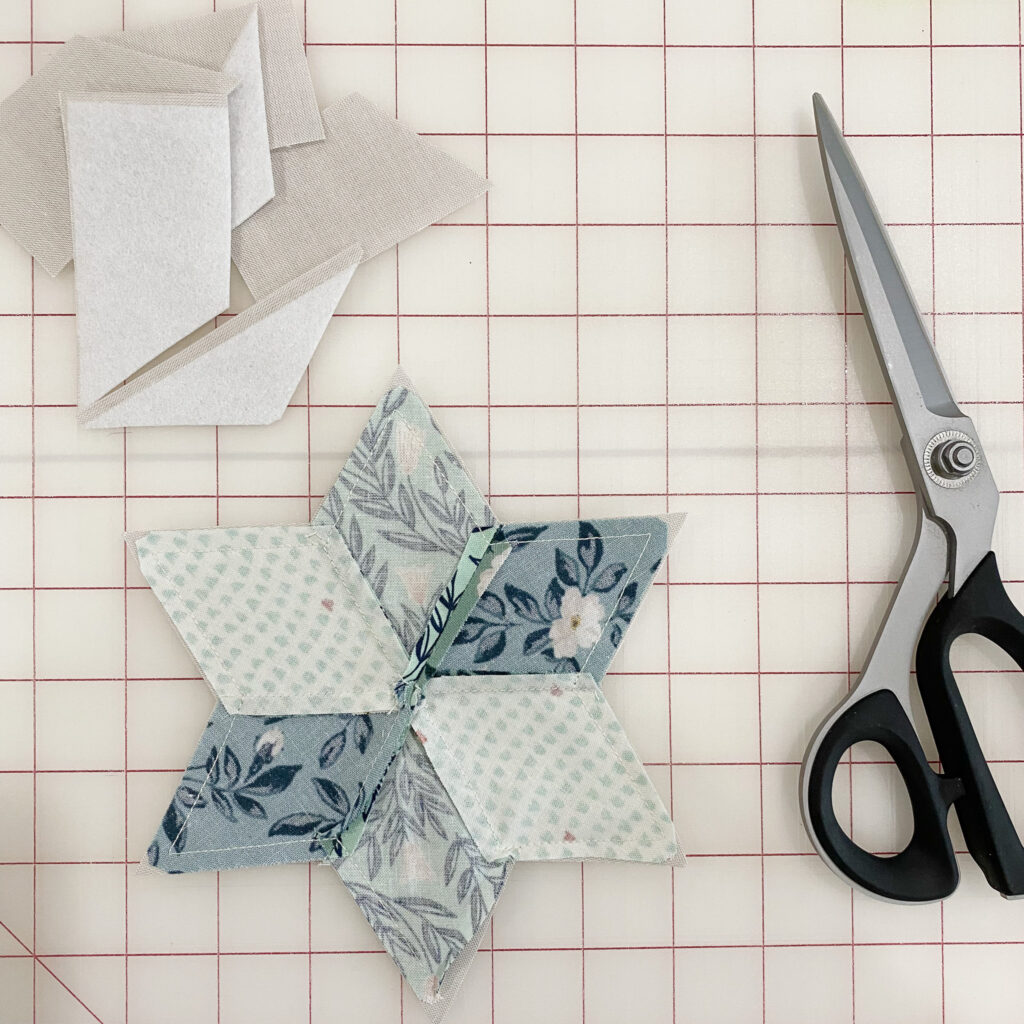
Once you’ve gathered your supplies, and cut your 6 diamonds using the Star Coaster Template, lay out your fabric diamonds in a repeating pattern you’d like to use for your coaster.
Star Coaster Step 2
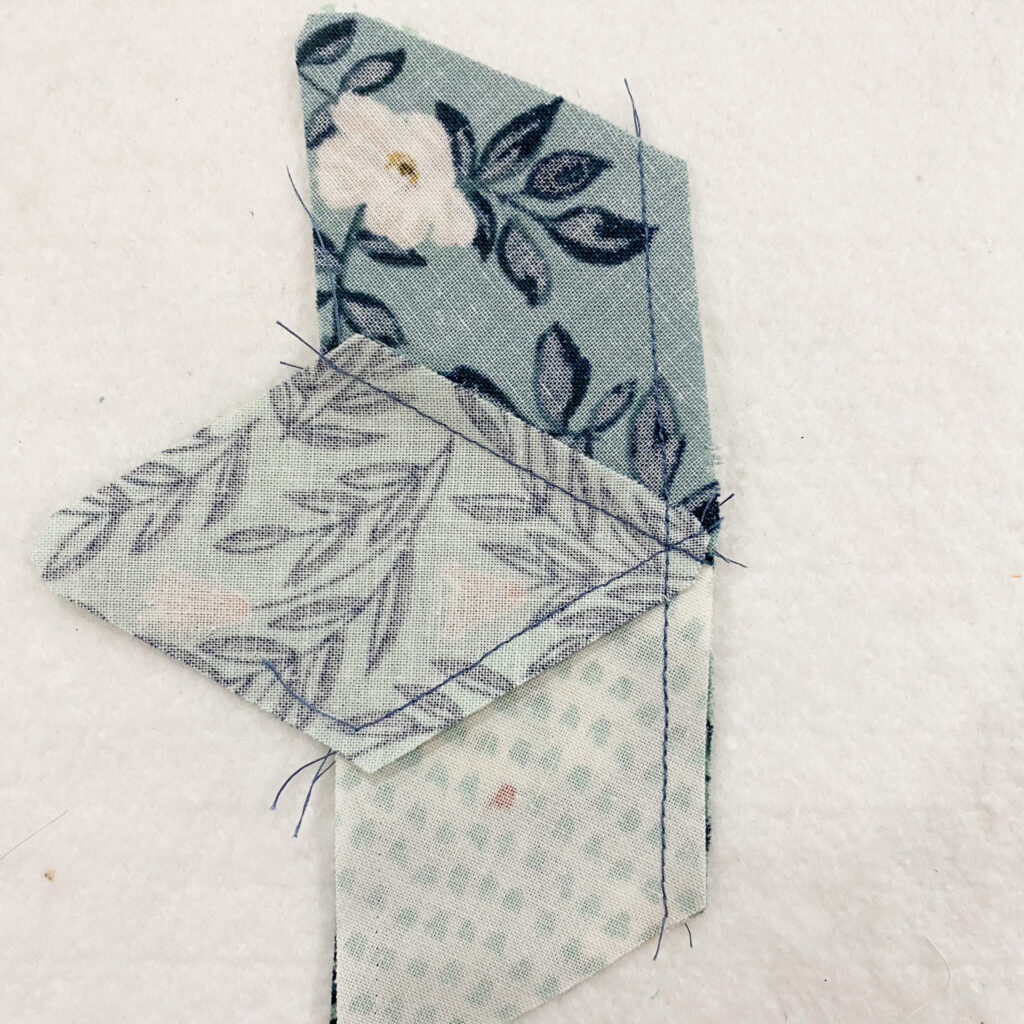
With right sides together sew 2 diamonds together along one side. Press.
Star Coaster Step 3
Sew another diamond to the opposite side of center diamond. Press.
Star Coaster Step 4
Sew the remaining 3 diamond together, repeating steps 2 and 3. Press.

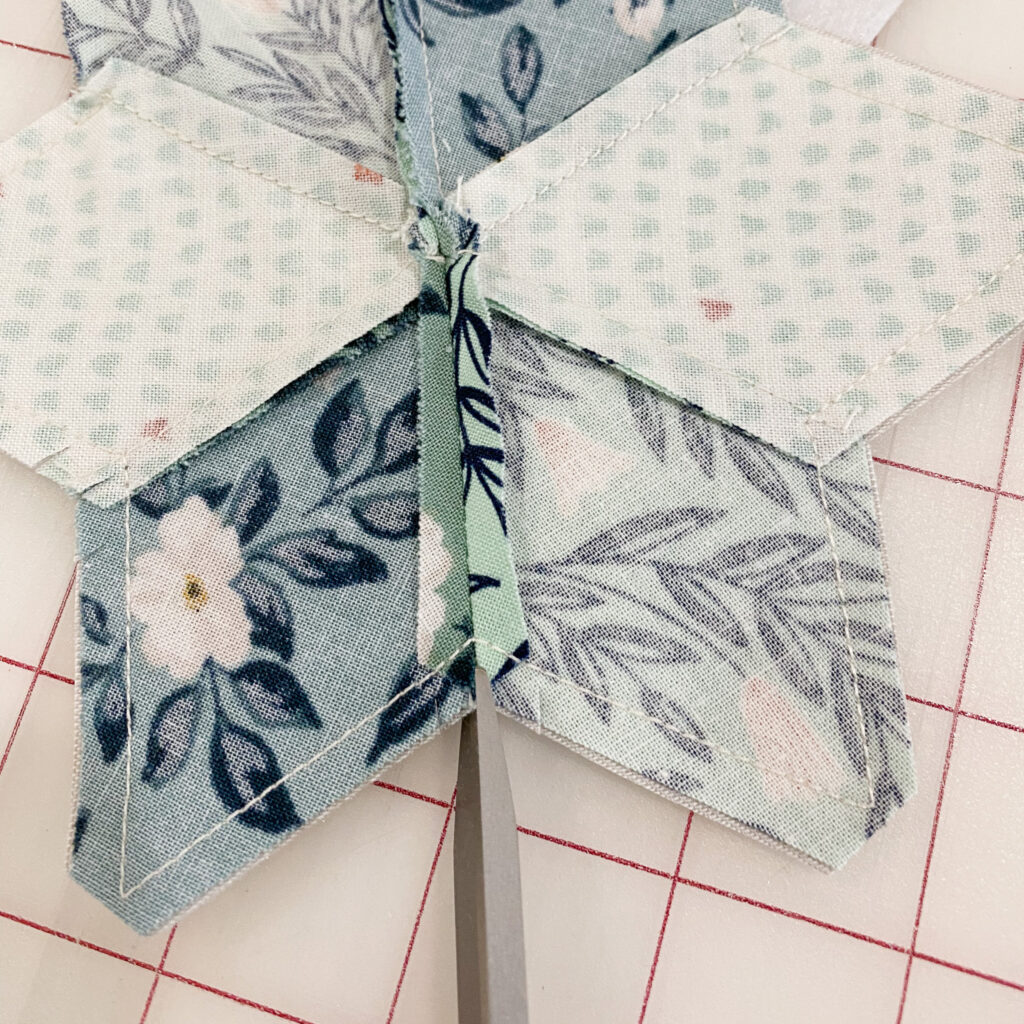
Star Coaster Step 5
Sew the 2 star halves together, press seam open.
Star Coaster Step 6
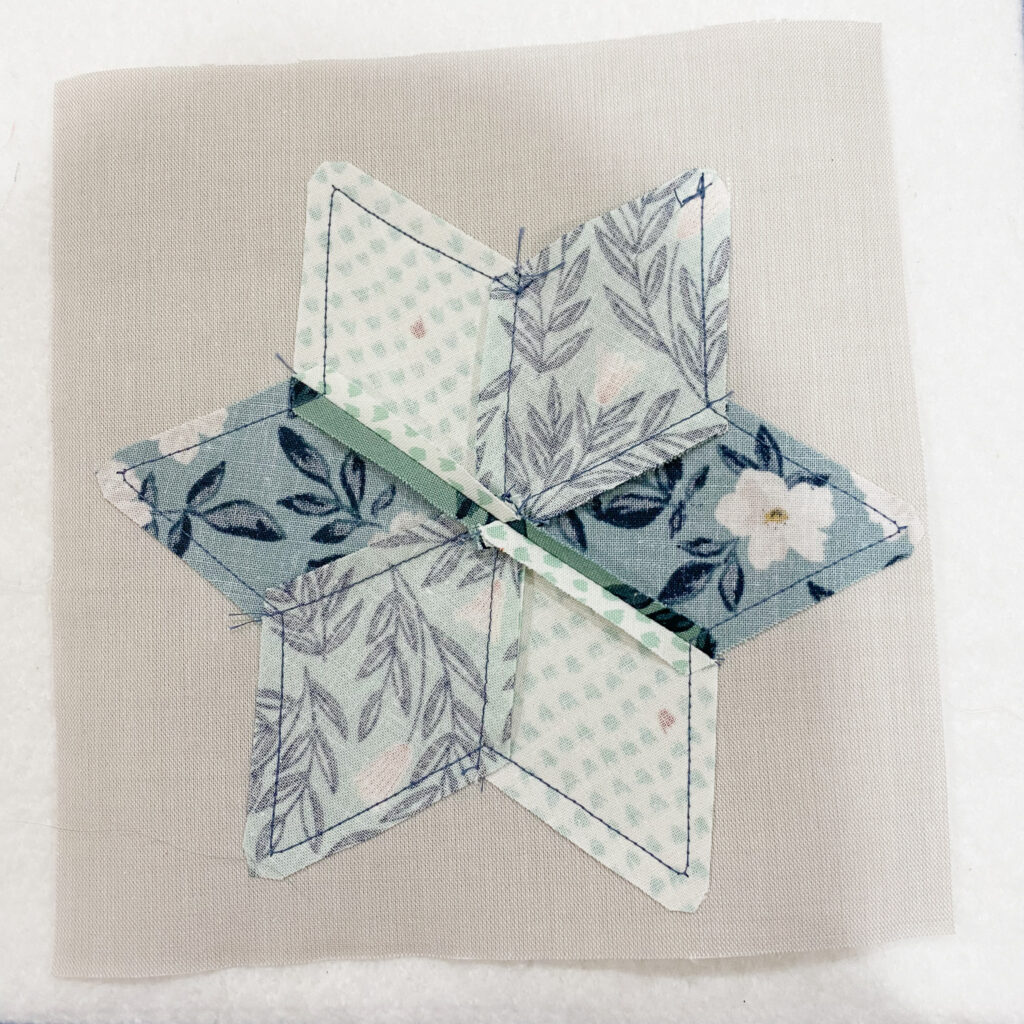
Iron 7″ square of fusible fleece to the wrong side of 7″ square of coaster back fabric.
Star Coaster Step 7
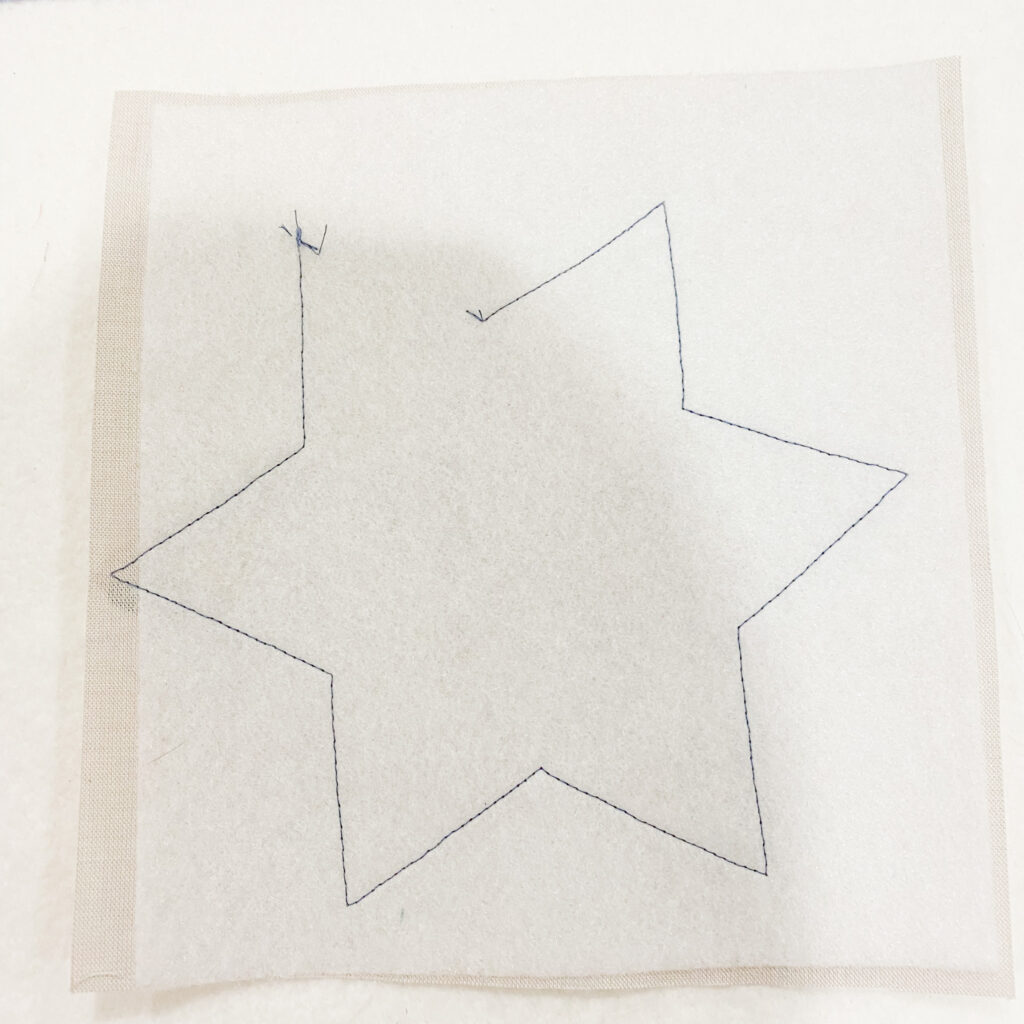
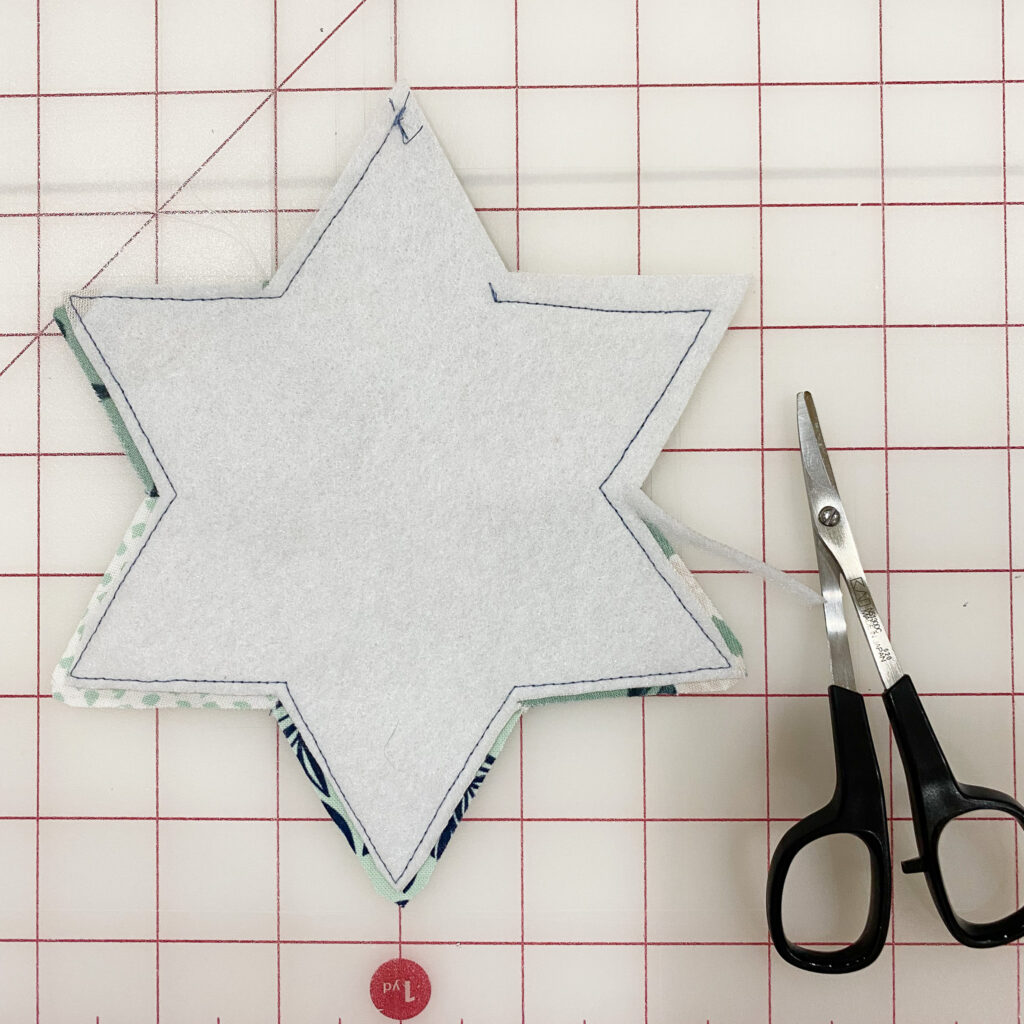
With right sides together, layer star on top of 7″ square back fabric. Sew inside the star, using the edge of the star as your guide. Leave a small 1 1/4″ opening for turning. You can leave a wider opening if you need, the small opening gave me the best finished results.
Star Coaster Step 8
Trim away excess back fabric around the star shape. Clip off star points, and grade seam if desired to reduce bulk. Clip small cuts into each inner point of star, being sure not to clip into the seam.
Star Coaster Step 9
Turn star right side out through opening. Press out star points using a point turner. I prefer to use the Dritz Bamboo Point Turner & Presser, this is a great tool to have in your sewing basket. Press Star.

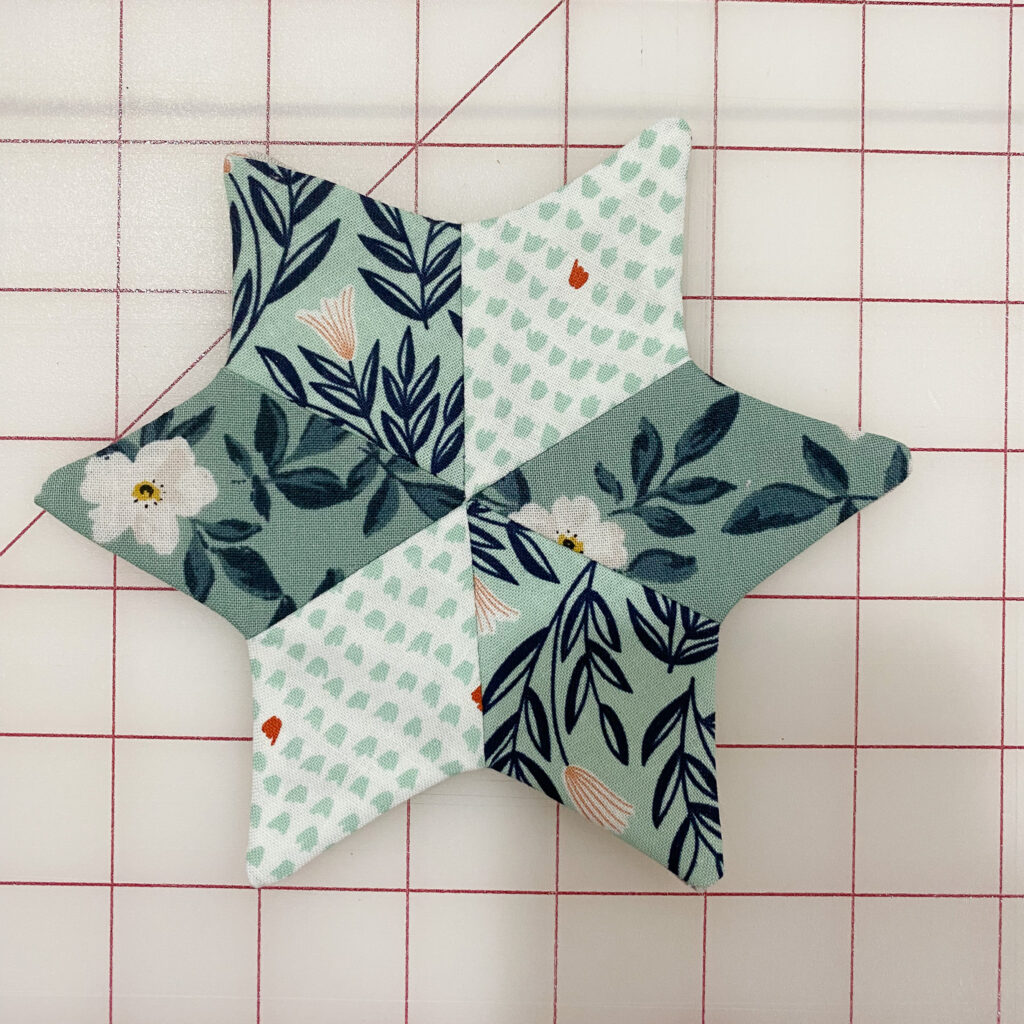
Star Coaster Step 10
Edgestitch around star coaster to close up the opening, and give the coaster a nice finished look. If it is challenging for your sewing machine to sew around the star points, use a plastic foot spacer, also called a height compensation tool, to sew over the bulky seam. My Bernina sewing machine came with a plastic foot spacer tool, but you can also find them online or at your local sewing machine store.
While sewing the point, after you pivot the corner place the plastic foot spacer under the back side of your presser foot, behind the needle. This positions the presser foot level with the fabric, making it easier to sew the bulky seam.
And you’re done! Make a few more and gift them to someone special, or enjoy them in your own home.
For more sewing tips, and projects be sure to join my email newsletter.