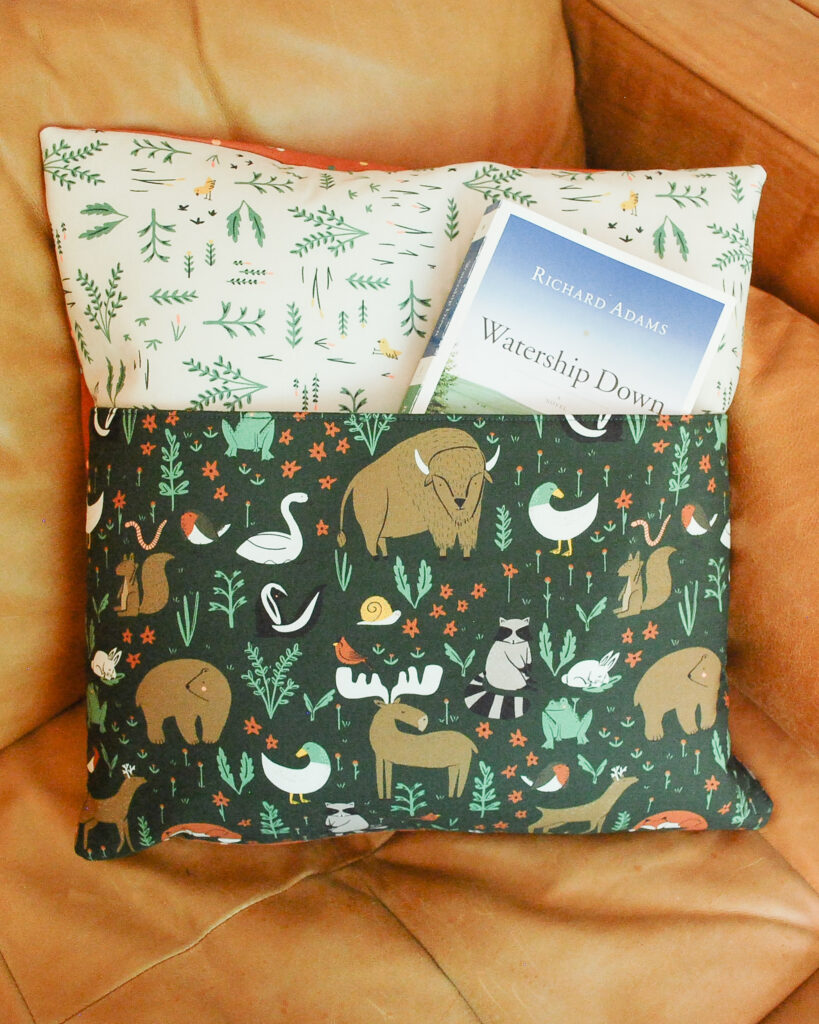
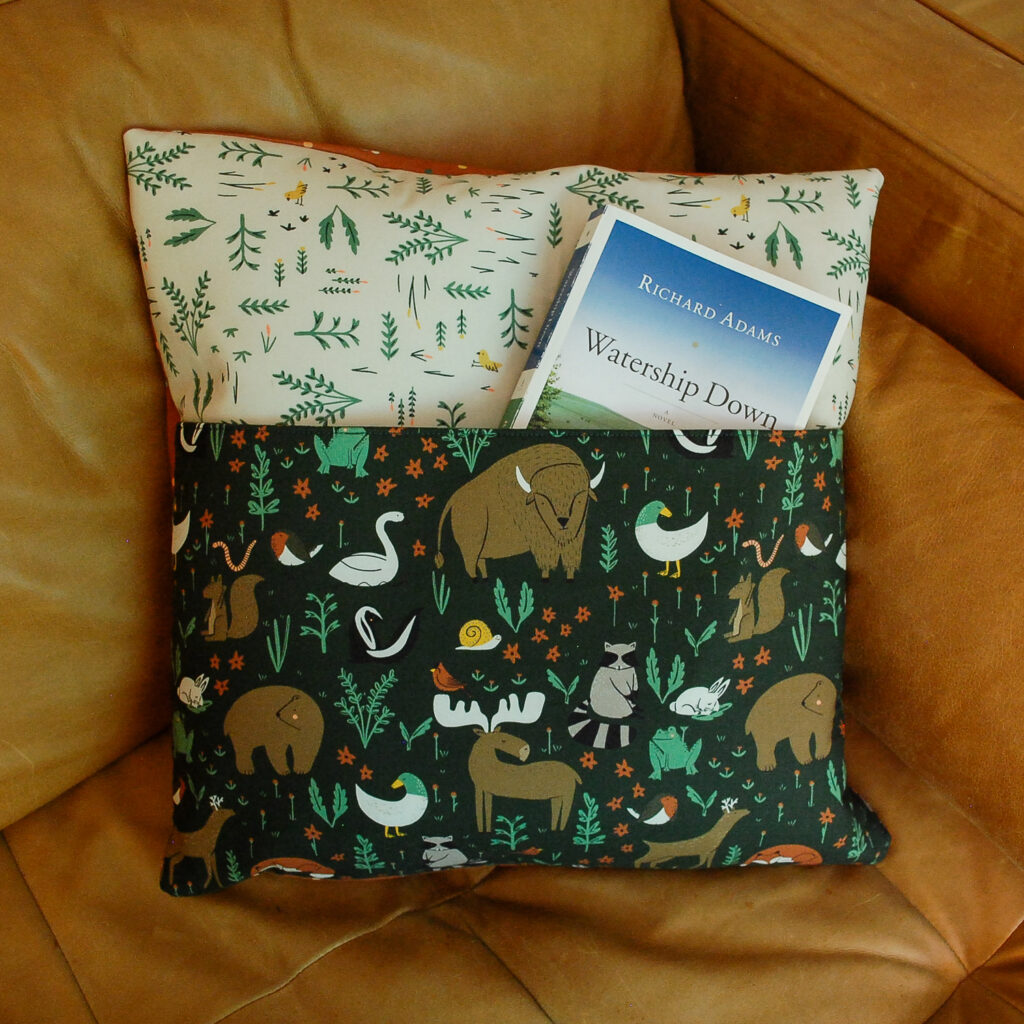
Pocket Pillow Tutorial
Hey there, sewing enthusiasts and newcomers alike! Today, I have a fun project in store for you—a step-by-step sewing tutorial that’s super beginner-friendly. We’re going to create a cozy pillow with a nifty pocket to stash a beloved book. It’s not only a fun sewing project but also a handy addition to a child’s reading nook. So, grab your sewing supplies, and let’s dive in!
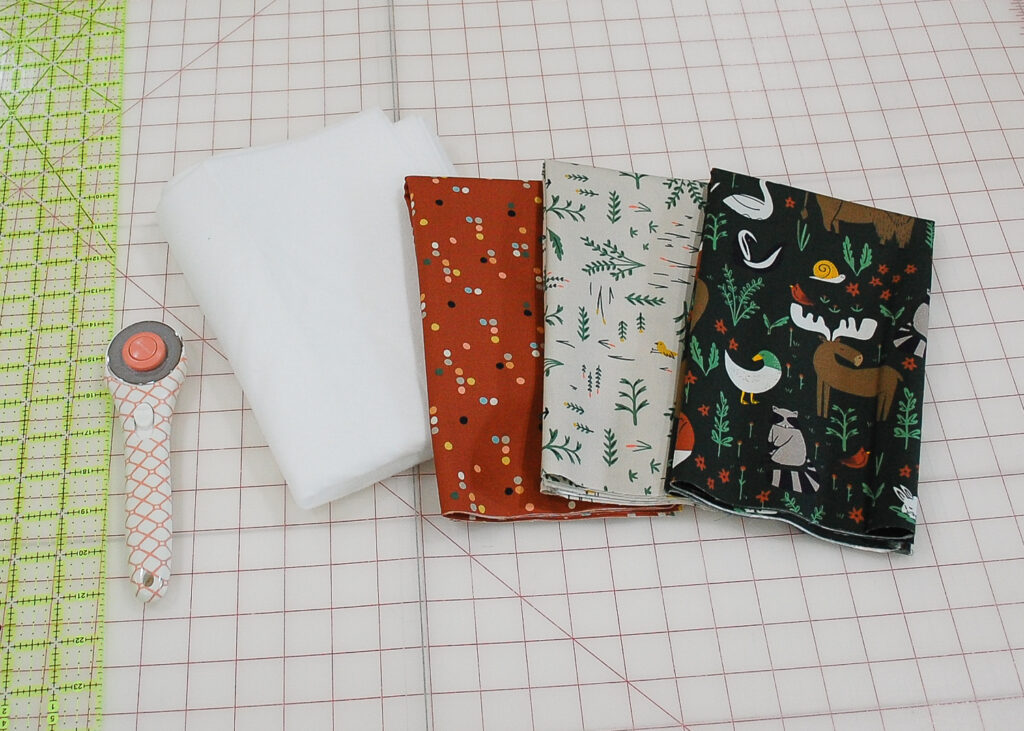
Material requirement
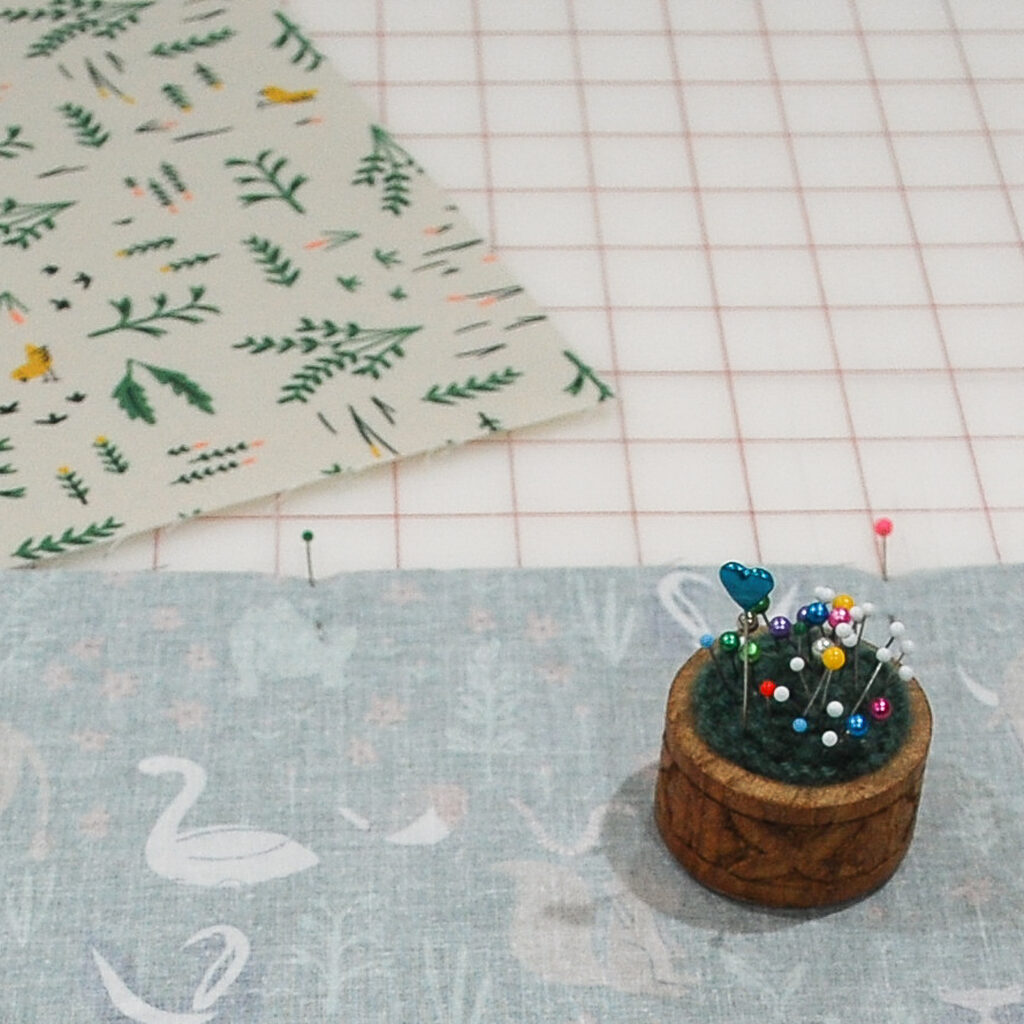
- 1/2 yard pillow front fabric
- 1/2 yard pocket fabric
- 1/2 yard pillow back fabric
- 1 Yard Pellon® 987F Fusible Fleece
- 18″ pillow insert
Step 1: Cut & prepare fabric
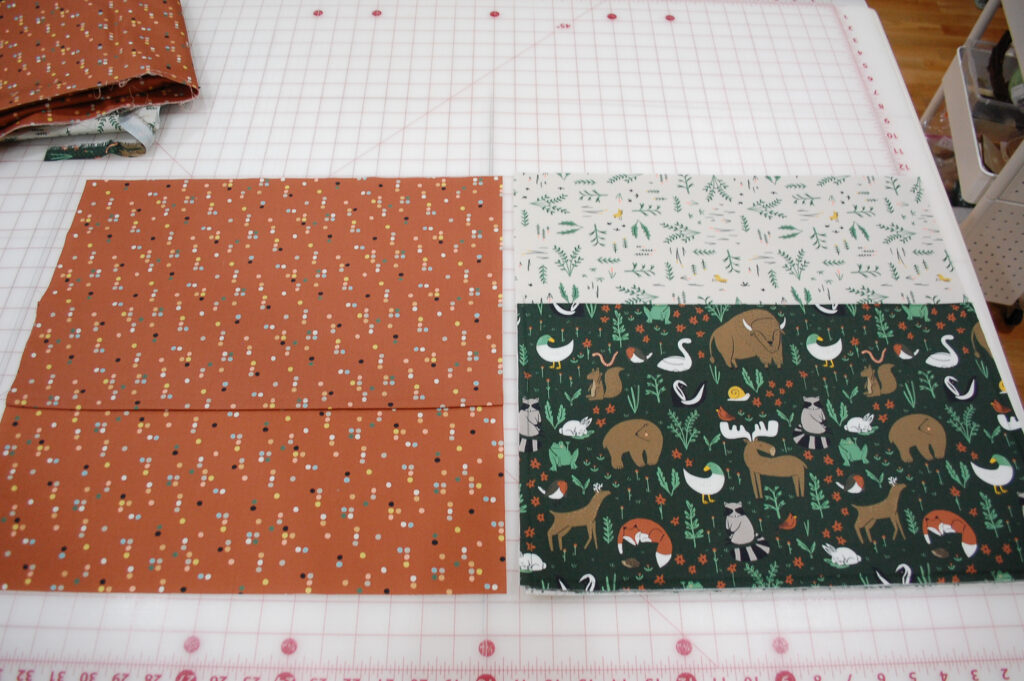
- Cut 1 pillow front fabric 18″ x 18″
- Cut 2 pillow pocket pieces 11 1/2″ tall x 18″ wide
- Cut 2 pillow back fabric pieces 12 1/2″ tall x 18″ wide
- Cut 1 fusible fleece for the pillow front 18″ x 18″
- Cut 1 fusible fleece for the pocket 11 1/2″ x 18″
Iron fusible fleece to 1 of the pillow pocket pieces, and the pillow front following manufacturers instructions. For your convenience here are the instructions for Pellon 987F Fusible Fleece:
- Place fusible fleece on ironing surface with fusible side up. Place fabric on top of fleece with right side up.
- To fuse, press firmly in place for approximately 10 seconds. Repeat, lifting and slightly overlapping iron until all interfacing is fused. Let fabric cool, then check bond.
Step 2: Sew pocket
Lay the fused pillow pocket fabric on top of your other pillow pocket fabric, with right side together, pin in place. With 1/2″ seam allowance sew along the top edge of the pillow pocket pieces. Press, and fold down, then top stitch 1/8″ along to the edge to hold the layers in place. Set aside.
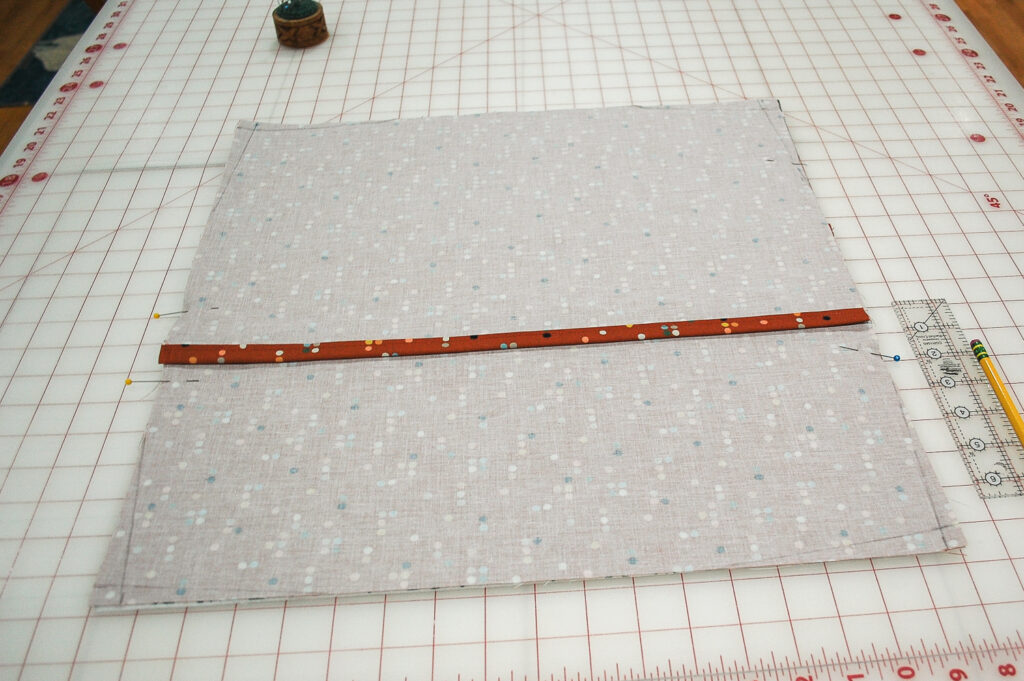
Step 3: Prepare envelope pillow back
Press under 1/2″ twice on both of your pillow back fabric pieces. Set aside.
Step 4: Assemble pillow
Pin the pillow pocket to the pillow front with right sides facing up, sew a basting stitch along the sides and bottom with less than 1/2″ seam allowance so this doesn’t show later in your finished pillow.
Lay the pillow back on top of the pillow front aligning with the top edge of the pillow, right sides facing each other. Place the second pillow back piece on top aligning with the bottom edge of the pillow. Pin in place.
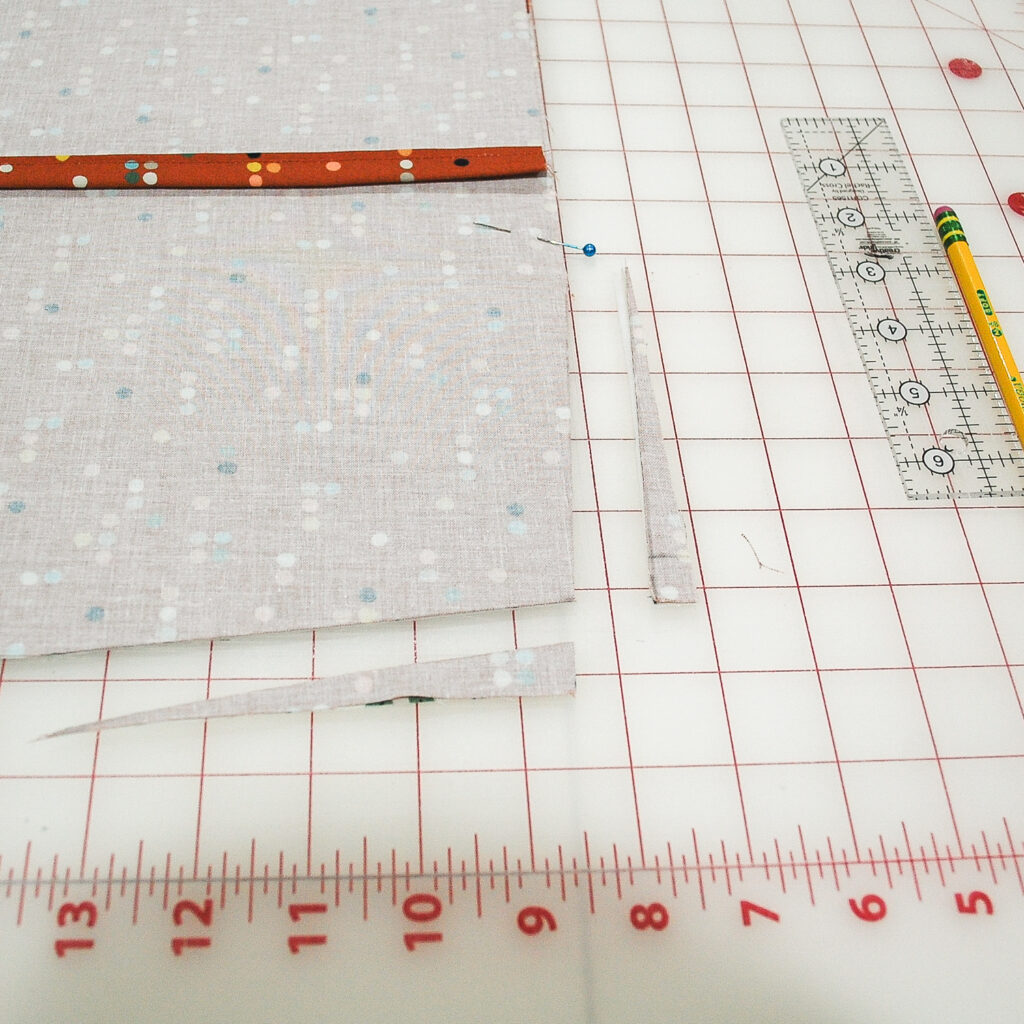
To avoid dog ear corners, cut away 1/2″ at a angled taper at least 4″ along the sides (as shown below). Do this to all 4 corners.
Sew with 1/2″ seam allowance all around. Clip off the corners. Turn pillow right side out. And you’re done!
If you liked this post, be sure and join my email newsletter for more sewing tips, and tutorials.
Happy sewing!