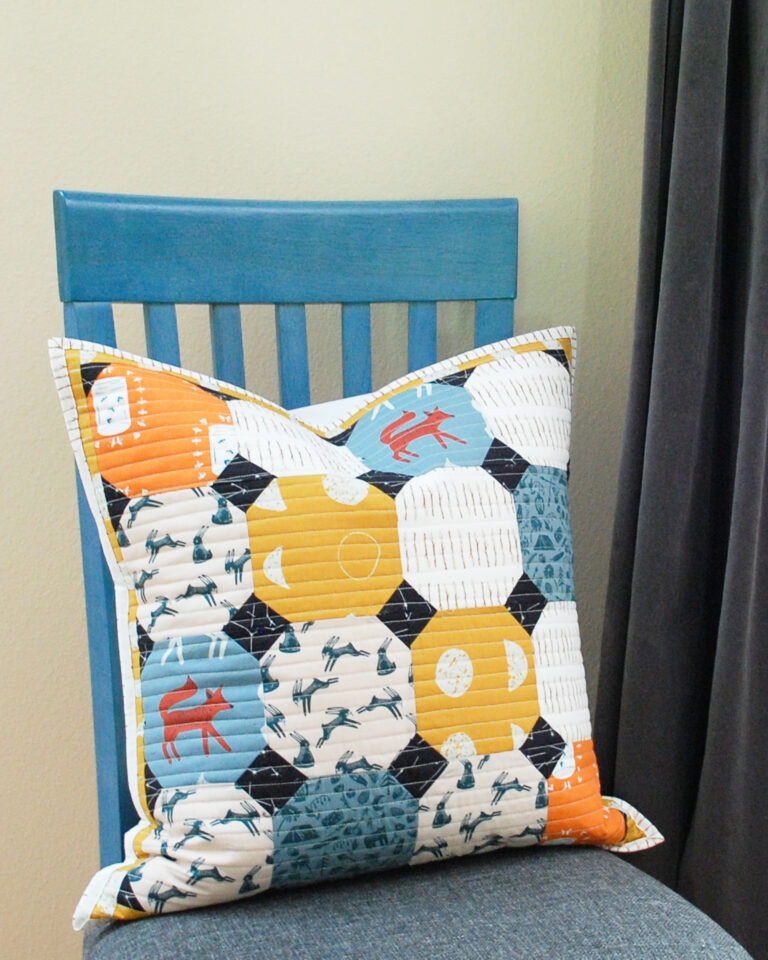
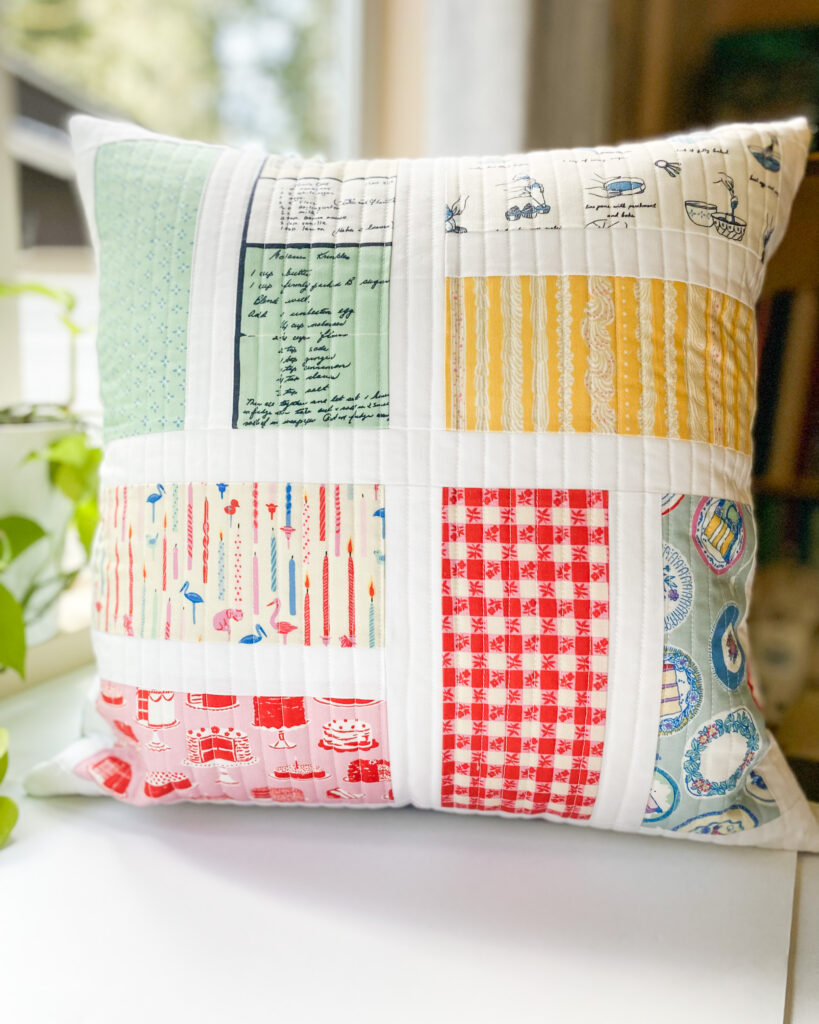
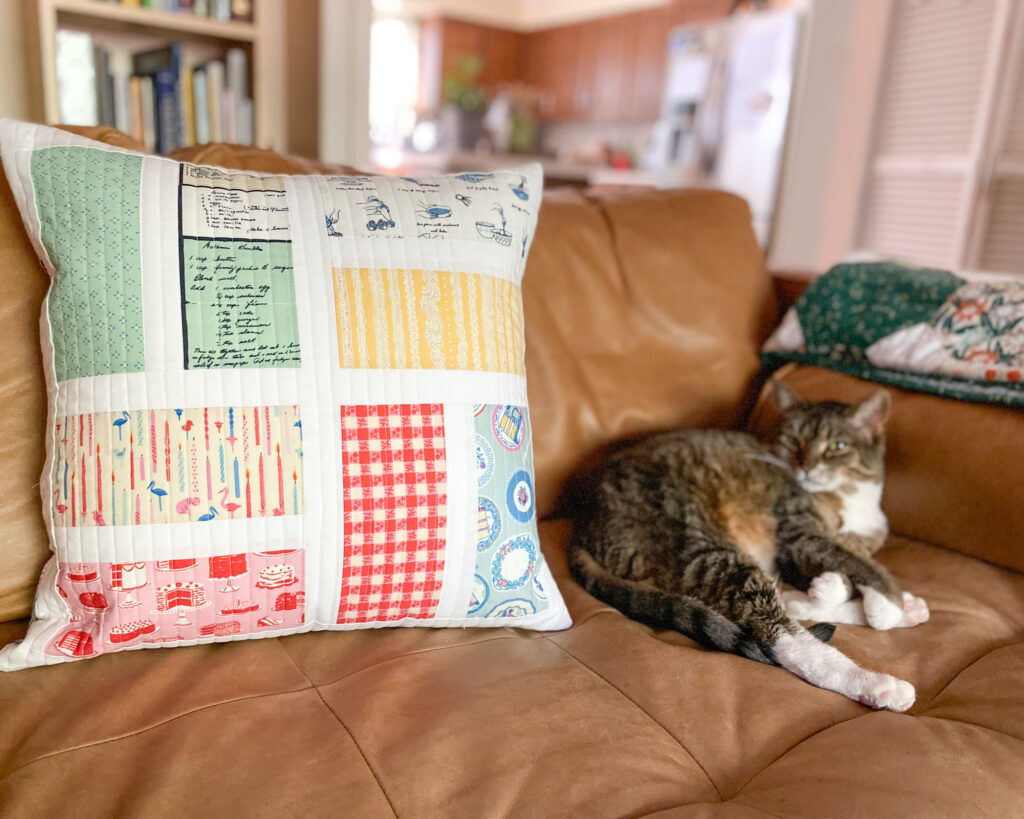
Piece of Cake Pillow Sewing Tutorial
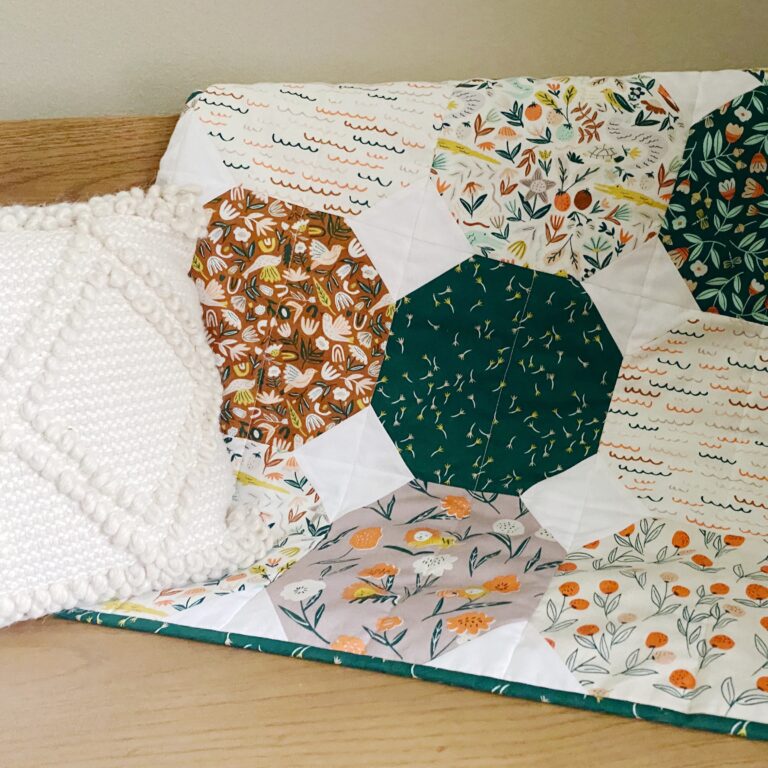
Every month I share a new sewing tutorial here on my blog, and this one is a Piece of Cake! Featuring the new Buttercream fabric collection by Emily Taylor for Cloud 9 Fabrics, the sweetest collection of fabrics that remind me of my childhood baking chocolate chip cookies with my mom, and getting to lick the spoon! This fabric is sure to make you smile. I’m here to inspire you with a fun idea for what you can make with your your fat quarter bundle – a pillow! So grab your bundle, and let’s get sewing.
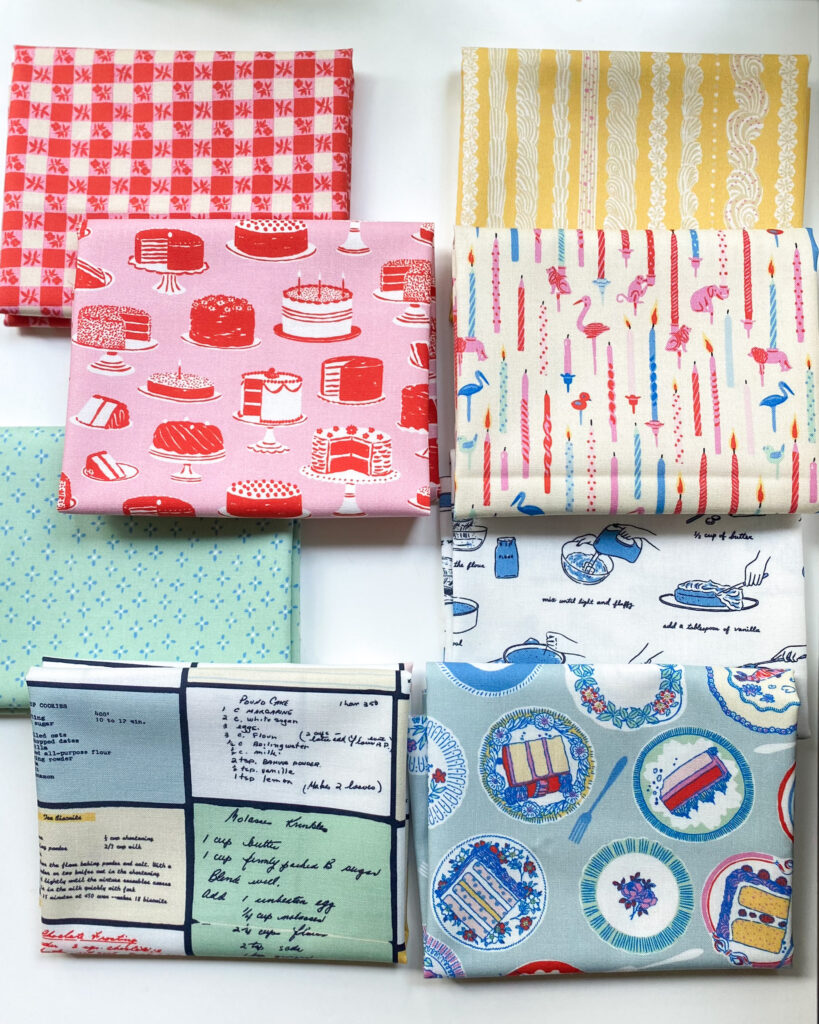
Shop Buttercream Fabric
Browse Buttercream fabric bundles, quilt kits.
Piece of Cake Pillow Tutorial
Pattern Notes
Seam allowances are 1/4″ unless specified.
Materials
Makes one 18″ pillow. Width of fabric (WOF) is assumed to be 42″.
- Color 1: 1/2 yard (includes pillow back)
- Color 2: 8 fat eighths or 3 1/2″ x 7 1/2″ scraps
- Lightweight fusible interfacing: 1/2 yard (20″ wide)
- 22″ square of fabric for the lining (such as muslin)
- 22″ square of batting
- 18″ pillow form
- Basic quilting supplies
Sample Pillow features the fabric collection Buttercream by Emily Taylor for Cloud 9 Fabrics.

Step 1 – Cut the fabrics
- From Color 1, cut the following:
- 2 – 1 1/2″ x WOF, then sub-cut:
- 6 – 1 1/2″ x 7 1/2″
- 1 – 1 1/2″ x 15 1/2″
- 2 – 2″ x WOF, then sub-cut:
- 2 – 2″ x 15 1/2″ (side borders)
- 2 – 2″ x 18 1/2″ (top and bottom borders)
- 2 – 13″ x 18 1/2″ (pillow back)
- 2 – 1 1/2″ x WOF, then sub-cut:
- From each of (8) Color 2 fabrics, cut the following:
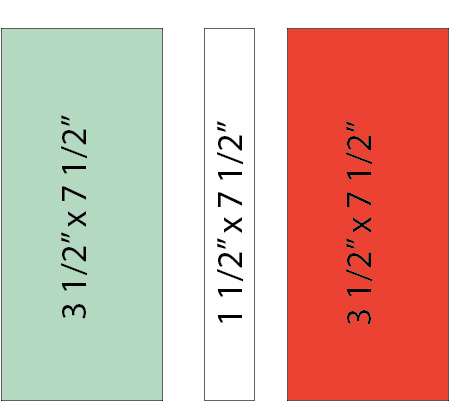
- 1 – 3 1/2″ x 7 1/2″ (cut 8 total)
Step 2 – Sew the units
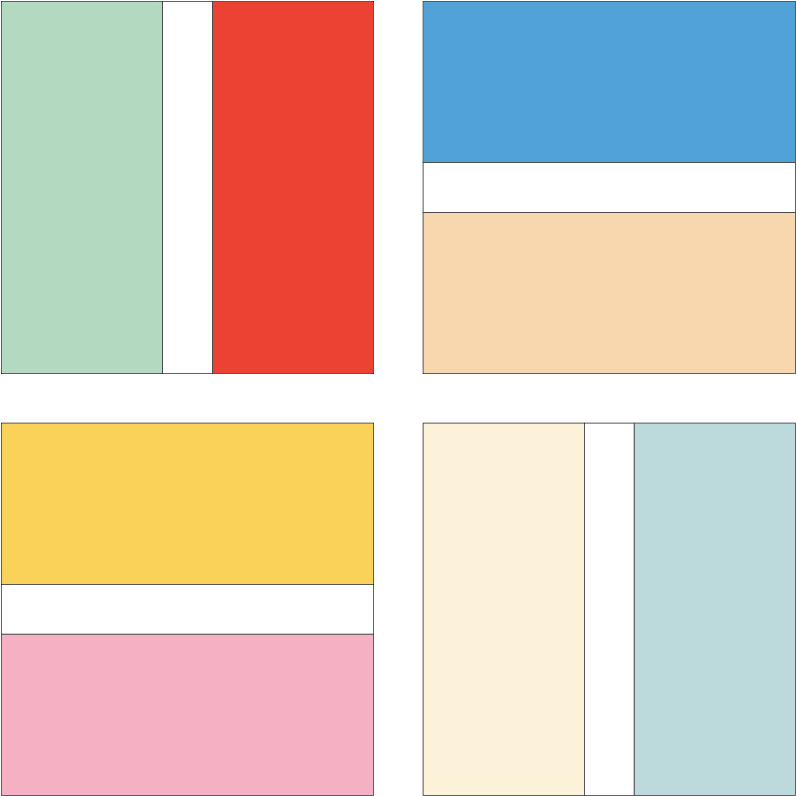
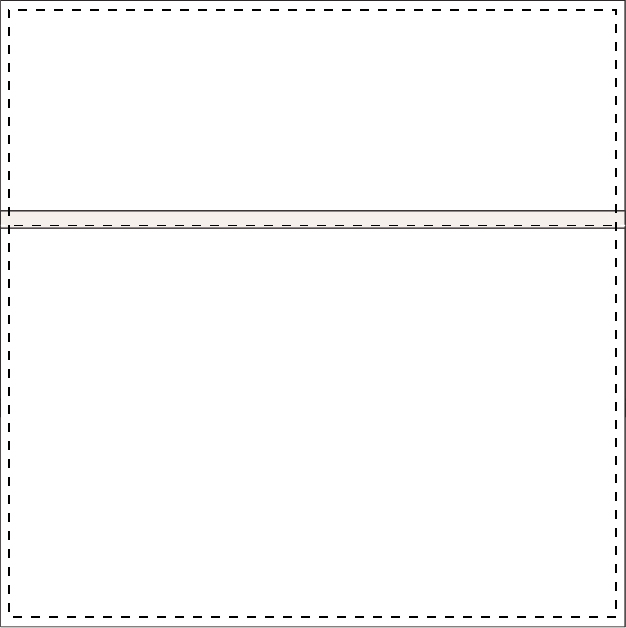
- Place a 1 1/2″ x 7 1/2″ rectangle Color 1 on the top of each 3 1/2 x 7 1/2″ Color 2 rectangle right sides together and sew. Press seam to the right.
2. Add another 3 1/2″ x 7 1/2″ rectangle Color 2 to the right of the Color 1 strip, and sew. Press seam to the right. This creates a 7 1/2″ square. Make 4 units.
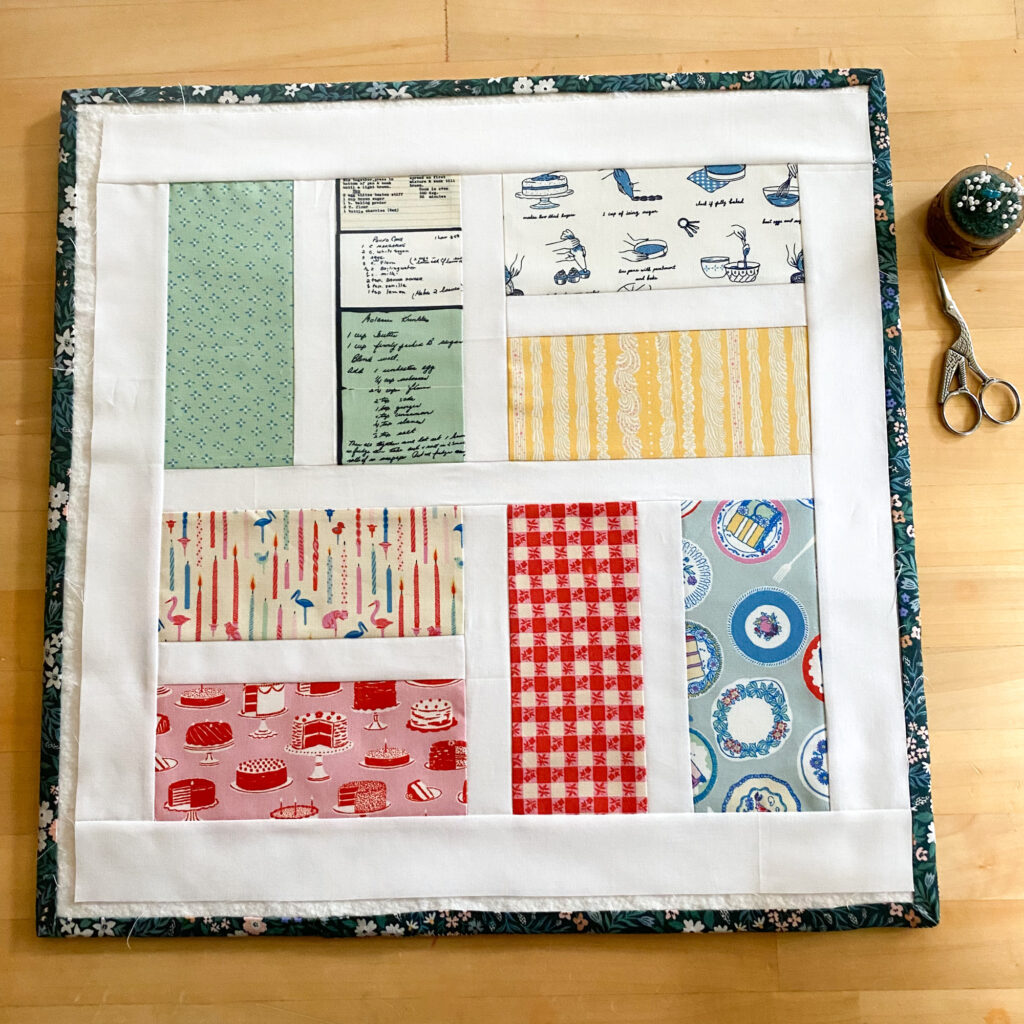
Step 3 – Assemble the pillow top
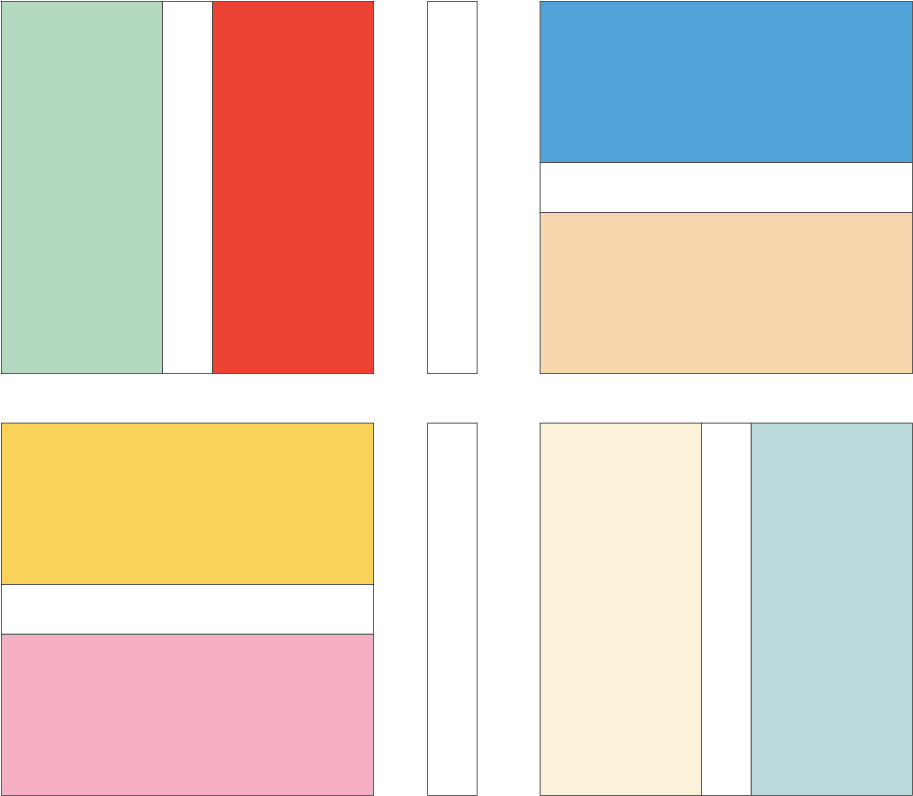
- Arrange the units in 2 rows as shown. Place a 1 1/2″ x 7 1/2″ Color 1 strip between two units in each row, pin, and sew. Press seams away from the center strip.
2. Pin and sew a 1 1/2″ x 15 1/2″ Color 1 sashing strip between the rows. Press away from the sashing strip.
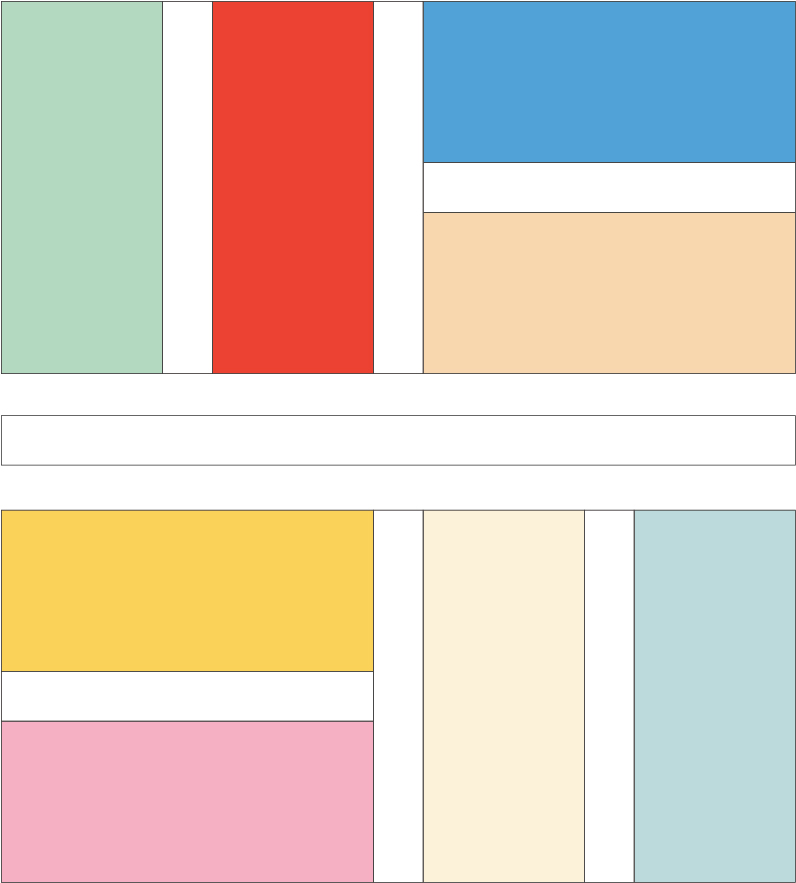
3. Pin and sew the 2″ x 15 1/2″ Color 1 strips to the left and right of the block. Press toward the borders. Repeat with the 2″ x 18 1/2″ Color 1 top and bottom borders to complete the pillow top.

Step 4 – Quilt the Pillow Front
- Create a quilt sandwich with a 22″ square of lining fabric and 22″ square of batting, followed by the pillow top. Baste using your preferred method.
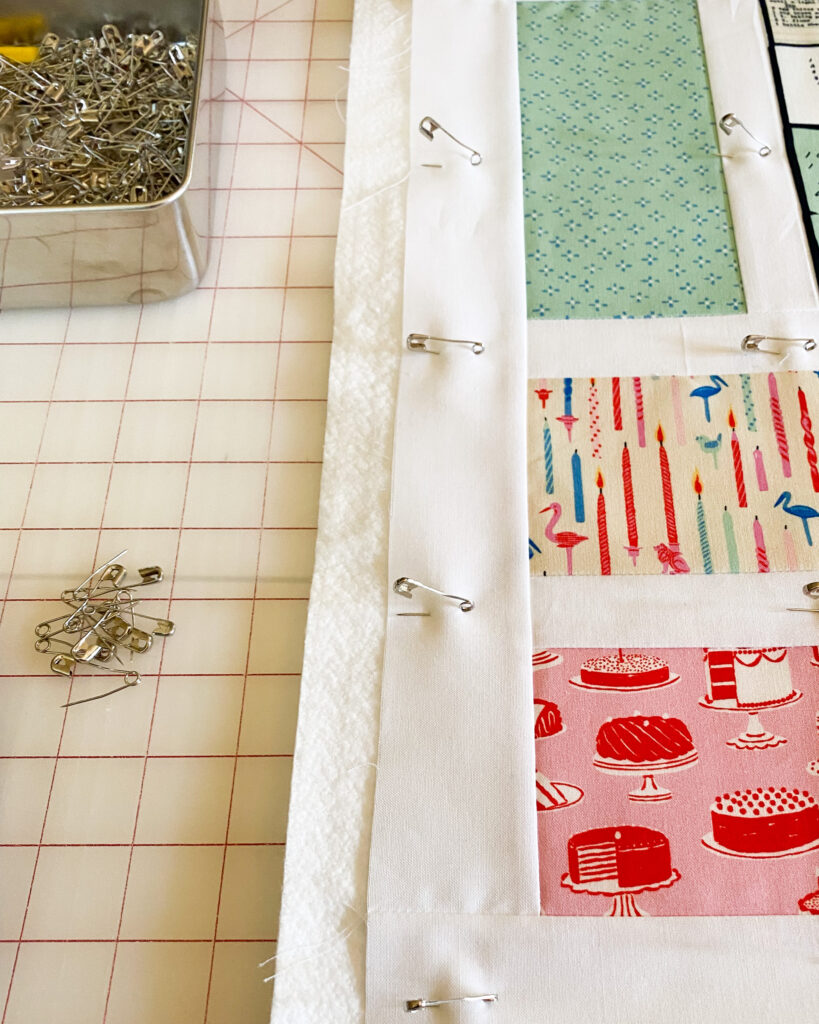
2. Quilt as desired. I straight line stitched my pillow top with a walking foot, and spaced the lines 1/2″ apart using the edge of the foot as a guide.

3. Trim the excess batting and lining so the pillow top measures 18 1/2″ square.
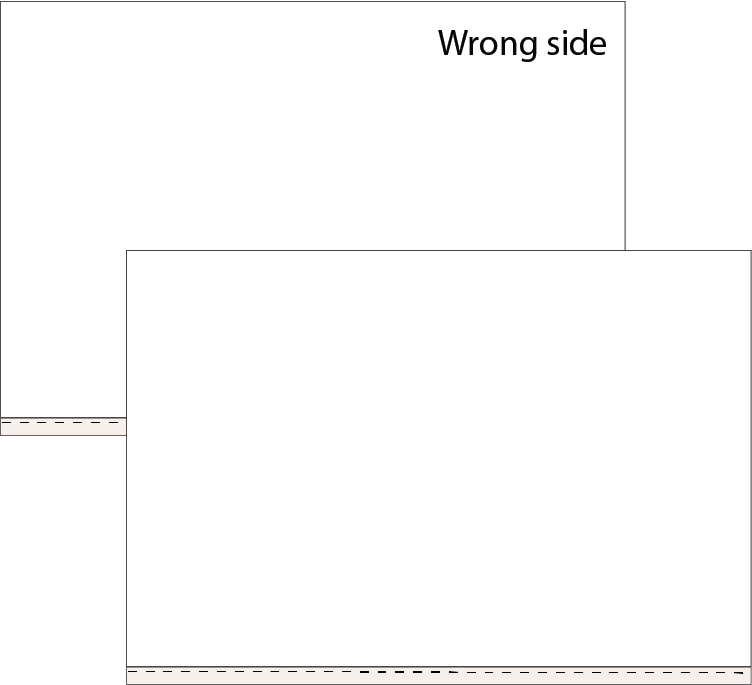
Step 5 – Finish the Pillow
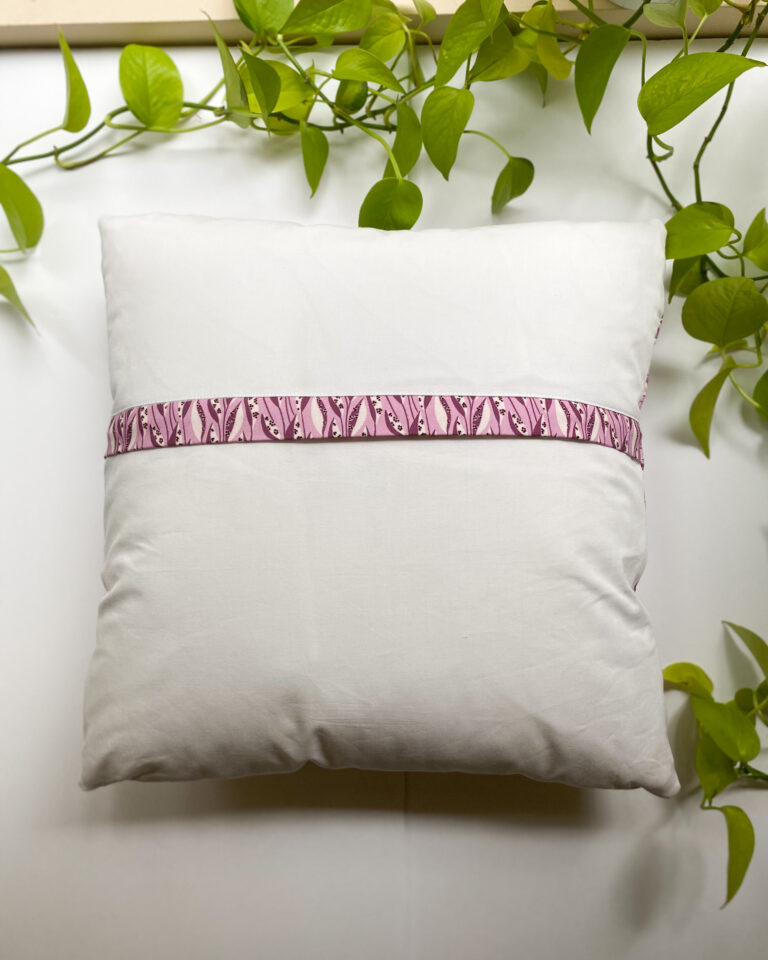
- Fuse lightweight stabilizer to the the wrong side of the two 13″ x 18 1/2″ pillow back pieces following manufacturers instructions.
- Press under 1/2″ twice along the long edge of the two pillow back pieces. Sew along the long edges 1/8″ away from the double folded edge.
- With the pillow top facing up layer the two backing pieces right sides together on top. Pin in place.
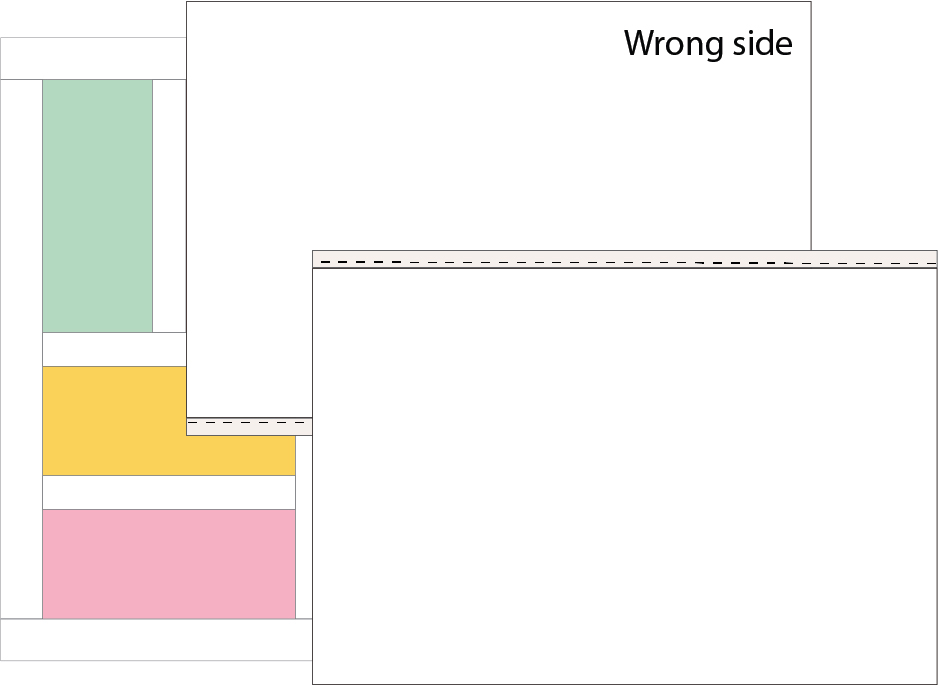
- Sew a 1/2″ seam around the edge of the pillow top.
- Clip the corners, turn your pillow right side out, and push the corners out.
- Place your pillow insert inside, and your pillow is complete. Enjoy!
Check out more tutorials in this Pillow of the Month series here.
Happy quilting!